Polvoron Recipe: Polvoron is a rich, crumbly, melt-in-the-mouth Filipino shortbread-style treat made with toasted flour, powdered milk, sugar, and butter. It is simple, affordable, and deeply satisfying, yet it carries a special homemade charm that makes it perfect for family snacks, festive giveaways, party favors, and dessert trays. With the right technique, we can create smooth, buttery, milky, perfectly molded polvoron that holds its shape beautifully while still dissolving softly on the tongue.
This Polvoron Recipe gives us a reliable, step-by-step method for making classic homemade polvoron with a balanced sweetness, toasted aroma, and creamy texture. We will also include helpful shaping tips, flavor variations, storage guidance, and practical notes to help us achieve a professional result every time.
Ingredients You’ll Need for Polvoron
To prepare a classic batch of homemade polvoron, we need simple pantry ingredients. Each ingredient plays an important role in building the signature flavor and texture.
Main Ingredients
- 2 cups all-purpose flour
- 1 cup powdered milk
- 3/4 cup granulated sugar
- 1 cup melted butter
- 1/4 teaspoon salt
- 1/2 teaspoon vanilla extract (optional, but recommended)
Optional Add-Ins
- 1/4 cup crushed toasted rice crispies
- 1/4 cup crushed pinipig
- 1/4 cup finely chopped cashews
- 1/4 cup finely chopped peanuts
- 2 tablespoons cocoa powder
- 2 tablespoons cookies and cream crumbs
- 2 tablespoons toasted sesame seeds
These optional ingredients allow us to create different versions of polvoron while keeping the base recipe stable and easy to mold.
Best Tools for Making Polvoron
Using the right tools helps us prepare clean, even, and well-shaped polvoron.
We will need a wide pan, wooden spoon or spatula, mixing bowl, measuring cups, fine sieve, polvoron mold, and cellophane wrappers or candy wrappers. A polvoron mold gives the treat its classic compact shape, but if we do not have one, we can press the mixture into a small tray, chill it, and cut it into squares.
Step-by-Step Guide to Make Polvoron
Step 1: Toast the Flour Properly
We begin by placing 2 cups of all-purpose flour in a dry, wide pan over low to medium-low heat. We stir continuously with a wooden spoon or spatula to prevent burning. The flour should gradually change from pale white to a light cream or pale golden color.
This step usually takes 10 to 15 minutes. The goal is not to brown the flour deeply, but to remove the raw taste and develop a gentle toasted aroma. We should keep the heat controlled because flour can burn quickly at the bottom of the pan.
Once the flour smells nutty and lightly toasted, we remove it from the heat and allow it to cool for a few minutes.
Step 2: Sift the Toasted Flour
After cooling, we pass the toasted flour through a fine sieve into a large mixing bowl. This removes lumps and creates a smoother texture. Since polvoron is meant to be soft and delicate, sifting is very important.
If we skip this step, the final mixture may have small flour clumps, making the polvoron less refined. A well-sifted base gives us a cleaner, smoother bite.
Step 3: Add Powdered Milk, Sugar, and Salt
To the sifted toasted flour, we add 1 cup of powdered milk, 3/4 cup granulated sugar, and 1/4 teaspoon salt. We mix everything thoroughly until the dry ingredients are evenly combined.
The powdered milk gives polvoron its creamy, milky flavor. The sugar adds sweetness and a slight grainy crunch. The salt balances the sweetness and enhances the buttery taste.
For a finer texture, we may use powdered sugar instead of granulated sugar. However, traditional polvoron often has a slightly sandy texture, which many people enjoy.
Step 4: Add Melted Butter
Next, we slowly pour in 1 cup of melted butter while mixing. We add the butter gradually so we can control the texture. The mixture should look like soft, damp crumbs that can hold together when pressed.
We should avoid making the mixture too wet. If it feels oily, we can add a little more toasted flour or powdered milk. If it feels too dry and does not hold shape, we can add a small amount of melted butter, one tablespoon at a time.
At this stage, we may also add 1/2 teaspoon vanilla extract for a warm, sweet aroma.
Step 5: Mix Until the Texture Holds Together
We continue mixing until the polvoron mixture becomes evenly moistened. To test it, we take a small amount and press it between our fingers. If it holds together without crumbling immediately, the texture is correct.
The mixture should not feel like dough. It should still be crumbly, but compact enough to form when pressed into a mold.
Step 6: Add Optional Flavor Mix-Ins
If we want flavored polvoron, this is the right stage to add mix-ins. For a crunchy version, we can add crushed pinipig, toasted rice crispies, or chopped nuts. For a chocolate version, we can mix in cocoa powder. For a modern dessert-style version, we can add cookies and cream crumbs.
We should keep add-ins finely crushed or chopped so the polvoron remains easy to mold. Large pieces can cause the mixture to break apart.
Step 7: Mold the Polvoron
Using a polvoron mold, we scoop a portion of the mixture and press it firmly. We should pack the mixture tightly so it holds its shape. Then we gently release it onto a tray lined with parchment paper.
The key is firm, even pressure. If we press too lightly, the polvoron may crumble. If we press too hard and the mixture is too wet, it may become dense. We want a compact shape with a soft, crumbly bite.
Step 8: Chill Before Wrapping
After molding, we place the polvoron in the refrigerator for about 20 to 30 minutes. Chilling helps the butter firm up, making the pieces easier to handle and wrap.
This step is especially useful in warm weather or if the butter content is slightly high. Once chilled, the polvoron will be more stable and less likely to fall apart.
Step 9: Wrap the Polvoron
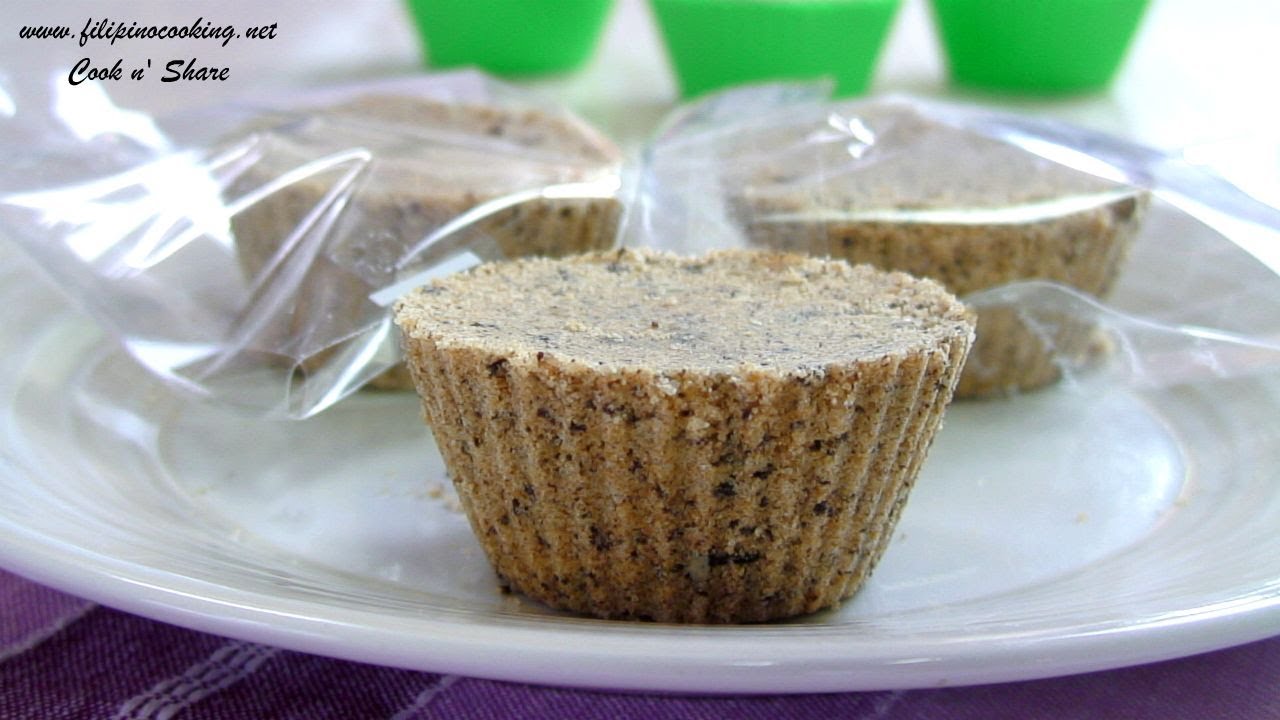
We carefully wrap each piece in cellophane wrappers, candy wrappers, or wax paper. Wrapping keeps the polvoron fresh and makes it look neat and gift-ready.
For a professional presentation, we can twist the ends of the wrapper tightly or fold them cleanly depending on the wrapper style. Wrapped polvoron is perfect for party souvenirs, holiday treats, school snacks, and homemade food business packaging.
Best Tips for Perfect Homemade Polvoron
To make excellent polvoron, we should always toast the flour slowly. High heat may burn the flour and create a bitter taste. We should also sift the toasted flour to avoid lumps.
The butter should be melted but not boiling hot. Very hot butter can affect the texture and make the mixture too greasy. We should add the butter gradually and stop when the mixture can hold its shape.
If the polvoron breaks apart after molding, the mixture may be too dry or loosely packed. We can add a little more melted butter and press more firmly. If the polvoron feels oily, we can add more toasted flour or powdered milk to absorb the excess fat.
Popular Polvoron Flavor Variations
Classic Milk Polvoron
This is the traditional version made with toasted flour, powdered milk, sugar, and butter. It is creamy, simple, and nostalgic.
Chocolate Polvoron
We add 2 tablespoons of cocoa powder to the dry ingredients. This gives the polvoron a deeper, dessert-like flavor.
Cookies and Cream Polvoron
We mix in finely crushed chocolate sandwich cookies. This version is popular with children and works well for party packs.
Pinipig Polvoron
We add crushed toasted pinipig for a crunchy texture and more traditional Filipino flavor.
Nutty Polvoron
We mix in finely chopped cashews, peanuts, or almonds. Nuts add richness and a pleasant crunch.
How to Store Polvoron
Homemade polvoron should be stored in an airtight container at room temperature for about 1 to 2 weeks, depending on the weather and ingredients used. In a hot environment, it is better to keep it in the refrigerator so the butter stays firm.
For longer storage, we can refrigerate wrapped polvoron for up to 3 weeks. We should keep it away from moisture because humidity can affect the texture and make it less crisp and crumbly.
Serving Suggestions for Polvoron
Polvoron is best served as a small sweet snack after meals, with coffee, tea, hot chocolate, or milk. It also works beautifully as a dessert table item for birthdays, weddings, Christmas gatherings, and family celebrations.
We can arrange wrapped polvoron in gift boxes, jars, paper bags, or clear treat bags. For a homemade food business, we can create assorted packs with classic, chocolate, cookies and cream, and pinipig flavors.
Common Mistakes to Avoid When Making Polvoron
The most common mistake is under-toasting the flour. Raw flour gives polvoron an unpleasant taste, so we must toast it patiently. Another mistake is adding too much butter at once. This can make the mixture greasy and difficult to shape.
We should also avoid using large add-ins because they can break the structure of the molded polvoron. Finally, we should not wrap the polvoron immediately after molding if it is too soft. Chilling makes wrapping easier and helps the pieces stay neat.
FAQs about Polvoron Recipe
1. What is Polvoron?
Polvoron is a sweet, crumbly Filipino shortbread-style treat made with toasted flour, powdered milk, sugar, and butter. It is usually pressed into small oval or round shapes and wrapped individually. It has a rich, milky flavor and a soft texture that melts in the mouth.
2. Do we need to bake Polvoron?
No, Polvoron does not need baking. The flour is toasted in a pan until lightly golden and fragrant, then mixed with the other ingredients. After shaping, the Polvoron is chilled or wrapped to help it hold its form.
3. Why is my Polvoron falling apart?
Polvoron usually falls apart when there is not enough butter or when the mixture is too dry. Add a little more melted butter gradually until the mixture holds together when pressed. Also, make sure to pack it firmly into the mold.
4. Can we add flavors to Polvoron?
Yes. We can customize Polvoron with crushed cookies, pinipig, cashews, peanuts, chocolate powder, matcha, or ube powder. These add flavor, texture, and variety while keeping the traditional crumbly style.
5. How should we store Polvoron?
Store Polvoron in an airtight container at room temperature for a few days, or refrigerate it for longer freshness. Keep it away from heat because the butter may soften and cause the pieces to lose their shape.
Final Thoughts
This Polvoron Recipe gives us a smooth, buttery, creamy, and delicious homemade treat with a classic Filipino taste. With properly toasted flour, balanced sweetness, quality powdered milk, and the right amount of butter, we can make polvoron that is firm enough to wrap but soft enough to melt in the mouth.
Whether we prepare it for family snacks, festive gifts, party giveaways, or small food business packs, homemade polvoron remains one of the easiest and most rewarding no-bake treats to make. Its simple ingredients, flexible flavors, and beautiful presentation make it a timeless recipe worth mastering.


