Fresh Pumpkin Pie Recipe: There’s something undeniably comforting about a slice of fresh pumpkin pie. It’s the quintessential fall dessert—warm, spiced, and nestled in a flaky crust. For many families, this dessert is the heart of Thanksgiving and autumn gatherings. But what makes a pumpkin pie truly unforgettable isn’t just the spices or the whipped topping—it’s the use of fresh, real pumpkin and a homemade crust that brings out its authentic flavor.
Most people associate pumpkin pie with canned pumpkin puree, and while that’s perfectly acceptable, using fresh pumpkin elevates the pie to a whole new level. It adds depth, texture, and a naturally sweet taste that canned versions simply can’t replicate.
In this step-by-step guide, you’ll learn how to make a mouth-watering, old-fashioned pumpkin pie completely from scratch. Whether you’re a seasoned baker or trying this for the first time, this guide will walk you through each step to ensure success.
Ingredients You’ll Need
Making a pumpkin pie from scratch involves two main parts: the crust and the filling. Here’s what you’ll need for each:
For the Pie Crust
- 1 ¼ cups all-purpose flour
- ½ teaspoon salt
- ½ cup (1 stick) unsalted butter, chilled and diced
- 3-4 tablespoons ice water
The crust is just as important as the filling. A buttery, flaky crust made from scratch will support the creamy pumpkin center perfectly. Using cold ingredients and not overworking the dough are key to a light, tender texture.
For the Pumpkin Filling
- 2 cups fresh pumpkin puree (from roasted pumpkin)
- ¾ cup brown sugar (packed)
- 2 large eggs
- 1 teaspoon ground cinnamon
- ½ teaspoon ground ginger
- ¼ teaspoon ground cloves
- ½ teaspoon salt
- 1 cup evaporated milk
Fresh pumpkin puree makes a big difference here. The spices blend beautifully to give you that classic holiday flavor. If you don’t have evaporated milk, heavy cream or whole milk will do the trick too.
Step-by-Step Instructions
Step 1: Prepare the Pie Crust
Start by mixing flour and salt in a large bowl. Cut in the butter using a pastry blender or two forks until the mixture resembles coarse crumbs. Add the ice water, one tablespoon at a time, mixing gently until the dough comes together.
Form the dough into a ball, flatten it into a disk, wrap it in plastic wrap, and refrigerate for at least 30 minutes. This rest time helps relax the gluten and keeps the butter cold for a flakier crust.
After chilling, roll out the dough on a floured surface into a 12-inch circle. Carefully transfer it to a 9-inch pie pan, pressing it in gently and trimming the edges. Flute the edges or crimp with a fork for a decorative touch.
Step 2: Roast Fresh Pumpkin
To make fresh puree, start with a sugar pumpkin (also called pie pumpkin). These are smaller and sweeter than carving pumpkins. Preheat your oven to 375°F (190°C). Cut the pumpkin in half, scoop out the seeds, and place the halves face down on a baking sheet lined with parchment paper.
Roast for about 45-60 minutes, or until the flesh is tender and easily pierced with a fork. Let the pumpkin cool, then scoop out the flesh into a food processor and blend until smooth.
Step 3: Make the Pumpkin Puree
If your puree seems watery, strain it through cheesecloth or a fine mesh sieve for 30 minutes to remove excess moisture. You’ll need about 2 cups of thick, creamy puree for this recipe.
Fresh puree will have a lighter, more natural color than canned, but don’t let that fool you—the flavor is richer and more delicate. This small extra effort really pays off.
Step 4: Mix the Pumpkin Filling
In a large mixing bowl, combine the pumpkin puree, brown sugar, spices, and salt. Add the eggs one at a time, beating after each addition. Slowly stir in the evaporated milk until the mixture is well blended and smooth.
Taste the filling before pouring—it should be sweet and lightly spiced. Adjust the spices to your liking; some folks love extra cinnamon or nutmeg.
Step 5: Assemble and Bake
Preheat the oven to 425°F (220°C). Pour the pumpkin filling into the prepared crust. Place the pie on the middle rack and bake at this temperature for 15 minutes. Then, reduce the oven temperature to 350°F (175°C) and bake for an additional 40-50 minutes, or until a knife inserted near the center comes out clean.
If the crust edges start to brown too quickly, cover them with foil or a pie crust shield. Let the pie cool on a wire rack for at least 2 hours before slicing. This helps the filling set perfectly.
Baking Tips for a Perfect Pie
Common Mistakes to Avoid
Let’s face it—making a pie from scratch can be intimidating, especially when you’re using fresh ingredients. But with a little attention to detail, you can avoid the most common pitfalls. First, don’t skip pre-baking your crust if you’re using a particularly wet filling or want to avoid a soggy bottom. Blind baking (pre-baking with pie weights) helps keep the crust crisp and golden.
Another mistake is overmixing the filling. Overbeating the eggs or stirring the batter too aggressively introduces air, which can cause the filling to puff up and then crack as it cools. Mix until just combined.
Temperature matters too. Start baking at a higher temperature to set the crust and filling, then reduce the heat. This method ensures even baking and prevents the center from being undercooked while the edges are already done. Lastly, always let your pie cool properly. Cutting into a hot pie is tempting, but patience leads to perfectly set slices.
How to Tell When It’s Done
The center of your pumpkin pie should be just slightly jiggly—like gelatin—not watery or runny. A knife or toothpick inserted about 1 inch from the center should come out clean. That slight jiggle means the filling will set as it cools and won’t dry out.
The crust should be golden brown, not pale or overly dark. If you’re using a glass pie dish, peek at the bottom crust—if it’s lightly browned, it’s likely baked through.
Avoid overbaking, which leads to cracks and a dry texture. If your pie does crack, don’t worry—a little whipped cream or a sprinkle of powdered sugar will cover it up nicely.
Serving Suggestions
Best Toppings for Pumpkin Pie
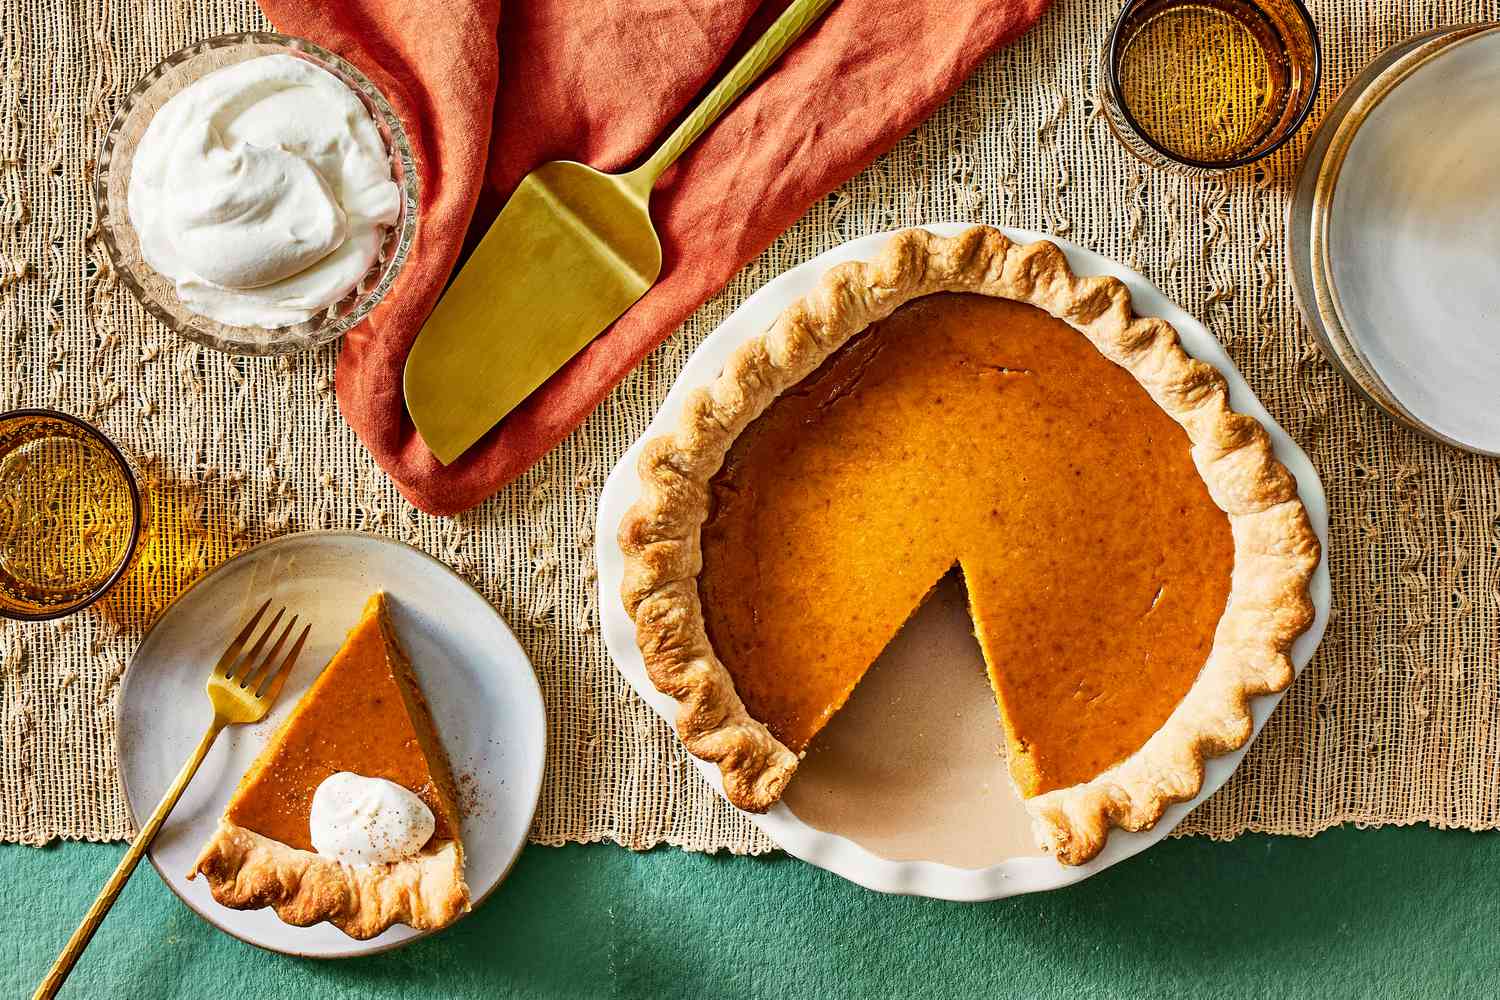
Pumpkin pie is great on its own, but a good topping can take it to the next level. The classic option? Whipped cream. A generous dollop of freshly whipped cream with a hint of vanilla makes each bite creamy and light. If you want to elevate your presentation, sprinkle a touch of cinnamon or nutmeg on top of the cream.
For a decadent twist, drizzle caramel sauce or maple syrup over each slice. Some even like pairing it with a scoop of vanilla ice cream for a warm-and-cold contrast that’s absolutely divine.
Want something a little different? Try topping your pie with candied pecans, crushed gingersnaps, or even a swirl of mascarpone cheese for a luxurious finish. Whether simple or fancy, the right topping will enhance—not overpower—the flavor of your pie.
Storage and Reheating Tips
Pumpkin pie is a make-ahead marvel. Once cooled, cover it with plastic wrap or foil and store it in the refrigerator. It’ll stay fresh for up to 4 days. In fact, it often tastes even better the next day as the flavors have had time to blend and settle.
When it’s time to serve again, you can enjoy it cold or warm it gently. To reheat, place slices in a 300°F (150°C) oven for about 10-15 minutes. You can also microwave individual slices for about 30 seconds, though this may soften the crust slightly.
If you need to freeze your pie, wrap it tightly in plastic wrap and aluminum foil, then place it in a freezer-safe bag. It will keep for up to 2 months. Thaw in the refrigerator overnight before serving.
FAQs about Fresh Pumpkin Pie Recipe
1. Can I use canned pumpkin instead of fresh?
Yes, you can. Canned pumpkin is convenient and still makes a delicious pie. However, fresh pumpkin offers a richer, more nuanced flavor.
2. What type of pumpkin is best for pie?
Sugar pumpkins (also known as pie pumpkins) are ideal. They’re smaller, sweeter, and have a smoother texture than larger carving pumpkins.
3. Can I make the pie crust ahead of time?
Absolutely. You can prepare the dough up to 2 days in advance and store it in the fridge, or freeze it for longer storage.
4. How do I prevent my crust from getting soggy?
Blind baking your crust before adding the filling helps, as does using a thick, properly strained pumpkin puree.
5. Is pumpkin pie supposed to crack on top?
A small crack is normal, but large cracks mean it was likely overbaked. Reduce your baking time slightly and avoid overmixing the filling.
Conclusion
Making a fresh pumpkin pie from scratch isn’t just about baking—it’s about creating memories, slowing down, and enjoying something homemade and heartfelt. While it might seem like more work than opening a can, the reward is a pie that’s rich, flavorful, and uniquely yours.
From roasting your own pumpkin to crafting the perfect crust, every step is a chance to put love into your dessert. Whether you’re baking for a holiday, a family gathering, or just to satisfy a sweet craving, this pie will stand out and impress.
So go ahead—embrace the process. Light up your kitchen with the smell of cinnamon and nutmeg, and savor every bite of your homemade masterpiece.


