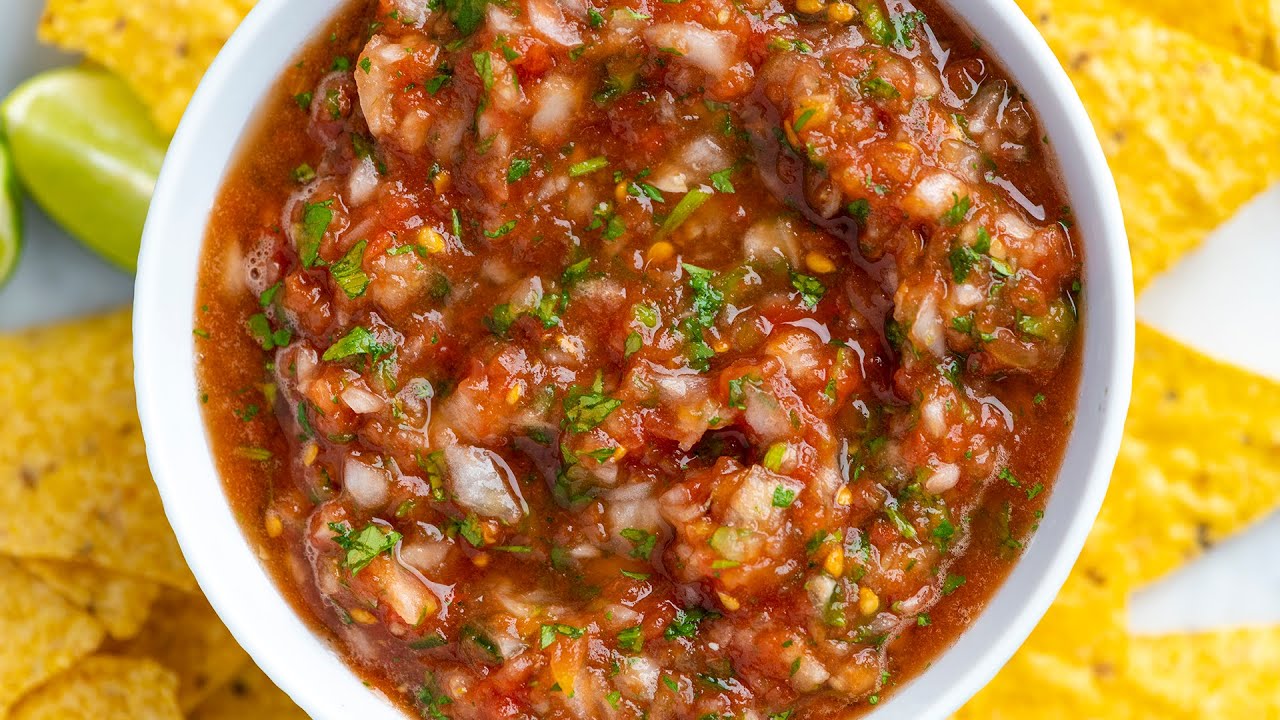
Zesty Salsa Recipe: There’s something magical about a bowl of fresh, zesty salsa. It’s bright. It’s bold. It wakes up your taste buds like a splash of cold water on a sleepy morning. If you’ve ever dipped a chip into freshly made salsa and thought, “Wow, this tastes alive,” you already understand the power of simple, fresh ingredients combined perfectly.
But what exactly makes salsa “zesty”? It’s all about balance — tangy lime juice, fresh herbs, vibrant tomatoes, and just the right kick of heat. When those flavors dance together, you get something unforgettable.
Homemade salsa beats store-bought every single time. Why? Because you control the freshness, the spice level, and the texture. No preservatives. No dull flavors. Just pure, vibrant goodness.
Today, you’re going to learn exactly how to make the perfect zesty salsa from scratch — step by step.
The Origins of Salsa
Salsa has deep roots in Mexican cuisine, dating back hundreds of years. The word “salsa” simply means “sauce” in Spanish. Traditional versions were made with tomatoes, chili peppers, and herbs ground together using stone tools.
Over time, salsa evolved. Different regions added their own twist — roasted ingredients, fruits like mango or pineapple, smoky chipotle peppers, or blended smooth restaurant-style versions.
What hasn’t changed? Salsa’s purpose. It’s meant to enhance food, add brightness, and bring everything together.
Types of Salsa
Before we dive into the recipe, let’s quickly explore different salsa styles.
Fresh Pico de Gallo
Chunky, raw, and refreshing. Everything is finely chopped and mixed without cooking.
Cooked Salsa Roja
Tomatoes and peppers are simmered or roasted before blending, giving deeper flavor.
Roasted Salsa
Ingredients are charred first. This adds smokiness and complexity.
Fruit-Based Salsa
Mango, pineapple, or peach can add sweetness to balance spicy elements.
For this recipe, we’re focusing on a classic fresh, zesty salsa that’s bold and vibrant.
Ingredients You’ll Need
Core Ingredients
- 4–5 ripe Roma tomatoes (finely chopped)
- 1 small red onion (finely diced)
- 1–2 jalapeño peppers (seeded and minced)
- 1 handful fresh cilantro (chopped)
- Juice of 1–2 fresh limes
- 1 small garlic clove (minced)
- ½ teaspoon salt (adjust to taste)
- ¼ teaspoon black pepper
Optional Add-Ins for Extra Flavor
- A pinch of sugar (if tomatoes aren’t sweet)
- 1 tablespoon olive oil
- 1 teaspoon apple cider vinegar
- Diced avocado
- Finely chopped green onions
Ingredient Substitutions
- No jalapeños? Use serrano peppers.
- No fresh lime? Lemon juice works.
- Not a cilantro fan? Try parsley (though flavor will differ).
Choosing the Best Ingredients
Great salsa starts at the market.
Selecting Ripe Tomatoes
Choose firm but slightly soft tomatoes. They should smell sweet and look vibrant red. Avoid watery or pale tomatoes — they dilute flavor.
Picking the Right Peppers
Jalapeños should be smooth and firm. Wrinkled peppers are older and less crisp.
Fresh Herbs Matter
Cilantro should be bright green with no yellowing.
The Importance of Acid
Fresh lime juice adds the zing. Bottled juice doesn’t give the same freshness.
Kitchen Tools Required
Essential Tools
- Sharp chef’s knife
- Cutting board
- Mixing bowl
- Citrus juicer
- Spoon
Optional Equipment
- Food processor (for smoother salsa)
- Fine strainer (if tomatoes are watery)
Simple tools. Big flavor.
Step-by-Step Guide to Making Zesty Salsa
Step 1 – Prepare the Ingredients
Start with fresh, ripe tomatoes, a small red onion, jalapeño or serrano pepper, fresh cilantro, garlic, and lime. Wash all produce thoroughly and pat dry to maintain freshness and texture.
Step 2 – Chop with Precision
Dice the tomatoes into small, even pieces. Finely chop the onion and mince the garlic. Remove the seeds from the pepper if you prefer milder heat, then chop it finely. Uniform chopping ensures balanced flavor in every bite.
Step 3 – Balance the Heat
Add the chopped pepper gradually. Taste as you go to control the spice level. For extra kick, include some of the pepper seeds; for milder salsa, use less pepper.
Step 4 – Add Fresh Herbs
Finely chop fresh cilantro and mix it into the salsa. Cilantro adds brightness and depth, giving the salsa its classic fresh flavor.
Step 5 – Squeeze in Fresh Lime
Squeeze fresh lime juice over the mixture. Lime adds acidity that enhances the tomatoes and balances the heat. Start with a small amount and adjust to taste.
Step 6 – Season to Perfection
Add salt and a pinch of black pepper. Stir gently to combine all ingredients evenly. Proper seasoning brings out the natural flavors of the vegetables.
Step 7 – Let It Rest
Allow the salsa to sit for at least 20–30 minutes in the refrigerator. Resting helps the flavors blend and develop fully.
Step 8 – Taste and Adjust
Before serving, taste the salsa. Adjust with more lime, salt, or pepper if needed. Serve fresh with chips, tacos, grilled meats, or as a topping for your favorite dishes.
Flavor Balancing Secrets
Great salsa is about balance.
Sweet vs. Acidic
If tomatoes are too tart, balance with a pinch of sugar.
Heat Control
Spice builds over time. Always start mild.
Texture Preferences
Chunky = rustic.
Blended = smooth restaurant style.
You decide.
Variations of Zesty Salsa
Smoky Salsa
Roast tomatoes and jalapeños before chopping.
Extra-Spicy Salsa
Add serrano peppers or chili flakes.
Sweet & Tangy Salsa
Add diced mango or pineapple.
Restaurant-Style Blended Salsa
Pulse ingredients in a food processor for smoother texture.
Storage and Shelf Life
Store salsa in an airtight container in the refrigerator.
Fresh salsa lasts 3–5 days.
Freezing is possible, but texture becomes softer after thawing.
If salsa smells sour or looks slimy, discard immediately.
Serving Suggestions
Salsa is incredibly versatile.
- Serve with tortilla chips
- Top tacos and burritos
- Spoon over grilled chicken or fish
- Add to scrambled eggs
- Use as a salad dressing base
It’s like a flavor amplifier for almost anything.
Nutritional Benefits
Salsa is low in calories but high in flavor.
- Rich in Vitamin C
- Contains antioxidants from tomatoes
- Supports digestion with fresh ingredients
It’s a guilt-free snack option.
Common Mistakes to Avoid
Overprocessing
Blending too long turns salsa into soup.
Overseasoning
Add salt gradually.
Using Unripe Ingredients
Unripe tomatoes = bland salsa.
Pro Tips for Perfect Salsa
- Let it rest overnight for best flavor.
- Use a sharp knife for clean cuts.
- Remove excess tomato seeds if watery.
- Always taste before serving.
FAQs about Zesty Salsa Recipe
1. Can I make salsa without cilantro?
Yes, you can skip cilantro if you prefer. While it adds a fresh, traditional flavor, the salsa will still taste great without it. If desired, you can substitute chopped parsley, though the overall flavor will be slightly different.
2. How do I make salsa less spicy?
To reduce heat, remove the seeds and white membranes from the chili peppers before chopping. You can also use less chili or choose a milder variety like jalapeño instead of serrano.
3. Why is my salsa watery?
Tomatoes naturally release juice after being chopped and salted. To prevent watery salsa, remove the tomato seeds before dicing or gently strain excess liquid before serving.
4. Can I use canned tomatoes?
Yes, canned tomatoes can be used, especially when fresh tomatoes are out of season. However, fresh tomatoes typically provide a brighter, more authentic flavor and better texture.
5. How long should salsa sit before serving?
Let the salsa rest for at least 30 minutes to allow the flavors to blend. For even deeper flavor, refrigerate it for 2–4 hours before serving.
Conclusion
Zesty salsa is simple, but it’s powerful. With just a handful of fresh ingredients, you can create something vibrant, bold, and unforgettable. The key lies in freshness, balance, and patience. Once you master the basics, you can experiment endlessly — more heat, more sweetness, smoother texture.
Homemade salsa isn’t just a dip. It’s an experience. And now, you know exactly how to make it perfectly every single time.