Tortilla Wraps Recipe: There’s something incredibly satisfying about making your own tortilla wraps from scratch. You know that soft, warm, slightly chewy wrap that holds your favorite fillings perfectly? Imagine pulling that straight from your own kitchen. Homemade tortilla wraps aren’t just about taste—they’re about control, freshness, and that unbeatable homemade touch.
Store-bought tortillas are convenient, sure. But if you’ve ever flipped the package over and read the ingredient list, you might have noticed a few unfamiliar additives. When you make them yourself, you keep things simple. Flour, water, fat, salt—that’s it. No preservatives, no mystery ingredients.
And here’s the best part: making tortilla wraps is much easier than you think. You don’t need fancy equipment or professional skills. If you can mix, knead, and roll dough, you’re already halfway there. Think of it like making flatbread with a purpose. Once you try homemade wraps, going back to packaged ones will feel like settling for less.
Whether you’re preparing burritos, wraps, quesadillas, or even quick sandwich alternatives, this step-by-step guide will walk you through everything you need to know. Let’s turn simple pantry staples into soft, pliable tortilla wraps that elevate every meal.
What Are Tortilla Wraps?
Tortilla wraps are soft, thin flatbreads traditionally associated with Mexican cuisine. While authentic corn tortillas are deeply rooted in Mexican culinary history, flour tortillas have become globally popular—especially for wraps and burritos.
Unlike bread that rises with yeast, tortilla wraps are unleavened. That means no waiting hours for dough to rise. Instead, they rely on proper kneading and resting to develop gluten, which gives them flexibility and structure. This elasticity is what allows you to fold and roll them without cracking.
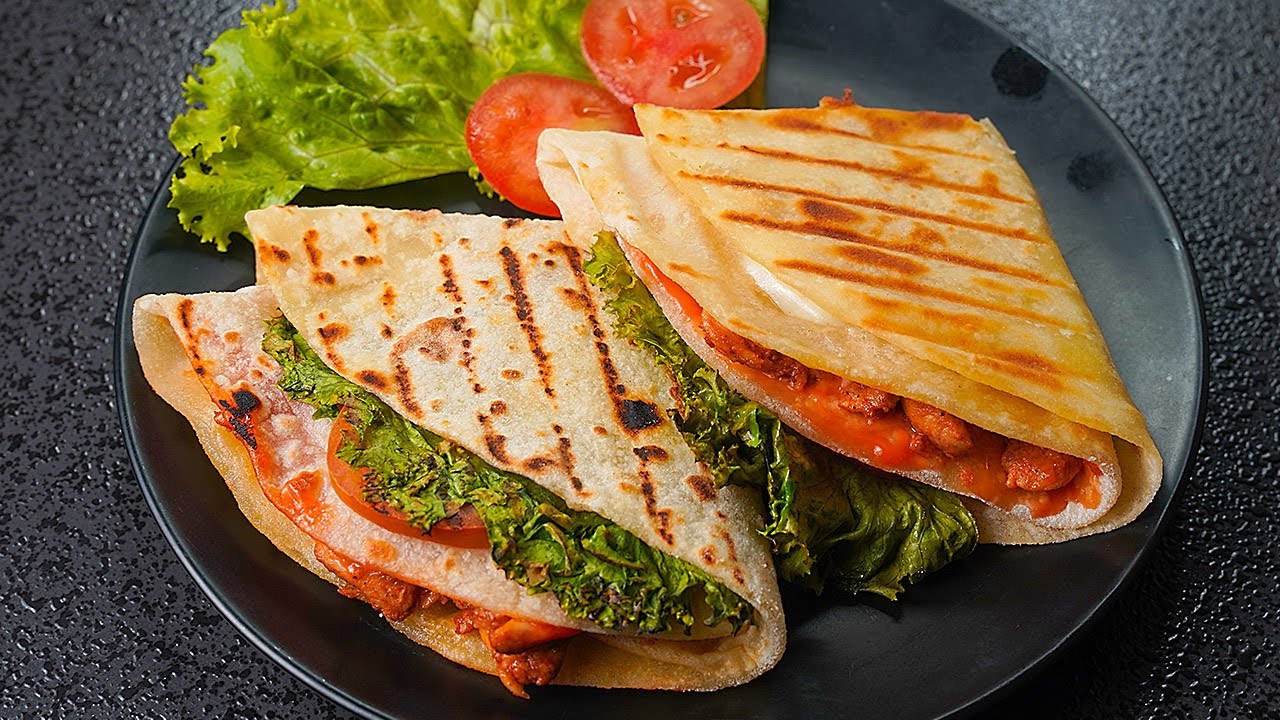
Think of tortilla wraps as the edible envelope of your meal. They hold grilled chicken, roasted vegetables, beans, cheese, sauces—you name it. Their neutral flavor makes them incredibly versatile. From breakfast wraps to dinner burritos, they adapt to whatever filling you choose.
Modern tortilla wraps have evolved beyond traditional recipes. Today, you’ll find spinach wraps, whole wheat wraps, gluten-free options, and even protein-enriched versions. But at the core, the classic flour tortilla remains simple and timeless.
Understanding what tortilla wraps are helps you appreciate why the method matters. The texture should be soft but sturdy. Thin but not fragile. Flexible yet structured. That balance comes from technique—and that’s exactly what this guide will teach you.
Why Make Tortilla Wraps at Home?
You might be wondering—why go through the effort when they’re available everywhere? The answer is simple: quality, flavor, and customization.
First, freshness. Homemade tortilla wraps taste fresher because they are fresher. Warm from the pan, they’re soft and aromatic in a way packaged tortillas can’t replicate. It’s like comparing fresh bakery bread to something that’s been sitting on a shelf for weeks.
Second, control. When you make your own wraps, you control:
- The type of flour
- The amount of salt
- The type of fat
- The thickness
- The size
Want whole wheat tortillas? Swap the flour. Prefer olive oil instead of vegetable oil? Done. Need them extra large for burritos? Just roll them bigger.
Third, cost-effectiveness. Flour tortillas require basic pantry ingredients. Flour, water, oil, salt—nothing fancy. Making a batch at home often costs less than buying premium packaged wraps.
And finally, the experience. There’s something grounding about kneading dough and watching it transform. Cooking tortillas is interactive—you see bubbles form, you flip them, they puff slightly. It feels alive.
Homemade tortilla wraps aren’t just food. They’re craftsmanship made simple.
Ingredients You’ll Need
Essential Ingredients
To make classic flour tortilla wraps, you only need four simple ingredients:
- 3 cups all-purpose flour
- 1 teaspoon salt
- 1/3 cup vegetable oil (or melted butter)
- 1 cup warm water
That’s it. No yeast. No baking powder required for traditional soft wraps (though some variations use it).
All-purpose flour works perfectly because it provides enough gluten to make the wraps flexible. Salt enhances flavor—it may seem small, but skipping it makes a noticeable difference.
The fat—whether oil, butter, or even lard—adds softness and prevents dryness. It also contributes to that subtle richness you taste in every bite.
Warm water helps hydrate the flour and activates gluten development. It should be warm, not boiling—think comfortable bathwater temperature.
Optional Add-Ins for Flavor
Want to elevate your tortilla wraps? Try adding:
- Garlic powder
- Dried herbs
- Spinach puree
- Whole wheat flour (replace 50%)
- A pinch of paprika
These additions can transform basic wraps into flavored variations perfect for specific meals.
The beauty of tortilla wraps lies in their simplicity. Four ingredients come together to create something versatile and dependable—like a blank canvas ready for your culinary creativity.
Kitchen Tools Required
You don’t need a professional kitchen to make tortilla wraps. Basic tools will do the job perfectly.
Here’s what you’ll need:
- Large mixing bowl
- Wooden spoon or spatula
- Clean countertop or kneading surface
- Rolling pin
- Non-stick skillet or cast-iron pan
- Clean kitchen towel
A rolling pin helps achieve even thickness, but if you don’t have one, a clean glass bottle works surprisingly well.
A heavy skillet ensures even cooking. Cast iron is ideal because it retains heat consistently. However, a non-stick pan works just fine for beginners.
The clean towel plays a crucial role. Once tortillas are cooked, covering them keeps steam trapped, making them soft and pliable.
Simple tools. Powerful results.
Understanding the Role of Each Ingredient
Flour
Flour forms the structure of your tortilla wraps. It contains gluten proteins that develop when mixed with water and kneaded. This gluten network gives tortillas elasticity, allowing them to stretch without tearing.
All-purpose flour strikes the perfect balance. Bread flour can make wraps too chewy, while cake flour lacks strength. If you want healthier options, mixing whole wheat flour adds fiber—but expect slightly denser wraps.
Think of flour as the backbone of your tortilla. Without strong structure, everything falls apart.
Fat (Oil or Butter)
Fat is what makes tortilla wraps soft instead of dry and brittle. It coats flour particles, limiting excessive gluten formation and adding tenderness.
Oil keeps the texture light and neutral. Butter adds richness and flavor. Traditional recipes sometimes use lard for extra authenticity and softness.
If you’ve ever had tortillas crack when folding, it’s often due to insufficient fat or overcooking. Fat equals flexibility.
Water
Water brings everything together. It hydrates flour, activates gluten, and creates dough consistency.
Warm water helps ingredients combine smoothly. Too little water results in crumbly dough. Too much makes it sticky and hard to roll.
The goal? Soft, slightly tacky dough that’s smooth after kneading.
Salt
Salt enhances flavor and slightly strengthens gluten structure. It’s a small ingredient with a big impact. Without salt, tortillas taste flat and bland.
Even simple recipes rely on proper seasoning. Salt transforms basic into delicious.
Step-by-Step Guide to Making Tortilla Wraps
Step 1: Mixing the Dry Ingredients
In a large bowl, combine flour and salt. Mix well so the salt is evenly distributed. This simple base ensures consistent flavor throughout the tortillas.
Step 2: Adding Fat and Water
Add oil, melted butter, or shortening to the dry ingredients. Gradually pour in warm water while mixing with your hand or a spoon until a soft dough forms. The dough should be pliable, not sticky.
Step 3: Kneading the Dough
Transfer the dough to a lightly floured surface. Knead for about 5–7 minutes until smooth and elastic. Proper kneading helps create flexible tortillas that won’t tear easily.
Step 4: Resting the Dough
Cover the dough with a clean cloth or plastic wrap and let it rest for 20–30 minutes. Resting relaxes the gluten, making the dough easier to roll thin.
Step 5: Dividing and Rolling
Divide the dough into equal-sized balls. On a floured surface, roll each ball into a thin, round circle. Aim for even thickness for uniform cooking.
Step 6: Cooking the Tortillas
Heat a dry skillet or pan over medium-high heat. Cook each tortilla for 30–60 seconds per side until light brown spots appear. Remove and keep warm in a cloth while cooking the rest. Serve fresh and warm.
Common Mistakes to Avoid
Even simple recipes can go wrong. Here are mistakes to watch out for:
- Skipping the resting time
- Using too much flour while rolling
- Overcooking in the pan
- Making tortillas too thick
- Not covering cooked tortillas
Too much flour during rolling can make wraps dry. Overcooking removes moisture, making them brittle.
If your tortillas crack when folded, they were either too dry or too thick.
Cooking is about balance. Pay attention to heat, timing, and texture.
Tips for Soft and Flexible Tortillas
Want ultra-soft tortilla wraps? Follow these tips:
- Use warm water, not cold.
- Don’t skip kneading.
- Let the dough rest fully.
- Cook on medium-high heat quickly.
- Cover immediately after cooking.
Moisture retention is key. Steam is your best friend. Keep tortillas covered to maintain flexibility.
Soft tortillas are like fabric—they should bend without breaking.
How to Store Tortilla Wraps
Allow tortillas to cool completely before storing. Stack them and place in an airtight container or zip-top bag.
They last:
- 2–3 days at room temperature
- Up to 1 week in the refrigerator
Keep them sealed to prevent drying.
Before using refrigerated wraps, warm them slightly in a pan or microwave wrapped in a damp paper towel. This restores softness.
How to Freeze and Reheat
Tortilla wraps freeze beautifully.
Place parchment paper between each tortilla and seal in a freezer bag. Freeze up to 3 months.
To reheat:
- Thaw at room temperature
- Heat in skillet for 20 seconds per side
- Or microwave with a damp towel
They taste nearly as fresh as the day you made them.
Healthy Variations of Tortilla Wraps
Looking to make them healthier? Try these swaps:
- Replace half flour with whole wheat flour
- Use olive oil instead of vegetable oil
- Add flaxseed or chia seeds
- Make spinach puree wraps
Whole wheat adds fiber but may require slightly more water.
Healthy doesn’t mean sacrificing flavor—it means adjusting smartly.
Serving Ideas for Tortilla Wraps
Tortilla wraps are incredibly versatile.
Use them for:
- Chicken or veggie wraps
- Breakfast burritos
- Quesadillas
- Taco wraps
- Pizza wraps
- Sweet dessert wraps with Nutella and fruit
They’re like blank canvases waiting for creativity.
From quick lunches to dinner party meals, homemade tortilla wraps elevate everything.
Nutritional Information
Approximate per wrap (based on 8 wraps):
| Nutrient | Amount |
|---|---|
| Calories | 180 |
| Carbohydrates | 24g |
| Protein | 4g |
| Fat | 7g |
| Fiber | 1g |
Values vary depending on ingredients used.
FAQs about Tortilla Wraps Recipe
1. Why are my tortillas hard instead of soft?
Tortillas usually turn hard if they’re overcooked or left uncovered after cooking. Cook just until light brown spots appear, then stack and cover them with a clean cloth to retain moisture.
2. Can I use whole wheat flour only?
Yes, you can use only whole wheat flour. However, the tortillas may be denser. Adding a little extra water helps improve softness and flexibility.
3. Do I need baking powder?
Baking powder isn’t required for traditional tortilla wraps. Some recipes include it for slight puffiness, but classic tortillas rely on simple ingredients.
4. How thin should I roll them?
Roll the dough thin enough that light can pass through without tearing. Even thinness ensures soft, evenly cooked tortillas.
5. Can I make the dough ahead of time?
Yes. Wrap the dough tightly and store it in the refrigerator for up to 24 hours. Let it come to room temperature before rolling for best results.
Conclusion
Making tortilla wraps at home is simple, rewarding, and far more delicious than store-bought versions. With just four basic ingredients and a little technique, you can create soft, flexible wraps that elevate every meal.
The key lies in kneading properly, resting the dough, rolling thinly, and cooking quickly. Master these steps, and you’ll never look at packaged tortillas the same way again.
Once you experience the warmth of freshly cooked tortilla wraps, you’ll realize—it’s not just about food. It’s about crafting something from scratch with your own hands.