Swiss Buttercream Recipe: Swiss buttercream is the silky, smooth frosting that professional bakers swear by. Unlike American buttercream, which can sometimes taste overly sweet or gritty, Swiss buttercream offers a luxurious texture and a lighter sweetness that allows your cake flavors to shine. Think of it as the elegant cousin of the buttercream world—it’s smooth, sophisticated, and melts beautifully on your tongue.
So what exactly makes it special? The magic lies in how it’s made. You gently heat egg whites with sugar until dissolved, then whip it into a glossy meringue before blending in butter. The result? A light, fluffy frosting that’s stable, less sugary, and perfect for piping or smoothing over cakes. If you’ve ever admired those perfectly frosted wedding cakes, chances are they were dressed in Swiss buttercream.
Ingredients You’ll Need
Let’s start with the essentials. Here’s everything you need to whip up a perfect batch of Swiss buttercream:
Core Ingredients
- Egg Whites (from 5 large eggs) – Provides structure and volume. Fresh or carton egg whites can work, but fresh gives better results.
- Granulated Sugar (1 1/4 cups or 250g) – Sweetens and stabilizes the meringue.
- Unsalted Butter (1 1/2 cups or 340g, room temperature) – Adds richness and the creamy texture you crave.
- Salt (a pinch) – Balances out the sweetness and enhances flavor.
- Vanilla Extract (2 tsp) – Classic flavor, but can be swapped or combined with other extracts.
Optional Add-ins for Flavor Variations
- Melted chocolate or cocoa powder – For chocolate lovers.
- Espresso powder – Turns it into a coffee-lover’s dream.
- Fruit puree – Strawberry, raspberry, or mango for fruity twists.
- Almond or peppermint extract – For seasonal or nutty variations.
You’ll be amazed at how these simple ingredients transform into a bakery-worthy frosting.
Essential Tools & Equipment
Before you start, make sure your kitchen is equipped with the right tools. Swiss buttercream doesn’t require anything fancy, but using the proper equipment will make your life easier.
Must-Have Kitchen Tools
- Stand Mixer (or hand mixer with whisk attachment) – Crucial for whipping the meringue and combining butter.
- Metal or Glass Mixing Bowl – Avoid plastic, which can retain grease and affect the meringue.
- Saucepan – For your double boiler setup.
- Instant-read Thermometer – To ensure the egg whites reach a safe temperature (160°F or 71°C).
- Rubber Spatula – For folding and scraping down the bowl.
Tips for Choosing the Right Mixer
A stand mixer is your best friend here. It allows you to multitask while the meringue whips to perfection. A good mixer with a whisk attachment will save you arm fatigue and give you better consistency.
Preparing for the Process
Success with Swiss buttercream starts before you even crack an egg. Prepping properly can be the difference between a dreamy cloud-like frosting and a sad, separated mess.
Room Temperature Matters
Your butter must be soft but not melted—think spreadable, like the consistency of thick lotion. If it’s too cold, it won’t incorporate properly; too warm, and the frosting can become greasy or soupy.
Egg whites should be fresh and at room temperature as well. They whip up better and more stable when not straight from the fridge.
Cleaning Your Tools Properly
Meringue hates grease. Even the tiniest bit of fat can ruin your peaks. Make sure your bowl and whisk are squeaky clean. Wipe them down with a bit of lemon juice or vinegar to remove any residual oils.
Step-by-Step Guide to Making Swiss Buttercream
Here’s where the magic happens. Follow these steps closely and you’ll have a perfectly fluffy, glossy, and stable Swiss buttercream.
Step 1: Separate and Measure Ingredients
Start by separating your egg whites. Make sure no yolk sneaks in—fat from the yolk can stop your whites from whipping. Measure out your sugar and butter ahead of time, and set the butter aside to soften.
Step 2: Create the Egg White & Sugar Mixture
In a heatproof bowl (metal or glass), combine the egg whites and granulated sugar. Place the bowl over a saucepan of simmering water, creating a double boiler. The water shouldn’t touch the bottom of the bowl.
Stir constantly as the mixture heats. Your goal is to dissolve all the sugar. Rub a little between your fingers—if it feels gritty, keep stirring.
Step 3: Whisking to the Right Temperature
Use your thermometer to monitor the mixture. You’re aiming for 160°F (71°C)—this ensures it’s safe to eat and helps the meringue set up properly.
Once it hits temp, remove it from heat. You’re ready to whip!
Step 4: Beating to Stiff Peaks
Transfer the bowl to your stand mixer with the whisk attachment. Start on medium-high speed. After about 5–10 minutes, you should have a glossy, stiff-peaked meringue that’s cool to the touch.
If it’s still warm, wait before adding butter—it can melt and ruin the texture.
Step 5: Cooling the Meringue
This step is often overlooked but critical. If your meringue isn’t completely cool, your butter will melt and the buttercream will become a soupy mess. Keep whisking until the bowl feels neutral to the touch.
Step 6: Adding the Butter Gradually
Start adding butter one tablespoon at a time with the mixer on medium speed. At some point, it may look curdled—don’t panic! Keep going.
As you continue to beat it, the mixture will smooth out like magic.
Step 7: Mixing Until Smooth and Fluffy
Once all the butter is in, turn up the mixer to high and whip until your buttercream is light, silky, and holds soft peaks. This may take 5–10 more minutes. Scrape down the bowl occasionally for even mixing.
Step 8: Flavoring the Buttercream
Now’s the fun part—add your vanilla extract or any other flavors. Mix until well incorporated. You can even divide the buttercream into batches and flavor each one differently.
Common Mistakes & How to Fix Them
Even with the best instructions, things can go sideways. But don’t worry—Swiss buttercream is more forgiving than you think. Let’s look at a few common problems and how to fix them like a pro.
What to Do if It Curdles
It can be terrifying to see your once-smooth buttercream look like cottage cheese. But here’s the deal: curdling is normal. It usually means your butter was a bit too cold or added too quickly. Keep whipping! More often than not, it will magically come together after a few more minutes of mixing. Still stuck? Warm the bowl slightly with a hair dryer on the outside or over a double boiler for a few seconds, then continue whipping.
What If It’s Too Runny?
This usually happens when:
- The butter was too soft.
- The meringue was still warm when you added the butter.
- Your kitchen is hot.
Don’t panic. Chill the bowl in the refrigerator for 10–15 minutes. Then, whip it again. The cooler temperature should help firm things up and restore structure.
Saving Separated Buttercream
If it’s completely separated (looks oily or broken), try this:
- Take out a few spoonfuls of the mixture.
- Heat them slightly in the microwave or over the stove until warm but not hot.
- Slowly beat that back into the rest of the buttercream.
It’s a weird trick, but it works wonders in pulling everything back together.
Storage and Make-Ahead Tips
Swiss buttercream is a dream to make ahead. You can store it, freeze it, and rewhip it without losing its texture or flavor.
How to Store in Fridge or Freezer
- Fridge: Store in an airtight container for up to 1 week. Before using, let it come to room temperature and rewhip until fluffy.
- Freezer: It freezes like a champ. Store it in a zip-top bag or container for up to 3 months. Thaw overnight in the fridge, then bring to room temperature and rewhip.
How to Rewhip Before Using
Once thawed or brought to room temp, beat the buttercream on medium-high speed until it becomes smooth again. Don’t skip this step—it brings the texture back to life.
Serving Suggestions
Swiss buttercream doesn’t just look pretty—it elevates your desserts to a whole new level.
Best Cakes & Cupcakes to Pair With
- Vanilla sponge cakes – Let the buttery flavor shine.
- Chocolate cake – Cuts through the richness without overpowering it.
- Carrot cake – Adds creaminess without the tang of cream cheese.
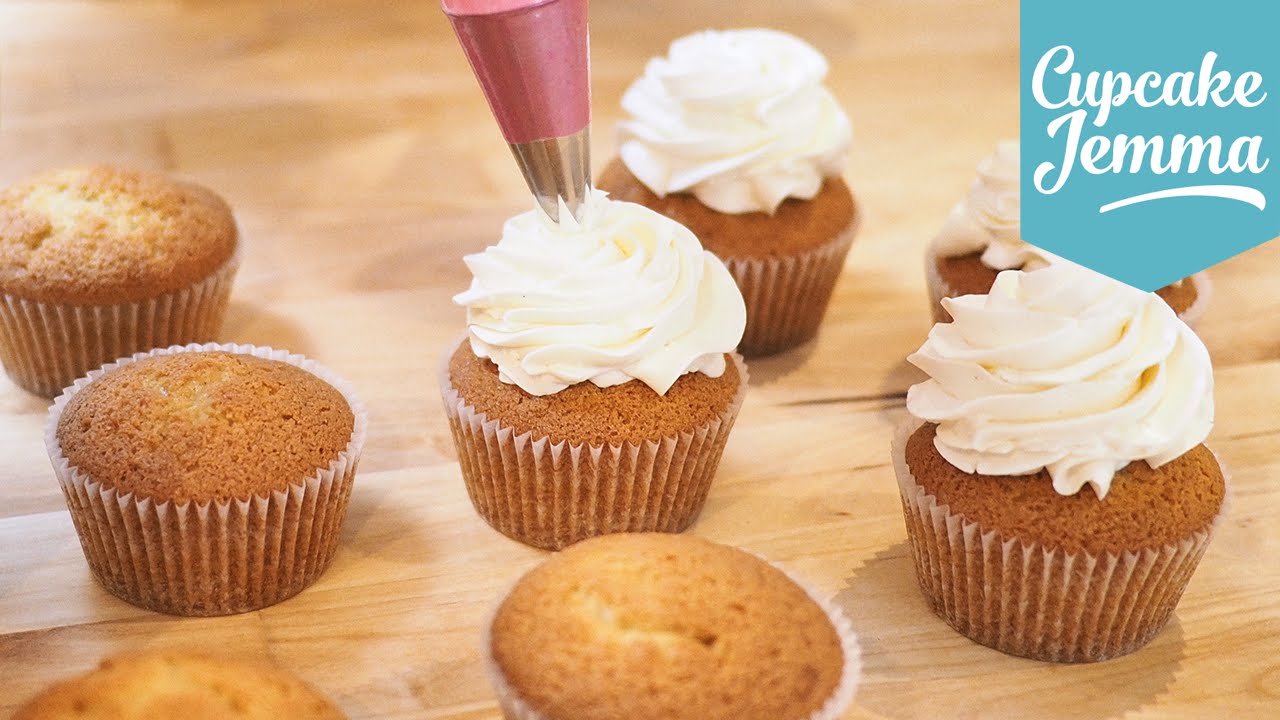
- Cupcakes – Piped Swiss buttercream gives bakery-style flair.
- Layer cakes – Its stability makes it perfect for stacking and decorating.
Decorating Tips
- Use a piping bag fitted with a star or round tip for swirls.
- Add food coloring for a custom look.
- Smooth it with an offset spatula for a sleek, professional finish.
Flavor Variations You’ll Love
Once you master the base, the possibilities are endless. Here are a few crowd-pleasing twists on classic Swiss buttercream.
Chocolate Swiss Buttercream
- Add melted semi-sweet or dark chocolate (cooled) once the buttercream is fully made.
- Or mix in unsweetened cocoa powder for a lighter chocolate flavor.
- Start with ½ cup and adjust to taste.
Coffee Swiss Buttercream
- Dissolve 1–2 tsp of espresso powder in 1 tbsp hot water.
- Let it cool, then mix into the finished buttercream.
- This pairs beautifully with chocolate cake or mocha cupcakes.
Strawberry and Fruity Twists
- Blend fresh or freeze-dried strawberries into a puree.
- Strain out seeds and add to taste (start with ¼ cup).
- Works with other fruits like raspberry, mango, or blueberry.
Pro Tip: Use fruit pastes or freeze-dried fruit powders for maximum flavor without watering down the frosting.
Why Swiss Buttercream is Worth the Effort
Sure, it takes a few more steps than the dump-and-mix style of American buttercream—but the payoff? Totally worth it.
Swiss buttercream is:
- Silky smooth, never gritty.
- Less sweet, so it complements—not overpowers—your bakes.
- More stable, making it perfect for tiered cakes and fancy piping.
- Freezable and flexible, with endless flavor options.
If you’re serious about leveling up your cake game, this is the buttercream to learn. It’s the frosting that says, “Yeah, I bake like a pro.”
FAQs about Swiss Buttercream Recipe
Can I Make It Without a Thermometer?
Technically, yes. If you rub the egg white-sugar mixture between your fingers and don’t feel any graininess, you’re probably safe. But a thermometer guarantees you’re hitting the right temp for safety and consistency. It’s worth the small investment.
Is It Safe to Eat Raw Eggs in This?
The eggs are not raw. Heating the egg whites to 160°F (71°C) over the double boiler makes them safe to eat according to food safety guidelines.
How Long Can It Sit Out?
It’s okay at room temperature for up to 6 hours—perfect for events or cake decorating. After that, pop it in the fridge.
Can I Use Salted Butter Instead of Unsalted?
Technically yes, but it can mess with the flavor balance. Use unsalted so you can control the salt content yourself.
Why Is My Buttercream Too Yellow?
Butter color varies by brand and diet of the cows. If the yellow tint bothers you, try using a whiter butter or beat in a tiny bit of violet food coloring to neutralize it.
Conclusion
Swiss buttercream may sound fancy, but once you’ve made it a couple of times, you’ll wonder how you ever lived without it. It’s smooth, not too sweet, and crazy versatile. Whether you’re baking a wedding cake, cupcakes for a birthday, or just want to impress your friends on a Sunday afternoon—this is the frosting that gets people asking, “Where did you buy this?”
Take your time, follow the steps, and don’t be afraid to mess up—it’s a forgiving recipe. With a bit of practice, you’ll master the silky swirl and transform every dessert into a showstopper.