Simple Chocolate Cake Recipe: Who doesn’t love a slice of rich, moist chocolate cake? Whether you’re baking for a birthday, a special occasion, or just treating yourself, a simple chocolate cake recipe is something everyone should have in their back pocket. This guide breaks it all down into manageable steps so that even first-time bakers can feel confident and successful in the kitchen.
There’s something comforting about a homemade chocolate cake. It’s more than just a dessert—it’s a symbol of celebration and joy. And with the right method and ingredients, making one from scratch is easier than you think. So, let’s dive in and bake the perfect chocolate cake step by step!
Ingredients Needed
To make a simple chocolate cake, you don’t need fancy ingredients. Most of what you need is probably already in your pantry.
Dry Ingredients
- 1¾ cups (220g) all-purpose flour
- ¾ cup (65g) unsweetened cocoa powder
- 2 cups (400g) granulated sugar
- 1½ teaspoons baking powder
- 1½ teaspoons baking soda
- 1 teaspoon salt
These ingredients form the base of your cake. The flour provides structure, the cocoa adds flavor, and the baking powder and soda help the cake rise. Salt might seem small, but it enhances the chocolate flavor beautifully.
Wet Ingredients
- 2 large eggs
- 1 cup (240ml) whole milk
- ½ cup (120ml) vegetable oil
- 2 teaspoons vanilla extract
- 1 cup (240ml) boiling water
The eggs, milk, and oil create a moist, tender crumb. Vanilla adds a depth of flavor, and the boiling water helps “bloom” the cocoa for a richer taste and smoother batter.
Optional Add-ins
- ½ cup mini chocolate chips for extra chocolaty bites
- A teaspoon of espresso powder to enhance the chocolate flavor
- A pinch of cinnamon for a subtle warmth
These extras aren’t necessary, but they can elevate your cake to something truly memorable.
Tools You’ll Need
You won’t need a professional bakery setup—just a few essential tools:
- Two 9-inch round cake pans or one 9×13-inch pan
- Mixing bowls (one large, one medium)
- Whisk or electric hand mixer
- Measuring cups and spoons
- Rubber spatula
- Cooling rack
- Toothpick or cake tester
Having everything on hand before you start will save time and prevent frustration later. Let’s get baking!
Preparing Your Baking Space
Before diving into mixing and baking, it’s important to prep your space. Trust me, this makes everything smoother.
Start by gathering all your ingredients and tools. Measure everything in advance and place them within reach. Next, grease your cake pans and line the bottoms with parchment paper for easy removal.
Then, preheat your oven to 350°F (175°C). This ensures your cake goes into a hot oven, giving it the right environment to rise properly. If your oven takes a while to preheat, do this step first.
Also, double-check that your rack is in the center of the oven—this helps your cake bake evenly. A little prep work now means a flawless cake later.
How to Make Simple Chocolate Cake – Step-by-Step Instructions
Let’s break it down into bite-sized steps. Follow these carefully and you’ll have a dreamy chocolate cake in no time.
Step 1: Mixing Dry Ingredients
In a large mixing bowl, sift together the flour, cocoa powder, sugar, baking powder, baking soda, and salt. Whisk them until evenly combined. This step not only removes lumps but also ensures everything is well distributed.
Sifting the cocoa is especially important—it tends to clump, and nobody wants a surprise pocket of dry cocoa in their cake. Uniformity is key here for an even bake and balanced flavor.
Step 2: Mixing Wet Ingredients
In a separate medium bowl, crack in the eggs, pour in the milk, add the vegetable oil, and drizzle in the vanilla extract. Use a whisk or electric hand mixer to blend these ingredients until they’re smooth and fully combined.
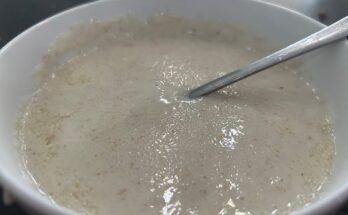
The magic happens when you add boiling water. It might seem odd, but boiling water helps to bloom the cocoa powder, unlocking a deeper, richer chocolate flavor. Slowly pour the hot water into the wet mixture while stirring constantly. Don’t rush—go gradually to avoid scrambling the eggs or splashing the mixture.
By now, the batter will be quite thin—don’t worry, that’s exactly what we want. A thinner batter bakes into a moist, tender cake with that signature melt-in-your-mouth texture. This step might feel messy, but trust the process. Chocolatey goodness is coming your way.
Step 3: Combining Wet and Dry Mixtures
Now it’s time to bring it all together. Slowly pour the wet mixture into the bowl of dry ingredients. As you mix, start from the center and work your way out in circles, gradually incorporating all the flour. Use a whisk or electric mixer on low speed if you prefer less elbow grease.
This part is important: don’t overmix. Mix just until the last bit of flour disappears. Overmixing can lead to a dense, chewy cake—definitely not what we’re going for here. The batter should be smooth, glossy, and pourable with no streaks of flour left.
If you’re using chocolate chips or other add-ins, now’s the time to gently fold them in with a spatula. A few strokes are all you need. You’re officially ready to bake!
Step 4: Pouring and Leveling the Batter
Grab your prepared cake pans and evenly divide the batter between them. If you’re using a single 9×13-inch pan, just pour it all in and use a spatula to spread it evenly.
Gently tap the pans on your counter to pop any air bubbles hiding in the batter. This helps the cake bake evenly and prevents large holes from forming inside. If needed, use a spatula to smooth the tops—though don’t stress too much. The batter will level out beautifully in the oven.
Now pause for a second. Smell that? That deep cocoa aroma is just a preview of what’s to come.
Step 5: Baking the Cake
Place your pans in the center rack of the preheated oven. Set your timer—30 to 35 minutes for round pans, 35 to 40 minutes for a 9×13-inch pan.
Avoid the temptation to open the oven door too early. Heat loss can cause your cake to sink. Let it do its thing undisturbed for at least 25 minutes before checking.
Once your timer goes off, check for doneness using the toothpick test. Insert a toothpick or skewer into the center of the cake. If it comes out clean or with just a few crumbs, your cake is done. If you see wet batter, give it another 5 minutes and test again.
The top should be slightly domed and spring back when lightly pressed. Your kitchen should be filled with a warm, chocolatey aroma that’s pretty much irresistible.
Take a deep breath—you’ve just baked a chocolate cake from scratch. But we’re not done yet!
How to Check If Your Cake is Done
There’s nothing worse than cutting into your cake only to find it undercooked. That’s why the toothpick test is your best friend.
Stick a toothpick right into the center of the cake. If it comes out clean or with a few dry crumbs, you’re good to go. If it’s wet or sticky, bake for a few more minutes and check again.
You can also lightly press the center of the cake with your fingertip. If it springs back instead of leaving an indentation, that’s another sign it’s fully baked.
Be careful not to overbake—it can dry out your beautiful creation. It’s better to check a minute early than a minute too late.
Cooling and Removing from Pan
Once your cake is baked, take it out of the oven and place it on a cooling rack. Let it sit in the pan for about 10–15 minutes. This short rest helps it firm up slightly and reduces the risk of it breaking when removed.
To remove the cake from the pan, run a butter knife gently around the edges to loosen it. Place a plate or another cooling rack on top, flip it over, and tap gently until the cake releases. Peel off the parchment paper if used.
Let your cake cool completely before frosting. If it’s still warm, the frosting will melt and slide off. Patience is tough, especially with that chocolaty smell wafting around, but it’ll be worth it.
Easy Chocolate Frosting Recipe
Ready to take your cake to the next level? This chocolate frosting is silky, rich, and super easy to whip up.
Ingredients:
- ½ cup (115g) unsalted butter, softened
- ⅔ cup (55g) unsweetened cocoa powder
- 3 cups (360g) powdered sugar
- ⅓ cup (80ml) milk
- 1 teaspoon vanilla extract
- A pinch of salt
Instructions:
- Beat the butter until creamy.
- Mix in the cocoa powder.
- Alternately add powdered sugar and milk, mixing until smooth.
- Add vanilla and salt; beat until fluffy.
You can adjust the thickness by adding more milk or sugar. This frosting spreads like a dream and adds a velvety finish to your cake.
Frosting and Decorating Tips
Once your cake is fully cooled, spread a generous layer of frosting on the first layer. If you’re making a two-layer cake, place the second layer gently on top, and cover the whole cake with more frosting.
Use an offset spatula or a butter knife to smooth the surface and edges. Want a rustic look? Make swooshes and swirls with the back of a spoon. Feel like being fancy? Add sprinkles, shaved chocolate, or fresh berries.
This is your cake—decorate it your way!
Storage Tips
After putting so much effort into your cake, the last thing you want is for it to dry out or go bad too soon. Fortunately, chocolate cake stores quite well if handled right.
Room Temperature:
If you plan to eat the cake within 1-2 days, just keep it covered at room temperature. A cake dome, an airtight container, or even plastic wrap will keep it moist and fresh. Make sure the room isn’t too warm—chocolate frosting can melt or get sticky.
Refrigeration:
For longer storage (up to 5 days), refrigerate the cake. Wrap it well in plastic wrap or foil and store it in an airtight container. Before serving, let it sit at room temperature for 30 minutes to soften the frosting and bring out its flavor.
Freezing:
Want to save cake for later? Freeze it! You can freeze the whole cake or individual slices. Wrap in plastic wrap, then foil, and place in a zip-top freezer bag. It’ll stay good for up to 3 months. When ready to eat, thaw overnight in the fridge or on the counter for a few hours.
Pro tip: Freeze unfrosted cake layers and frost them after thawing for that just-baked freshness.
Common Mistakes to Avoid
Even a simple recipe can go sideways if you’re not careful. Here are a few common mistakes that can mess up your chocolate cake—and how to dodge them:
Overmixing the Batter
Too much mixing = too much gluten = tough, dense cake. Stir just until everything is combined.
Using Cold Ingredients
Cold eggs or milk can mess with the texture. Let your ingredients come to room temperature for smoother blending.
Incorrect Measurements
Baking is science, folks. Always measure your ingredients accurately—especially flour and cocoa. Spoon flour into your measuring cup and level it off with a knife for best results.
Not Prepping the Pan Right
A cake that sticks is a heartbreaker. Grease your pan and line it with parchment paper for easy release.
Overbaking
Set a timer and check your cake early. An overbaked cake is dry and crumbly, not rich and moist.
By keeping these tips in mind, your cake will come out perfect every time.
Variations You Can Try
The beauty of this chocolate cake recipe is its versatility. Want to mix things up? Here are some fun and easy ways to switch it up:
- Gluten-Free Version: Use a 1:1 gluten-free flour blend. Make sure it includes xanthan gum for texture.
- Eggless Option: Substitute each egg with ¼ cup of unsweetened applesauce or yogurt.
- Vegan Twist: Use plant-based milk (like almond or oat), replace eggs with flaxseed meal (1 tbsp flaxseed + 3 tbsp water per egg), and use vegan butter or coconut oil.
- Mocha Cake: Add 1 teaspoon of espresso powder to the batter for a coffee-infused kick.
- Orange Chocolate Cake: Mix in 1 tablespoon of orange zest to the batter and frosting for a citrusy zing.
- Nutty Delight: Add chopped walnuts, almonds, or hazelnuts for crunch.
These small changes can give your cake a whole new personality without compromising its easy, homemade charm.
FAQs about Simple Chocolate Cake Recipe
1. What are the essential ingredients for a simple chocolate cake?
To whip up a simple chocolate cake, you’ll need basic ingredients such as all-purpose flour, granulated sugar, unsweetened cocoa powder, baking powder, baking soda, salt, eggs, milk, vegetable oil, and vanilla extract. Don’t forget the boiling water — it enhances the chocolate flavor!
2. Can I make this cake without eggs?
Absolutely! To make your chocolate cake egg-free, you can use substitutes like applesauce, mashed bananas, or commercial egg replacers. Each substitute brings a slightly different flavor and texture, so you might want to experiment to see which you prefer.
3. How do I ensure my chocolate cake is moist?
The key to a moist chocolate cake lies in not overbaking it and using the right amount of wet ingredients. Make sure to measure your ingredients accurately and keep an eye on the cake towards the end of baking time. A simple trick is to use hot water in the batter, as it helps the cocoa bloom and enhances moisture.
4. What frosting pairs well with a simple chocolate cake?
A classic choice is chocolate buttercream frosting, but you can also try vanilla, cream cheese, or even a peanut butter frosting for a delightful twist. If you’re in a rush, a dusting of powdered sugar or a drizzle of chocolate ganache can also do the trick.
5. How long does it take to bake a simple chocolate cake?
Typically, a simple chocolate cake takes about 30 to 35 minutes to bake at 350°F (177°C). However, the exact time can vary depending on your oven and the size of your cake pan, so it’s a good idea to start checking a few minutes before the timer goes off.
6. Can this cake be made vegan?
Yes, making a vegan chocolate cake is straightforward. Replace the dairy milk with a plant-based alternative like almond or oat milk, use vegan chocolate, and opt for a vegan butter or oil. Make sure to check that your sugar and cocoa powder are vegan too!
7. How should I store leftover chocolate cake?
Leftover chocolate cake can be stored in an airtight container at room temperature for up to three days. For longer storage, you can refrigerate it for up to a week or freeze it for up to three months. Just make sure to wrap it well to maintain its flavor and moisture.
Final Thoughts
There you have it—your complete guide to making a simple yet absolutely delicious chocolate cake from scratch. Whether it’s your first time baking or you’re just looking for a reliable go-to recipe, this one hits the sweet spot every time.
Remember, baking is as much about the process as it is about the result. So enjoy the aroma, get your hands a little dirty, and don’t stress too much about perfection. The best cakes are made with love (and chocolate, of course).
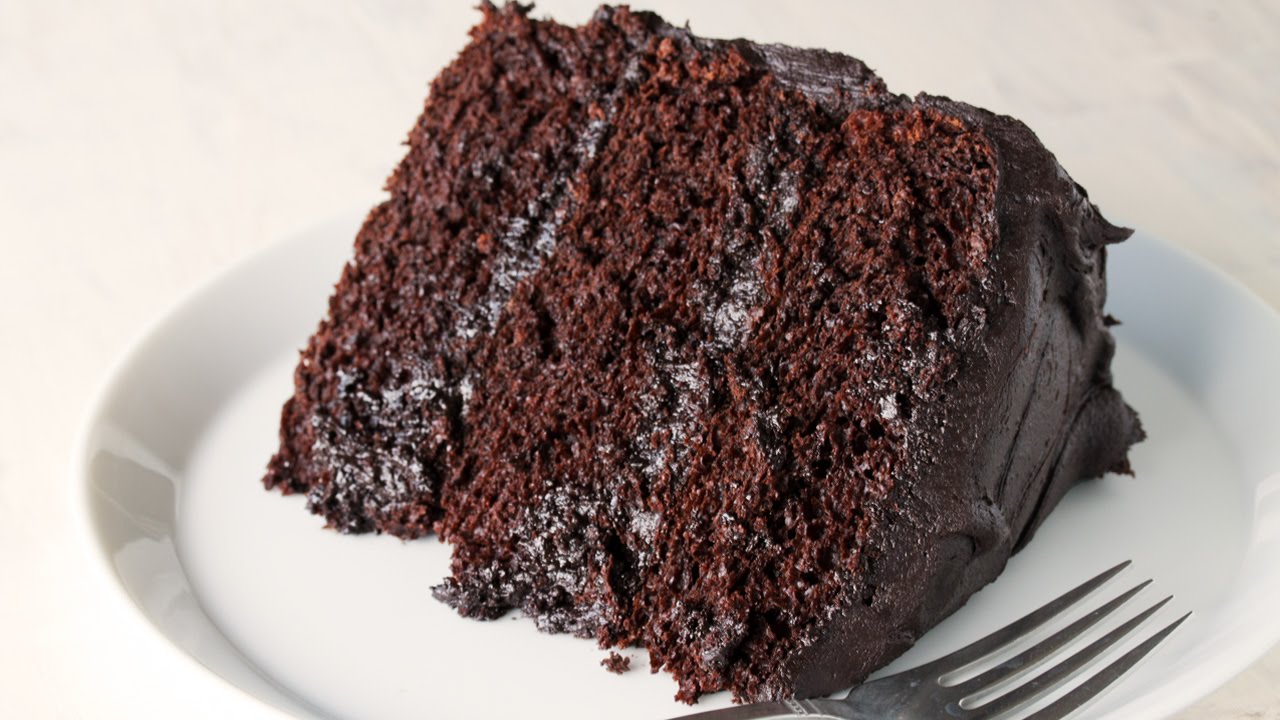
Go ahead—slice into that cake, grab a fork, and savor every bite. You earned it!