Salmon Sushi Bake Recipe: Ever craved sushi but didn’t want to deal with the hassle of rolling it? That’s exactly why sushi bake became a kitchen hero. A sushi bake is a deconstructed, casserole-style version of sushi—imagine your favorite sushi flavors all layered in one gooey, creamy, mouthwatering dish that’s baked to perfection. It has the tangy sushi rice, the umami-packed fish, creamy mayo, and spicy Sriracha, all finished with a golden-baked top. It’s perfect for parties, potlucks, or just a cozy night in when you want something indulgent but easy.
Sushi bakes gained massive popularity through social media during the lockdown days. With no sushi bars open, people turned their kitchens into sushi stations—but with a twist. Instead of rolling and slicing, they began layering everything in a baking dish and digging in with seaweed sheets like a dip. It’s warm, satisfying, and hits all the sushi notes with none of the fuss.
Why Choose Salmon for Sushi Bake?
Salmon isn’t just a popular sushi ingredient—it’s a star. Its rich, buttery texture, delicate flavor, and healthy omega-3 fats make it a perfect fit for this kind of dish. It holds up beautifully under heat, flakes easily into the creamy mixture, and pairs effortlessly with mayo, soy sauce, and rice vinegar.
Unlike other proteins like crab or shrimp, salmon brings a luxurious feel to the bake. Plus, it’s widely available and can be prepared fresh, smoked, or even canned (we’ll cover that later). If you’re looking for a balance of nutrition and flavor, salmon sushi bake checks every box.
Whether you’re a sushi lover or a first-timer, salmon sushi bake will win you over with its simplicity and flavor explosion.
List of Ingredients You’ll Need
Main Ingredients
Here’s your master list for a classic salmon sushi bake. You probably have some of these at home already!
- Sushi rice (2 cups uncooked) – Short-grain rice is essential for that sticky, chewy texture.
- Rice vinegar (2 tablespoons) – Gives the rice its signature tangy flavor.
- Sugar (1 tablespoon) – Balances out the vinegar’s sharpness.
- Salt (1 teaspoon) – For seasoning the rice.
- Fresh or cooked salmon (1 pound) – You can use baked, grilled, or leftover salmon.
- Japanese mayo (½ cup) – Kewpie mayo is the go-to, but regular mayo works too.
- Cream cheese (4 oz, softened) – Adds a luscious texture.
- Sriracha (1–2 tablespoons) – Adjust based on your spice preference.
- Soy sauce (1 tablespoon) – For depth and saltiness.
- Nori sheets (cut into squares) – Used for scooping like chips.
- Green onions (2 stalks, chopped) – For garnish.
- Furikake seasoning (2 tablespoons) – A must-have for flavor and crunch on top.
Optional Toppings and Add-ins
- Avocado slices
- Cucumber strips
- Pickled ginger
- Tobiko (fish roe)
- Sesame seeds
- Chopped jalapeños
These extras can take your sushi bake to the next level and add both color and texture.
Tools and Kitchenware Needed
- A 9×9 or 9×13 baking dish
- Mixing bowls
- Rice cooker or pot for rice
- Spatula or rice paddle
- Oven (preheated to 375°F / 190°C)
- Knife and chopping board
Once you have everything ready, the fun begins.
Preparing for the Recipe
Choosing the Right Salmon
Salmon is the hero ingredient here, so choose wisely. You can use:
- Fresh fillets – Preferably boneless and skinless. Bake or pan-sear them beforehand.
- Leftover cooked salmon – Perfect for reducing waste and saving time.
- Canned salmon – Budget-friendly and still delicious, just make sure to drain well.
When buying fresh salmon, go for wild-caught if you can—it’s leaner and has a cleaner taste. Check that the flesh is vibrant pink or orange, and there’s no fishy odor.
Smoked salmon can work too if you want a gourmet twist. Just remember: flavor intensity varies depending on the type, so adjust your seasonings accordingly.
Prepping Your Ingredients
- Cook your rice ahead of time, so it cools slightly before mixing.
- Soften cream cheese at room temp—it blends better that way.
- Flake your cooked salmon into bite-sized pieces using a fork.
- Slice your toppings and garnishes so they’re ready to go after baking.
It’s all about mise en place—a little organization goes a long way when making sushi bake.
Tips Before You Begin
- Use wet hands or a paddle when handling rice—it’ll stop it from sticking.
- Taste your creamy mixture before assembling to balance spice, salt, and richness.
- Preheat your oven early to save time.
- Grease your baking dish slightly to avoid sticking.
This prep work ensures your sushi bake will come out perfectly golden and flavorful.
Step-by-Step Guide to Making Salmon Sushi Bake
Step 1: Preparing the Sushi Rice
Start by rinsing 2 cups of short-grain sushi rice under cold water until the water runs clear. Cook it according to package instructions or in a rice cooker until fluffy. Once done, transfer to a large bowl and gently fold in a mixture of rice vinegar, sugar, and salt (about ¼ cup vinegar, 2 tablespoons sugar, and 1 teaspoon salt). Let the rice cool slightly — it should be warm, not hot, when assembling the bake.
Step 2: Seasoning and Cooking the Salmon
Use fresh or leftover salmon fillets (about 1 pound). Season lightly with salt, pepper, and a drizzle of soy sauce, then bake or pan-sear until fully cooked and flaky. Once cooled, break the salmon into chunks using a fork. For a flavor boost, you can also mix in a splash of mirin or a spoon of teriyaki sauce before flaking.
Step 3: Mixing the Creamy Filling
In a bowl, combine the flaked salmon with Japanese mayonnaise (Kewpie), cream cheese, and a little sriracha or spicy mayo for a creamy, flavorful filling. Adjust the spice level to your liking — a mild kick adds depth without overpowering the sushi flavors. Stir until well combined and smooth.
Step 4: Assembling the Bake
Preheat your oven to 375°F (190°C). In a baking dish, spread the prepared sushi rice evenly to form the bottom layer. Sprinkle a thin layer of furikake (Japanese rice seasoning) on top for extra umami and crunch. Next, spread the creamy salmon mixture evenly over the rice. Top with another sprinkle of furikake or sesame seeds for added flavor and texture.
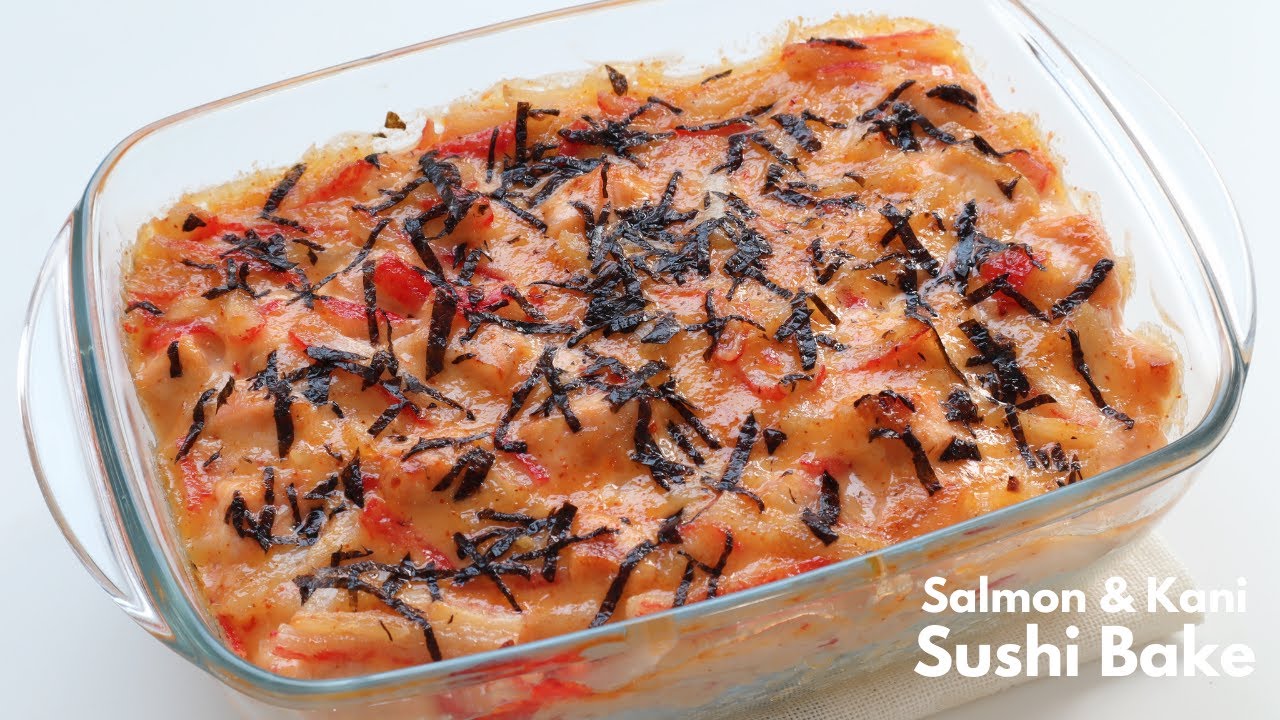
Step 5: Baking to Perfection
Bake uncovered for 15–20 minutes, or until the top turns golden and slightly bubbly. Once baked, remove from the oven and let it cool for a few minutes. To serve, scoop portions of the salmon sushi bake onto sheets of roasted nori (seaweed) or cucumber slices.
Creamy, savory, and utterly addictive — this Salmon Sushi Bake is a crowd-pleasing fusion of sushi and comfort food. It’s everything you love about sushi rolls, but warm, cheesy, and baked to perfection.
How to Serve Salmon Sushi Bake
Best Ways to Enjoy It
You’ve made your sushi bake… now what? Serving it right is key to getting the full experience.
- Serve with nori sheets – Cut full-size seaweed sheets into squares. Scoop the sushi bake with a spoon, place it on the nori, and eat it like a taco.
- Add toppings post-bake – Add thinly sliced avocado, cucumber strips, or tobiko for color and freshness.
- Make it a meal – Serve it alongside a simple miso soup or a cucumber salad to balance the richness.
Serving Suggestions
- Family-style: Put the whole dish on the table and let everyone dig in.
- Party platter: Bake in smaller ramekins for individual portions.
- Lunchboxes: Great for meal prep—pack with nori and veggies on the side.
Sushi bake is flexible, crowd-pleasing, and always a hit no matter how you serve it.
Storage and Reheating Tips
How to Store Leftovers
Made too much? Good news—salmon sushi bake stores beautifully if handled right. Whether you’ve got a few servings left or prepped extra for the week, here’s how to keep it fresh:
- Refrigerate: Transfer the cooled leftovers into an airtight container or cover the baking dish tightly with plastic wrap or foil. Store it in the refrigerator for up to 3–4 days.
- Separate seaweed sheets: Never store the nori with the sushi bake. It’ll get soggy. Always keep them in a sealed bag or container on the counter.
If you’re prepping for future meals, you can even make the sushi bake up to the baking step and refrigerate it unbaked for up to 24 hours. Just pop it in the oven when ready.
Reheating Without Drying Out
To reheat and maintain its creamy, moist texture:
- Oven: Preheat to 325°F (165°C), cover the dish with foil to trap moisture, and bake for 10–15 minutes.
- Microwave: Place a portion on a microwave-safe plate, cover with a damp paper towel, and heat for 1–2 minutes.
Avoid overheating. Overcooked fish and rice turn rubbery or dry fast. If it feels a bit dry, a drizzle of mayo or a splash of water before reheating can help revive its texture.
Tips and Tricks for the Perfect Sushi Bake
Common Mistakes to Avoid
Even though this recipe is straightforward, a few slip-ups can dull the wow factor. Let’s avoid them:
- Overcooking the salmon: It becomes dry and tough. Cook it just until it flakes easily.
- Mushy rice: Don’t skip rinsing your rice—it removes excess starch that causes clumping.
- Not seasoning the rice: Sushi rice needs vinegar, sugar, and salt. Skipping this makes your dish taste flat.
- Underseasoning the mix: Taste your salmon-mayo mixture before assembling. Adjust spice and salt.
- Soggy sushi bake: Too much moisture (from wet ingredients or watery salmon) can make it mushy. Drain and pat everything dry.
Ingredient Swaps and Variations
Want to get creative or work with what you’ve got?
- Protein swaps:
- Crab sticks (imitation crab)
- Cooked shrimp
- Canned tuna
- Smoked salmon
- Low-carb version: Swap out sushi rice for cauliflower rice.
- Vegan version: Use tofu, vegan mayo, and plant-based cream cheese.
- Extra crunch: Add crushed wonton strips or tempura flakes on top before serving.
It’s one of the best things about sushi bake—it’s endlessly customizable.
Nutritional Value of Salmon Sushi Bake
Calories and Macros Breakdown
Sushi bake is indulgent, but it can still fit into a balanced diet—especially when made with salmon.
Here’s a rough estimate per serving (based on 8 servings):
| Nutrient | Amount |
|---|---|
| Calories | 350–400 |
| Protein | 20–25g |
| Fat | 20–25g |
| Carbohydrates | 25–30g |
| Fiber | 1–2g |
| Sodium | 500–700mg |
Note: Values vary depending on the ingredients and portion size.
The salmon brings lean protein and omega-3 fatty acids, while the rice provides quick energy. The creamy mayo and cream cheese do increase fat content, but you can lighten it up by using reduced-fat versions or reducing the amount.
Is It Healthy?
In moderation—absolutely. Here’s why:
- Salmon: Rich in omega-3s, high-quality protein, and vitamin D.
- Sushi rice: Quick energy and low in fat, especially when seasoned at home without excess sugar.
- Add-ons like avocado or cucumbers boost nutrients and fiber.
To make it healthier:
- Use light mayo or Greek yogurt.
- Add more veggies.
- Serve smaller portions with sides like miso soup or salad.
So yes, it can be part of a balanced meal—just skip the second (or third) helping!
Customizing Your Salmon Sushi Bake
Spicy Version
Love a little fire in your bite? Here’s how to spice things up:
- Add more Sriracha: Mix extra into the salmon filling or drizzle over the top before baking.
- Spicy mayo drizzle: Mix 2 parts Kewpie mayo with 1 part Sriracha and a splash of lime juice.
- Chili flakes or jalapeños: Sprinkle inside the bake or on top as garnish.
If you’re serving a crowd, consider baking a half-and-half version—one side spicy, one mild.
Kid-Friendly Option
Need to tone things down for picky eaters or little ones?
- Skip the Sriracha: Use plain mayo and cream cheese without heat.
- Use mild salmon or even canned tuna—a flavor most kids love.
- Let them help assemble: Kids love layering the rice and “decorating” the top.
- Add fun toppings: Sprinkle with sesame seeds or cut nori into fun shapes.
With the spice removed, this dish becomes a creamy, cheesy, sushi-inspired casserole that’s kid-approved and parent-happy.
FAQs about Salmon Sushi Bake Recipe
Can I use canned salmon?
Yes! Canned salmon is a budget-friendly and convenient option. Just make sure to drain it well and remove any bones or skin before mixing. You can season it the same way as fresh.
Is sushi bake eaten hot or cold?
Sushi bake is best served warm, right out of the oven. However, some enjoy leftovers cold—especially when wrapped in cold nori sheets. It’s delicious either way!
What type of rice should I use?
Always go for short-grain sushi rice. It’s sticky, chewy, and holds together well. Long-grain rice or jasmine won’t give the right texture.
How do I prevent soggy sushi bake?
Use ingredients with low moisture content, drain everything well, and don’t overload with creamy sauces. Baking uncovered helps excess moisture evaporate.
Can I make it ahead of time?
Definitely. You can prep the dish up to the baking step, cover, and refrigerate it for up to 24 hours. Then bake fresh when you’re ready to serve.
Conclusion
Salmon sushi bake is the kind of recipe that checks all the boxes—comforting, flavorful, easy, and customizable. Whether you’re throwing together a quick weeknight dinner or feeding a party crowd, this dish brings all the sushi flavors without the hassle of rolling or slicing.
With its creamy, savory layers, crispy furikake topping, and rich salmon center, it’s bound to be a hit at your table. And the best part? You can tweak it to fit your taste, your pantry, and your mood.
So go ahead—gather your ingredients, heat up the oven, and dive into this deliciously easy twist on traditional sushi. You’re in for a flavor-packed, comforting, and downright addictive experience.