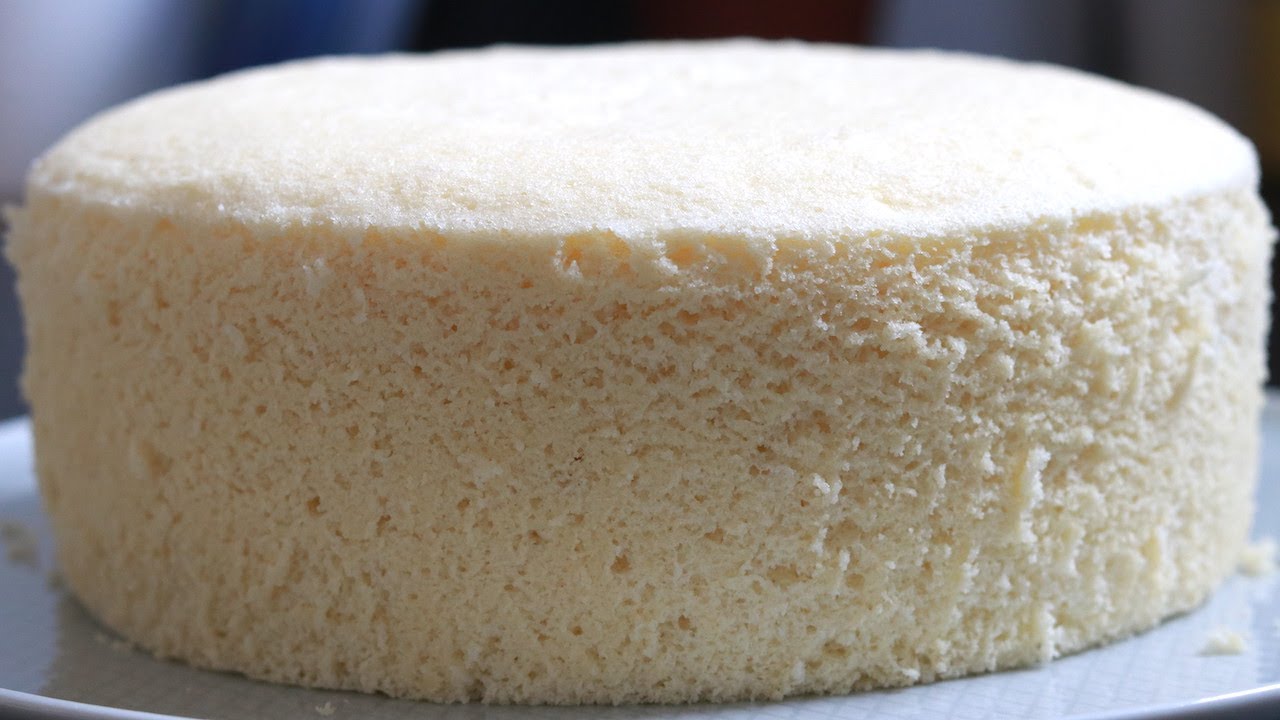
Rice Cake Recipe: Rice cakes are a versatile and delightful treat enjoyed in many cultures across the globe. From the sweet, chewy mochi of Japan to the savory tteok of Korea and the steamed puto in the Philippines, rice cakes are a staple comfort food. At their core, rice cakes are made by processing rice into a smooth batter or dough, shaping it, and then steaming, frying, or baking it into its final form.
They can be sweet or savory, chewy or crunchy, plain or filled with delightful surprises like sweet red bean paste, sesame, or coconut. Their simplicity makes them adaptable to many taste profiles and regional twists. Whether you’re preparing a traditional family recipe or exploring a new cuisine, rice cakes provide a delicious, gluten-free alternative that brings comfort and nostalgia to every bite.
Popular Types of Rice Cakes Around the World
Rice cakes vary greatly depending on geography. Here are a few well-known varieties:
- Tteok (Korea): Typically steamed or pounded, these cakes come in many varieties and are often used in soups or enjoyed with sauces.
- Mochi (Japan): Soft, chewy, and often filled with sweet fillings, these rice cakes are a Japanese favorite, especially during festivals.
- Puto (Philippines): Light and fluffy, this steamed rice cake is a common snack or side dish.
- Bánh Bò (Vietnam): A slightly sweet, spongy rice cake often flavored with coconut milk.
- Chinese Nian Gao: Sticky rice cake eaten during Lunar New Year for good luck.
No matter where you’re from, chances are your culture has a version of the humble rice cake.
Ingredients Needed for Traditional Rice Cake
Main Ingredients
The beauty of rice cakes lies in their simplicity. To prepare a traditional steamed rice cake, especially the Asian-style version, you’ll need:
- Rice: Preferably glutinous rice (also called sticky rice) or short-grain rice.
- Water: Used for soaking and blending the rice.
- Sugar: To add a subtle sweetness, especially for dessert-style cakes.
- Salt: A pinch enhances the overall flavor.
- Baking powder (optional): To create a fluffier texture in some variations.
- Oil (optional): Helps prevent sticking and adds a silky texture.
These ingredients are readily available and budget-friendly, making rice cakes a go-to recipe in households around the world.
Optional Add-Ins and Flavor Variations
To customize your rice cake, consider adding:
- Coconut milk or shredded coconut for a richer flavor.
- Pandan extract or matcha powder for a vibrant twist.
- Red bean paste or mung bean paste as fillings.
- Sesame seeds or nuts for crunch.
- Cheese or salted egg slices for a savory Filipino-style rice cake.
These variations allow you to put your own spin on a classic dish. Whether you like your rice cakes sweet, savory, or somewhere in between, there’s a version that will suit your taste perfectly.
Step-by-Step Instructions for Making Rice Cake
Step 1: Preparing the Rice
Start by selecting good-quality glutinous or short-grain rice. Rinse the rice thoroughly under cold water until the water runs clear. This removes excess starch and helps prevent your cake from becoming overly sticky. Soak the rice in plenty of water for at least 4–6 hours or overnight. This step softens the grains, making them easier to grind and ensuring a smooth batter.
If you’re in a hurry, quick soak in warm water for 2–3 hours, though results may slightly differ in texture. For store-bought rice flour users, you can skip this soaking and grinding process and jump straight to mixing.
Step 2: Soaking and Grinding
Drain the soaked rice and place it in a high-powered blender or food processor. Gradually add water—just enough to create a thick, smooth batter, similar in consistency to pancake batter. Blend thoroughly to avoid lumps. This step is crucial; a smooth batter ensures a consistent texture and even cooking.
If using coconut milk, this is the time to incorporate it. It adds a creamy flavor and slightly alters the texture to be more tender. Make sure the batter is not too runny—aim for a pourable but thick mixture.
Step 3: Mixing and Setting
Once your batter is perfectly smooth, pour it into a large mixing bowl. Add sugar, salt, and any other flavor enhancers like vanilla extract, pandan essence, or food coloring if you prefer a vibrant presentation. Stir until the sugar is fully dissolved. If you’re using baking powder, add it at this stage and mix thoroughly to ensure even distribution.
Next, prepare your steamer and lightly grease your cake mold or pan with oil. This helps prevent the rice cake from sticking and ensures easy removal later. Pour the batter into the mold, filling it about ¾ full to allow room for expansion as it steams.
Give the pan a few gentle taps on the counter to eliminate air bubbles, which can create holes or uneven textures in your finished cake. If you’re making layered rice cakes, steam each layer partially before adding the next to maintain definition and structure.
Step 4: Steaming the Rice Cake
Heat your steamer and bring water to a rolling boil before placing the cake pan inside. Cover the lid with a clean kitchen towel to catch condensation and prevent it from dripping onto the cake surface. This keeps the top smooth and avoids soggy spots.
Steam the cake for about 30 to 60 minutes, depending on thickness and pan size. A thin cake may only need 25–30 minutes, while a thicker or layered one could require closer to an hour. Check for doneness by inserting a toothpick or skewer into the center—if it comes out clean, your rice cake is ready.
Avoid lifting the lid too often, as it allows steam to escape and may result in uneven cooking. Replenish the water in your steamer as needed to prevent drying out or burning.
Step 5: Cooling and Serving
After steaming, let the rice cake cool in the pan for at least 20–30 minutes before attempting to remove it. This resting period helps it firm up and set properly. Once cooled, run a butter knife around the edges to loosen it and gently flip it onto a plate or cutting board.
Cut the cake into slices or blocks using an oiled knife to avoid sticking. You can serve it warm or at room temperature, depending on your preference. Some like it plain, while others enjoy it with a drizzle of coconut sauce, a sprinkle of grated coconut, or a side of soy dipping sauce for savory versions.
If you’re aiming for a toasted version, you can pan-fry the slices until they develop a golden crust, which adds a lovely contrast in texture.
Tips for Perfect Rice Cakes Every Time
Choosing the Right Rice
The type of rice you use can dramatically impact the texture of your cake. Glutinous rice, also known as sticky rice or sweet rice, is the go-to for most rice cake recipes due to its ability to bind and create that iconic chewy consistency. Short-grain rice is a suitable substitute if glutinous rice isn’t available, but avoid long-grain rice, which lacks the stickiness needed for traditional rice cakes.
If you’re using rice flour, make sure it’s the right kind—glutinous rice flour (also called mochiko) is not the same as regular rice flour. The former creates the chewy, elastic texture we love in mochi and other chewy rice cakes, while the latter yields a crumbly result more like puto or steamed buns.
Common Mistakes to Avoid
- Skipping the soaking process: This leads to grainy batter and uneven texture. Always soak your rice thoroughly.
- Overmixing the batter: Incorporating too much air can cause the cake to crack or have holes.
- Not using enough water during steaming: This can cause the steamer to burn dry, affecting both flavor and safety.
- Removing the cake too soon: Patience is key—let it cool so it sets properly before slicing.
- Not covering the steamer lid with a towel: This prevents water from dripping onto the cake and ruining the surface.
By keeping an eye on these potential pitfalls, you’ll master the art of rice cake making in no time.
Serving Suggestions and Storage Tips
Best Ways to Serve Rice Cakes
Rice cakes are incredibly flexible in terms of serving options. Here are some ideas to get the most out of your homemade creation:
- Sweet Style: Drizzle with coconut cream and top with toasted sesame seeds or grated coconut.
- Savory Style: Serve with soy sauce, chili oil, or even kimchi for an Asian twist.
- Fried or Grilled: Pan-fry slices until crispy for a delightful textural contrast.
- Topped with Cheese: Especially popular in Filipino versions like puto cheese.
- Paired with Tea or Coffee: A simple, satisfying snack or dessert to complement a hot beverage.
Their neutral base makes rice cakes an excellent canvas for both bold and subtle flavors.
How to Store and Reheat Leftovers
Rice cakes are best enjoyed fresh but can be stored and enjoyed later with a few tips:
- Room Temperature: Store in an airtight container for up to 24 hours.
- Refrigerator: Store in a sealed container for up to 5 days. Be aware that refrigeration may harden the cake slightly.
- Freezer: Wrap tightly in plastic wrap and freeze for up to 1 month. Thaw before reheating.
To reheat:
- Microwave: Wrap in a damp paper towel and heat in short bursts.
- Steam: Steam for 5–10 minutes until soft and warm.
- Pan-Fry: Add a small amount of oil and cook until heated through and crispy.
FAQs about Rice Cake Recipe
1. What are rice cakes made of?
Rice cakes are typically made from rice (white or brown), water, and sometimes sugar or other flavorings depending on the recipe. Some variations include coconut milk or red beans for added taste and texture.
2. Are rice cakes healthy?
Yes, rice cakes can be a healthy snack, especially when made from whole grain brown rice. They’re low in fat and calories, but adding too much sugar or toppings may reduce their health benefits.
3. Can I make rice cakes without a steamer?
Absolutely! If you don’t have a steamer, you can use a makeshift steaming setup with a pot, a heat-safe dish, and a lid. Just ensure the rice mixture is covered and gets steady steam.
4. How do I store homemade rice cakes?
Store rice cakes in an airtight container at room temperature for up to 2 days or in the refrigerator for 4–5 days. Reheat by steaming or microwaving with a damp towel.
5. Can I freeze rice cakes?
Yes, rice cakes freeze well. Wrap them individually in plastic wrap and store them in a freezer-safe bag. Reheat by steaming or microwaving for best results.
Conclusion
The key to a perfect rice cake lies in understanding your ingredients, paying attention to texture, and not rushing the process. From soaking the rice properly to steaming it patiently, every step matters. And once you master the basics, the possibilities are endless—mix and match flavors, fillings, and toppings to suit your taste.
Whether served during celebrations, festivals, or as an everyday snack, rice cakes have a way of bringing people together. They’re a true testament to the magic of simplicity and tradition blending with creativity.
So go ahead—try your hand at this versatile recipe. You’ll be surprised at how satisfying and therapeutic the process can be. And once you take that first bite of your homemade rice cake, you’ll know it was worth every minute.

