Protein Cookie Recipe: Protein cookies are a game-changer in the world of healthy snacking. They combine the delicious taste of your favorite treat with the muscle-repairing, satiating benefits of protein. But these aren’t just for gym junkies—they’re for busy professionals, health-conscious parents, and snack lovers trying to make better choices. Whether you need a post-workout refuel or an afternoon pick-me-up, protein cookies can be your go-to option. They’re quick to make, customizable, and can easily replace sugary, empty-calorie snacks with something more wholesome.
What Makes Protein Cookies Special?
Unlike regular cookies that are loaded with sugar and unhealthy fats, protein cookies are packed with clean ingredients and high-quality protein sources. They help curb cravings while keeping your energy levels stable. The secret? Protein powder. This ingredient not only enhances the nutritional value but also helps with muscle maintenance and growth. Plus, you can sneak in ingredients like oats, nut butter, flaxseeds, and more to increase fiber, healthy fats, and overall nourishment.
Benefits of Protein Cookies
- Muscle Recovery: After a workout, protein cookies support muscle repair and growth.
- Satiety: High-protein content keeps you fuller for longer, reducing snacking urges.
- Portability: Take them anywhere—gym, office, school, or on a road trip.
- Customizable: You can adapt the recipe to be vegan, keto, or gluten-free.
- Kid-Friendly: Great for lunchboxes or after-school snacks.
Essential Ingredients for Protein Cookies
Before jumping into the baking process, let’s explore the essential ingredients you need. These aren’t your typical cookie ingredients—think of them as the perfect marriage between nutrition and taste.
Choosing the Right Protein Powder
Protein powder is the star of this recipe, so choose wisely. Here are your top options:
- Whey Protein: Popular, creamy, and perfect for baking.
- Casein Protein: Slower-digesting, great for a chewier texture.
- Plant-Based Protein: Ideal for vegans or those with dairy allergies. Pea, rice, or soy proteins work well.
Pick an unsweetened or naturally flavored powder to control the sugar content and taste of the cookies.
Other Core Ingredients
Here’s a rundown of must-have ingredients:
- Oats or Oat Flour: A great source of fiber and helps bind the dough.
- Nut Butter (Almond, Peanut, Cashew): Provides healthy fats, texture, and flavor.
- Sweeteners: Use honey, maple syrup, stevia, or erythritol depending on your preference.
- Eggs or Flax Eggs: For binding and moisture.
- Baking Soda or Baking Powder: To give a little rise and softness.
- Add-ins: Chocolate chips, nuts, dried fruits, or seeds to make your cookies exciting.
Now that you’ve got your ingredients ready, let’s talk tools.
Equipment You’ll Need
Don’t worry—you don’t need fancy gadgets to make these cookies. A basic kitchen setup will do just fine.
Basic Kitchen Tools Required
- Mixing Bowls: One for wet ingredients, one for dry.
- Measuring Cups and Spoons: Accuracy is key for consistent results.
- Baking Sheet: Use parchment paper for easy cleanup.
- Spatula or Wooden Spoon: To mix and fold the dough.
- Cookie Scoop (Optional): For evenly sized cookies.
Step-by-Step Guide to Making Protein Cookies
Let’s break it down. Making protein cookies is as simple as mix, scoop, and bake. Here’s your foolproof guide.
Step 1 – Preheat and Prepare
Start by preheating your oven to 350°F (175°C). Line your baking sheet with parchment paper or a silicone mat. This prevents sticking and ensures even baking.
Step 2 – Mix Wet Ingredients
In a medium bowl, combine:
- 1/2 cup of nut butter
- 1/4 cup of maple syrup or honey
- 1 large egg or flax egg
- 1 tsp vanilla extract
Whisk them together until smooth and creamy. This will form the base of your cookies and ensure a moist, chewy texture.
Step 3 – Combine Dry Ingredients
In a separate bowl, mix:
- 1 cup oat flour or ground oats
- 1/2 cup protein powder
- 1/4 tsp baking soda
- A pinch of salt
Stir to evenly distribute the dry ingredients.
Step 4 – Fold and Form the Dough
Slowly combine the wet and dry mixtures. Use a spatula to fold everything together. The dough should be slightly sticky but firm enough to form into balls. If it’s too dry, add a tablespoon of almond milk. If it’s too wet, sprinkle in more oat flour.
Now fold in any add-ins like chocolate chips or chopped nuts.
Step 5 – Baking Time
Scoop dough balls onto your prepared baking sheet, about 2 inches apart. Flatten them slightly with the back of a spoon or your fingers.
Bake for 8–10 minutes, or until the edges are golden brown. Don’t overbake—they’ll firm up as they cool!
Tips to Perfect Your Protein Cookies
Mastering protein cookies isn’t rocket science, but a few insider tricks can make a world of difference. Whether you like them soft and chewy or crispy around the edges, these hacks will elevate your cookie game.
Texture Hacks
Getting the texture right is everything. You don’t want your cookies to feel like dry protein bars, right? Here’s how to keep them soft and delicious:
- Use Nut Butter Generously: It adds moisture and chewiness.
- Don’t Overbake: Always remove them when they look slightly underdone—they’ll continue to cook on the tray.
- Add Applesauce or Greek Yogurt: Just a tablespoon or two can soften the texture significantly.
- Chill the Dough: If your dough is too sticky or loose, refrigerate it for 20–30 minutes before baking. It helps with shape and texture.
Sweetener Substitutes
Looking to cut back on sugar? No worries. You have plenty of natural or low-carb options:
- Stevia or Monk Fruit: Zero-calorie sweeteners that won’t spike blood sugar.
- Erythritol: A sugar alcohol that bakes well and has a similar sweetness profile.
- Mashed Bananas or Dates: These not only sweeten but add fiber and nutrients.
Try combining sweeteners for depth of flavor. For example, use a small amount of honey with stevia to reduce calories but retain taste.
Storage and Shelf Life
Now that you’ve baked a batch of delicious protein cookies, how do you keep them fresh? Good storage means better texture and flavor preservation.
Best Ways to Store
- Room Temperature: Keep them in an airtight container for up to 5 days. Throw in a slice of bread to maintain softness.
- Refrigerator: Extends shelf life to 10 days. Perfect if your cookies contain dairy or egg.
- Layering Tip: Place parchment paper between cookie layers to prevent sticking.
Can You Freeze Protein Cookies?
Absolutely! In fact, freezing protein cookies is a smart move if you bake in bulk. Here’s how:
- Freeze Baked Cookies: Let them cool completely, place in a zip-top bag, and store for up to 3 months.
- Freeze Dough Balls: Scoop dough onto a baking tray, freeze until solid, then transfer to a freezer bag. Bake straight from frozen—just add 1-2 extra minutes.
When you’re craving a healthy treat, just pop one in the microwave for 15–20 seconds and enjoy!
Variations to Try
Don’t settle for just one flavor! Protein cookies are super versatile. Here are some crowd-pleasing twists you’ve got to try.
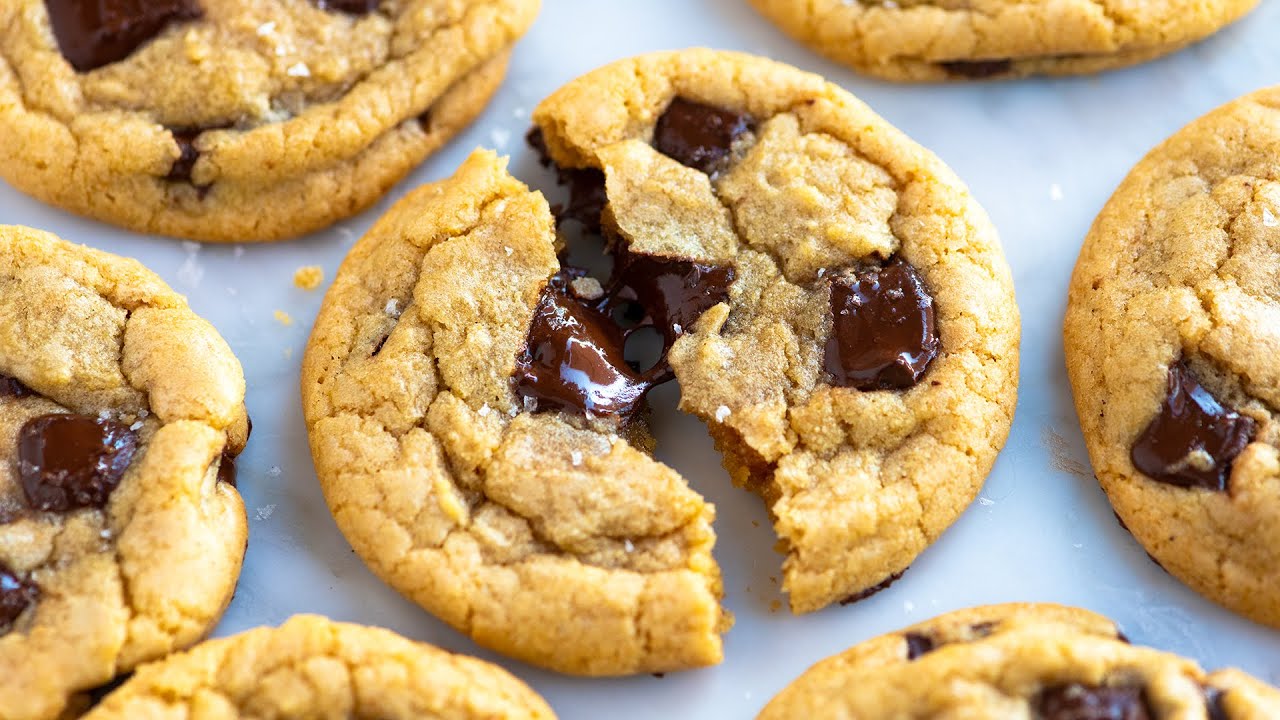
Chocolate Chip Protein Cookies
This is a no-brainer. Add 1/3 cup of dark chocolate chips to the base recipe. Want more protein? Toss in a handful of chopped nuts or seeds for an extra boost.
Peanut Butter Protein Cookies
Use peanut butter as your primary nut butter, and add some crushed peanuts for texture. Want that classic PB&J vibe? Throw in a teaspoon of chia seeds and a swirl of strawberry preserves in the center before baking.
Vegan Protein Cookies
Skip the eggs and opt for flax eggs or chia eggs. Choose a plant-based protein powder and use maple syrup as your sweetener. Add dairy-free chocolate chips or shredded coconut for a delicious vegan twist.
Here’s a quick recipe combo to try:
- 1 cup almond flour
- 1/2 cup vegan protein powder
- 1/4 cup maple syrup
- 1/2 cup almond butter
- 1 flax egg
- 1 tsp vanilla
- 1/4 tsp baking soda
- Dairy-free chocolate chips
Bake at 350°F for 9–10 minutes.
FAQs about Protein Cookie Recipe
Can I make these cookies without protein powder?
Yes, but keep in mind they won’t have the same protein punch. You can swap the protein powder with more oat flour or almond flour, but you’ll miss out on the extra protein content. For a balanced snack, try adding nuts, seeds, or Greek yogurt.
Are protein cookies good for weight loss?
Absolutely—if portioned and consumed wisely. Protein helps keep you full, which can prevent overeating. Just be mindful of calorie-dense ingredients like nut butters and sweeteners.
How many protein cookies should I eat per day?
That depends on your goals. For a snack, one or two small cookies (10–15 grams of protein total) is usually enough. If you’re using them as a meal supplement post-workout, two or three could fit into your routine.
Can I use whey protein in baking?
Yes, whey protein works great in baking. It blends easily, holds structure, and adds a creamy texture. Just don’t overbake—it tends to dry out quickly if exposed to high heat for too long.
What’s the best time to eat protein cookies?
You can enjoy them anytime! They’re especially beneficial post-workout, as a mid-morning snack, or even before bed if you’re trying to curb late-night cravings. They’re balanced enough to support muscle recovery and hunger control.
Conclusion
The best part? You don’t have to sacrifice flavor for fitness. With a solid base recipe and a few creative twists, you can whip up a batch that rivals your favorite store-bought treats—minus the preservatives and excess sugar. Plus, they store well, travel easily, and are a fun way to involve kids in healthy baking.
So next time that sweet craving hits, skip the vending machine and grab a homemade protein cookie. Your body and taste buds will thank you.


