Pretzel Dough Recipe: Let’s be real—there’s something magical about a warm, golden-brown pretzel fresh out of the oven. That chewy texture, slightly crispy outside, and a sprinkle of coarse salt on top? Perfection. Whether you love dipping them in cheese, mustard, or cinnamon glaze, homemade pretzels hit differently. If you’ve been craving that bakery-style soft pretzel and want to make it from scratch, you’re in the right place.
Making pretzel dough might sound intimidating, but don’t sweat it. This guide will walk you through each step, from mixing the dough to that secret baking soda bath. And trust me, once you learn how to do it yourself, you’ll never look at store-bought pretzels the same way again.
Soft Pretzels vs. Hard Pretzels
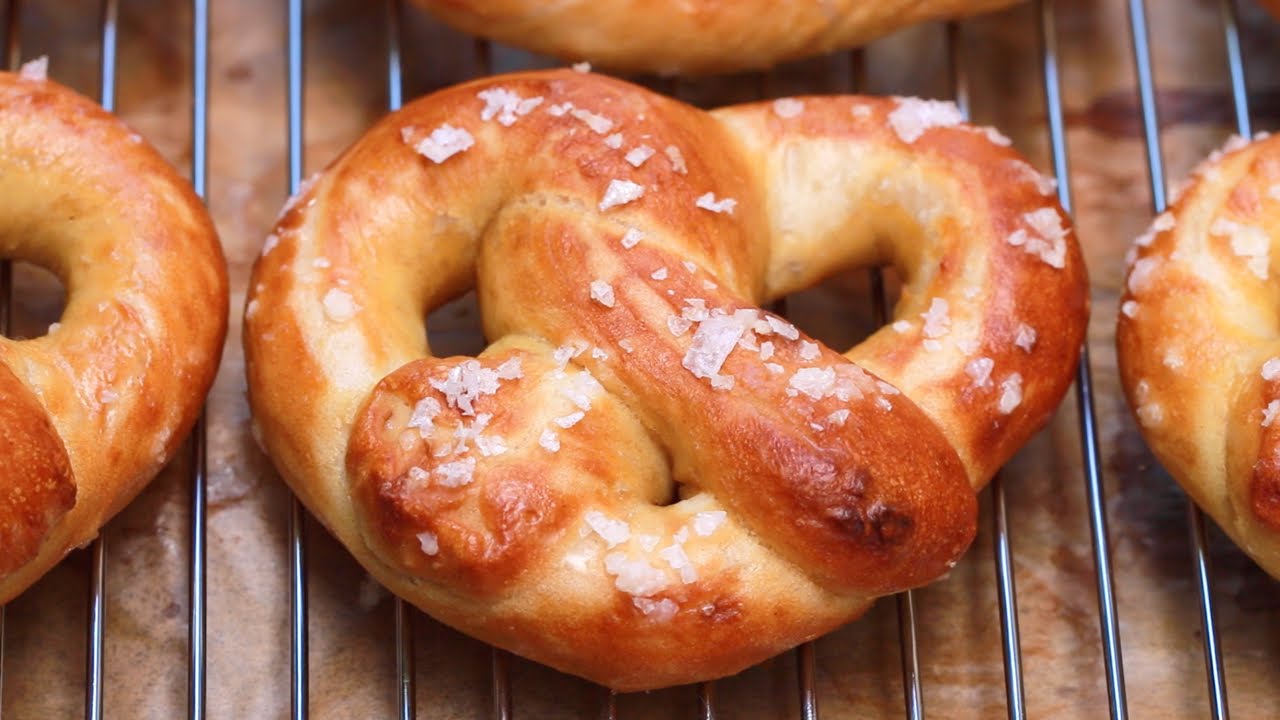
Before we dive into ingredients and steps, let’s clear something up: this guide is for soft pretzels, not the hard, crunchy snack version. Soft pretzels are doughy, fluffy, and often served warm, perfect for dipping or just eating on their own. Hard pretzels, on the other hand, are baked longer and dried out for shelf stability.
Alright, now let’s roll up our sleeves and start with what you’ll need.
List of Ingredients You’ll Need
Pretzel dough is surprisingly simple—most of the ingredients are probably already in your kitchen. That’s the beauty of it! Here’s a breakdown of the essentials:
Basic Ingredients
- Warm Water (1 ½ cups or 355 ml): The water should be between 105°F and 115°F. Too hot and it will kill the yeast. Too cold and the yeast won’t activate.
- Active Dry Yeast (2 ¼ tsp or 1 packet): This is what makes your dough rise. If you’re in a pinch, instant yeast can work too.
- Granulated Sugar (1 tbsp): Helps feed the yeast and gives a subtle sweetness.
- Salt (2 tsp): Enhances flavor.
- All-Purpose Flour (4 to 4 ½ cups): This is the base of your dough. Start with 4 cups and add more if needed during kneading.
- Unsalted Butter (2 tbsp, melted): Adds richness and helps keep the dough soft.
- Coarse Kosher Salt: For sprinkling on top before baking.
For the Baking Soda Bath:
- Baking Soda (½ cup)
- Water (8 cups)
This bath gives pretzels that deep golden crust and signature flavor. Don’t skip it—it’s a game changer!
Optional Add-Ins for Flavor Twists
If you’re feeling creative, you can also include:
- Shredded Cheese
- Minced Garlic
- Cinnamon and Sugar Mixture
- Everything Bagel Seasoning
These add-ons can be folded into the dough or sprinkled on top just before baking.
Tools and Equipment Required
You don’t need any fancy gadgets to make pretzels, but having the right tools can make the process smoother and a lot more fun.
Essential Kitchen Tools
- Mixing Bowls (preferably a large one)
- Measuring Cups and Spoons
- Wooden Spoon or Dough Hook
- Clean Kitchen Towel or Plastic Wrap (for covering the dough)
- Baking Sheets (lined with parchment paper or silicone mat)
- Slotted Spoon (for removing pretzels from the baking soda bath)
- Oven
Nice-to-Have Extras
- Stand Mixer: Makes mixing and kneading easier, especially if you’re making a large batch.
- Bench Scraper: Helps divide and shape dough cleanly.
- Silicone Brush: Great for brushing melted butter on pretzels after baking.
- Kitchen Scale: For more precise ingredient measuring (especially flour).
Understanding the Pretzel Dough
Pretzel dough isn’t just regular bread dough. It’s got its own vibe—chewy, tender, slightly dense, and just the right balance of salty and sweet. What makes it special?
Why Pretzel Dough Is Unique
It’s all about the texture and flavor. The dough uses basic ingredients like flour, yeast, and water, but what sets it apart is the alkaline bath (made with baking soda). That step gives pretzels their iconic shiny brown crust and subtly bitter edge that balances the sweetness inside.
The Science Behind the Softness and Chew
The gluten development during kneading builds the structure, while the yeast gives it airiness. The butter adds softness and moisture. And when you boil it in the baking soda bath before baking? That’s where the magic happens. It gelatinizes the outer layer, helping it brown beautifully and creating that unforgettable texture.
Step-by-Step Guide to Making Pretzel Dough
Ready to get your hands doughy? Here’s the full, no-fail process to make perfect pretzel dough at home. Follow each step carefully, and you’ll be pulling out golden-brown beauties from the oven in no time.
Step 1: Activating the Yeast
In a bowl, combine warm water (not hot), sugar, and yeast. Stir gently and let sit for 5–10 minutes until foamy. This confirms the yeast is active.
Step 2: Mixing the Dough
Add flour, salt, and melted butter to the yeast mixture. Stir until the dough comes together into a soft, slightly sticky mass.
Step 3: Kneading the Dough
Turn the dough onto a lightly floured surface. Knead for 8–10 minutes until smooth, elastic, and no longer sticky. Proper kneading builds structure.
Step 4: First Rise (Proofing)
Place the dough in a lightly oiled bowl, cover, and let rise in a warm place for about 1 hour, or until doubled in size.
Step 5: Shaping the Pretzels
Punch down the dough and divide into equal pieces. Roll each into long ropes and twist into classic pretzel shapes or desired forms.
Step 6: Baking Soda Bath (The Secret Step)
Bring water to a boil and carefully add baking soda. Dip each pretzel for 20–30 seconds. This step creates the chewy texture and deep color.
Step 7: Baking Your Pretzels
Place pretzels on a lined baking sheet. Sprinkle with coarse salt and bake at 425°F (220°C) for 12–15 minutes until golden brown. Cool slightly before serving.
Tips for Perfect Pretzel Dough
Even though pretzel dough is fairly straightforward, there are a few tips that can take your baking game to the next level.
Common Mistakes to Avoid
- Don’t skip the baking soda bath. This is crucial for the flavor and color of your pretzels.
- Avoid over-flouring. Too much flour makes dense, dry pretzels. Add flour gradually and only as needed.
- Use warm—not hot—water. Yeast is sensitive. If it’s too hot, it’ll die, and your dough won’t rise.
Get That Iconic Golden Crust
Want that perfect pretzel look?
- Use an egg wash before baking.
- Make sure the pretzels are fully dry after the baking soda bath before baking.
- Bake on parchment paper to avoid sticking.
These small details can make a big difference.
Flavor Variations You Can Try
One of the best things about making homemade pretzels is how easily you can change up the flavor. Once you’ve mastered the classic dough, the possibilities are endless. Whether you’re into sweet, savory, or stuffed, here are a few delicious twists to try with your pretzel dough:
Cinnamon Sugar Pretzels
Looking for something sweet? These are like a warm hug on a plate.
- After baking, brush your pretzels with melted butter and immediately roll them in a mix of cinnamon and sugar (about ½ cup sugar to 1 tbsp cinnamon).
- Serve with a vanilla icing or cream cheese dip for dessert-style snacking.
Cheese-Stuffed Pretzels
Cheese makes everything better, right?
- After dividing the dough, roll out each piece flat into a rectangle.
- Add a strip of cheddar, mozzarella, or pepper jack cheese to the center.
- Fold and seal the dough over the cheese before shaping into a pretzel.
- Follow the normal baking steps. The result? Gooey, cheesy deliciousness inside every bite.
Garlic Herb Butter Pretzels
Savory lovers, this one’s for you.
- Melt ¼ cup butter and mix with minced garlic, parsley, and a dash of parmesan.
- Brush it generously over the pretzels right after baking.
- Serve alongside a marinara or ranch dip for next-level flavor.
Other Fun Ideas:
- Jalapeño Cheddar
- Everything Bagel Seasoning
- Pesto and Mozzarella Swirl
- Chocolate Chip Dough (sweet version)
Your imagination is the only limit. Pretzel dough is super versatile, and once you’ve got the base down, you can have a blast experimenting.
Storing and Freezing Pretzel Dough
So, what if you want to make a big batch of dough in advance? Or you have leftovers? Good news—pretzel dough stores really well.
How Long Can You Store It?
- In the fridge: Wrap the dough tightly in plastic wrap and store in an airtight container. It’ll last for up to 3 days. When you’re ready to use it, let it come to room temperature for about 30 minutes before shaping.
- Already baked pretzels: Store in an airtight container at room temperature for 2–3 days, or in the fridge for up to a week. Reheat in the oven at 350°F (175°C) for 5–7 minutes to bring them back to life.
Freezing Instructions
To freeze the dough:
- Let the dough rise fully.
- Wrap it tightly in plastic wrap and place in a zip-top freezer bag.
- Freeze for up to 3 months.
- Thaw overnight in the refrigerator before using.
To freeze baked pretzels:
- Let them cool completely.
- Wrap individually in foil or plastic wrap, then store in a freezer bag.
- Reheat directly from frozen in the oven at 350°F (175°C) for 10–12 minutes.
This makes homemade pretzels the perfect make-ahead snack or party treat.
What to Serve with Homemade Pretzels
Pretzels are amazing on their own, but pairing them with the right dip or dish can take them from snack to superstar.
Classic Dips and Sauces
- Beer Cheese Dip: A smooth, tangy cheese sauce made with real beer and cheddar.
- Honey Mustard: A mix of sweet and spicy that complements the salty crust.
- Cream Cheese Dip: Especially great for cinnamon sugar pretzels.
- Spicy Queso: If you like it hot and cheesy.
- Marinara Sauce: Surprisingly good with garlic butter pretzels.
Meal Ideas Featuring Pretzels
Pretzels don’t just have to be snacks—try making them the main event.
- Pretzel Sandwiches: Slice large soft pretzels in half and use them as sandwich bread.
- Pretzel Dogs: Wrap dough around hot dogs before baking.
- Pretzel Croutons: Cut baked pretzels into chunks, season, and toast them for crunchy salad toppers.
- Pretzel Pizza Bites: Use the dough to wrap cheese and pepperoni, then bake.
Homemade pretzels are super flexible. You can serve them at parties, movie nights, game days, or even as a cozy afternoon treat with a hot drink.
FAQs about Pretzel Dough Recipe
Let’s wrap up some common questions and kitchen concerns. Whether you’re baking your first pretzel or your fiftieth, these FAQs might come in handy.
1. Why Is the Baking Soda Bath Important?
Great question! The baking soda bath changes the pH of the dough’s surface. This creates that deep golden-brown crust and gives pretzels their unique flavor. Without it, your pretzels would look and taste more like basic bread rolls.
2. Can I Use Instant Yeast Instead of Active Dry?
Yes, you can. Just skip the proofing step (activating the yeast with water and sugar). Add the instant yeast directly with the flour. Keep an eye on the rise—instant yeast tends to act a little faster than active dry.
3. Why Did My Pretzels Turn Out Flat?
Flat pretzels usually mean the dough didn’t rise enough. Make sure your yeast is fresh, your water isn’t too hot, and you gave it enough time to proof. Also, don’t overwork the dough during shaping—gentle hands!
4. How Can I Reheat Leftover Pretzels?
The best way is to reheat them in the oven at 350°F (175°C) for 5–10 minutes. Avoid microwaving—they tend to get soggy. You can also slice them and toast for a crunchy snack.
5. Can I Make the Dough Ahead of Time?
Absolutely! Pretzel dough can be made up to 3 days in advance and stored in the fridge. Just make sure it’s well covered so it doesn’t dry out. Bring to room temperature before shaping and baking.
Conclusion
And there you have it—a full, step-by-step guide to mastering homemade pretzel dough. Whether you’re keeping it classic or going all-in with cinnamon sugar, this recipe is a keeper. It’s simple, flexible, and downright delicious. Plus, making pretzels from scratch is one of those kitchen wins that feels extra rewarding. You kneaded (pun intended) this in your life.
From the satisfying feel of shaping the dough to the magical transformation in the baking soda bath, there’s something special about every part of the process. So go ahead, grab that flour, warm up the oven, and let the pretzel-making adventure begin. Happy baking!

