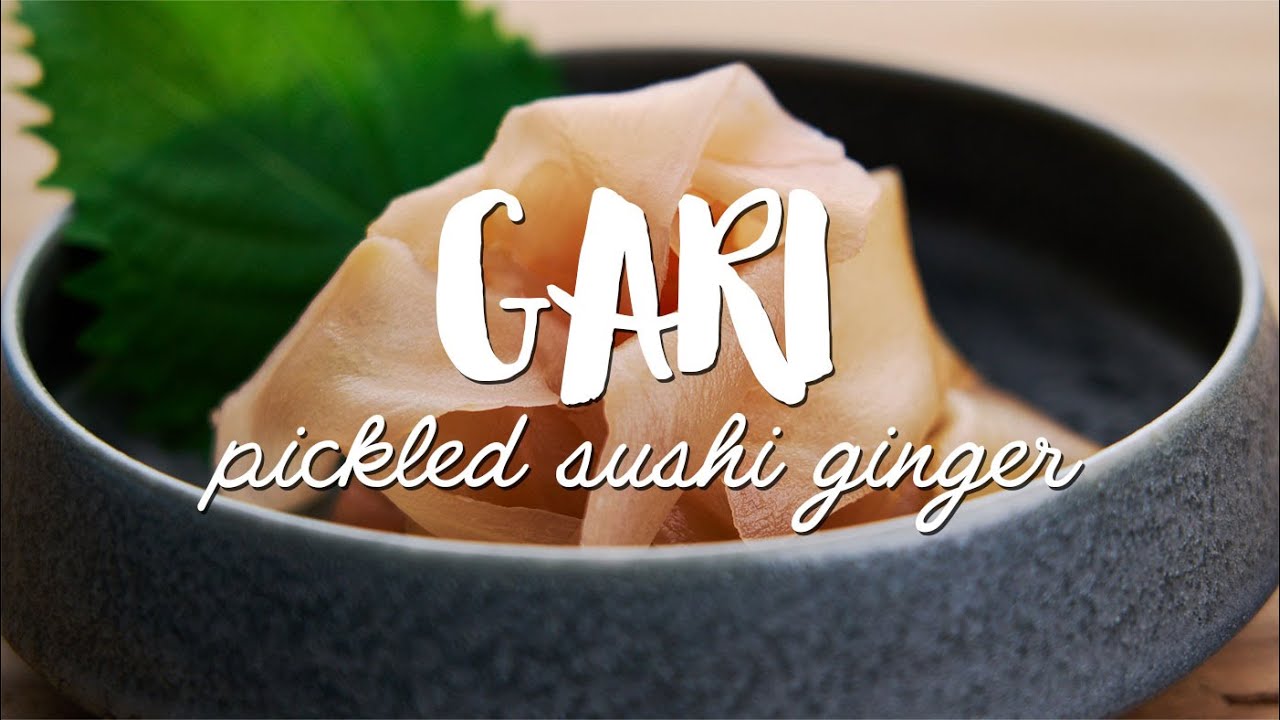
Pickled Ginger Recipe: Pickled ginger, known as gari (ガリ) in Japanese, is a staple in sushi restaurants. This sweet, tangy, and slightly spicy condiment is not only delicious but also serves as a palate cleanser between bites of sushi. While store-bought pickled ginger is convenient, making it at home allows you to control the quality, taste, and ingredients—free from artificial preservatives and excessive sugar.
The process is straightforward, requiring just a few ingredients and some patience. Plus, homemade pickled ginger often has a fresher and more vibrant flavor compared to commercial varieties. Let’s dive into the step-by-step process of making your own pickled ginger at home!
Ingredients Required
To make authentic pickled ginger, you’ll need the following ingredients:
Main Ingredients:
- Fresh young ginger (100-150g) – Young ginger is best for pickling because it’s tender and has a milder, less fibrous texture.
- Rice vinegar (½ cup / 120ml) – Traditional and mild vinegar that enhances the taste.
- Sugar (3 tbsp / 40g) – Adds sweetness and balances acidity.
- Salt (1 tsp / 5g) – Helps soften the ginger and enhance flavor.
Optional Ingredients:
- Red shiso leaves (for natural pink color, if available)
- Mirin (adds extra depth of sweetness)
Choosing high-quality ingredients ensures the best-tasting pickled ginger. Avoid using old, tough ginger as it won’t absorb the flavors as well.
Equipment Needed
Before starting, make sure you have the following tools ready:
- Sharp knife or mandoline slicer – For cutting the ginger into thin slices.
- Small pot – For boiling the pickling liquid.
- Sterilized glass jar – To store the pickled ginger properly.
- Spoon or chopsticks – For mixing.
Having the right tools ensures precision and efficiency while making your pickled ginger.
How to Make Pickled Ginger – Step by Step Guide
Step 1: Preparing the Ginger
- Selecting the Ginger: Choose fresh young ginger that is smooth, slightly pink at the base, and not too fibrous.
- Peeling the Skin: Use a spoon to scrape off the skin instead of a knife. This prevents wasting too much of the ginger.
- Slicing Thinly: Cut the ginger into ultra-thin slices using a sharp knife or mandoline. The thinner, the better!
Proper preparation of ginger is crucial as it allows the pickling liquid to penetrate evenly, resulting in the perfect balance of flavors.
Step 2: Salting the Ginger
- Sprinkle 1 tsp of salt over the sliced ginger.
- Let it sit for 10-15 minutes. This step helps draw out excess moisture and reduces the sharp spiciness.
- Rinse the ginger thoroughly under cold water to remove excess salt.
- Boil for 1-2 minutes to further soften the texture. Drain and let cool.
Salting helps mellow out the sharp bite of fresh ginger, making it more palatable after pickling.
Step 3: Preparing the Pickling Liquid
- In a small pot, combine:
- ½ cup rice vinegar
- 3 tbsp sugar
- A pinch of salt
- Bring to a gentle boil over medium heat, stirring until the sugar dissolves completely.
- Remove from heat and let it cool slightly.
This mixture serves as the foundation for pickling the ginger, giving it the signature sweet-tangy flavor.
Step 4: Combining Ginger and Pickling Liquid
- Place the prepared ginger slices into a sterilized glass jar.
- Pour the warm pickling liquid over the ginger, ensuring all slices are submerged.
- Seal the jar tightly and let it cool at room temperature.
- Refrigerate for at least 24 hours before eating. The longer it sits, the better the flavor.
At this stage, if you used young ginger, you’ll notice it turning a light pink color naturally. This is due to the reaction between the ginger’s pigments and vinegar.
Step 5: Storing and Waiting
- Store the jar in the refrigerator for up to 2-3 months.
- For the best taste, let it sit for at least 3 days before consuming.
- Always use a clean spoon to take out the ginger to avoid contamination.
The waiting period allows the flavors to fully develop, resulting in delicious, tangy pickled ginger.
How to Use Pickled Ginger
While it’s commonly paired with sushi, there are many other ways to enjoy pickled ginger:
- In stir-fries and salads – Adds a refreshing zing.
- As a garnish for grilled meats – Enhances the flavor profile.
- With rice bowls and noodles – Adds a unique depth of flavor.
FAQs About Pickled Ginger Recipe
1. What is pickled ginger made of?
Pickled ginger, also known as gari, is made from thinly sliced fresh ginger, rice vinegar, sugar, and salt. Young ginger is preferred for its tender texture and mild flavor.
2. Why is pickled ginger pink?
Naturally, young ginger turns pink when pickled due to its anthocyanin content. However, some store-bought versions may use artificial coloring to enhance the pink hue.
3. How long does homemade pickled ginger last?
Properly stored in an airtight container in the refrigerator, homemade pickled ginger can last up to 3 months. Always use a clean utensil to avoid contamination.
4. Can I use old ginger instead of young ginger?
Yes, but old ginger has a tougher texture and spicier taste, making it less ideal for pickling. If using old ginger, slice it extra thin and soak in hot water to soften it before pickling.
5. What dishes can I eat with pickled ginger?
Pickled ginger pairs well with sushi, sashimi, stir-fries, noodle dishes, and even salads. It also helps cleanse the palate between bites.
6. Is pickled ginger healthy?
Yes! Pickled ginger is low in calories and rich in antioxidants. It aids digestion, reduces nausea, and has anti-inflammatory properties. However, be mindful of sugar and sodium levels if consuming in large amounts.
7. Can I reuse the pickling liquid?
Yes! The leftover pickling liquid can be used as a salad dressing, a marinade for seafood, or even in cocktails for a tangy twist.
Conclusion
Making pickled ginger at home is easier than you think, and the results are far superior to store-bought versions. By using fresh ingredients and following this step-by-step guide, you’ll have a delicious, preservative-free condiment ready to enjoy with your favorite dishes.
So, why not give it a try? Once you taste homemade pickled ginger, you’ll never want to go back to store-bought!