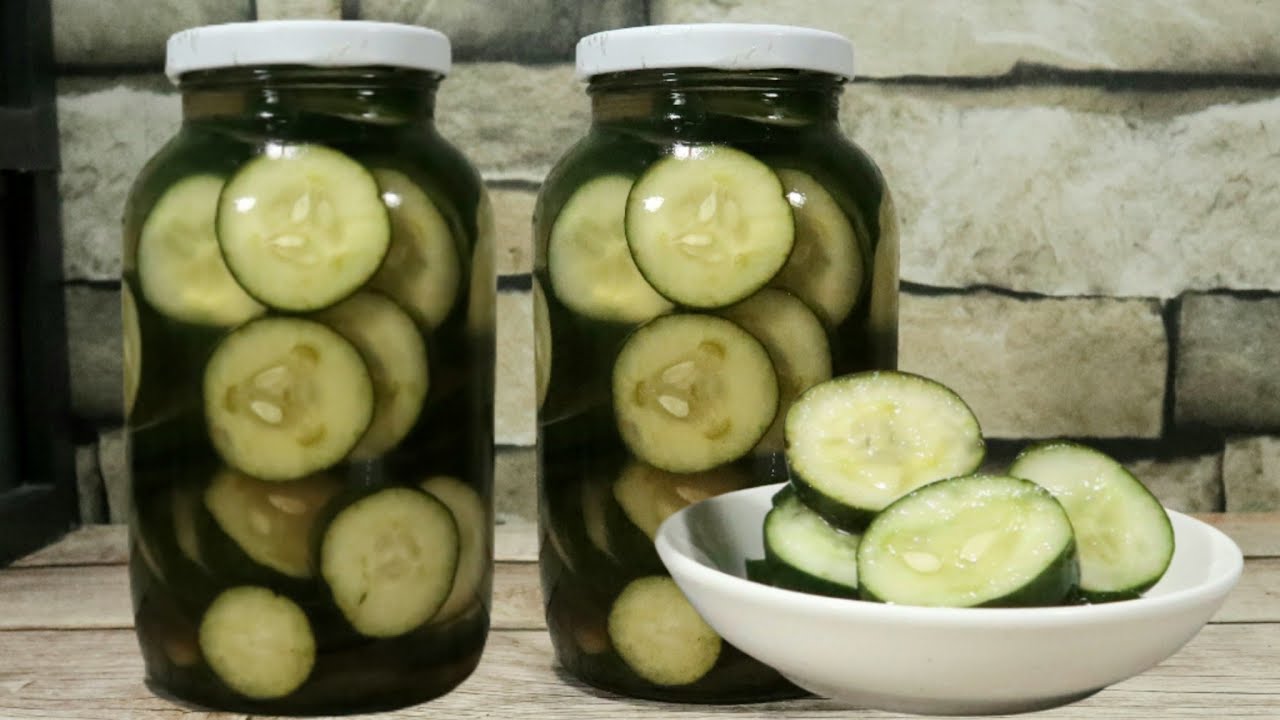
Pickled Cucumber Recipe: Pickled cucumbers, often simply called pickles, are cucumbers that have been preserved in a brine or vinegar solution. These tangy, crunchy delights are a staple in many households, served alongside sandwiches, burgers, or eaten straight from the jar. Pickling not only enhances the flavor of cucumbers but also extends their shelf life, allowing you to enjoy garden-fresh taste all year round.
Pickling dates back thousands of years and was used as a method to preserve food for long journeys and winters. What makes pickled cucumbers stand out is their versatility—they can be sweet, sour, spicy, or garlicky depending on the ingredients you choose.
Why Pickling Is Popular Around the World
From Korean kimchi to Indian achar, cultures worldwide embrace pickling. In the United States, dill pickles are a fan favorite, while in Eastern Europe, fermented pickles made with just salt and water are prized for their probiotic benefits. The ease and flexibility of the pickling process make it a favorite among home cooks and chefs alike.
Ingredients You’ll Need
Main Ingredients
Before you start, gather the following basic ingredients:
- Fresh cucumbers (preferably pickling cucumbers like Kirby or Persian)
- White vinegar or apple cider vinegar
- Water
- Kosher salt or pickling salt
- Sugar (optional for sweet pickles)
- Garlic cloves
- Fresh dill (or dill seed)
The vinegar preserves the cucumbers and gives them their characteristic tang. Salt helps in preservation and flavor, while dill and garlic add depth. You can tweak the sugar quantity to adjust the sweetness to your liking.
Optional Add-ins for Extra Flavor
Want to spice things up? Try these optional ingredients:
- Red pepper flakes for heat
- Mustard seeds for tang
- Black peppercorns for bite
- Bay leaves for aroma
- Onion slices for a sweet zing
Customizing your pickle mix lets you create a jar tailored exactly to your taste preferences.
Types of Cucumbers for Pickling
Best Varieties to Use
Not all cucumbers are created equal when it comes to pickling. Here are some top picks:
- Kirby Cucumbers: Short, bumpy, and ideal for crunchiness.
- Persian Cucumbers: Thin-skinned and tender, they soak in flavors well.
- Gherkins: Small and crisp, these are great for snack-size pickles.
These varieties hold up well in brine and retain their crunch, making them perfect candidates for homemade pickles.
What to Avoid
Stay away from large salad cucumbers with thick skins and lots of seeds. These tend to become mushy in brine and lack the desired crisp texture. Also, avoid cucumbers with wax coating as it prevents the brine from penetrating the cucumber fully.
Tools Required for Pickling Cucumbers
Essential Kitchen Tools
Here’s what you’ll need to get started:
- Glass mason jars with lids
- Large pot for boiling brine
- Cutting board and sharp knife
- Measuring cups and spoons
- Funnel (optional but helpful)
If you’re planning to make pickles regularly, investing in a jar lifter and a canning rack can make the process smoother and safer.
Tips for First-Time Picklers
- Sterilize your jars: This is crucial to prevent contamination.
- Use fresh, firm cucumbers: Soft cucumbers lead to soggy pickles.
- Taste your brine before adding it: Adjust seasoning as needed.
- Leave space at the top: A ½ inch headspace in the jar helps with proper sealing.
With the right prep, even a beginner can become a pickle pro in no time.
Step-by-Step Guide to Making Pickled Cucumbers
Step 1: Wash and Prepare Cucumbers
Start by washing your cucumbers under cold running water. Scrub gently to remove any dirt. Trim the ends, especially the blossom end, which contains enzymes that can soften the pickles. You can slice them into spears, chips, or leave them whole depending on your preference.
Once cut, you might soak the cucumbers in ice water for a couple of hours to enhance their crunch. This step is optional but highly recommended for ultra-crispy pickles.
Step 2: Make the Brine
In a large pot, combine:
- 2 cups water
- 2 cups vinegar
- 2 tablespoons kosher salt
- 1 tablespoon sugar (optional)
Bring to a gentle boil, stirring until the salt and sugar are dissolved. You can scale this recipe based on how many jars you plan to fill. Let the brine cool slightly before pouring it over cucumbers.
Step 3: Pack Jars Properly
Now it’s time to pack your jars. Make sure they’ve been sterilized—this is essential to prevent unwanted bacteria. Start by placing a few cloves of garlic and sprigs of dill at the bottom of each jar. Then, tightly pack in your cucumber slices or spears. Don’t crush them, but fit as many as you can comfortably.
Leave about ½ inch of space at the top to allow for proper sealing. If you’re using additional spices like mustard seeds, peppercorns, or chili flakes, now’s the time to sprinkle those in between the layers.
Proper packing ensures the cucumbers remain submerged in the brine and absorb flavor evenly. It’s also important to keep everything upright for better presentation, especially if you’re gifting your pickles or storing them for long periods.
Step 4: Add Spices and Herbs
Spices are where the magic happens. Your pickles can be classic and simple, or bold and adventurous depending on your spice mix. A traditional mix might include:
- 1 teaspoon mustard seeds
- 5-6 black peppercorns
- 2 sprigs of fresh dill or 1 teaspoon dried dill
- 1 or 2 bay leaves
- 1 clove of garlic (smashed)
Want to go bold? Add red pepper flakes, a few slices of jalapeño, or some coriander seeds. You can experiment with cinnamon sticks and cloves for a sweet-and-spicy twist.
Distribute the herbs and spices evenly across all jars. This way, each batch will be consistently flavored and delicious.
Step 5: Pour in the Brine and Seal
Once your jars are packed and ready, carefully pour the slightly cooled brine into each jar. Use a funnel if necessary to avoid spills. Make sure the cucumbers are completely submerged. If they float, gently press them down with a clean spoon or add a weight designed for pickling.
Wipe the rims of the jars with a clean cloth to remove any residue. Then, place the lids on tightly.
If you’re making refrigerator pickles, simply let the jars cool to room temperature, then refrigerate. They’ll be ready in 24-48 hours and will last for up to two months.
For shelf-stable pickles, process the jars in a boiling water bath for 10 minutes, then let them cool on the counter. You’ll hear the satisfying “pop” of a sealed lid—that’s when you know you’ve done it right.
How Long Do Pickled Cucumbers Last?
Shelf Life of Refrigerator vs. Canned Pickles
How long your pickled cucumbers last largely depends on how you store them. Refrigerator pickles are the easiest to make but come with a shorter shelf life. Typically, they stay fresh for about 6 to 8 weeks when kept in a tightly sealed jar and consistently refrigerated. Over time, they may lose some of their crispness but remain safe to eat if there’s no mold, foul odor, or sliminess.
On the other hand, canned or processed pickles—those that have gone through a boiling water bath—can last for up to a year or longer if kept in a cool, dark pantry. Once opened, however, they should be refrigerated and consumed within 1 to 2 months for the best flavor and texture.
Signs Your Pickles Have Gone Bad
Even though pickles are preserved, they can spoil. Look out for:
- Bulging lids
- Mold or cloudy brine
- Off-putting smell
- Soft, mushy texture
If you notice any of these signs, it’s best to toss the pickles. Safety first, always!
Tips for Making the Best Pickles
Secrets to Crunchy, Flavorful Pickles Every Time
Want ultra-crisp, flavor-packed pickles? Here are some tried-and-true tips:
- Use Fresh Cucumbers: Ideally, cucumbers should be pickled within 24 hours of harvesting or buying.
- Trim the Blossom End: The blossom end contains enzymes that can soften pickles. Always remove it.
- Soak in Ice Water: Soaking cucumbers in ice water for 1-2 hours before pickling can help lock in that crunch.
- Use Pickling Salt: Unlike table salt, pickling salt has no additives and dissolves easily.
- Don’t Overprocess: If you’re canning, don’t boil the jars too long. Overprocessing leads to softer pickles.
- Store in a Cool, Dark Place: Light and heat can break down the texture and flavor of pickles over time.
These simple steps make a noticeable difference in the quality of your pickled cucumbers.
Creative Ways to Use Pickled Cucumbers
Beyond the Sandwich – Culinary Uses You’ll Love
Pickled cucumbers aren’t just for burgers and hot dogs—they’re incredibly versatile in the kitchen. Here are some creative ideas to try:
- Chop them into potato salad for a tangy twist.
- Top tacos or wraps for added crunch and flavor.
- Mix into deviled eggs for a zesty upgrade.
- Serve as part of a charcuterie board with meats and cheeses.
- Add to Bloody Marys as a garnish or flavor boost.
- Dice and mix into tuna or chicken salad for an acidic punch.
They’re also great as a snack on their own—cold, crunchy, and totally addictive. If you’re feeling adventurous, you can even blend them into dips or sauces for a fresh, tangy bite.
Health Benefits of Pickled Cucumbers
More Than Just a Tasty Treat
While pickles are often seen as just a condiment, they can actually offer some impressive health perks:
- Low in Calories: A single pickle spear is often under 10 calories—perfect for guilt-free snacking.
- Good Source of Probiotics (if fermented): Fermented pickles help improve gut health thanks to their live cultures.
- Hydrating: Cucumbers are high in water content, which helps keep you hydrated.
- Rich in Antioxidants: Especially if you add garlic, dill, and spices.
- May Help with Muscle Cramps: Due to their high sodium and vinegar content, some athletes swear by pickle juice for cramp relief.
Just keep in mind that pickles are high in sodium, so moderation is key.
Troubleshooting Common Pickling Problems
Fixing Cloudy Brine, Soft Pickles, and More
Even seasoned picklers run into occasional issues. Here’s how to handle the most common ones:
- Cloudy Brine: Often caused by using table salt with anti-caking agents or from natural fermentation. If your brine smells fine and there’s no mold, it’s usually safe to eat.
- Soft Pickles: Caused by overripe cucumbers or improper storage. Always trim the blossom end and use ice water soak.
- Floating Cucumbers: Not packed tightly enough. Try using a fermentation weight or press down with a clean spoon.
- Jar Didn’t Seal: If you’re canning and a jar didn’t seal properly, refrigerate it and consume it soon.
Knowing how to troubleshoot saves you time and ensures every batch is a success.
Storing and Labeling Your Homemade Pickles
Keeping Track of Flavors and Dates
Once your jars are sealed and cooled, it’s important to label them. A good label includes:
- The date of pickling
- The type of pickles (e.g., Garlic Dill Spears, Spicy Chips)
- Any unique ingredients or flavor variations
Use waterproof markers or printable labels to keep your pantry looking organized and your pickling consistent. Proper labeling also helps you rotate older jars to the front, so nothing goes to waste.
Store jars in a cool, dark place, like a basement or pantry. Avoid direct sunlight, which can degrade both flavor and texture. Once opened, always refrigerate your pickles and consume them within 1–2 months for the best quality.
Scaling Up: Making Pickled Cucumbers in Bulk
For Gifts, Farmers Markets, or Big Families
Once you’ve mastered the basics, why not scale up your operation? Bulk pickling is perfect if you have an abundant cucumber harvest or want to make thoughtful, homemade gifts.
Here’s how to do it smoothly:
- Use large food-grade buckets to prepare and brine cucumbers before packing.
- Sterilize multiple jars at once using a large canner.
- Invest in bulk spices and pickling supplies to save money.
- Keep detailed notes of your spice ratios and process for consistency.
Homemade pickles with personalized labels make for charming gifts at holidays, birthdays, or housewarmings. Just be sure to remind recipients to refrigerate or consume by a certain date.
FAQs about Pickled Cucumber Recipe
Q1: How long do homemade pickled cucumbers last?
Homemade pickled cucumbers can last up to 2–3 months when stored in the refrigerator in an airtight jar. For longer shelf life, use proper canning methods.
Q2: Do I need to boil the brine?
Yes, boiling the brine helps dissolve the salt and sugar thoroughly and extracts flavor from the spices. It also ensures better preservation of the cucumbers.
Q3: Can I reuse the pickling brine?
It’s not recommended to reuse brine for new cucumbers, as it may be diluted and less effective. However, you can reuse it in salad dressings or marinades for extra flavor.
Q4: What type of cucumbers are best for pickling?
Kirby cucumbers or Persian cucumbers are ideal. They’re small, firm, and have fewer seeds, which helps maintain a crunchy texture after pickling.
Q5: How soon can I eat pickled cucumbers after making them?
You can start enjoying them after 24–48 hours, but for the best flavor, let them sit for at least 5–7 days in the fridge.
Q6: Can I make pickled cucumbers without vinegar?
Vinegar is essential for the traditional pickling process because it creates the acidic environment needed for preservation and tangy flavor.
Conclusion
Whether you’re a first-time pickler or a seasoned brine master, making pickled cucumbers at home is satisfying, fun, and rewarding. From selecting the freshest cucumbers to experimenting with spices, the possibilities are endless. With just a few ingredients and some simple tools, you can turn everyday cucumbers into jars of tangy, crunchy goodness that last for months.
Homemade pickles are more than just a tasty snack—they’re a reflection of your personal taste and creativity. So grab some jars, roll up your sleeves, and start your pickling adventure today!


