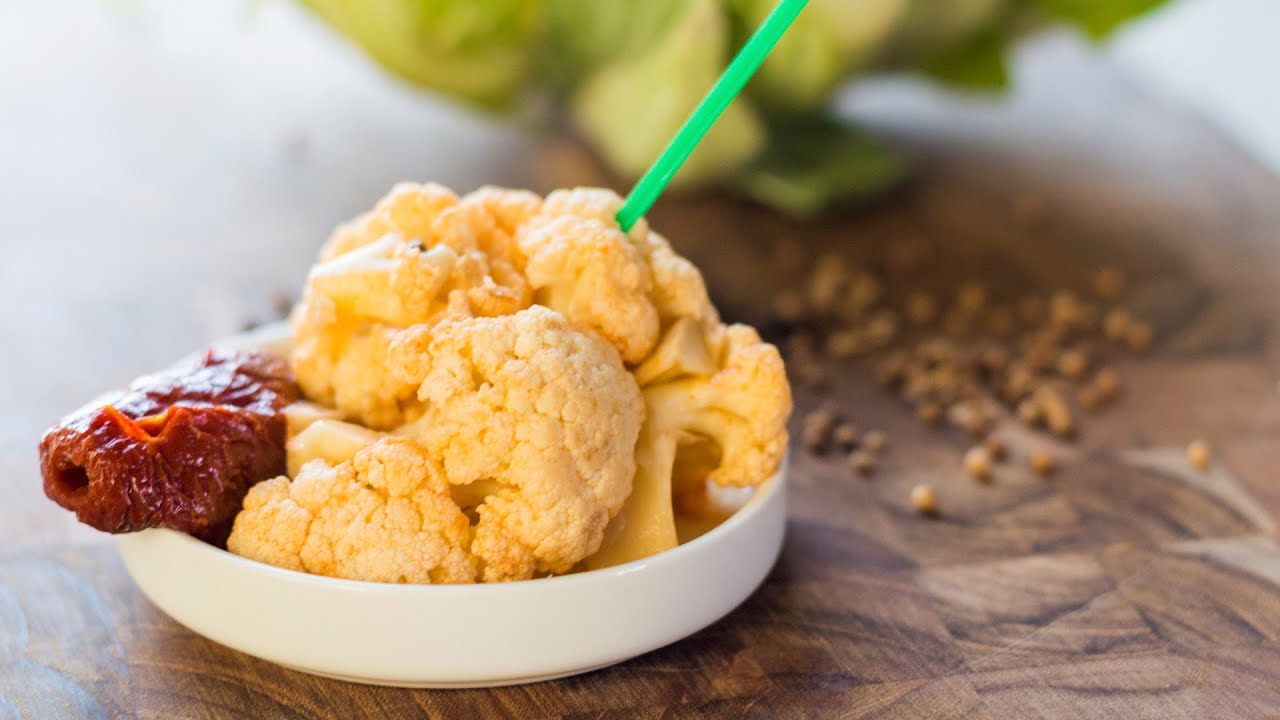
Pickled Cauliflower Recipe: Pickled cauliflower isn’t just a tangy treat—it’s a game-changer for your pantry, snack routine, and even your gut.
Whether you’re a fan of traditional canning or prefer the quick-pickle fridge method, this guide walks you through it all in the easiest, tastiest way possible.
What Makes Pickled Cauliflower So Special?
Let’s be honest—cauliflower doesn’t usually get much of the spotlight. But once you dunk it into a flavorful, zesty brine and let it sit, magic happens. It turns into a crunchy, sour-sweet bite that packs a punch and elevates any meal. You get the perfect balance between tangy, salty, and slightly sweet, with endless ways to tweak the recipe to suit your taste.
And it’s not just a sidekick—pickled cauliflower holds its own on appetizer platters, inside wraps, or straight out of the jar.
A Versatile Addition to Your Pantry
One of the coolest things about pickled cauliflower is its versatility. Throw it on a taco for extra crunch, mix it into pasta salads for a zingy contrast, or just munch on it as a healthy snack. You’ll quickly realize why so many people make this a staple.
Whether you’re a meal prep wizard or a casual home cook, having a jar of this in your fridge is like having a secret weapon ready to go.
Health Benefits of Pickled Cauliflower
Cauliflower is already a powerhouse veggie—it’s low in calories but rich in fiber, vitamin C, and antioxidants. Pickling it doesn’t erase those benefits. In fact, if you go the fermentation route, you’re adding probiotics into the mix, which are amazing for gut health.
Even in quick-pickled form, you’re avoiding added sugars and preservatives found in store-bought options. Win-win.
Plus, the acetic acid in vinegar can help with blood sugar control and has mild antimicrobial properties. So while you’re treating your taste buds, you’re also doing your body a solid.
Types of Pickling Methods
Quick Pickling
This is the beginner-friendly method. You boil a vinegar-based brine, pour it over your veggies, and store it in the fridge. It’s ready in a day or two and lasts a few weeks. No fancy gear or wait time required.
Fermented Pickling
This is more traditional and involves letting the cauliflower sit in a saltwater brine at room temperature for several days. It creates natural probiotics through fermentation. It takes a bit more time and patience but is incredibly flavorful.
Choose the method that fits your vibe. Want something now? Go quick. Want a deeper flavor and gut boost? Try fermentation.
Essential Ingredients You’ll Need
Here’s a handy list to get started:
Core Ingredients
- 1 large head of cauliflower (cut into florets)
- 1 ½ cups white vinegar (5% acidity)
- 1 ½ cups water
- 1 tbsp kosher salt or pickling salt
- 1 tbsp sugar (optional)
- 3–4 garlic cloves (smashed)
- 1 tsp mustard seeds
- 1 tsp black peppercorns
- ½ tsp crushed red pepper (optional)
Optional Add-ins for Flavor
- Fresh dill sprigs
- Sliced carrots
- Sliced jalapeños or serrano peppers
- Curry powder or turmeric
- Bay leaves
Mix and match to customize your own blend. Want heat? Add chilis. Want earthy depth? Throw in turmeric or curry powder.
Equipment Checklist
Before diving in, make sure you’ve got the right tools:
- Sharp knife and cutting board
- Large pot (for boiling brine)
- Mason jars (pint or quart-sized)
- Funnel (makes pouring brine easier)
- Tongs or slotted spoon
- Clean towels or paper towels
- Labels for dating your jars
You don’t need anything fancy, just kitchen basics and a clean workspace.
Preparation Tips Before You Start
Prepping the Cauliflower
- Remove outer leaves and stem
- Cut into uniform florets for even pickling
- Blanch for 1–2 minutes if you prefer softer texture (optional)
Cleaning and Sanitizing Jars
This is important even if you’re doing refrigerator pickles.
- Wash jars and lids in hot soapy water
- Rinse thoroughly
- Sterilize by boiling in water for 10 minutes or running through a dishwasher on high heat
Clean tools = safe, tasty pickles.
Step-by-Step Pickled Cauliflower Recipe (Quick Pickling)
Step 1: Chop the Cauliflower
Cut the head into small florets. Aim for bite-sized pieces so they fit easily into jars and absorb brine evenly.
Step 2: Prepare the Brine
In a pot, combine vinegar, water, salt, and sugar. Bring to a boil, stirring to dissolve. Add your spices—garlic, mustard seeds, peppercorns—during the simmer to infuse more flavor.
Step 3: Pack the Jars
Place cauliflower and any optional veggies (like carrots or peppers) into the jar tightly but not crammed. Toss in dill or bay leaves if using.
Step 4: Pour in the Hot Brine
Using a funnel, pour the hot brine into the jars, covering everything fully. Leave about ½ inch of headspace at the top.
Step 5: Seal and Cool
Wipe the rim, screw on the lid, and let the jars cool to room temperature. You’ll hear a pop if it seals—but for fridge pickles, this isn’t critical.
Step 6: Refrigerate and Wait
Pop them into the fridge and let them sit for at least 24 hours—72 is even better. The longer they sit, the more flavor you get.
Step-by-Step Pickled Cauliflower Recipe (Fermented Version)
If you’re going for that old-school, probiotic-rich method, this section’s for you. Fermented cauliflower pickles take a bit longer but give you deep, tangy, and complex flavor that quick pickling just can’t match.
Step 1: Salt Brine Ratio
You’ll need a simple saltwater brine—non-iodized salt is best, like kosher or pickling salt.
- Mix 1 tablespoon of salt per 2 cups of water. Use filtered or distilled water (chlorine can interfere with fermentation).
- Stir until completely dissolved.
This is your fermentation base. No vinegar needed here—natural lactic acid will do the job!
Step 2: Pack the Cauliflower
- Place garlic, spices, and any herbs in the bottom of a clean mason jar.
- Add cauliflower florets and any optional veggies, packing them down tightly but leaving 1 inch of headspace.
- Pour the salt brine over the veggies, ensuring everything is fully submerged.
Use a fermentation weight, clean rock, or even a ziplock bag filled with extra brine to keep everything below the surface.
Step 3: Let It Ferment
- Cover the jar with a lid or a fermentation airlock.
- Keep it in a cool, dark place (around 65-75°F or 18-23°C) for 5–10 days.
Check daily for bubbles and flavor. When it’s tangy enough, move it to the fridge. It will keep fermenting slowly and can last several months refrigerated.
Flavor Variations You’ll Love
Here’s where the fun begins! You can play around with bold spices, global flavors, or your own signature style.
Spicy Pickled Cauliflower
Love heat? Add:
- Sliced jalapeños or red chili flakes
- Whole dried arbol chilis
- Cayenne pepper to the brine
It adds heat without overpowering the cauliflower’s natural crunch.
Garlic and Dill Infusion
A timeless combo:
- 4–5 garlic cloves (sliced or smashed)
- A handful of fresh dill sprigs
- 1 tsp dill seed (optional)
It’s herbaceous, aromatic, and fantastic with sandwiches.
Curry-Style Pickled Cauliflower
For a bold twist:
- Add 1 tsp turmeric and 1 tsp curry powder to the brine
- Include mustard seeds and a pinch of cumin
You’ll get a deep golden color and a warm, earthy taste that pairs beautifully with rice dishes and flatbreads.
Storage Tips
Refrigerator Pickles
- Store in the fridge for up to 2–3 months.
- Always use a clean utensil to remove cauliflower.
- Discard if the brine becomes cloudy with slime or the smell turns off.
Canned Pickles (For Long-Term Storage)
If you want to preserve your cauliflower for up to a year:
- Process the sealed jars in a boiling water bath for 10 minutes.
- Let them sit undisturbed for 12–24 hours to seal properly.
- Store in a cool pantry.
Label with the date so you always know how fresh they are!
Serving Suggestions
So you’ve made your perfect batch—now what?
Charcuterie Boards and Snacks
Pile your pickled cauliflower next to cheese, olives, nuts, and cured meats. It adds crunch and acidity that balances rich flavors.
Toss in Salads
Dice it into potato salads, grain bowls, or coleslaw for a zippy punch.
Inside Wraps or Tacos
Add them to vegetarian wraps, chicken tacos, or falafel sandwiches for bold texture and taste.
With Grilled or Roasted Dishes
Serve them as a side with grilled meats or roasted veggies. The tangy edge cuts through heavier flavors and brightens the dish.
Troubleshooting Common Issues
Even seasoned picklers run into problems. Here’s how to handle a few common ones:
Cloudy Brine
This can happen from spices or minerals in your salt—not always a problem. But if it’s paired with slimy veggies or an off smell, it’s time to toss.
Soft or Mushy Cauliflower
Usually caused by overcooking or not using enough salt or vinegar. Always go with firm, fresh florets and chill the brine quickly after pouring.
Brine Doesn’t Cover the Veggies
This is a no-go! Exposed cauliflower will spoil fast. Add extra brine or weigh them down properly.
FAQs about Pickled Cauliflower Recipe
1. What’s the difference between fermented and quick-pickled cauliflower?
Quick pickling uses vinegar and refrigeration for flavor, while fermentation relies on salt and time to create natural probiotics and a deeper flavor profile.
2. Is pickled cauliflower keto-friendly?
Yes! Just skip the sugar in the brine. It’s low in carbs and perfect for keto or low-carb diets.
3. Can I can my pickled cauliflower without a water bath?
Not safely. If you’re storing outside the fridge long-term, always process the jars in a boiling water bath.
4. How do I make my cauliflower extra crunchy?
Don’t over-blanch or overfill the jar. You can also add a grape leaf or black tea bag, which contains tannins that help preserve crunch.
5. Why does my cauliflower turn yellow in the brine?
It’s likely due to spices like turmeric or curry. It’s totally normal and safe—it even adds extra flavor!
Conclusion
Pickled cauliflower is one of those recipes that seems simple—but unlocks a world of flavor, nutrition, and creativity. Whether you go for a quick pickle or traditional ferment, you’re guaranteed something delicious and totally customizable. Once you’ve tried it, you’ll find endless ways to use it and experiment with your own twist.
So grab that head of cauliflower, clean out a few jars, and let’s get pickling—you’re just a few steps away from your new favorite snack.