Peppermint Patty Recipe: There’s something truly magical about the cool, refreshing blast of peppermint wrapped in silky, smooth chocolate. Whether you’re craving a sweet post-dinner treat, prepping for the holidays, or just looking to indulge your inner chocoholic, peppermint patties hit the spot every single time. And guess what? You don’t have to run to the store or settle for artificial ingredients. With this easy step-by-step guide, you’ll whip up your very own homemade peppermint patties that taste even better than the packaged kind.
Let’s get right into it—this is going to be delicious!
Benefits of Making Homemade Peppermint Patties
Why should you bother making peppermint patties at home when the candy aisle is fully stocked? Well, once you take your first bite of a homemade one, you’ll get it. The freshness of real peppermint extract, the creamy interior, and the rich chocolate coating—it’s an experience.
Here’s why DIY is better:
- Cleaner Ingredients: You get to skip all the unpronounceable additives found in commercial versions.
- Customization: Love dark chocolate? Prefer extra mint? Want to go sugar-free? No problem.
- Gifting Made Easy: Wrap these beauties in foil or pack them in a cute jar—they’re the perfect edible gift.
- Cost-Effective: A small batch at home can save you serious money during the holidays.
Plus, let’s not forget the sheer joy of biting into something you made from scratch. It’s like winning at life—one patty at a time.
List of Ingredients You’ll Need
Here’s everything you’ll need to create these minty bites of bliss:
For the Peppermint Filling:
- 2 ½ cups powdered sugar (sifted)
- 2 tablespoons unsalted butter, softened
- 2 tablespoons heavy cream or milk
- 1 to 1½ teaspoons peppermint extract
- A pinch of salt
For the Chocolate Coating:
- 12 oz semi-sweet or dark chocolate chips
- 1 tablespoon coconut oil or shortening (for smooth melting)
Optional:
- Crushed candy canes (for topping)
- White chocolate drizzle for decoration
Make sure your ingredients are room temperature unless specified—this helps everything blend smoothly. And don’t skimp on the peppermint extract; it’s the star of the show!
Essential Kitchen Tools Required
Let’s talk gear. You don’t need a professional kitchen, but having the right tools makes the process smoother.
- Mixing bowl
- Electric mixer (hand or stand)
- Spatula
- Baking sheet
- Parchment paper
- Double boiler or microwave-safe bowl
- Forks or dipping tool
- Freezer or fridge space
No stand mixer? No problem. A sturdy whisk and some elbow grease will get the job done just fine. But if you’ve got a mixer—this is the time to use it.
Step-by-Step Guide to Making Peppermint Patties
Step 1: Gather Your Ingredients and Tools
Before starting, prepare all your ingredients—powdered sugar, sweetened condensed milk or regular milk, peppermint extract, and chocolate. Set out tools like mixing bowls, parchment paper, a baking sheet, and dipping forks. Having everything ready (mise en place) keeps the process smooth and prevents last-minute scrambling.
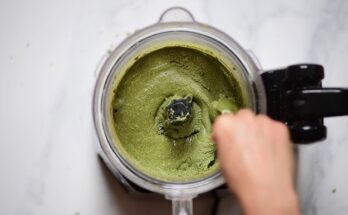
Step 2: Make the Peppermint Filling
In a bowl, mix powdered sugar, peppermint extract, and milk until a thick, dough-like consistency forms. Add milk gradually to avoid making it too sticky. The texture should be firm enough to shape but still soft. If it sticks to your hands, knead in a little more powdered sugar.
Step 3: Shape the Filling
Scoop small portions and roll them into balls, then flatten gently into discs. Aim for uniform sizes so they coat evenly in chocolate. Place the shaped patties on parchment paper to prevent sticking.
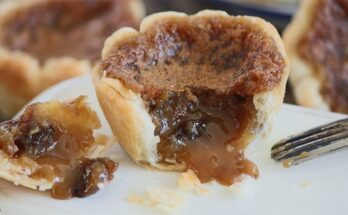
Step 4: Freeze the Patties
Freeze the patties for 20–30 minutes. Chilling helps them stay firm during dipping. If you skip this step, the filling may melt or break apart when coated in warm chocolate.
Step 5: Melt the Chocolate Coating
Melt chocolate either in the microwave in short intervals or using a double boiler. Stir constantly to keep it smooth. Choose high-quality dark or semi-sweet chocolate for the best flavor and glossy finish. Avoid overheating to prevent thick or grainy chocolate.
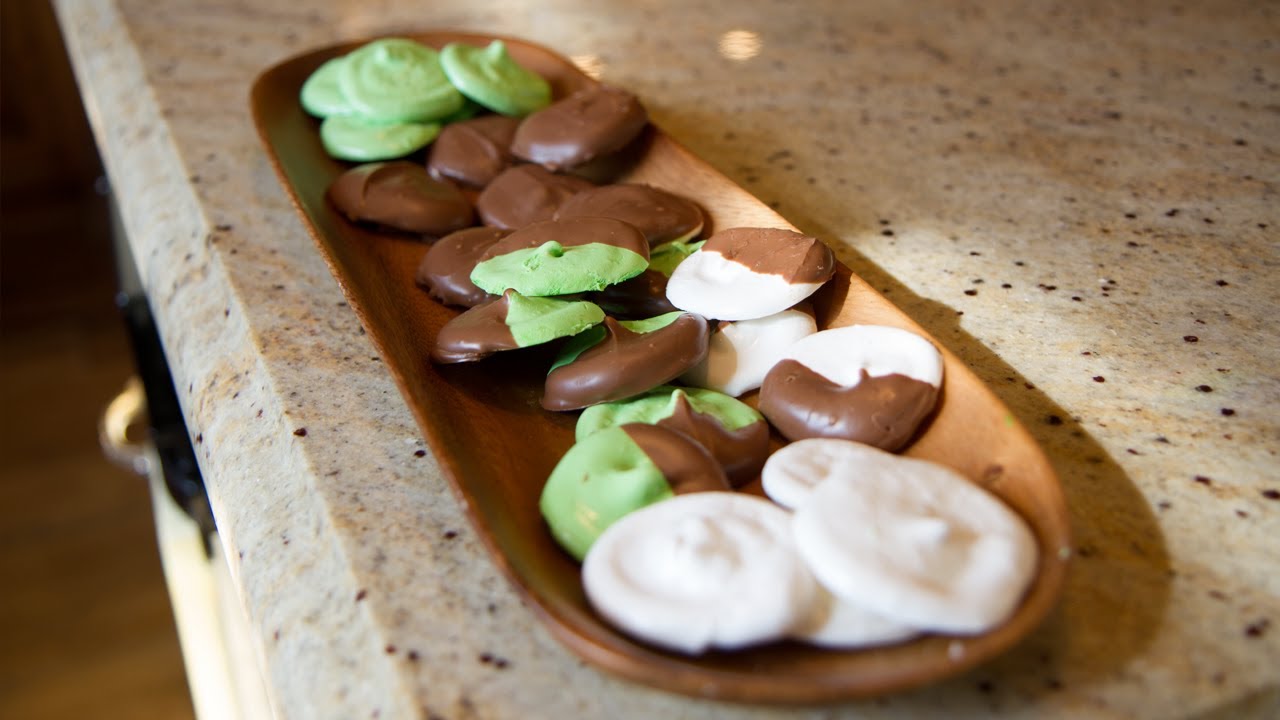
Step 6: Dip the Patties in Chocolate
Use a fork or dipping tool to lower each patty into the melted chocolate. Let excess chocolate drip off before placing them back on parchment. Work quickly so the chocolate doesn’t harden mid-dip.
Step 7: Let the Patties Set
Allow the patties to cool at room temperature or refrigerate briefly until the chocolate hardens. Place them on a non-stick surface for best results.
Step 8: Store Your Peppermint Patties
Store in an airtight container. Refrigeration keeps them fresh for 2–3 weeks, while freezing extends their shelf life to several months. Enjoy whenever you crave a refreshing treat!
Tips and Tricks for the Perfect Peppermint Patties
Want to level up your peppermint patty game? Try these pro tips:
- Don’t overdo the peppermint extract. It’s strong. Start small and taste as you go.
- If the filling is too sticky to shape, chill the dough for 10 minutes.
- Dip with confidence. A hesitant hand creates messy results. Drop, flip, lift, tap.
- Add a dash of vanilla for depth of flavor.
- Use a toothpick to pop air bubbles in the chocolate for a glossy, smooth finish.
The goal is flavor + fun, not perfection. Enjoy the process, and don’t sweat the small stuff.
Variations You Can Try
Peppermint patties are amazing on their own, but sometimes a little creativity can turn a great treat into an unforgettable one. Here are some fun and tasty variations to try if you want to shake things up or cater to different dietary needs.
1. Vegan Peppermint Patties
Want a dairy-free version? Easy. Just swap the butter and milk for plant-based alternatives.
- Use vegan butter or coconut oil instead of regular butter.
- Use almond milk or coconut milk instead of heavy cream.
- Make sure your chocolate chips are dairy-free—many dark chocolate brands are naturally vegan.
The result is just as creamy and minty, without any animal products. Perfect for gifting to vegan friends or enjoying yourself if you’re cutting out dairy.
2. Chocolate Variations
While semi-sweet is the classic coating, there’s no reason you can’t go rogue.
- Dark chocolate (70%+) for a bolder, less sweet flavor
- White chocolate for a totally different vibe (and super pretty!)
- Milk chocolate for those who like things smooth and mellow
- Swirl two chocolates together for a marbled finish
3. Flavor Boosters
Try enhancing your peppermint filling with:
- A splash of vanilla extract for added warmth
- Lemon or orange zest for a citrusy twist
- A tiny pinch of cayenne pepper for a subtle heat (yes, really!)
4. Crunchy Add-ins
Want to add some texture to your patties?
- Mix in crushed candy canes to the filling for a festive crunch
- Sprinkle crushed cookies or chopped nuts on top before the chocolate sets
- Add mini chocolate chips into the filling for an extra layer of decadence
There’s no wrong way to do it. Make them your own, and don’t be afraid to experiment.
When to Serve Peppermint Patties
Sure, peppermint patties are a hit during the holidays, but they’re honestly perfect year-round. Here are some great occasions to whip up a batch:
Holiday Parties
Nothing screams festive quite like mint and chocolate. Serve them at Christmas parties, wrap them as stocking stuffers, or make them part of a holiday cookie tray.
Wedding or Baby Showers
Elegant and easy to customize with different coatings or drizzles, these make adorable favors in tiny bags or boxes.
After-Dinner Treats
Serve a peppermint patty with coffee or espresso after dinner. It’s the perfect palate cleanser—cool, sweet, and refreshing.
Gifting Ideas
Wrap them up with parchment paper and tie them with string. Place in a tin with tissue paper. Add a handwritten note. Boom—thoughtful, homemade gift.
Anytime You Want a Minty Treat
Honestly, who needs a reason? They’re bite-sized mood boosters, and making a batch to stash in your fridge is always a smart move.
Nutritional Information (Per Serving)
Curious about what’s inside each delicious bite? Here’s an approximate breakdown per peppermint patty (assuming you make around 24 from this recipe):
| Nutrient | Amount per Patty |
|---|---|
| Calories | ~120 kcal |
| Total Fat | 6g |
| Saturated Fat | 3.5g |
| Sugar | 14g |
| Carbohydrates | 17g |
| Protein | 1g |
| Fiber | 1g |
These values will vary based on the type of chocolate and milk used, as well as any add-ins. Want to make them healthier? Use dark chocolate, reduce the sugar, or use coconut milk and natural sweeteners.
Why Peppermint and Chocolate Make a Perfect Pair
Ever wonder why peppermint and chocolate are such a legendary duo? There’s actually a bit of science behind the obsession.
Mint = Cool and Fresh. It stimulates your mouth’s cold receptors, giving that refreshing chill.
Chocolate = Warm and Comforting. It coats your mouth with richness and satisfies your sweet tooth.
Together, they create a balanced bite—bright and clean from the mint, cozy and smooth from the chocolate. It’s a flavor combination that feels both indulgent and refreshing, which is why it’s stood the test of time.
Plus, the smell of peppermint boosts alertness and reduces stress, while chocolate literally triggers the release of happy chemicals in your brain. No wonder we can’t stop eating them.
FAQs about Peppermint Patty Recipe
1. Can I make peppermint patties without powdered sugar?
Powdered sugar is key to the smooth, sweet filling. However, you could try using a low-carb powdered alternative like erythritol or monk fruit sweetener for a sugar-free version.
2. What if my filling is too sticky to shape?
Chill the dough for 10–15 minutes, or lightly dust your hands with powdered sugar. You can also add a little more powdered sugar to firm it up.
3. How long do peppermint patties last in the fridge?
Homemade peppermint patties last about 2 weeks in the fridge if stored in an airtight container. For longer storage, freeze them for up to 3 months.
4. Can I use peppermint essential oil instead of extract?
Yes, but use it sparingly—essential oils are extremely potent. Start with just a drop or two and adjust to taste.
5. What’s the best way to gift-wrap homemade peppermint patties?
Wrap each patty in wax paper or foil, then place in a small box or tin with tissue paper. Add a ribbon or tag for a festive touch. Perfect for holidays or party favors!
Conclusion
So there you have it—your complete guide to making rich, refreshing, and totally irresistible peppermint patties from scratch. Whether you’re making them for a holiday gift, a special event, or just to treat yourself, this recipe delivers every single time.
They’re easy to make, endlessly customizable, and guaranteed to impress anyone lucky enough to try one. Plus, there’s something extra satisfying about creating a treat that looks and tastes this good.
So grab your ingredients, roll up your sleeves, and start dipping. Your tastebuds (and maybe your friends) will thank you.
Happy patty-making!