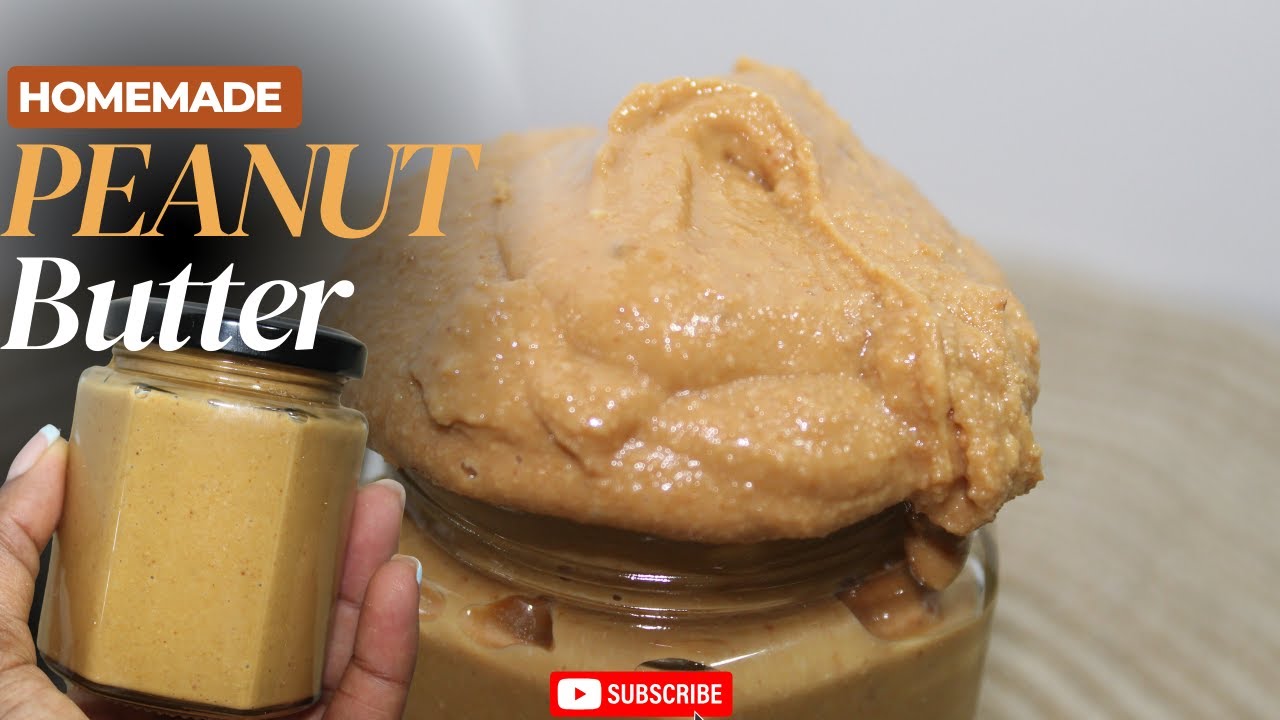
Peanut Butter Recipe: Peanut butter isn’t just a pantry staple—it’s a lifestyle. Whether you’re spreading it on toast, tossing it into smoothies, or spooning it straight from the jar (guilty!), peanut butter has earned its place in our hearts and kitchens. But what if we told you that the store-bought stuff might be hiding more than just peanuts? From preservatives to added sugars and hydrogenated oils, commercial peanut butter often comes with unwanted extras. That’s why making your own peanut butter at home is not just a fun kitchen project—it’s a smarter, healthier choice.
Homemade peanut butter gives you complete control over the ingredients, the texture, and the flavor. It’s easier than you think, requires minimal tools, and once you taste the real deal, you may never go back. Let’s dive into this step-by-step guide to creating creamy, dreamy, all-natural peanut butter from scratch.
Ingredients Needed
To keep things pure and simple, the base recipe for peanut butter only requires one ingredient: peanuts. But of course, you can jazz things up with a few extras.
Basic Ingredients:
- Raw or roasted peanuts (2 cups) – Choose unsalted for more control over flavor.
Optional Add-ins:
- Salt (½ tsp) – Enhances the nutty flavor.
- Honey or maple syrup (1–2 tbsp) – For a hint of sweetness.
- Coconut oil or peanut oil (1–2 tsp) – Helps achieve a creamier texture.
- Cocoa powder or cinnamon – For unique flavor twists.
Want it chunky? Add some crushed peanuts at the end. Craving chocolate? Toss in a few dark chocolate chips. The beauty of homemade peanut butter is you can make it your way.
Tools and Equipment Required
While the ingredients are pretty straightforward, the equipment makes all the difference in how your peanut butter turns out.
Must-Have Tools:
- High-powered blender or food processor – This is your main tool. You need something strong enough to pulverize the peanuts into smooth, creamy butter.
- Spatula – To scrape down the sides during blending.
- Baking tray – If roasting peanuts yourself.
- Airtight jar – For storing the finished product.
Tips for Equipment:
- If using a food processor, expect the process to take a bit longer but yield very smooth results.
- If your blender isn’t heavy-duty, blend in smaller batches and add a touch of oil to help the process along.
Step-by-Step Peanut Butter Recipe
Step 1: Select Your Peanuts
Start by choosing good-quality peanuts. You can go with raw, shelled peanuts or pre-roasted unsalted peanuts. Organic is great if you want to avoid pesticides. Make sure they’re not flavored or salted if you want a blank canvas.
Step 2: Roasting the Peanuts
Roasting brings out that rich, deep flavor we all love. If you’re starting with raw peanuts:
- Preheat your oven to 350°F (175°C).
- Spread the peanuts evenly on a baking tray.
- Roast for about 10–15 minutes, stirring halfway through for even roasting.
- Keep an eye on them—burnt peanuts are bitter!
Roasting not only enhances flavor but also softens the peanuts, making them easier to blend.
Step 3: Cooling and Peeling
Once roasted, let the peanuts cool for about 5–10 minutes. If they have skins, rub them between your hands or in a clean towel to remove the papery outer layer. This step is optional but helps in achieving a smoother butter and reduces bitterness.
Step 4: Blending the Peanuts
Time for the magic! Place your roasted, cooled peanuts in your blender or food processor. Start blending on low, gradually increasing speed. The peanuts will go through several stages:
- Crushed and grainy
- Clumping into a thick paste
- Finally, smoothing out into creamy butter
Scrape down the sides regularly to ensure even blending. This process can take 5–10 minutes depending on your equipment. Be patient!
Step 5: Adjusting Texture and Flavor
Once it’s smooth, you can add in your salt, sweeteners, or oils if desired. Blend again briefly to incorporate. Want it chunky? Stir in some chopped peanuts at the end.
Taste and tweak. That’s the joy of homemade!
Storage and Shelf Life
When you’ve poured your luscious homemade peanut butter into a jar, what’s next? First up: storage. Since it’s homemade with no preservatives, optimal storage conditions are vital to preserve freshness and quality.
Storage Tips:
- Transfer the peanut butter to a clean, airtight glass jar. Glass helps to prevent the absorption of odors and keeps flavor intact.
- Keep it in a cool, dark place, such as a pantry or cabinet out of direct sunlight. Exposure to light or heat can accelerate rancidity.
- For longer preservation, especially in hot climates, refrigerate it. While refrigeration slightly thickens the consistency, it significantly extends shelf life.
- Stir before using if natural oil separation occurs — it’s normal, especially for smoother blends without added stabilizers.
Shelf Life Estimates:
| Storage Method | Shelf Life | Notes |
|---|---|---|
| Pantry (sealed jar, room temp) | ~2–3 weeks | Ideal if conditions are cool and stable |
| Refrigerator | 1–2 months | Maintains flavor, slows oil separation |
| Pantry (with oil added) | ~2–4 weeks | Oil helps preserve texture, but still watch for smell or taste changes |
Signs of Spoilage:
- Off-smell (rancid or sour)
- Mold or discoloration
- Bitter or off taste
Keeping peanut butter properly stored ensures you enjoy its fresh, rich flavor for as long as possible.
Benefits of Homemade Peanut Butter
There are many compelling reasons to ditch the store‑bought jars and make your own peanut butter—here’s why it’s a win:
1. Control Over Ingredients
You get to decide what goes into the jar. No hidden sugars, hydrogenated oils, or preservatives—just peanuts and optional tweaks like salt or honey.
2. Superior Nutritional Profile
Homemade peanut butter tends to be healthier:
- Less sugar and sodium compared to many commercial brands
- No unhealthy trans fats or added oils
- Fresh, wholesome taste with full nutritional value—from healthy fats, protein, fiber, to vitamins and minerals.
3. Cost Savings
Buying raw peanuts in bulk is often cheaper than purchasing premium natural peanut butter. Plus, you can control portion size and avoid waste by making small batches.
4. Customization and Creativity
From sweet honey-banana blends to savory garlic-pepper twists, homemade allows endless flavor experimentation:
- Chunky, extra creamy, or somewhere in between
- Add-ins like cocoa powder, cinnamon, vanilla, or even sea salt flakes
- Dietary preferences like vegan, low-sugar, or keto-friendly
5. Freshness and Flavor
There’s truly nothing like the aroma and texture of freshly ground peanut butter. The natural oils haven’t separated for weeks in the jar, and the flavor is richer.
Flavor Variations to Try
Ready to branch out from plain peanut butter? Here are some popular—and seriously delicious—variations you can try:
Sweet Variations
- Honey Peanut Butter: Stir in 1–2 tbsp honey during blending for natural sweetness.
- Maple Cinnamon Peanut Butter: Add maple syrup and a dash of cinnamon for warm, comforting flavor.
- Chocolate Peanut Butter: Blend in 1–2 tbsp cocoa powder (or melted dark chocolate) and a touch of sweetener for a decadent treat.
Savory or Spicy Twists
- Spicy Chili Peanut Butter: Sprinkle in chili flakes or cayenne pepper for a spicy kick—great for savory sauces.
- Garlic Herb Peanut Butter: Blend with roasted garlic and herbs like dill or parsley. Great on sandwiches or veggie wraps.
- Savory Thai Style: Blend in a little lime juice, soy sauce, and garlic for a peanut sauce vibe.
Texture Modifications
- Extra Creamy: Add 1–2 tsp peanut or neutral oil in final stage and blend extra.
- Chunky: Add ⅓ cup chopped peanuts after blending smooth and stir gently.
Add‑Ins for Complexity
- Seeds: Mix in chia, flaxseed, or sunflower seeds for fiber and crunch.
- Dried Fruits: Stir in chopped dried cranberries or apricots.
- Vanilla Extract: A dash of pure vanilla transforms the flavor subtly.
These variations are more than add-ons—they let you tailor peanut butter to snacks, sauces, smoothies, baking, or just straight scooping.
Common Mistakes to Avoid
Even a simple recipe like peanut butter has some common pitfalls. Avoid these to make sure your batch turns out perfect:
1. Over-Roasting Peanuts
- Roast lightly—peanuts can go from perfectly nutty to burnt in just a minute or two.
- Watch them closely: they should smell fragrant and turn golden brown, but not dark or smoky.
2. Blending Too Fast or Too Slow
- If you crank the blender too high from the start, the peanuts will bounce off blades or clump unevenly.
- Starting slow and gradually increasing speed helps create a smoother paste and avoids overheating.
3. Removing the Skins Improperly
- If you skip peeling lightly roasted peanuts, the skins can add bitterness.
- But if you forcefully remove still-warm nuts, you lose oils and texture. Wait until they’re cool to touch.
4. Adding Too Much Oil or Sweetener
- More oil doesn’t always mean smoother. A teaspoon or two is often enough.
- Avoid the temptation to over-sweeten—taste first, then add gradually.
5. Blending in Large Batches if Your Equipment Isn’t Up to Task
- Using a small blender to try making 4 cups at once can lead to overheating or uneven blending.
- Split into smaller batches if needed for smoother consistency and safer processing.
By being mindful of these mistakes, you’ll avoid frustration and enjoy a perfect, consistent texture and flavor every time.
Uses of Peanut Butter
So what can you use this luscious peanut butter for? The possibilities are endless!
Breakfast Ideas
- Peanut butter toast: Top with banana slices or berries and drizzle with honey.
- Smoothie booster: Add a spoonful to your fruit smoothie for protein, richness, and satiety.
- Oats or granola: Stir into warm oatmeal or top your granola bowl for creaminess.
Snacks and Treats
- PB & fruit: Apple, celery, or pear slices with peanut butter make for the perfect snack.
- Energy bites: Combine peanut butter, oats, honey, seeds/chocolate chips, then roll into balls and chill.
- Dip or spread: Use peanut butter as a base for tasty dips—mix with yogurt, honey, or spices.
Savory and Main Dishes
- Peanut sauces: Great for Thai-style noodles or salad dressings (like satay sauce).
- Stir-fries: A spoonful stirred into veggies or tofu gives depth and umami.
- Sandwich spread: Peanut butter and jam, grilled PB&J, or paired with avocado and tomatoes.
Desserts and Baking
- Cookies and brownies: Use it directly in batter or swirl it on top.
- Frostings and fillings: Buttercream with peanut butter is silky-sweet.
- Peanut butter cups or fudge: Freeze or chill molded peanut butter treats coated in chocolate.
FAQs about Peanut Butter Recipe
1. How long does homemade peanut butter last in the fridge?
It usually stays fresh for 1–2 months when stored properly in an airtight jar and refrigerated.
2. Can I use salted or already roasted peanuts?
Yes, you can—just reduce or skip additional salt if peanuts are already salted. Roasted peanuts also speed up the process.
3. Why is my peanut butter gritty instead of smooth?
This could be due to under-blending, removing skins prematurely, or using low-powered equipment. Blend longer or try smaller batches.
4. Can I use almond or cashew nuts using the same recipe?
Absolutely! The process is nearly identical. Just note that almonds or cashews may produce a smoother texture and carry different flavors.
5. Do I need to add oil to homemade peanut butter?
Not necessarily. Natural peanut oil in the peanuts often yields enough creaminess. Oil is optional for extra smoothness or consistency adjustment.
Conclusion
Making peanut butter at home is rewarding, delicious, and surprisingly simple. With just peanuts and a little patience, you can create a spread that’s healthier, more flavorful, and totally customized to your taste. Whether you like it sweet, savory, ultra‑creamy, or chunky—there’s a version just waiting for you.
Go ahead, grind a batch, experiment with flavors, and enjoy the process. Your taste buds—and pantry—will thank you.