Oreo Crust Recipe: When it comes to making desserts, sometimes the simplest base can elevate the entire dish. That’s exactly what an Oreo crust does—it’s quick, easy, and absolutely delicious. This crust has become a staple in many dessert recipes because it requires very few ingredients and minimal effort, yet the results are always impressive. Imagine the classic Oreo cookie, with its crunchy chocolate wafers and sweet creamy filling, transformed into a buttery, melt-in-your-mouth crust. Sounds irresistible, right?
Why Oreo Crust is Popular
Oreo crusts are incredibly popular because they add that perfect balance of sweetness and crunch to desserts. Unlike plain graham cracker crusts, the Oreo crust brings a chocolatey richness that pairs beautifully with cheesecakes, pies, and ice cream desserts. Plus, who doesn’t love Oreos? They are a nostalgic treat that reminds us of childhood, making any dessert feel extra special.
Versatility of an Oreo Crust
Another reason Oreo crusts are beloved is their versatility. You can use them for a no-bake dessert in the summer when you don’t want to turn on the oven, or you can bake them for a firmer, crunchier base that holds up well under heavier fillings. They pair perfectly with creamy cheesecakes, fruity pies, peanut butter fillings, and even light mousse desserts. Whether you’re making a fancy layered cake or a simple ice cream pie, an Oreo crust is your go-to option.
Ingredients You’ll Need
Before diving into the recipe, let’s talk about the ingredients. The beauty of an Oreo crust lies in its simplicity—just a couple of items and you’re ready to go.
Essential Ingredients for Oreo Crust
To make the perfect Oreo crust, you only need two ingredients:
- Oreo cookies – about 24 to 28 cookies, depending on your pan size. You don’t need to scrape off the cream filling—it actually helps hold the crumbs together.
- Unsalted butter – melted, around 5 to 7 tablespoons. The butter binds the cookie crumbs together and gives the crust that rich, indulgent taste.
That’s it! Just two ingredients, and you’re already halfway to a perfect dessert base.
Optional Additions for Extra Flavor
If you’re feeling creative, you can add a few extras:
- Pinch of salt – to balance the sweetness.
- Sugar – if you prefer a sweeter crust (though most people find Oreos sweet enough).
- Vanilla extract – for a richer flavor.
- Cocoa powder – for extra chocolate intensity.
These additions aren’t necessary, but they can take your Oreo crust to the next level depending on what dessert you’re making.
Kitchen Tools Required
You don’t need a fancy kitchen setup to make an Oreo crust, but having the right tools can make the process smoother.
Must-Have Tools for Easy Preparation
- Food processor or blender – to crush the Oreos quickly and evenly.
- Mixing bowl – to combine crumbs and melted butter.
- Measuring cups and spoons – to keep ingredient ratios accurate.
- Springform pan or pie dish – depending on the dessert you’re making.
- Spatula or the back of a spoon – to press the crust into place.
Alternatives if You Don’t Have Special Tools
- No food processor? No problem! Put the Oreos in a zip-top bag and crush them with a rolling pin until you get fine crumbs.
- No springform pan? Use any baking dish you have—just make sure to line it with parchment paper for easy removal.
With just these basic tools, you’ll be ready to whip up a crust that looks and tastes like it came from a professional bakery.
Step-by-Step Guide to Making Oreo Crust
Now that you’ve gathered your ingredients and tools, it’s time to create the crust. This process is straightforward and foolproof.
Step 1 – Prepare the Oreos
Take about 24 to 28 Oreo cookies. There’s no need to remove the cream filling; it actually helps the crumbs stick together. Place them in a food processor or a zip-top bag if you’re using the rolling pin method.
Step 2 – Crush the Oreos into Fine Crumbs
Pulse the cookies in the food processor until they turn into fine crumbs. If you’re doing it by hand, make sure to crush them evenly. The crumbs should look like sand—no big chunks.
Step 3 – Mix the Crumbs with Butter
Transfer the Oreo crumbs into a mixing bowl and pour in melted butter. Stir until the crumbs are fully coated and look like wet sand. This step is key because the butter is what binds the crust together.
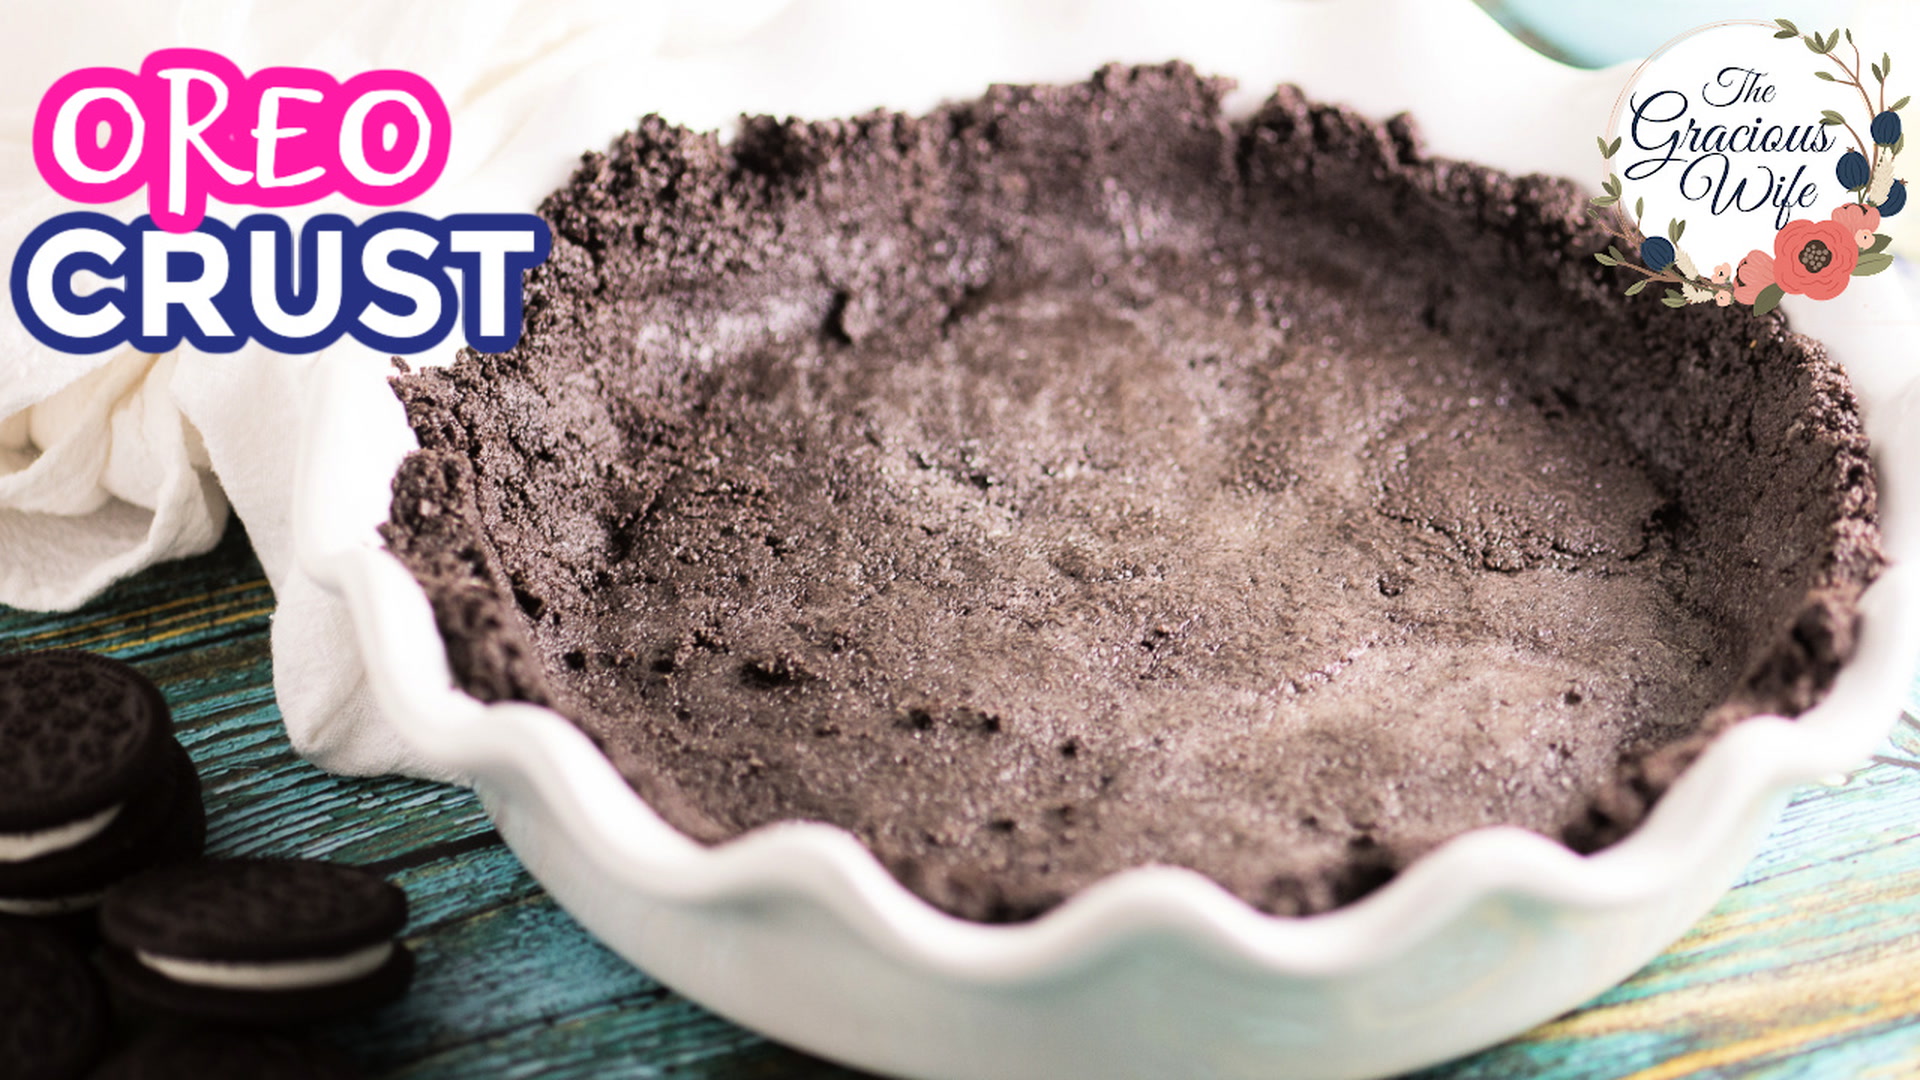
Step 4 – Press the Mixture into a Pan
Pour the crumb mixture into your pan and use the back of a spoon or a flat-bottomed glass to press it firmly into an even layer. Make sure to cover the bottom and, if desired, push some crumbs up the sides to create a full pie shell.
Step 5 – Chill or Bake the Crust
- For a no-bake crust: Place the crust in the refrigerator for at least 1 hour to set before adding your filling.
- For a baked crust: Bake in a preheated oven at 350°F (175°C) for about 8–10 minutes. Let it cool completely before filling.
Both methods work beautifully, so it just depends on your recipe and personal preference.
No-Bake vs. Baked Oreo Crust
Making an Oreo crust can go two ways—no-bake or baked. Each method has its own perks, and which one you choose depends on your dessert.
Pros and Cons of No-Bake Crust
- Pros: Quick, easy, and perfect for cold desserts like ice cream pies. No need to turn on the oven.
- Cons: Slightly softer texture, may not hold as firmly under heavy fillings.
Pros and Cons of Baked Crust
- Pros: Firmer, crunchier texture that supports heavier fillings like cheesecake. Holds its shape better.
- Cons: Requires oven time and cooling before use.
Both options are delicious, so it really depends on the dessert you’re making and how much time you want to spend.
Tips for the Perfect Oreo Crust
Even though an Oreo crust is one of the easiest dessert bases you can make, there are a few tricks that can make all the difference between a crumbly mess and a beautifully firm crust. Let’s explore some expert tips.
Avoiding a Crumbly Crust
One of the most common problems people face with Oreo crust is that it falls apart when you try to slice it. This usually happens because there isn’t enough butter to hold the crumbs together. Remember, the melted butter acts like glue. If your mixture looks too dry, don’t hesitate to add another tablespoon or two. On the other hand, if you add too much butter, the crust can become greasy and overly soft. Aim for that “wet sand” texture—when you press it between your fingers, it should hold its shape without feeling soggy.
Another tip is pressing the crumbs firmly and evenly into the pan. If you don’t press hard enough, the crust won’t bind properly. A flat-bottomed glass works wonders for this step, giving you even pressure across the surface.
Achieving the Right Texture
Texture is everything in a good Oreo crust. You want it crunchy enough to contrast with creamy fillings but not so hard that it’s difficult to cut through. The key here is balance. For baked crusts, don’t overbake. Eight to ten minutes is plenty; any longer, and you risk a rock-hard base. For no-bake crusts, always give them enough time in the fridge to firm up—at least an hour, preferably two.
If you like a little extra crunch, you can leave a few slightly larger crumbs in the mixture instead of pulverizing them into dust. This adds a subtle texture variation that makes every bite more interesting.
Recipes That Use Oreo Crust
Now that you know how to master the Oreo crust, let’s talk about what you can actually make with it. This crust pairs with so many desserts that it’s almost impossible to list them all, but here are some of the most popular and mouthwatering options.
Cheesecakes
Oreo crust and cheesecake are a match made in dessert heaven. The chocolatey crunch of the crust perfectly balances the rich creaminess of the cheesecake filling. You can make a classic New York-style cheesecake or go all out with a cookies-and-cream cheesecake that incorporates Oreos into the filling too. The crust provides a sturdy base that holds up beautifully under the weight of a cheesecake, whether you bake it or keep it chilled.
Ice Cream Pies
When it’s hot outside and you’re craving something refreshing, an ice cream pie with Oreo crust is a lifesaver. Simply press the crust into a pie pan, fill it with softened ice cream (any flavor works, but cookies-and-cream or chocolate chip are fan favorites), then freeze until firm. Top with whipped cream, hot fudge, or caramel sauce, and you’ve got a dessert that’s both impressive and effortless.
Chocolate Mousse Cakes
For a decadent and elegant dessert, try pairing an Oreo crust with a rich chocolate mousse. The light, airy mousse contrasts beautifully with the dense, crunchy crust, creating a dessert that’s as visually appealing as it is delicious. Add a layer of ganache on top for extra indulgence, and you’ll have a show-stopper dessert perfect for dinner parties.
Variations of Oreo Crust
While the classic Oreo crust is fantastic on its own, you can get creative with variations that bring new flavors and textures to the table.
Using Flavored Oreos
Did you know Oreos come in dozens of flavors? From mint and peanut butter to birthday cake and golden Oreos, the possibilities are endless. Each flavor can completely change the vibe of your dessert. For example:
- Mint Oreos for a refreshing twist in an ice cream pie.
- Golden Oreos for a lighter, vanilla-based crust that pairs well with fruit fillings.
- Peanut Butter Oreos for a crust that complements chocolate or banana desserts.
By simply switching the type of Oreo, you can transform a basic recipe into something entirely new.
Adding Nuts or Chocolate Chips
If you love extra crunch, consider mixing finely chopped nuts (like pecans, almonds, or hazelnuts) into your Oreo crumbs before adding butter. This not only boosts flavor but also adds texture. Another fun twist is stirring in mini chocolate chips for bursts of sweetness throughout the crust.
These little tweaks can elevate your Oreo crust from simple to gourmet without much extra effort.
Storing and Freezing Oreo Crust
Sometimes, you might want to prepare your crust ahead of time. Luckily, Oreo crusts are easy to store and freeze without losing flavor or texture.
Refrigeration Tips
If you’re planning to use the crust within a day or two, simply cover it tightly with plastic wrap or aluminum foil and keep it in the refrigerator. This will keep the crust firm and prevent it from drying out. A no-bake crust should always be chilled anyway, so refrigeration doubles as storage and setting time.
Freezing for Long-Term Use
Want to make crusts in bulk? Oreo crusts freeze beautifully. Once pressed into a pan, wrap the entire pan in plastic wrap and then a layer of foil to prevent freezer burn. You can freeze it for up to 2 months. When you’re ready to use it, just thaw it in the fridge overnight and it’ll be as good as freshly made.
Freezing also comes in handy if you want to prep multiple crusts ahead for holidays, parties, or busy weeks. That way, you’re always just one filling away from a show-stopping dessert.
Common Mistakes and How to Fix Them
Even though making an Oreo crust seems foolproof, there are a few common mistakes that can lead to less-than-perfect results. The good news? Every single one of them is easy to fix.
Crust Falls Apart
If your crust crumbles when you try to cut a slice, the culprit is usually not enough butter or not pressing the crumbs firmly enough into the pan. The fix is simple—next time, add an extra tablespoon of melted butter and use a glass or measuring cup to firmly pack the crust down. For no-bake versions, always chill for at least an hour (preferably two) before filling to give the butter time to harden and hold everything together.
Another overlooked mistake is using too few Oreos. If your crust is too thin, it won’t have the structure it needs to support the filling. Aim for about 24–28 cookies for a standard 9-inch pie dish.
Crust is Too Hard
On the opposite end, sometimes a crust turns out rock solid. This often happens when it’s overbaked or when too much butter was added. The fix? For baked crusts, stick to 8–10 minutes at 350°F and let it cool completely before slicing. For no-bake crusts, resist the urge to pour in too much butter—it should look like damp sand, not mud. If you end up with a hard crust, let the dessert sit at room temperature for a few minutes before serving to soften slightly.
These mistakes are minor and easy to troubleshoot, which makes Oreo crust one of the most forgiving recipes you’ll ever try.
Nutritional Information
Let’s be honest—Oreo crust isn’t exactly a health food, but knowing the nutritional breakdown can help you enjoy it mindfully.
Calories and Macronutrients
A standard Oreo crust (made with about 24 Oreos and 6 tablespoons of butter) yields roughly:
- Calories: 1,800–2,000 total (about 200–250 per slice if cut into 8 slices)
- Carbohydrates: ~180g
- Fat: ~110g
- Protein: ~12g
Of course, the exact numbers depend on the type of Oreos and the amount of butter you use. If you’re using flavored Oreos, expect slightly different nutritional values due to added fillings.
Healthier Alternatives
If you love Oreo crust but want a lighter version, here are some options:
- Use reduced-fat Oreos – lowers fat slightly while still keeping flavor.
- Swap butter for coconut oil – offers a lighter, dairy-free alternative with a hint of coconut flavor.
- Mix with almond flour or oat flour – to cut down on sugar and carbs while adding more fiber.
These substitutions won’t make it a “diet food,” but they can help balance indulgence with healthier choices.
Serving Ideas and Presentation
Presentation is the cherry on top when it comes to desserts. With an Oreo crust, you already have a visually appealing dark chocolate base, but there are ways to make your dish even more impressive.
Elegant Dessert Presentation
For a sophisticated look, smooth out the edges of your crust and garnish the finished dessert with whipped cream swirls, chocolate shavings, or fresh berries. Dusting a light layer of powdered sugar or cocoa powder around the edges of the plate can give your dessert a restaurant-style finish.
If you’re serving cheesecake, consider drizzling chocolate or caramel sauce over the top in a zigzag pattern. Another elegant trick is layering thin chocolate ganache between the crust and filling for a glossy, professional-looking dessert.
Kid-Friendly Oreo Crust Desserts
When making Oreo-crust desserts for kids, have fun with toppings! Crushed Oreos, colorful sprinkles, gummy candies, or mini marshmallows can turn a simple dessert into a party favorite. Ice cream pies and pudding pies with Oreo crusts are especially kid-friendly because they’re easy to decorate and don’t require baking.
By tailoring the presentation to your audience, you can make your Oreo crust dessert feel perfect for any occasion—from fancy dinner parties to casual family nights.
FAQs about Oreo Crust Recipe
Q1: Do I need to remove the cream filling before crushing the Oreos?
Nope! The cream actually helps bind the crumbs together, so keep it in.
Q2: Can I make an Oreo crust without butter?
Yes, you can substitute coconut oil, margarine, or even melted chocolate. Each gives the crust a slightly different flavor and texture.
Q3: How long does Oreo crust last in the fridge?
It will stay fresh for about 2–3 days if covered tightly with plastic wrap or foil.
Q4: Can I freeze an Oreo crust after filling it?
Yes! Most Oreo-crust desserts freeze well. Just wrap tightly and thaw in the fridge before serving.
Q5: Why does my no-bake Oreo crust taste soggy?
This usually happens if the filling is too wet or if the crust wasn’t chilled long enough. Make sure to refrigerate for at least an hour before adding fillings.
Conclusion
An Oreo crust is the perfect base for countless desserts—it’s quick, easy, and packed with flavor. Whether you go the no-bake route for a light summer pie or bake it for a firm cheesecake base, this crust never disappoints. With just two main ingredients and a few simple steps, you can create a dessert foundation that’s versatile, delicious, and sure to impress. Add your favorite fillings, get creative with variations, and you’ll have a recipe that becomes a family staple for years to come.
So the next time you’re craving something sweet, remember: with Oreos and butter, you’re already halfway to dessert heaven.