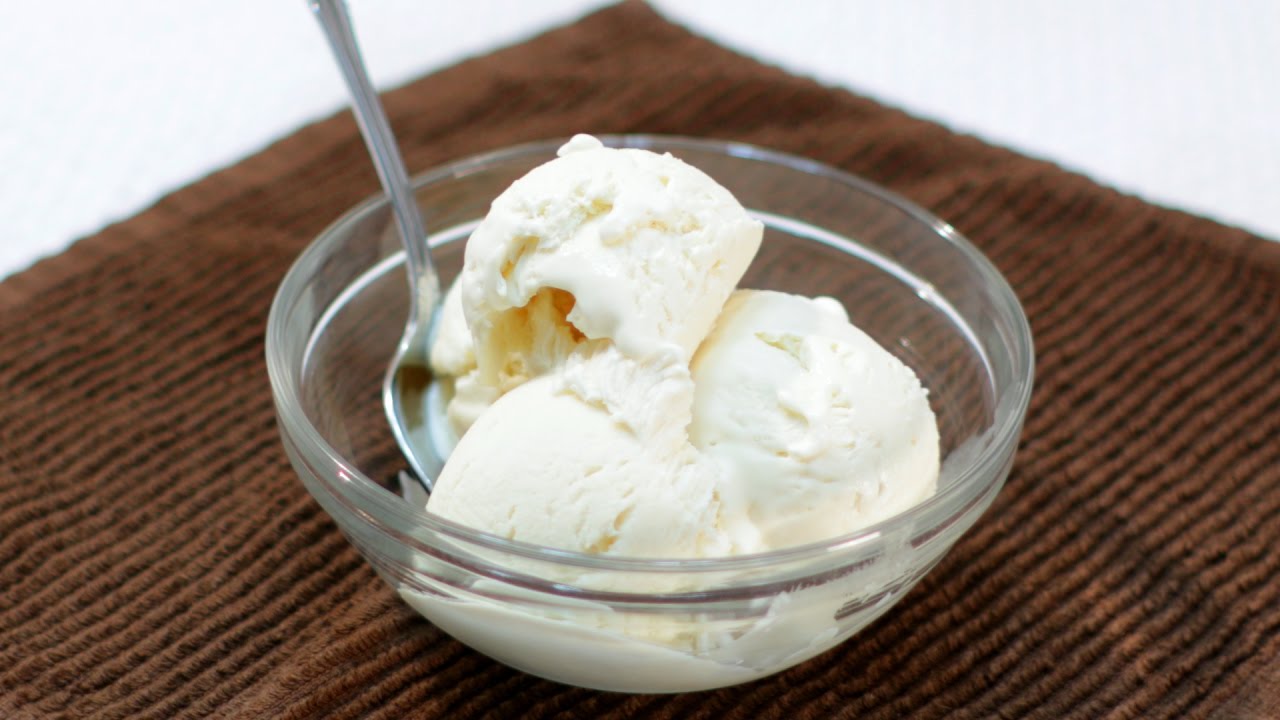
Ninja Creami Vanilla Ice Cream Recipe: There’s nothing like a scoop of classic vanilla ice cream—especially when it’s homemade and perfectly creamy. If you’ve got a Ninja Creami on your countertop, you’re already halfway there.
This simple guide will walk you through making a decadent, smooth vanilla ice cream using the Ninja Creami that rivals any premium store-bought version.
Ready to whip up some magic?
What Is the Ninja Creami?
The Ninja Creami is more than just an ice cream maker—it’s a revolutionary machine that transforms frozen bases into creamy, dreamy treats. Unlike traditional churn-style ice cream makers, the Creami operates using a unique spinning blade that “shaves” the frozen mixture into a silky texture. With a few button presses, you can create everything from ice cream and sorbets to milkshakes and gelato. The best part? It only takes a few ingredients and a little prep time to create a gourmet-level dessert at home.
Why the Ninja Creami Is a Game-Changer
If you’ve ever tried making ice cream at home and ended up with an icy, gritty mess, the Ninja Creami will blow your mind. Its unique technology allows it to create incredibly smooth textures, even from bases that have no stabilizers or additives. It’s perfect for people who want control over their ingredients—whether you’re going full-dairy, dairy-free, keto, or even sugar-free. Plus, the customization options are endless, allowing you to add mix-ins and create flavor twists after the initial spin.
Ingredients for Classic Vanilla Ice Cream
Simple, Readily Available Ingredients
The beauty of vanilla ice cream is its simplicity. Here’s what you’ll need for a basic Ninja Creami vanilla ice cream base:
- 1 cup whole milk
- 1 cup heavy cream
- ¾ cup granulated sugar
- 1 tablespoon pure vanilla extract
- A pinch of salt
These ingredients may seem minimal, but when combined, they create a luxurious base with that perfect creamy mouthfeel and deep vanilla flavor.
Tips on Choosing Quality Ingredients
When making something as simple as vanilla ice cream, the quality of each ingredient truly matters. Go for organic whole milk and cream if possible. For the vanilla, choose pure vanilla extract over imitation—it really does make a difference. Want to level up? Use vanilla bean paste or a scraped vanilla bean pod for those pretty little specks and a richer taste.
Equipment You’ll Need
Essential Tools for the Perfect Creami Dessert
Aside from your Ninja Creami, a few basic tools can make the process even smoother:
- Mixing bowl (preferably one with a spout)
- Whisk or electric mixer
- Ninja Creami pint containers
- Measuring cups and spoons
- Spatula
These are all items you likely already have in your kitchen, but having them ready makes the process more efficient and mess-free.
Step-by-Step Ninja Creami Vanilla Ice Cream Recipe
Step 1 – Mixing the Ingredients
Start by whisking together the milk and sugar in your mixing bowl. This ensures the sugar is fully dissolved, which prevents any grainy texture later. Add in the heavy cream, vanilla extract, and a pinch of salt. Mix gently but thoroughly until well combined.
Want to take it up a notch? Let the mixture sit for a few minutes so the flavors meld together. If you’re using vanilla bean, add the seeds now and stir well.
Step 2 – Freezing the Base
Pour your mixture into the Ninja Creami pint container, leaving a little space at the top (no overfilling!). Place the lid on the container and freeze it upright for at least 24 hours. This step is crucial—your base needs to be completely frozen solid for the Creami to work its magic.
Pro tip: Label the container with the date and flavor for easy identification later, especially if you’re prepping multiple flavors.
Step 3 – Processing in the Ninja Creami
After the 24-hour freeze, it’s time for the fun part. Take the frozen pint and remove the lid. Place it into the outer processing container and attach the blade lid. Lock everything into the Ninja Creami machine and select the “Ice Cream” function.
Let the Creami do its thing—it usually takes a few minutes to complete a cycle. Once it’s done, open the lid and check the texture. If it’s still a bit crumbly or icy, simply hit “Re-spin” once or twice until it reaches that smooth, scoopable consistency.
Step 4 – Final Adjustments and Mix-Ins
Here’s where creativity comes in. If you want to add crushed cookies, chocolate chips, or caramel swirls, now’s the time. Create a small well in the center of the ice cream and add your mix-ins. Hit the “Mix-In” function, and the Creami will incorporate your goodies without over-mixing the entire pint.
Pro Tips for Creamier, Smoother Ice Cream
Making vanilla ice cream in the Ninja Creami is already pretty foolproof, but a few expert hacks can elevate your final product to next-level deliciousness. First, let’s talk fat content. Ice cream loves fat—it’s what gives it that rich, velvety texture. Stick with full-fat dairy products like heavy cream and whole milk. If you’re going non-dairy, coconut milk or cashew cream are great alternatives with similar richness.
Another tip? Avoid overmixing during the initial blending stage. Stir just until everything’s incorporated; too much air will create a frothier, less dense texture. After freezing and spinning, if your ice cream seems crumbly, don’t stress. The “Re-spin” function is your best friend. Often, one or two more spins will transform a grainy base into silky smooth goodness.
Want ultra-smooth results? Try straining your base through a fine-mesh sieve before freezing. It removes any undissolved particles and ensures a flawless texture. Finally, make sure your base is cold before freezing—it helps lock in flavor and reduces ice crystal formation.
Creative Variations of Vanilla Ice Cream
Vanilla ice cream doesn’t have to be boring. With just a few tweaks, you can create gourmet-level flavors that taste like they came from a high-end creamery.
Vanilla Bean Dream
Upgrade your basic vanilla by swapping out vanilla extract for a whole vanilla bean. Just slice the bean lengthwise, scrape out the seeds, and mix them into your base. You’ll get that signature speckled look and a flavor that’s deep, floral, and slightly smoky. This version pairs beautifully with warm desserts like pie or cobbler.
Caramel Swirl Vanilla
This one’s for the sweet tooths. After spinning your ice cream to a creamy texture, make a small well in the center and spoon in a generous helping of thick caramel sauce. Use the “Mix-In” setting to swirl the caramel throughout. You’ll get gorgeous ribbons of gooey sweetness in every bite.
Other fun ideas include:
- Crushed Oreos for a cookies-and-cream twist
- Toasted pecans and maple syrup for a butter pecan feel
- Espresso powder for a hint of mocha
The options are endless and only limited by your imagination.
Storing Your Homemade Ice Cream
Best Containers for Storage
Once your ice cream is done, you might be tempted to dig in immediately—and who could blame you? But if you’ve got leftovers, proper storage is key to maintaining that smooth texture. The Ninja Creami pint containers are great, but you can also transfer your ice cream to an airtight, freezer-safe container.
Look for containers with a tight-sealing lid and shallow, wide shapes. They allow for faster freezing and easier scooping. Some brands even make containers specifically designed for ice cream that help prevent freezer burn and preserve texture.
How Long It Lasts in the Freezer
Your homemade vanilla ice cream will typically last about 1-2 weeks in the freezer before it starts to degrade in quality. That’s because it doesn’t contain the preservatives found in store-bought brands. To keep it tasting fresh:
- Store it in the back of the freezer, where temperatures are most stable.
- Press a layer of plastic wrap directly onto the surface before sealing the lid to prevent ice crystals.
- Label the container with the date so you remember when it was made.
A good rule of thumb? If the texture turns icy or the flavor starts to dull, it’s time for a fresh batch.
Common Mistakes to Avoid
Even with a machine as user-friendly as the Ninja Creami, a few rookie mistakes can ruin an otherwise perfect pint. One of the biggest issues? Not freezing your base long enough. If the base isn’t rock solid, the Creami can’t shave it properly, resulting in a mushy texture.
Another common misstep is overfilling the pint container. The mixture expands as it freezes, so leave about half an inch of headspace at the top. Skipping this can lead to overflow or uneven processing.
Don’t forget the importance of re-spinning. Your first spin might look crumbly—this is totally normal. Instead of tossing it, hit that re-spin button and give the Creami a second chance to smooth things out. Two spins are often the magic number.
Lastly, don’t skip the salt. A small pinch enhances the flavor and balances out the sweetness, even if you can’t taste it directly. It’s the little things that make a big difference.
FAQs about Ninja Creami Vanilla Ice Cream Recipe
1. Can I use low-fat milk instead of whole milk?
Yes, but the texture will be less creamy. Whole milk gives the best results.
2. How long should I freeze the ice cream base?
Freeze for at least 24 hours to ensure the base is solid enough to spin properly.
3. Can I use alternative sweeteners?
Absolutely! You can use honey, maple syrup, or sugar substitutes like erythritol or monk fruit.
4. What if my ice cream is still crumbly after spinning?
Use the “Re-spin” function. Most crumbly textures smooth out after one or two re-spins.
5. Can I double the recipe?
Yes, but be sure to divide the mixture between two pints. Never overfill the containers.
Conclusion
There you have it—the ultimate guide to making rich, creamy, homemade vanilla ice cream using your Ninja Creami. With just a handful of ingredients, some freezer time, and a few simple steps, you can whip up a dessert that’s as comforting as it is customizable. Whether you enjoy it as-is or jazz it up with fun mix-ins, this recipe is a staple that’ll never let you down.
So pull out your pint, fire up your Creami, and treat yourself to the joy of real, homemade vanilla ice cream. Trust me—once you’ve tasted this, there’s no going back to store-bought.