Ninja Creami Recipe: If you’ve ever dreamed of making smooth, creamy, and customizable ice cream at home, the Ninja Creami might just be your new best friend. Unlike traditional ice cream makers, which require endless churning or expensive equipment, the Ninja Creami makes it simple to whip up delicious frozen treats with minimal effort. Whether you crave a classic vanilla scoop, a rich chocolate indulgence, or even a protein-packed healthy version, this machine gives you endless possibilities.
In this guide, we’ll take you through everything you need to know—from the ingredients you’ll need to a step-by-step guide that ensures your ice cream turns out perfect every single time. We’ll also explore some popular recipe variations so you can experiment with new flavors and surprise your taste buds.
Introduction to Ninja Creami
The Ninja Creami is more than just an ice cream maker—it’s a kitchen gadget that transforms how we approach homemade desserts. Unlike traditional ice cream makers that require pre-chilled bowls or continuous stirring, the Creami simplifies the process by blending and spinning frozen bases into smooth, creamy textures. This makes it possible to create not only ice cream but also gelato, sorbets, milkshakes, and even protein-rich frozen desserts.
Why Ninja Creami is a Game Changer
The standout feature of the Ninja Creami is its ability to take a simple frozen mixture and transform it into an ultra-smooth treat. This is achieved through its Creamify technology, which finely shaves through frozen blocks and churns them into silky desserts. Instead of waiting for hours with an old-fashioned churner, you simply freeze your mixture overnight and let the machine do the magic.
Another huge plus is customization. You can add your own ingredients, adjust sugar levels, make dairy-free alternatives, or mix in goodies like cookies, fruit chunks, or candy bars. This makes the Ninja Creami perfect for families, health-conscious individuals, or anyone who loves experimenting with flavors.
Benefits of Making Ice Cream at Home
Making ice cream at home has so many benefits compared to buying it from the store:
- Healthier options: You can control the amount of sugar, fat, and additives.
- Endless creativity: Try unique flavor combinations that aren’t available in supermarkets.
- Cost-effective: While premium store-bought ice cream can be expensive, homemade versions save money in the long run.
- Diet-friendly: Whether you’re vegan, keto, or lactose intolerant, you can create ice cream that fits your lifestyle.
With these advantages, the Ninja Creami doesn’t just make ice cream—it gives you the freedom to design your own frozen desserts tailored exactly to your taste.
Ingredients You’ll Need
Before diving into the step-by-step guide, let’s talk about ingredients. The beauty of the Ninja Creami is that you don’t need a lot of fancy items—just a good base and optional add-ins.
Basic Ingredients for a Classic Vanilla Ice Cream
Here’s a simple list of what you’ll need for a basic vanilla ice cream:
- 2 cups whole milk
- 1 cup heavy cream
- ¾ cup granulated sugar
- 1 tablespoon vanilla extract
- A pinch of salt
This combination gives you a creamy, rich texture and the perfect sweetness. The heavy cream ensures smoothness, while the vanilla extract adds that classic flavor everyone loves.
Optional Ingredients for Custom Flavors
Want to take your ice cream to the next level? Try adding these optional ingredients:
- Chocolate syrup or cocoa powder for a rich chocolate flavor.
- Fresh fruit puree like strawberries, mango, or blueberries.
- Nut butters such as peanut butter or almond butter for extra creaminess.
- Mix-ins like crushed Oreos, cookie dough, or candy pieces.
These add-ins can be mixed before freezing or stirred in afterward with the Creami’s “Mix-In” function.
Healthier Alternatives for a Guilt-Free Treat
If you’re health-conscious, you can easily make substitutions:
- Swap whole milk with almond milk, oat milk, or coconut milk.
- Use Greek yogurt instead of heavy cream for a protein boost.
- Replace sugar with honey, maple syrup, or a sugar substitute like stevia or monk fruit.
- Add protein powder to make a post-workout frozen dessert.
The flexibility of the Ninja Creami ensures that no matter your dietary preference, you’ll always have an option that suits your needs.
Tools and Equipment Required
Aside from ingredients, having the right tools will make your ice cream-making process seamless.
The Role of Ninja Creami Machine
The star of the show, of course, is the Ninja Creami machine. It comes with a set of pints where you pour your base mixture before freezing. Once frozen, the machine’s blade attachment spins through the solid block, turning it into creamy ice cream.
Unlike traditional machines, you don’t need to pre-chill the bowl or deal with messy salt and ice mixtures. This makes the process faster and more beginner-friendly.
Additional Tools You Might Need
While the Creami does most of the work, a few other tools come in handy:
- Measuring cups and spoons for accuracy.
- Mixing bowls for combining ingredients.
- A whisk for blending the base smoothly.
- A rubber spatula to scrape down the sides.
These ensure your mixture is well-prepared before it goes into the freezer.
Storage Containers for Best Results
If you plan on making multiple flavors, having extra storage pints is a great idea. Ninja offers additional pint packs, but you can also use freezer-safe containers. Always store your ice cream in airtight containers to prevent freezer burn and maintain freshness.
Step-by-Step Guide to Making Ninja Creami Ice Cream
Now comes the fun part—actually making your ice cream. This step-by-step guide will walk you through the entire process.
Step 1 – Preparing the Ice Cream Base
Start by mixing your chosen ingredients in a bowl. Whisk together milk, cream, sugar, vanilla, and a pinch of salt until everything is fully dissolved. If you’re adding cocoa powder or fruit puree, mix it in thoroughly. This ensures the flavor is evenly distributed throughout your ice cream.
The key here is balance. Too much sugar can make the ice cream overly sweet, while too little will leave it bland. Similarly, the right ratio of milk to cream is essential for achieving that smooth, velvety consistency.
Once your base is ready, pour it into the Ninja Creami pint container. Make sure not to overfill—it should stop at the “MAX FILL” line.
Step 2 – Freezing the Mixture Properly
Freezing is perhaps the most critical step in the Ninja Creami process. Unlike traditional ice cream makers, where churning takes place as the mixture cools, the Ninja Creami requires the base to be completely frozen before it can work its magic. If you skip or rush this step, you’ll end up with icy, grainy ice cream instead of the smooth, creamy texture you’re aiming for.
After pouring your prepared mixture into the Creami pint, cover it with the provided lid and place it flat in your freezer. It’s important to keep the pint level so that the mixture freezes evenly. Uneven freezing can cause texture issues during the blending stage.
The mixture must freeze for a minimum of 24 hours. Yes, it’s tempting to check it earlier, but patience pays off. This waiting period ensures the liquid solidifies completely, giving the Ninja Creami the perfect consistency to work with. If you’re planning ahead, you can prep multiple pints and store them in your freezer until you’re ready to use them.
A small tip: set a reminder on your phone or mark your calendar when you put the pint in the freezer. That way, you’ll know exactly when it’s ready to use, avoiding the frustration of taking it out too soon.
Step 3 – Using the Ninja Creami for Creamy Texture
Once your base has frozen for a full 24 hours, it’s time to let the Ninja Creami shine. Start by removing the pint from the freezer and taking off the lid. Place it securely into the Creami’s outer bowl, attach the paddle (blade) lid assembly, and lock it into the machine.
Select the Ice Cream function on the Ninja Creami. The machine will then begin to shave and churn through the frozen block of mixture. At first, it might look crumbly, almost like shaved ice. Don’t panic—that’s completely normal. Once the process finishes, open the pint and give it a stir with a spoon. If it looks too crumbly, simply run it through the “Re-Spin” function. This often transforms the texture into the rich, creamy consistency we associate with ice cream.
The beauty of this step is how effortless it feels. Instead of sweating over a churner or worrying about texture, the Creami does the heavy lifting. In just a few minutes, you’ll have perfectly creamy ice cream, ready to enjoy.
Step 4 – Adding Mix-Ins and Flavors
One of the best features of the Ninja Creami is the Mix-In function. This allows you to add fun textures and flavors to your ice cream without compromising the smoothness. Imagine biting into creamy vanilla ice cream and suddenly finding chunks of chocolate chip cookies or swirls of caramel—sounds delicious, right?
Here’s how it works: once the initial spin is complete, create a small hole in the center of your ice cream using a spoon. Add your chosen mix-ins, such as cookie crumbles, candy pieces, nuts, or fruit chunks, into the hole. Place the pint back into the machine and select the “Mix-In” setting. The Creami will evenly distribute the goodies throughout your ice cream without crushing them into tiny crumbs.
Some popular mix-in ideas include:
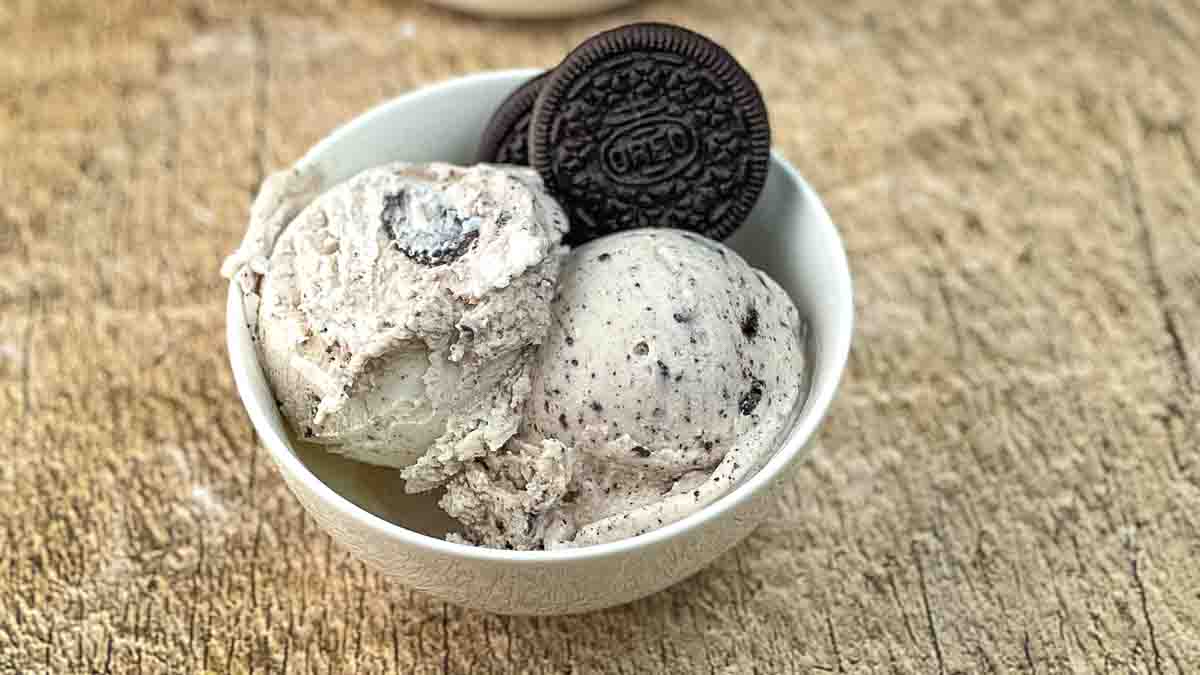
- Crushed Oreos or chocolate sandwich cookies
- Peanut butter cups or M&M’s
- Brownie chunks or cookie dough pieces
- Fresh fruit like strawberries or blueberries
- Caramel or fudge swirls
This step is where you can truly get creative. Whether you’re making a kid-friendly treat packed with candy or a gourmet-inspired dessert with roasted almonds and sea salt caramel, the possibilities are endless.
Step 5 – Serving and Enjoying
Finally, the moment you’ve been waiting for—serving your ice cream! Once your base has been spun and your mix-ins added, it’s time to grab a spoon and dig in. Scoop it into bowls, cones, or even layer it into a sundae with whipped cream and toppings.
Because the Ninja Creami produces fresh, homemade ice cream, it’s best enjoyed immediately after spinning. However, if you’re not planning to finish it all in one go, you can place the pint back into the freezer. Keep in mind that after refreezing, the ice cream may harden. To bring it back to its creamy state, simply run it through the “Re-Spin” function before serving again.
Sharing is optional—but honestly, once you taste how rich and customizable your creation is, you might not want to give anyone else a bite. Whether it’s a summer afternoon treat, a dessert for family night, or even a post-workout protein-packed scoop, Ninja Creami ice cream always feels special.
Popular Ninja Creami Recipe Variations
Now that you know the basic process, let’s dive into some popular recipe variations. The fun thing about the Ninja Creami is how versatile it is. You can make everything from classic chocolate to vegan delights without any complicated adjustments.
Chocolate Lover’s Dream
For all the chocolate fans out there, this recipe will quickly become a favorite. Instead of just adding cocoa powder to the base, try using melted dark chocolate or chocolate syrup for a richer flavor. Once spun, toss in chocolate chips, brownie bites, or fudge swirls for the ultimate indulgence. If you’re really adventurous, mix in a dash of espresso powder to create a mocha-inspired ice cream.
Strawberry Swirl Delight
Perfect for fruit lovers, this variation uses a fresh strawberry puree added to the base before freezing. After spinning, add a swirl of strawberry jam or even chunks of fresh strawberries. The result is a fruity, refreshing treat that feels light yet indulgent at the same time.
Dairy-Free and Vegan Options
If you’re lactose-intolerant or vegan, don’t worry—the Ninja Creami has you covered. Swap out regular milk and cream with coconut milk, almond milk, or oat milk. Use natural sweeteners like agave or maple syrup. For mix-ins, try adding roasted nuts, fruit chunks, or even vegan chocolate chips. The Creami works just as well with plant-based ingredients, giving you smooth, creamy results.
Protein-Packed Ice Cream for Fitness Enthusiasts
For gym-goers and fitness lovers, protein ice cream is a game-changer. Simply add a scoop or two of your favorite protein powder to the base mixture. Use Greek yogurt or skim milk for added nutrition. After spinning, mix in some crushed nuts or granola for a crunchy twist. This version doubles as a healthy dessert and a post-workout recovery snack.
Tips for Perfect Ninja Creami Ice Cream Every Time
Even though the Ninja Creami simplifies the ice cream-making process, a few small tweaks can make a big difference in your results. Here are some tips to help you nail it every single time.
Common Mistakes to Avoid
- Not freezing long enough: The base must freeze for at least 24 hours. Anything less will result in a slushy or icy texture.
- Overfilling the pint: Always stop at the MAX FILL line. Going beyond can cause the machine to malfunction or give uneven results.
- Skipping the Re-Spin: If your ice cream looks crumbly after the first spin, don’t worry. Always use the Re-Spin function to smooth it out.
- Adding mix-ins too early: Wait until after the first spin to add cookies, candy, or fruit. If added before freezing, they’ll sink or get mushy.
Tricks for Achieving Extra Creaminess
- Use heavy cream or full-fat coconut milk for a richer texture.
- Whisk your base thoroughly before freezing to dissolve sugar completely.
- Try adding egg yolks to your base for a custard-style ice cream.
- A small splash of vodka or rum (about 1 teaspoon) can lower freezing point slightly, making your ice cream smoother.
Flavor Pairing Ideas
If you’re feeling adventurous, try pairing unique flavors:
- Peanut butter & banana (classic smoothie vibes)
- Mint & dark chocolate (refreshing yet indulgent)
- Mango & coconut (a tropical twist)
- Caramel & sea salt (gourmet-style)
- Coffee & hazelnut (a nutty mocha flavor)
Experimenting with combinations is half the fun of owning a Ninja Creami.
Storing and Preserving Your Homemade Ice Cream
Since homemade ice cream doesn’t contain preservatives or stabilizers, it needs a bit more care when storing.
How Long Can You Store Ninja Creami Ice Cream?
Generally, Ninja Creami ice cream can last up to 2 weeks in the freezer if stored properly. Beyond that, it may develop ice crystals or lose flavor. Unlike store-bought tubs, it won’t stay fresh for months, so it’s best enjoyed sooner rather than later.
Best Practices for Freezer Storage
- Store in airtight containers to prevent freezer burn.
- Keep ice cream in the coldest part of the freezer, not in the door where temperatures fluctuate.
- Cover the surface with plastic wrap before sealing the lid—this prevents ice from forming on top.
Reviving Ice Cream After Storage
If your ice cream hardens after being in the freezer, don’t panic. Just place the pint back into the Ninja Creami and run it through the Re-Spin function. This brings it back to its original creamy texture, as if it were freshly made.
Health Benefits of Homemade Ice Cream
Homemade ice cream isn’t just delicious—it can also be a healthier choice than store-bought versions, depending on your ingredients.
Controlling Sugar Levels
Most store-bought ice creams are loaded with refined sugars and corn syrup. By making your own, you can control how much sweetener goes in—or even use natural alternatives like honey, maple syrup, or stevia. This makes it a better option for families looking to cut back on sugar.
Using Natural and Organic Ingredients
Another big benefit is the ability to use fresh, organic, or locally sourced ingredients. Imagine ice cream made with farm-fresh milk, organic strawberries, or real vanilla beans—it’s a world apart from mass-produced brands.
Portion Control for Healthy Indulgence
Because you’re making smaller batches at home, you naturally have more control over portion sizes. Plus, you can experiment with low-fat dairy, plant-based milks, or protein-rich bases to fit your diet. This means you can indulge in your favorite dessert without as much guilt.
FAQs about Ninja Creami Recipe
Can I Use Almond or Oat Milk Instead of Dairy?
Yes! The Ninja Creami works wonderfully with almond, oat, coconut, and other plant-based milks. Just keep in mind that the fat content affects creaminess. For best results, use full-fat versions or add coconut cream for richness.
Why is My Ice Cream Grainy?
Grainy ice cream usually happens when the mixture wasn’t whisked properly before freezing, leaving undissolved sugar crystals. It can also happen if you didn’t freeze it long enough. Always whisk well and give it the full 24-hour freeze.
Can I Make Gelato or Sorbet with Ninja Creami?
Absolutely! The machine comes with settings for both. Gelato uses more milk than cream for a denser texture, while sorbet is made with fruit puree and sugar, with no dairy at all.
Can I Add Alcohol to My Ice Cream?
Yes, but sparingly. A splash of alcohol can enhance flavor and improve creaminess by lowering the freezing point. However, too much will prevent it from freezing properly.
Do I Need to Use the Ninja Creami Pints?
It’s best to use the official Ninja Creami pints because they’re designed for the machine’s blade system. However, you can buy extra pints directly from Ninja if you want to prep multiple flavors at once.
Conclusion
The Ninja Creami is more than just a gadget—it’s a dessert revolution. With its simple process, customizable options, and ability to make everything from ice cream to sorbet, it puts the power of a professional ice cream shop right in your kitchen. By following this guide, from choosing the right ingredients to spinning and mixing, you can create frozen treats that are healthier, fresher, and more flavorful than anything you’d find at the store.
Whether you’re craving a rich chocolate indulgence, a fruity sorbet, or a protein-packed post-workout snack, the Ninja Creami makes it all possible. The best part? It’s fun, family-friendly, and lets you unleash your creativity with endless flavor combinations.
So grab your pint, freeze your base, and get ready to enjoy the creamiest homemade ice cream you’ve ever had.