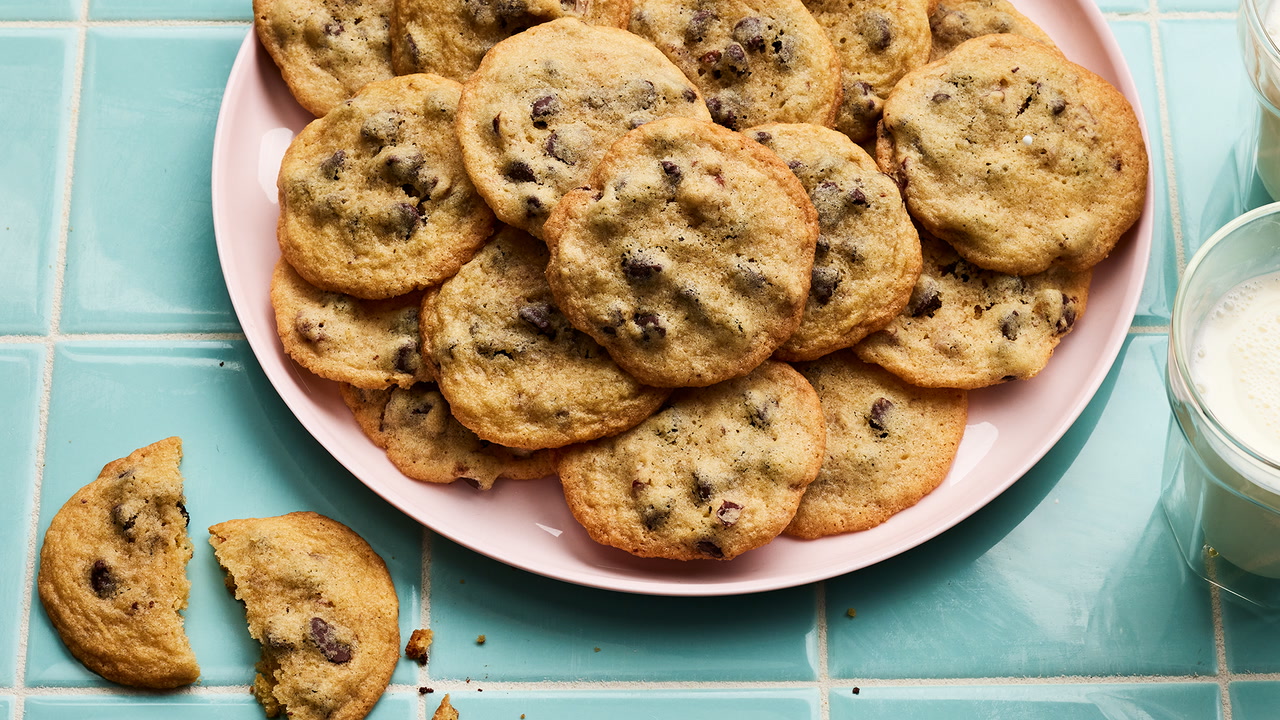
Nestle Chocolate Chip Recipe: Who doesn’t love a warm, gooey chocolate chip cookie straight out of the oven? It’s comfort food at its finest. Among all the variations, the classic Nestle Toll House Chocolate Chip Cookie reigns supreme. It’s the original, the OG of cookie recipes that generations have grown up baking and loving. These cookies are the perfect combination of crispy edges, chewy centers, and rich, melty chocolate chips. And the best part? They’re incredibly easy to make.
Whether you’re a beginner baker or a seasoned pro, this guide is tailored to walk you through every single step—no guesswork, just golden-brown perfection. By the end of this article, you’ll have all the tools, tips, and confidence you need to bake up a batch of delicious, crowd-pleasing cookies that taste just like grandma used to make (or better!).
Why Nestle Toll House Cookies Are So Popular
There’s a reason this recipe has stood the test of time since the 1930s. Ruth Wakefield, who ran the Toll House Inn in Massachusetts, accidentally created this masterpiece. She added chopped-up pieces of Nestle chocolate to her cookie dough, expecting them to melt. They didn’t—but what came out of the oven was even better. Since then, the Nestle Toll House cookie has become a staple in American kitchens.
The magic lies in the balance. Sweet, buttery dough meets the slightly bitter edge of semi-sweet chocolate chips. It’s chewy yet crunchy, sweet but not cloying, and adaptable for countless twists and customizations. No matter where you’re from or what your baking skill level is, this cookie speaks to everyone.
What Makes This Recipe Unique?
While there are thousands of chocolate chip cookie recipes online, the Nestle version is still among the most trusted. It delivers consistent, mouthwatering results every time—no weird ingredients, no overly complicated steps. Just classic ingredients and a time-tested process. What really sets this recipe apart is the specific ratio of brown to white sugar, the perfect balance of baking soda to flour, and of course, the Nestle semi-sweet morsels that melt just right.
What’s more? It leaves room for your own creativity. Want to throw in some walnuts? Go for it. Prefer dark chocolate over semi-sweet? Swap it in. This base recipe is your canvas.
List of Ingredients You’ll Need
You probably already have most of these in your kitchen. Here’s everything you’ll need to make about 5 dozen cookies.
Dry Ingredients
- 2 1/4 cups all-purpose flour
- 1 teaspoon baking soda
- 1/2 teaspoon salt
Wet Ingredients
- 1 cup (2 sticks) unsalted butter, softened
- 3/4 cup granulated sugar
- 3/4 cup packed brown sugar
- 1 teaspoon vanilla extract
- 2 large eggs
Add-ins
- 2 cups Nestle Toll House Semi-Sweet Chocolate Morsels
- 1 cup chopped nuts (optional)
Kitchen Tools You’ll Need
You don’t need any fancy equipment here—just the basics:
- Mixing bowls (one large, one medium)
- Hand mixer or stand mixer (or a good old wooden spoon!)
- Measuring cups and spoons
- Baking sheets
- Parchment paper or silicone baking mats
- Cookie scoop or tablespoon
- Cooling rack
Simple, right? With these tools in hand, you’re ready to bake.
How to Choose the Right Chocolate Chips
While the recipe calls for Nestle Toll House semi-sweet morsels, there are tons of options out there: dark, milk, mini, or even chunks. Here’s a quick breakdown:
| Type of Chocolate | Flavor Profile | Melting Behavior | Best For |
|---|---|---|---|
| Semi-Sweet | Balanced, classic | Melts but holds shape | Traditional cookies |
| Milk Chocolate | Sweeter, creamier | Melts quickly | Sweeter cookies |
| Dark Chocolate | Bold, slightly bitter | Holds shape | Sophisticated taste |
| Chocolate Chunks | Intense pockets of flavor | Melt inconsistently | Bakery-style cookies |
Stick with semi-sweet for the most authentic taste, but don’t be afraid to experiment!
Preparing Your Baking Environment
Preparation is key to smooth baking. Here’s a mini checklist:
- Preheat your oven to 375°F (190°C).
- Let your butter sit out to soften (don’t microwave—it melts unevenly).
- Line your baking sheets with parchment paper for easy cleanup.
- Measure all ingredients in advance (mise en place makes life easier).
Step-by-Step Guide to Making Nestle Chocolate Chip Cookies
Ready to bake? Let’s go step-by-step and get those cookies in the oven.
Step 1: Preheat the Oven
Start by preheating your oven to 375°F (190°C). Don’t skip this—baking cookies in a properly preheated oven is essential for even baking. Cold ovens = flat cookies.
Step 2: Mix the Dry Ingredients
In a medium bowl, combine the flour, baking soda, and salt. Stir them together with a whisk or spoon to make sure the baking soda is evenly distributed. This helps avoid bitter pockets in your final cookie.
Step 3: Cream the Butter and Sugars
In your large mixing bowl, add the softened butter, granulated sugar, and brown sugar. Beat them together until the mixture is light and fluffy—this usually takes about 3 to 4 minutes with a hand mixer. Creaming incorporates air, giving you cookies with a light, chewy texture.
Step 4: Add the Eggs and Vanilla Extract
Crack in the eggs one at a time, beating well after each addition. Then stir in the vanilla. You’ll notice the batter becoming creamier and smoother. Don’t skip the vanilla—it adds depth to the flavor.
Step 5: Combine Dry and Wet Mixtures
Gradually add the dry ingredients into the wet mixture. You can do this in thirds to make sure everything blends evenly. Stir slowly—overmixing at this point can lead to tough cookies.
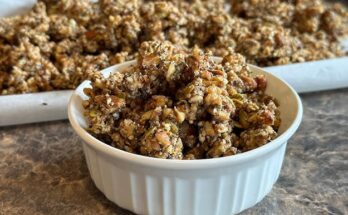
Step 6: Fold in Chocolate Chips
Once your dough is mixed, fold in the chocolate chips (and nuts, if using). Use a spatula or wooden spoon here—you want those morsels evenly spread throughout the dough.
Step 7: Scoop the Dough Onto the Baking Sheet
Using a cookie scoop or tablespoon, drop rounded scoops of dough onto your prepared baking sheets. Space them about 2 inches apart—they’ll spread as they bake.
Step 8: Bake to Perfection
Pop your tray in the oven and bake for 9 to 11 minutes, or until the edges are golden brown. The centers might look a little soft—that’s okay! They’ll continue cooking on the baking sheet as they cool.
Step 9: Cool Before Serving
Let the cookies rest on the baking sheet for about 2 minutes before transferring them to a wire rack. Cooling lets them set up properly and keeps them from falling apart.
Baking Tips for the Best Results
Want next-level cookies that make people think you’re a professional baker? These tips will help you get there:
- Use room-temperature ingredients: Cold eggs or butter can cause uneven mixing. Let them sit out for about 30–60 minutes before using.
- Don’t overmix: Once the flour goes in, mix only until everything is combined. Overworking the dough can make your cookies tough.
- Chill the dough (optional): If you have time, let the dough chill in the fridge for 30 minutes to an hour. It enhances the flavor and helps prevent cookies from spreading too much.
- Rotate the pans halfway: If you’re baking multiple trays at once, rotate them halfway through for even baking.
- Use parchment paper or silicone mats: This prevents the bottoms from overbaking and makes cleanup easier.
These little tweaks make a huge difference in texture and taste.
How to Store Your Cookies
You’ve baked a batch (or maybe two), and now it’s time to store them properly—if there are any left, of course!
Short-Term Storage
- Store cookies in an airtight container at room temperature for up to one week.
- Add a slice of bread inside the container to keep cookies soft (seriously, it works!).
Freezing the Dough
- Roll dough into balls and place on a baking sheet. Freeze until firm.
- Transfer to a zip-top freezer bag and freeze for up to 3 months.
- Bake straight from frozen—just add an extra 1–2 minutes to the bake time.
Freezing Baked Cookies
- Cool completely, then store in airtight containers or bags.
- Freeze for up to 3 months.
- Let thaw at room temp, or microwave for 10 seconds for that fresh-from-the-oven taste.
Common Mistakes to Avoid
Even the easiest recipes have room for error. Avoid these pitfalls to make sure your cookies turn out perfect:
- Using melted butter: It’ll cause your cookies to spread too much.
- Skipping the salt: Salt balances the sweetness and enhances flavor.
- Overbaking: Take them out when the edges are golden, not the whole cookie. They firm up as they cool.
- Too much flour: Always measure flour properly. Spoon it into the measuring cup and level it off—don’t scoop directly from the bag.
- Crowding the baking sheet: Give cookies room to spread. Crowding leads to oddly shaped cookies that fuse together.
Follow the steps closely and avoid these common mistakes, and you’ll be golden.
Gluten-Free and Vegan Alternatives
Whether you have dietary restrictions or you’re just experimenting, here are some ways to make your cookies more inclusive.
Gluten-Free Option
- Use a 1:1 gluten-free baking flour blend.
- Make sure all your other ingredients (like chocolate chips) are certified gluten-free.
Vegan Option
- Replace butter with plant-based alternatives like Earth Balance or coconut oil.
- Use flax eggs (1 tbsp flaxseed meal + 3 tbsp water = 1 egg).
- Choose dairy-free chocolate chips.
You’ll still get tasty, chewy, chocolatey results—promise!
Nutritional Information
Here’s a rough estimate per cookie (based on the original recipe, about 60 cookies per batch):
| Nutrient | Amount |
|---|---|
| Calories | 90–100 |
| Total Fat | 5g |
| Saturated Fat | 3g |
| Cholesterol | 10mg |
| Sodium | 60mg |
| Total Carbohydrates | 12g |
| Sugars | 8g |
| Protein | 1g |
Note: These values will vary depending on your exact ingredients and portion sizes.
FAQs about Nestle Chocolate Chip Recipe
1. Can I make the dough ahead of time?
Absolutely! Cookie dough can be made up to 3 days in advance. Just store it in the fridge and let it soften a bit before scooping.
2. What if I don’t have brown sugar?
You can use all white sugar, but the texture and flavor will be slightly different. For a DIY fix, mix 1 cup white sugar with 1 tbsp molasses.
3. Why are my cookies flat?
This usually means your butter was too warm or you didn’t chill the dough. Try refrigerating the dough next time before baking.
4. Can I use this dough for cookie bars instead?
Yes! Spread the dough into a greased 9×13-inch pan and bake at 350°F (175°C) for 20–25 minutes.
5. How do I make giant bakery-style cookies?
Just scoop out larger portions of dough (about 1/4 cup each), space them apart, and bake a few minutes longer.
Conclusion
And there you have it—a full-proof, step-by-step guide to baking the iconic Nestle Toll House Chocolate Chip Cookies. It’s a timeless recipe for a reason. Whether you’re whipping up a batch for a party, baking with kids on a rainy day, or simply satisfying your sweet tooth, these cookies deliver every single time.
The best part? You don’t need any fancy equipment or gourmet ingredients. Just a little time, some pantry staples, and a love for delicious, homemade cookies.
So go ahead, grab those mixing bowls, and treat yourself to something sweet. You deserve it.