Milk Gravy Recipe: There’s just something about homemade milk gravy that makes you feel like you’re sitting at Grandma’s kitchen table on a Sunday morning. If you’re from the South—or have Southern roots—you know how deep the love runs for this creamy, peppery, soul-hugging sauce. Whether it’s poured over fluffy biscuits, crispy fried chicken, or smothered over mashed potatoes, milk gravy isn’t just food. It’s comfort.
In many Southern households, learning to make milk gravy is almost a rite of passage. It’s simple, economical, and made with pantry staples—but when done right, it tastes like a little slice of heaven. The beauty lies in its simplicity. With just a few ingredients and a bit of technique, you can whip up a batch in under 15 minutes.
Let’s dive into the nitty-gritty and learn how to make the perfect milk gravy, step by step.
What is Milk Gravy?
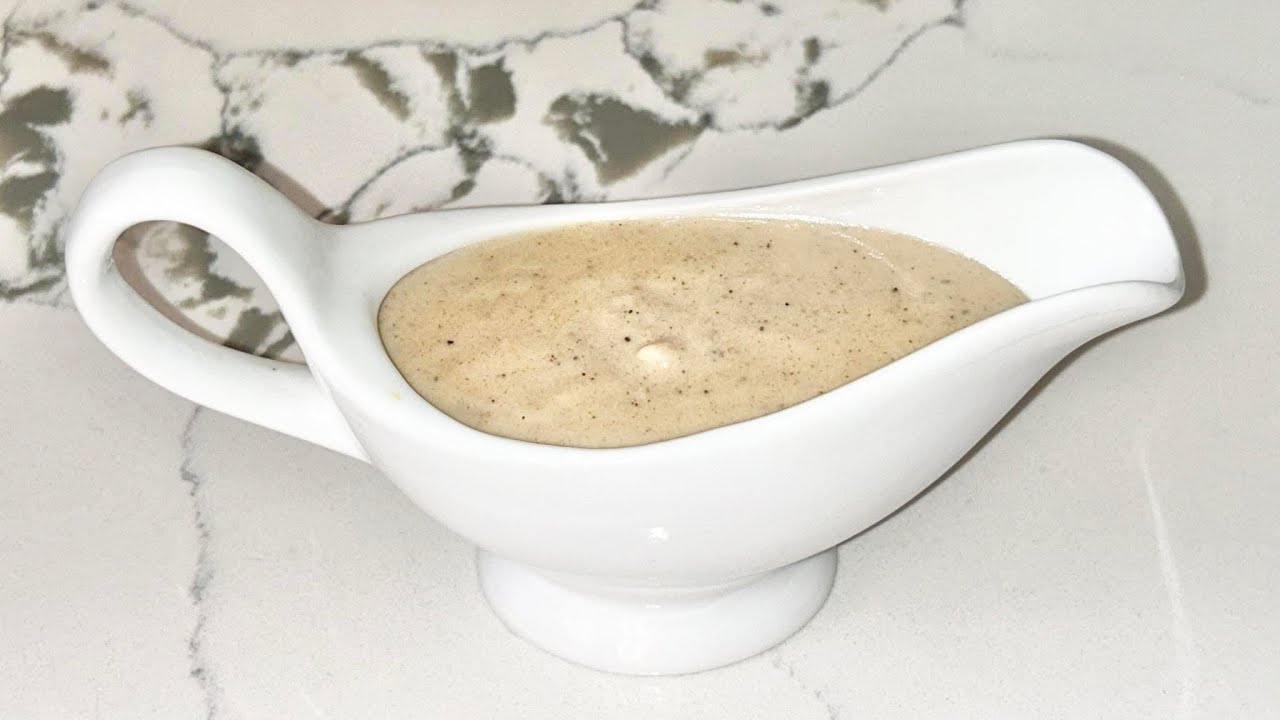
Milk gravy is a white sauce made from fat (typically sausage or bacon grease), flour, and milk. It’s a thick, creamy, and savory gravy that often gets a generous amount of freshly cracked black pepper, giving it a little kick and tons of flavor. You might also hear it called “country gravy” or “white gravy.”
The base starts with a roux (a mix of fat and flour), which thickens the milk into a rich, luscious sauce. It’s typically served over biscuits (hello, biscuits and gravy!), but it also works well over fried chicken, pork chops, mashed potatoes, or even as a dipping sauce for fried foods.
The History Behind Milk Gravy
Milk gravy has deep roots in Southern American cooking, tracing back to early settlers who needed to make the most out of humble ingredients. Flour, fat, and milk were always available, and meat drippings—whether from sausage, bacon, or fried chicken—became the flavorful base.
It was especially popular in Appalachian regions and the Deep South, where hearty breakfasts were essential for laborers heading out to farm or work all day. Over time, it became a breakfast tradition, often made with sausage and poured over fresh biscuits.
Interestingly, milk gravy wasn’t just a breakfast food. It also served as a go-to sauce for lunch and dinner when budgets were tight but flavor was still a priority.
When to Use Milk Gravy: Best Dishes to Pair It With
Milk gravy is incredibly versatile. Here are a few classic and creative ways to enjoy it:
- Biscuits and Gravy – The ultimate Southern breakfast.
- Chicken Fried Steak – A must-have pairing.
- Mashed Potatoes – For a creamy, flavorful topping.
- Fried Chicken – A delicious drizzle.
- Breakfast Bowls – With eggs, potatoes, sausage, and gravy.
- Poutine-Style Dishes – Replace brown gravy with milk gravy for a twist.
- Eggs and Toast – Smother scrambled eggs for extra flavor.
- Hash Browns or Home Fries – Gravy makes it even better.
Don’t be afraid to get creative with how you serve it. Once you’ve made it a few times, it becomes a kitchen staple you’ll find yourself pouring on everything.
Ingredients You’ll Need
Basic Ingredients
Here’s your short and sweet grocery list:
- 2 tablespoons fat (bacon grease, sausage drippings, or butter)
- 2 tablespoons all-purpose flour
- 2 cups whole milk (you can use 2% or even a plant-based milk, but whole milk gives the best texture and flavor)
- Salt to taste
- Black pepper (freshly cracked is best)
Optional Flavor Enhancers
Want to level up your milk gravy? Add these if you’re feeling adventurous:
- Crumbled cooked sausage or bacon – For a meatier, heartier gravy.
- Garlic powder or onion powder – Just a pinch for depth.
- A dash of cayenne or red pepper flakes – If you like a bit of heat.
- Heavy cream or half-and-half – For extra richness.
Kitchen Tools Required
Before we jump into the cooking, make sure you’ve got these tools ready:
- A medium-sized skillet or saucepan
- A whisk or sturdy spoon
- Measuring spoons and cups
- A spatula (for scraping the pan)
- Serving bowl or gravy boat
Having the right tools makes the process smoother and helps avoid common mistakes like lumps or uneven thickening.
Tips Before You Start Cooking
Here are a few pro tips to keep in mind before firing up the stove:
- Don’t rush the roux. That fat-and-flour combo needs a minute or two to cook out the raw flour taste.
- Warm the milk slightly before adding. Cold milk can cause lumps.
- Whisk constantly. Don’t walk away! The magic happens in the stir.
- Season at the end. Especially with salt. If you used sausage or bacon drippings, the saltiness will vary.
- Gravy thickens as it sits. If it gets too thick, just stir in a bit more milk to loosen it up.
Step-by-Step Milk Gravy Recipe
Time to get your hands dirty—well, not literally. Let’s walk through how to make milk gravy from scratch.
Step 1: Gather Your Ingredients
Before you start cooking, measure out everything. This step may seem obvious, but trust me—gravy moves fast. You won’t have time to go digging through the pantry once the pan’s hot.
Place your fat, flour, milk, salt, and pepper within arm’s reach. If you’re using sausage or bacon, cook it first, and keep the drippings in the pan.
Step 2: Render the Fat
Heat your skillet over medium heat and add your fat (either saved drippings or butter). If using bacon or sausage, cook the meat until crispy, then remove it with a slotted spoon, leaving the grease behind.
Make sure the grease is hot but not smoking—you want it warm enough to blend smoothly with the flour.
Step 3: Make a Roux
Sprinkle in the flour evenly across the fat. Grab your whisk and stir constantly. It should look like a thick paste.
Let it cook for 1–2 minutes, stirring continuously. You’re looking for a golden color—not too dark, or the gravy will taste burnt. This is the foundation of your flavor.
Step 4: Add Milk Slowly
Now, slowly pour in the milk, a little at a time, while whisking. This helps prevent lumps from forming.
Keep whisking until the flour and fat mixture fully dissolves into the milk. Once all the milk is in, reduce the heat to medium-low.
Step 5: Stir Until Thickened
Let the gravy simmer and keep whisking every few seconds. After about 5–7 minutes, you’ll notice it starts to thicken.
Don’t crank up the heat to rush it—that’s a quick way to ruin the texture. Just be patient and keep stirring until it coats the back of a spoon.
Step 6: Season to Taste
Now’s the fun part. Add a pinch of salt and a few generous cracks of black pepper. Stir, taste, and adjust as needed.
Want a spicy kick? Add a dash of cayenne or red pepper flakes.
If you cooked sausage or bacon, stir those crumbles back into the gravy for extra flavor and texture.
Troubleshooting Common Issues
Even though milk gravy is simple, a few things can go wrong. Here’s how to fix common mistakes so your gravy always turns out creamy and delicious.
Why Is My Gravy Lumpy?
Lumps are probably the most common problem, and they usually happen when cold milk is added too quickly to the roux, or the roux isn’t stirred enough. Here’s how to avoid them:
- Warm your milk slightly before adding it. Room temperature milk blends better.
- Whisk constantly while adding the milk—don’t dump it all in at once.
- Use a fine-mesh strainer to fix it. If you already have lumps, just pour the gravy through a strainer into a clean pan and whisk again over low heat.
Why Is My Gravy Too Thin or Too Thick?
Getting the right consistency is all about ratio and timing.
- Too thin? Keep simmering a bit longer, or mix 1 teaspoon of flour with 1 tablespoon of water and whisk it in.
- Too thick? Add more milk, a little at a time, and whisk until it thins out.
Consistency is key. Your gravy should coat the back of a spoon, not run off like soup.
How to Store and Reheat Milk Gravy
Leftovers? Lucky you. Here’s how to store and bring it back to life:
Storage:
- Refrigerator: Store in an airtight container for up to 4 days.
- Freezer: While not ideal, you can freeze milk gravy for up to 1 month. Just know it may separate when thawed (but it’s fixable).
Reheating:
- Stovetop: Place in a saucepan on low heat. Add a splash of milk and stir constantly until smooth.
- Microwave: Use a microwave-safe dish and heat in 30-second intervals, stirring between each round. Add milk to adjust texture if needed.
Reheated gravy thickens quickly, so keep extra milk on hand to loosen it back up.
Variations of Milk Gravy
Ready to take your gravy game to the next level? These variations are just as easy and give your taste buds something new to love.
Sausage Milk Gravy
- Brown ½ pound of ground breakfast sausage in the pan.
- Don’t drain the grease! Use it as your fat.
- Proceed with the roux and milk as usual.
- Crumble the sausage back into the gravy after it thickens.
This is the classic gravy used in biscuits and gravy.
Bacon Milk Gravy
- Cook 5–6 slices of thick-cut bacon until crispy.
- Remove bacon and crumble it.
- Use the grease to make the roux.
- Stir in the bacon at the end for a smoky twist.
Vegetarian Milk Gravy
- Use butter or plant-based margarine instead of meat drippings.
- Use vegetable broth for extra flavor (a 50/50 mix with milk works great).
- Add mushrooms, caramelized onions, or even smoked paprika for richness.
Healthier Alternatives
Gravy doesn’t always have to be indulgent. Here’s how to make it a little healthier without losing flavor:
- Use olive oil or ghee instead of bacon grease.
- Swap whole milk for low-fat or almond milk (unsweetened).
- Add extra herbs and spices like thyme, sage, or paprika to amp up the taste.
- Try whole wheat flour for added fiber.
- Reduce salt and rely on spices for flavor.
It won’t be quite the same as the traditional version, but it’ll still be satisfying and way better than store-bought.
Serving Suggestions
You’ve got your milk gravy hot and ready—now what? Here are some ways to put that creamy goodness to work:
1. Classic Biscuits and Gravy
Slice open warm buttermilk biscuits and spoon a hearty ladle of gravy right on top. Add crumbled sausage for the win.
2. Chicken Fried Steak
Serve your crispy steak with mashed potatoes and pour milk gravy all over the top. Comfort food at its finest.
3. Southern-Style Breakfast Bowl
Layer breakfast potatoes, scrambled eggs, cheese, sausage, and top with gravy.
4. Gravy Fries
Use milk gravy instead of brown gravy over crispy fries. Add cheese curds if you want a poutine-inspired treat.
5. Gravy over Eggs and Toast
Yep, that’s a thing. Spoon gravy over a runny fried egg and thick slices of toasted sourdough.
FAQs about Milk Gravy Recipe
1. Can I make milk gravy without meat drippings?
Absolutely! Use butter, margarine, or even olive oil as your fat. The flavor will be a little different, but still delicious.
2. Why does my gravy taste like flour?
It probably didn’t cook long enough during the roux stage. Make sure to stir your flour and fat together for at least 1–2 minutes before adding milk.
3. Can I use plant-based milk in this recipe?
Yes! Unsweetened almond, oat, or soy milk can all be used. Just make sure they’re plain and not flavored.
4. Is milk gravy the same as béchamel sauce?
They’re similar, but béchamel is a French sauce often used in lasagna or mac & cheese. Milk gravy usually has a heavier seasoning and starts with meat drippings instead of butter.
5. Can I freeze leftover milk gravy?
Yes, but expect some separation. Stir well while reheating and add a splash of milk to bring it back to life.
Conclusion
Milk gravy is one of those dishes that proves simple doesn’t mean boring. With just a few everyday ingredients and a little technique, you can create a sauce that’s rich, creamy, and incredibly satisfying. Whether you’re ladling it over a stack of fluffy biscuits or using it to top off your fried chicken, milk gravy has a way of turning a good meal into a great one.
The beauty of this Southern classic is that it’s easy to master and endlessly customizable. So the next time you’ve got a little bacon grease and some milk on hand, you know what to do.
Make gravy. Make memories.


