Mayonnaise Recipe: Ever wondered why your favorite sandwich at the deli tastes a little more indulgent than the ones you make at home? It’s probably the mayo. That creamy, tangy, smooth magic that brings everything together. But here’s the kicker—store-bought mayonnaise just doesn’t compare to the real deal made fresh in your own kitchen.
In this comprehensive step-by-step guide, I’m going to walk you through everything you need to know to make the perfect homemade mayonnaise. From the ingredients to the method, we’ll cover all the bases—even common mistakes and how to fix them. Whether you’re a seasoned home cook or just someone curious about the magic behind this condiment, stick around.
By the end of this article, you’ll be whipping up jars of this golden goodness like a pro.
What is Mayonnaise?
Mayonnaise, or mayo for short, is a classic emulsion—basically, a fancy word for mixing two things that usually don’t like each other, like oil and water (or in this case, oil and lemon juice/vinegar). It’s a thick, creamy sauce made primarily from oil, egg yolk, an acid (like vinegar or lemon juice), and sometimes mustard. It’s known for its smooth texture and slightly tangy flavor, making it an essential ingredient in dishes ranging from potato salad to BLTs.
Historically, mayo is believed to have originated in France or Spain in the 18th century. Over time, it made its way into countless kitchens and became a refrigerator staple across the globe. But homemade mayo? That’s a whole new level. The freshness, the control, the taste—it’s unbeatable.
Health Benefits of Homemade Mayonnaise
Alright, let’s talk about why you should even bother making mayonnaise at home. Isn’t it easier to just grab a jar from the grocery store? Sure, but here’s what you’re missing:
- No Preservatives: Store-bought mayo often contains preservatives, stabilizers, and additives to extend shelf life. Homemade mayo? Just real, fresh ingredients.
- Custom Ingredients: Want to avoid seed oils or sugar? You get to choose exactly what goes in.
- Better Flavor: The taste is richer and more vibrant than commercial versions.
- Allergy-Friendly: If you or someone in your household has allergies, you can tweak the recipe to be egg-free, dairy-free, or gluten-free.
- Nutrient Control: Use pasture-raised eggs, heart-healthy oils, or even add-in extras like garlic and herbs for added health benefits.
List of Ingredients You’ll Need
Before we jump into the action, here’s your shopping list. Stick to quality ingredients—you’ll taste the difference.
- 1 large egg yolk (room temperature)
- 1 cup neutral oil (like canola, sunflower, or avocado)
- 1 tablespoon mustard (Dijon or yellow)
- 1 tablespoon vinegar or lemon juice
- ½ teaspoon salt (adjust to taste)
- Optional add-ins: minced garlic, paprika, fresh herbs, honey, chili flakes
Each ingredient plays a key role, and you’ll see exactly how they work together shortly.
Kitchen Tools You’ll Need
Here’s what you’ll need to whip up your mayo masterpiece:
- Mixing bowl
- Whisk or hand blender
- Measuring cups and spoons
- Clean jar or airtight container for storage
- Towel or silicone mat (to stabilize your bowl)
Tip: If it’s your first time, go slow and use a whisk. It’s harder to mess up and great for learning how the emulsion process works.
Choosing the Right Oil for Mayonnaise
Not all oils are created equal. The oil you choose will greatly affect the flavor and consistency of your mayo.
Best oils for mayonnaise:
- Avocado oil – neutral and creamy
- Sunflower oil – light and neutral
- Grapeseed oil – smooth and subtle
- Light olive oil – mild flavor (not extra virgin)
Avoid:
- Extra virgin olive oil – too strong and bitter
- Toasted sesame oil – overpowering
- Coconut oil – solidifies at room temp
Pro tip: If you’re going for a mild flavor, stick with something neutral. Want a bit of flair? Blend two oils—like half olive, half avocado.
The Role of Each Ingredient in Mayonnaise
Let’s break it down:
- Egg yolk: Acts as the primary emulsifier—it holds the mixture together.
- Mustard: Also helps emulsify and adds flavor.
- Acid (lemon juice or vinegar): Balances the fat with tanginess.
- Salt: Brings out all the other flavors.
- Oil: The body of the mayo—what gives it its creamy texture.
It’s this precise combo, in the right amounts, that makes the magic happen.
Step-by-Step Guide to Making Mayonnaise
Let’s do this. Follow these steps carefully:
Step 1: Let ingredients reach room temperature
Cold eggs or oil will mess with the emulsion. Take your egg out 30 mins early or place it in warm water for 5 minutes.
Step 2: Combine egg yolk, acid, mustard, and salt
In your mixing bowl, whisk these ingredients until they’re fully blended and frothy.
Step 3: Start whisking slowly and add oil drop by drop
The golden rule—go slow. Begin adding oil a few drops at a time while whisking continuously. You’ll see it start to thicken after the first few tablespoons.
Step 4: Once it thickens, drizzle oil in a thin stream
Now you can speed up just a bit, but keep whisking constantly. Pour the oil in a slow, steady stream until fully incorporated.
Step 5: Taste and adjust
Need more tang? Add lemon juice. Too thick? Whisk in a teaspoon of warm water.
Step 6: Store in a clean jar
Use a glass jar with a tight lid. Label it with the date and store in the fridge.
Using a Blender vs. Whisk – Which Is Better?
When it comes to making mayonnaise, your choice of tools can make a big difference in ease, speed, and even taste.
Whisk (By Hand):
- Pros: Great for beginners, more control over the process, less likely to break the emulsion if you go slow.
- Cons: Takes longer, more effort (hello, arm workout), and you must be very patient.
Blender or Food Processor:
- Pros: Fast, easy, consistent texture. Great if you’re making large batches.
- Cons: Easier to break the emulsion if you add oil too quickly. Also, cleanup is more involved.
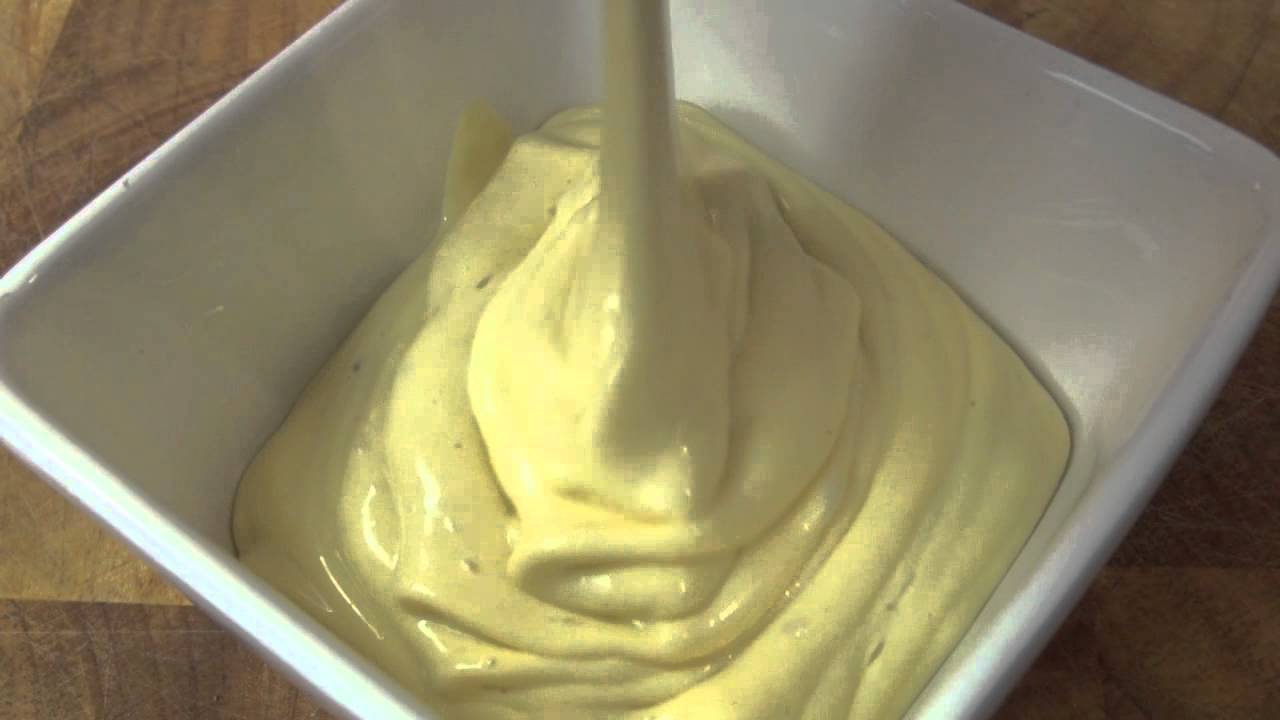
Hand Blender (Immersion Blender):
- Best of both worlds. Place all your ingredients in a tall jar, insert the stick blender, and let it rip. In seconds, you’ll have a perfect mayo with minimal effort.
Bottom line? If you’re new or want to learn how mayo forms, start with a whisk. If you’re short on time, a hand blender is your best friend.
Common Mistakes When Making Mayonnaise
Even seasoned cooks can run into trouble with mayo. Here are some common slip-ups and how to avoid them:
- Adding oil too quickly
- Mayo needs to build slowly. Dumping in too much oil early will break the emulsion. Always start with a few drops, then drizzle slowly.
- Cold ingredients
- Cold eggs or oil = disaster. Emulsions form better at room temperature.
- Wrong type of oil
- Strong oils can make your mayo bitter or overly thick. Stick with neutral oils.
- Overmixing with high-speed tools
- Too much speed can heat the mixture, causing it to split.
- Broken emulsion
- If your mayo separates, don’t panic. Start with a new egg yolk in a clean bowl, and slowly whisk in the broken mayo. It should come back together.
Pro Tip: If your mayo is too thin, whisk in a little more oil. If it’s too thick, a teaspoon of warm water will loosen it.
Flavor Variations to Try
Once you’ve mastered the classic version, it’s time to experiment. Here are a few variations to try:
- Garlic Aioli
Add 1–2 minced garlic cloves (or roasted garlic for a sweeter touch). - Spicy Chipotle Mayo
Blend in 1–2 teaspoons of chipotle in adobo sauce and a splash of lime juice. - Lemon Dill Mayo
Mix in chopped fresh dill and extra lemon zest for a zingy seafood spread. - Sriracha Mayo
Add 1 tablespoon of Sriracha for a kick of heat. - Curry Mayo
Stir in 1 teaspoon curry powder and a dash of honey—amazing with chicken wraps.
This is where homemade mayo really shines. You get to be the flavor boss.
How to Store Homemade Mayonnaise
Your fresh-made mayo doesn’t last forever—there are no preservatives here.
Storage tips:
- Use a clean, airtight glass jar.
- Label the jar with the date you made it.
- Store in the coldest part of your fridge (usually the back).
Shelf life:
- Homemade mayo will last up to 1 week, though some stretch it to 10 days if kept very cold.
Warning signs it’s gone bad:
- Off smell or color
- Separation or water pooling
- Sour taste
When in doubt, toss it out. Fresh mayo is easy to make again.
Ways to Use Homemade Mayonnaise
Now that you’ve got this creamy goodness ready to go, what can you do with it? Here are some ideas:
- Sandwiches & wraps: Elevate every bite.
- Salad dressings: Mix with vinegar, garlic, and herbs for a creamy vinaigrette.
- Dips & sauces: Combine with Greek yogurt, mustard, or hot sauce for custom dips.
- Burger spread: Mix with ketchup and relish for a classic burger sauce.
- Marinades: Yes, mayo makes a great marinade—especially for chicken or fish.
Pro tip: Mix mayo with hard-boiled egg yolks for the creamiest deviled eggs ever.
Mayonnaise Without Eggs (Vegan Option)
Eggs not your thing? No problem. You can make mayo that’s totally plant-based and still delicious.
Vegan Mayonnaise Ingredients:
- ½ cup unsweetened soy milk or aquafaba (chickpea water)
- 1 cup neutral oil
- 1 tablespoon lemon juice or vinegar
- 1 teaspoon Dijon mustard
- Salt to taste
How to Make:
- Combine everything except oil in a blender.
- Slowly drizzle in the oil while blending.
- Blend until thick and creamy.
This vegan version is surprisingly close in texture and flavor to the original. It’s perfect for those with egg allergies or following a plant-based diet.
FAQs about Mayonnaise Recipe
Can I freeze mayonnaise?
Not really. Freezing breaks the emulsion, and you’ll end up with a watery mess.
How long does homemade mayo last?
Up to 1 week in the fridge. Always use clean utensils and a sealed container.
Can I use olive oil?
Yes, but stick to light olive oil. Extra virgin is too bitter and overpowering.
What if my mayo is too thick/thin?
Too thick? Add a little warm water or lemon juice. Too thin? Whisk in more oil gradually.
Is it safe to eat raw egg mayo?
If you use fresh, pasteurized eggs and keep it cold, it’s generally safe. Still, pregnant women or those with weak immune systems should be cautious.
Conclusion
Making mayonnaise at home might seem like a culinary mystery at first, but once you understand the process, it becomes second nature. You’ll never want to go back to store-bought after tasting your own creamy, fresh, flavorful mayo. The beauty lies in its simplicity—just a few ingredients, a little time, and a touch of patience. Plus, the ability to experiment with flavors puts you in full control of your kitchen creations.
So next time you’re stacking up a sandwich or tossing together a potato salad, remember—you’ve got this. Homemade mayo is your secret weapon, and now you know exactly how to make it.

