Keylime Pie Recipe: Key lime pie is a timeless dessert that balances sweetness with a refreshing tangy punch. Loved across the world, this pie captures the taste of summer in every creamy bite. If you’ve ever visited the Florida Keys, you know it’s almost a tradition to enjoy a slice of this tropical treat. The pie is smooth, citrusy, and refreshing—making it perfect for both casual family dinners and special gatherings.
The Origin of Key Lime Pie
The story of key lime pie begins in Florida, where the small, tart key limes grow abundantly. The dessert dates back to the late 1800s when refrigeration was scarce, and canned sweetened condensed milk became a pantry staple. Early recipes required no baking because the acid in the lime juice “cooked” the eggs, creating a custard-like texture. Over time, baking became the norm, adding structure and richness. Today, key lime pie is Florida’s official state pie, symbolizing its sunny, tropical roots.
Why Key Lime Pie is So Popular
The magic of key lime pie lies in its balance of flavors. It’s not overwhelmingly sweet, nor is it mouth-puckering sour. The creamy filling, crisp graham cracker crust, and fluffy topping create a perfect contrast of textures. It’s also incredibly versatile—you can prepare it as a full pie, mini tarts, or even parfait-style desserts. Plus, it’s surprisingly simple to make, requiring only a handful of ingredients and minimal effort for a show-stopping result.
Ingredients You’ll Need
Before diving into the step-by-step guide, let’s break down the ingredients needed for a classic key lime pie.
For the Crust
- 1 ½ cups graham cracker crumbs
- ⅓ cup granulated sugar
- 6 tablespoons unsalted butter (melted)
This combination creates a crunchy, buttery base that complements the creamy filling.
For the Filling
- 4 large egg yolks
- 1 can (14 ounces) sweetened condensed milk
- ½ cup fresh key lime juice (about 20–25 key limes or 4–5 regular limes)
- 1 tablespoon lime zest
The filling is the star of the pie, delivering that signature tartness blended with creamy sweetness.
For the Topping
- 1 cup heavy whipping cream
- 2 tablespoons powdered sugar
- ½ teaspoon vanilla extract
This adds a light, fluffy finish to the pie, balancing the citrusy bite.
Substitutions and Variations
- No key limes? Use Persian limes or bottled key lime juice.
- No graham crackers? Try digestive biscuits, vanilla wafers, or even Oreos for a twist.
- Dairy-free option? Use coconut cream in place of heavy cream and condensed coconut milk instead of regular sweetened condensed milk.
By tweaking ingredients, you can adapt this pie to different tastes and dietary needs without losing its essence.
Essential Tools and Equipment
Making key lime pie doesn’t require fancy gadgets, but having the right tools ensures smooth preparation.
Baking Tools You’ll Need
- Mixing bowls (medium and large)
- Electric mixer or whisk
- Measuring cups and spoons
- Citrus juicer (to extract juice from limes easily)
- Microplane or zester (for lime zest)
- Rubber spatula (for mixing and spreading filling)
Choosing the Right Pie Dish
A 9-inch pie dish is the standard size for this recipe. Glass or ceramic dishes are ideal because they distribute heat evenly and allow you to monitor the crust while baking. For a more rustic or portable option, you can also prepare this pie in a disposable aluminum pan.
Step-by-Step Guide to Making Key Lime Pie
Now that you’ve got your ingredients and tools ready, it’s time to start baking. This step-by-step process will walk you through every stage.
Step 1 – Preparing the Crust
Start by preheating your oven to 350°F (175°C). In a mixing bowl, combine the graham cracker crumbs, sugar, and melted butter until the mixture resembles wet sand. Press this mixture firmly into the bottom and up the sides of your pie dish using the back of a spoon or a flat-bottomed glass. Bake the crust for 8–10 minutes until lightly golden, then set aside to cool while preparing the filling.
The key to a great crust is packing it tightly—this ensures it holds together when slicing. If you want an extra crunch, you can bake it a few minutes longer, but be careful not to burn it.
Step 2 – Mixing the Filling
The filling is where the magic of key lime pie really shines. Begin by separating the egg yolks from the whites. You’ll only need the yolks for this recipe, so set the whites aside for another use like meringue or an omelet. In a large mixing bowl, whisk the yolks until they become slightly thick and pale. This step ensures the pie has a creamy texture.
Next, add the sweetened condensed milk. Mix thoroughly until smooth and well combined. Now comes the star ingredient—freshly squeezed key lime juice. Slowly pour it into the mixture while stirring constantly. The acidity of the lime juice will thicken the filling naturally as it reacts with the condensed milk and egg yolks. Add in the lime zest to intensify the citrus flavor.
Once everything is well mixed, the filling should be silky and fragrant. Pour it into the cooled crust, spreading it evenly with a spatula. At this point, you’ll notice the aroma of lime filling your kitchen—it’s a good sign that your pie is on the right track.
Step 3 – Baking the Pie
Place the pie in the preheated oven at 350°F (175°C) and bake for 15–18 minutes. You don’t want to overbake it; the pie should be slightly jiggly in the center but set around the edges. Think of it like a cheesecake—it will continue to firm up as it cools.
Once done, remove the pie from the oven and let it rest on a wire rack for about 30 minutes. Baking not only helps set the custard filling but also deepens the flavor, making it richer and smoother.
Here’s a quick tip: if you want a slightly denser texture, let the pie bake for closer to 18 minutes. For a softer, silkier filling, take it out around 15 minutes.
Step 4 – Cooling and Chilling
After the pie has cooled at room temperature, transfer it to the refrigerator for at least 3–4 hours, or ideally overnight. This step is crucial—chilling allows the filling to set completely, ensuring each slice holds its shape when served.
Skipping this step often results in a runny pie, so patience is key here. The longer it chills, the better the texture and flavor. If you’re planning for a special occasion, it’s best to make the pie a day ahead so it has plenty of time to rest in the fridge.
Cover the pie loosely with plastic wrap or aluminum foil to prevent it from absorbing other refrigerator odors. When you finally take it out, the pie should look firm, glossy, and irresistible.
Step 5 – Adding the Topping
The final touch to any key lime pie is the topping, and whipped cream is the classic choice. In a chilled mixing bowl, beat the heavy cream, powdered sugar, and vanilla extract until soft peaks form. Be careful not to over-whip, or you’ll end up with butter instead of whipped cream.
Spread the whipped cream evenly over the chilled pie or pipe it around the edges for a decorative finish. For an extra pop of color and flavor, garnish with thin lime slices, zest shavings, or even a sprinkle of crushed graham crackers.
The topping not only makes the pie visually appealing but also balances the tartness of the lime filling with a touch of sweetness and creaminess. Once decorated, your key lime pie is officially ready to serve and impress!
Pro Tips for the Perfect Key Lime Pie
Even though key lime pie is relatively simple to make, a few extra tips can help you achieve bakery-level results.
Getting the Best Lime Flavor
- Always use fresh lime juice instead of bottled if possible—it makes a huge difference.
- Key limes are smaller and more aromatic than regular limes, but if you can’t find them, Persian limes are a great substitute.
- Don’t skip the zest. Lime zest contains essential oils that add depth and richness to the flavor.
Common Mistakes to Avoid
- Overbaking the pie: It should be slightly jiggly in the center when you take it out. Overbaking can cause cracks.
- Skipping the chill time: The pie needs hours in the fridge to firm up properly.
- Using too much juice: While you may be tempted to add extra juice for more tartness, too much can make the filling runny. Stick to the measurements.
By following these tips, you’ll avoid common pitfalls and end up with a pie that’s as delicious as it is beautiful.
Serving and Presentation Ideas
A beautifully made key lime pie deserves an equally stunning presentation. After all, desserts aren’t just about taste—they’re about visual appeal too. When it’s time to serve, carefully slice the chilled pie with a sharp knife. To get clean cuts, dip the knife in hot water and wipe it before each slice. This prevents the filling from sticking and ensures neat portions.
Garnishing Options
Garnishing takes your pie from homemade to restaurant-worthy. Here are some creative ideas:
- Lime Zest and Slices: Sprinkle zest over the whipped cream or place thin lime slices on top for a pop of color.
- Candied Lime Peel: Adds sweetness and crunch while giving your pie a gourmet flair.
- Toasted Coconut: Perfect if you want to give your pie a tropical twist.
- Chocolate Drizzle: For chocolate lovers, a light drizzle of melted dark chocolate adds richness and contrast.
Pairing Key Lime Pie with Drinks
The citrusy tang of key lime pie pairs wonderfully with refreshing beverages. Consider serving it with:
- Iced tea with a hint of mint
- Sparkling water with lime wedges
- A light dessert wine like Moscato
- Or for an indulgent treat—iced coffee topped with whipped cream
When presented beautifully and paired thoughtfully, key lime pie transforms from a simple dessert into an unforgettable dining experience.
Storage and Make-Ahead Instructions
One of the best things about key lime pie is that it’s an excellent make-ahead dessert. In fact, the flavor improves as it rests.
Storing in the Refrigerator
Key lime pie should always be stored in the fridge. Cover it tightly with plastic wrap or foil to prevent it from absorbing other odors. It will stay fresh for up to 3–4 days. If you’ve topped it with whipped cream, keep in mind that the topping may lose volume after a day. To keep it looking fresh, you can add the whipped cream just before serving.
Freezing Key Lime Pie
Yes, you can freeze key lime pie! Here’s how:
- Skip the whipped cream topping before freezing.
- Wrap the pie tightly with plastic wrap, then with aluminum foil.
- Store in the freezer for up to 2 months.
When ready to serve, thaw the pie in the refrigerator overnight and top it with fresh whipped cream before presenting. Freezing is especially handy if you want to prepare desserts ahead of time for holidays or special occasions.
Key Lime Pie Variations You Should Try
While the classic version is unbeatable, experimenting with variations can be a lot of fun. Here are some delicious twists on the original recipe.
Mini Key Lime Pies
Perfect for parties or individual servings, mini pies are made by pressing crusts into muffin tins or small ramekins. They’re easy to serve and make portion control a breeze.
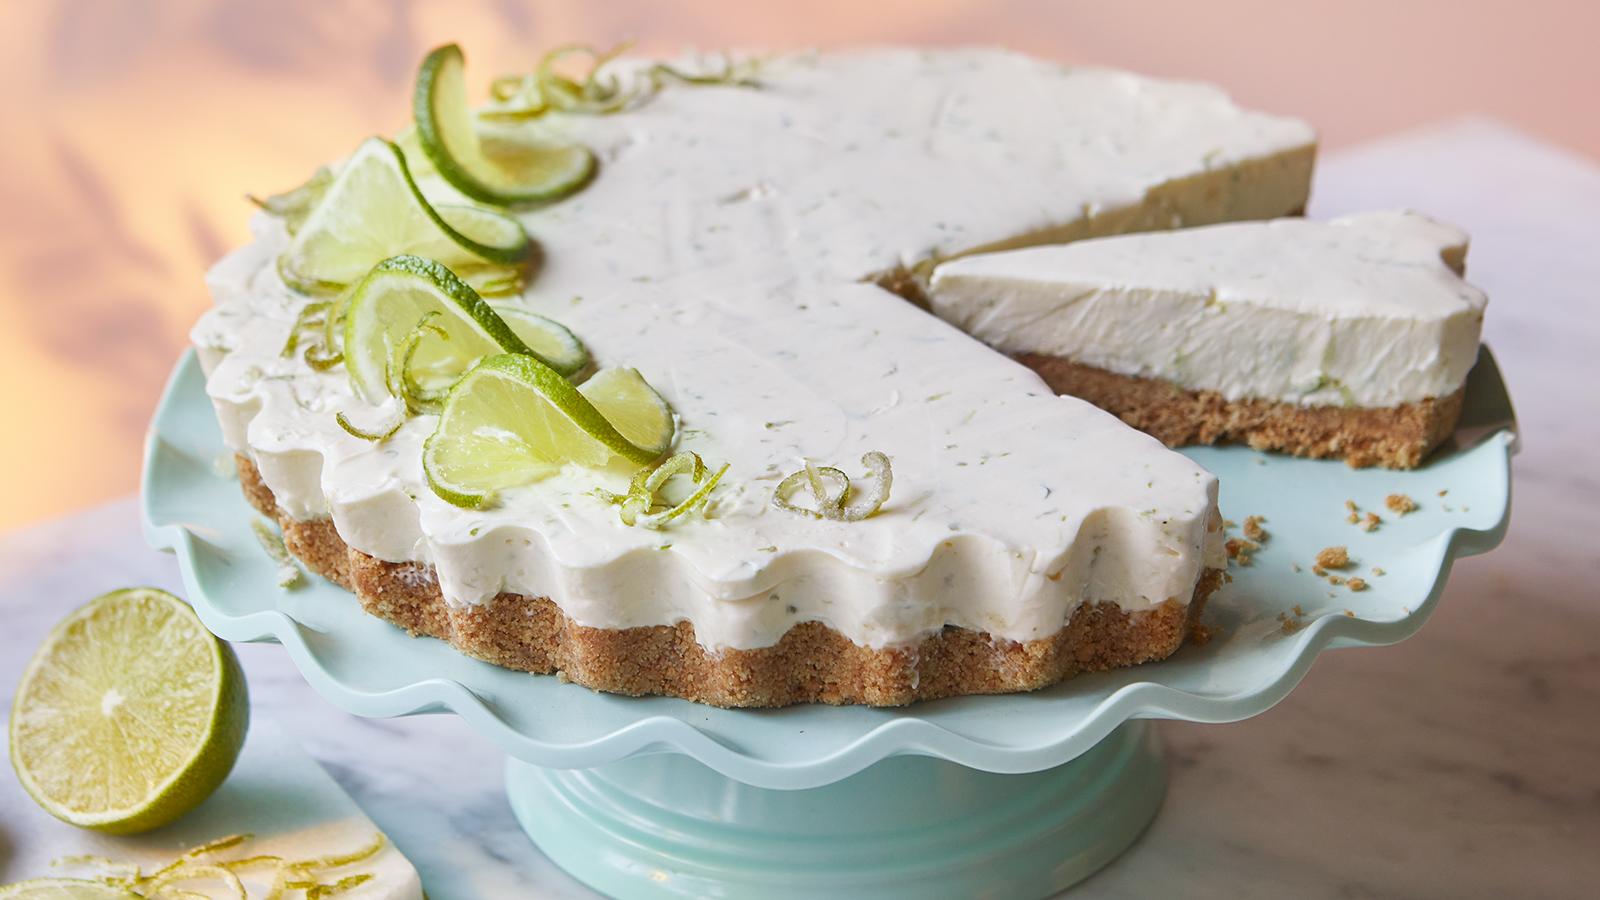
No-Bake Key Lime Pie
If you don’t feel like turning on the oven, try a no-bake version. The crust is chilled instead of baked, and the filling sets using whipped cream or cream cheese for structure. It’s lighter but just as delicious.
Vegan and Dairy-Free Options
For a plant-based twist, substitute condensed coconut milk for regular condensed milk and use coconut cream for the topping. You’ll still get a creamy, tangy pie with a hint of tropical coconut flavor.
These variations prove that key lime pie isn’t just one dessert—it’s a whole category of refreshing, citrusy creations waiting to be explored.
Nutritional Information
Key lime pie is indulgent, but knowing the nutritional details can help you enjoy it in moderation.
Calories and Macros (per slice, based on 1/8 of a pie):
- Calories: ~350
- Carbohydrates: ~40g
- Fat: ~18g
- Protein: ~5g
- Sugar: ~30g
Healthier Ingredient Swaps
- Use a nut-based crust with almond flour instead of graham crackers.
- Replace condensed milk with a lighter dairy alternative.
- Reduce sugar in the crust and filling slightly to lower sweetness without sacrificing flavor.
- Swap heavy cream topping for Greek yogurt whipped topping for added protein and fewer calories.
With a few tweaks, you can make key lime pie a bit lighter while still keeping that irresistible flavor.
FAQs about Keylime Pie Recipe
1. Can I use regular limes instead of key limes?
Yes! While key limes have a more distinct aroma, regular Persian limes are an excellent substitute.
2. How long does key lime pie last?
When stored in the fridge, it lasts 3–4 days. If frozen properly, it can last up to 2 months.
3. Why does key lime pie need to be chilled?
Chilling allows the custard filling to set properly, ensuring clean slices and the best flavor.
4. Can I make key lime pie without eggs?
Yes, you can make an eggless version using cream cheese or whipped cream as a thickener.
5. What makes key lime pie different from regular lime pie?
Key limes are smaller, tarter, and more aromatic than regular limes, giving the pie its unique flavor.
Conclusion
Key lime pie is a dessert that blends simplicity with elegance. From its humble origins in Florida to becoming a globally loved treat, this pie has proven itself as a classic. With a crunchy crust, creamy citrus filling, and fluffy whipped topping, it’s the perfect balance of flavors and textures. Whether you stick to the traditional recipe or try creative variations, making key lime pie at home is a rewarding experience. Serve it chilled, garnish it beautifully, and watch it disappear slice by slice.