IHOP Pancake Recipe: When you think of a hearty, comforting breakfast, IHOP pancakes often come to mind. But what exactly makes these pancakes a breakfast icon? IHOP, short for International House of Pancakes, has built a legacy around their golden, fluffy, and flavorful pancakes that hit the spot every single time. Whether you’re reminiscing about a weekend family brunch or a late-night pancake run, IHOP’s signature pancakes evoke comfort and indulgence in every bite.
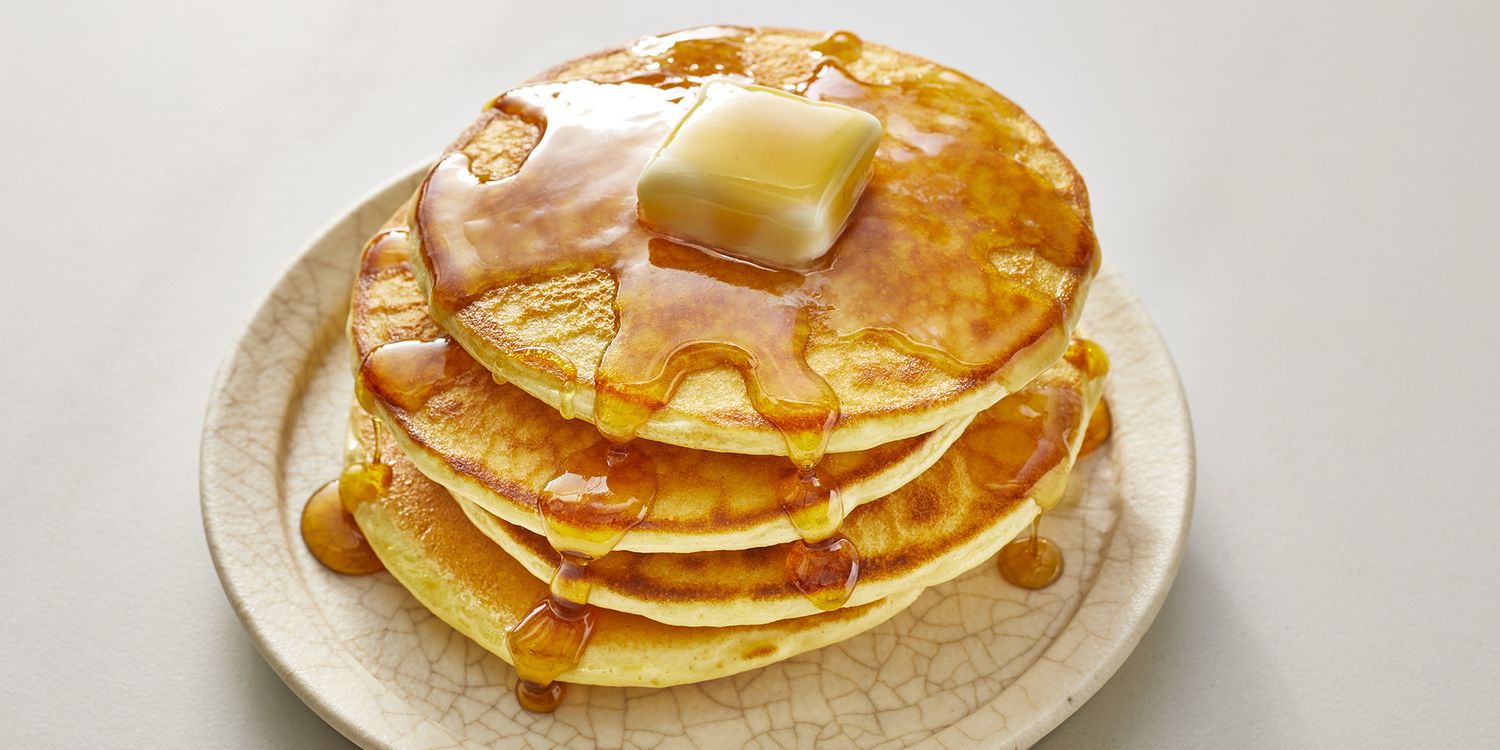
The popularity lies not just in the taste, but in the experience—soft on the inside, slightly crisp on the edges, and always served with a generous pat of butter and maple syrup. These pancakes have been a staple in American households, and for good reason. They strike the perfect balance between lightness and richness, making them almost melt in your mouth.
But here’s the secret: you don’t have to wait in line or leave a tip to enjoy them. You can recreate the IHOP magic right in your own kitchen—and believe it or not, it’s easier than you think.
What Makes IHOP Pancakes Different?
The difference starts with the batter. Unlike basic pancake recipes, IHOP uses a finely balanced mix of flour, leavening agents, and a few unexpected ingredients to achieve that signature taste and texture. One big trick? A touch of buttermilk combined with a hint of vanilla. This not only adds tanginess but also boosts that light, tender texture.
Another key element is technique. IHOP pancakes are not overmixed, which preserves their fluffiness. Plus, they’re cooked on a flat-top griddle at the perfect temperature, which ensures even browning and a consistent rise.
While many pancakes can be dense or rubbery, IHOP pancakes are delightfully soft, yet structured enough to soak up syrup without falling apart. The result? A cloud-like bite that’s rich with flavor, layered with comfort, and filled with joy.
Ingredients You’ll Need
Dry Ingredients
To replicate IHOP pancakes, let’s start with the essentials. The dry ingredients form the backbone of your batter, so accuracy is key:
- 1 1/4 cups all-purpose flour
- 1 tablespoon sugar
- 1 teaspoon baking powder
- 1/2 teaspoon baking soda
- 1/4 teaspoon salt
These ingredients work together to give the pancakes their rise, flavor, and texture. The baking powder and soda ensure a good rise, while sugar adds a subtle sweetness that doesn’t overpower the toppings.
Wet Ingredients
Next up: the liquids. These bring moisture, richness, and balance:
- 1 large egg
- 1 cup buttermilk (for that classic tang)
- 1/4 cup milk
- 2 tablespoons vegetable oil or melted butter
- 1/2 teaspoon vanilla extract
The buttermilk is essential. It reacts with the leavening agents to create air pockets, making the pancakes airy and fluffy. The combination of milk and buttermilk balances the texture, while the egg helps bind the mixture and add richness.
Secret Additions for the Signature IHOP Flavor
Now for the fun part: those special touches that make all the difference.
- A pinch of malted milk powder (optional but HIGHLY recommended)
- A dab of softened butter for greasing the pan
- Maple syrup and whipped butter for serving
Malted milk powder is IHOP’s not-so-secret ingredient. It deepens the flavor with a slight toastiness and makes the batter more reminiscent of the real deal. You don’t need much—just a teaspoon will do wonders.
Tools and Equipment for Perfect Pancakes
Kitchen Tools Checklist
To set yourself up for success, gather these essentials:
- Mixing bowls (one large, one medium)
- Whisk
- Measuring cups and spoons
- Ladle or ice cream scoop (for even pouring)
- Non-stick skillet or flat griddle
- Spatula (thin and wide for easy flipping)
A large mixing bowl helps combine the batter without overcrowding. Using a whisk keeps the mix airy, while a ladle ensures evenly sized pancakes that cook consistently.
Why Non-Stick Pans Matter
You don’t want your pancake masterpiece to stick or tear, right? A non-stick skillet or griddle gives you a smooth cooking surface, prevents burning, and helps you flip with ease. If you’re serious about pancake-making, consider using a flat electric griddle—just like IHOP does.
Preheat the pan for 5 minutes on medium heat before you start cooking. This ensures even cooking and that signature golden crust.
Step-by-Step IHOP Pancake Recipe
Step 1: Mixing the Dry Ingredients
Start by whisking together the flour, sugar, baking powder, baking soda, and salt in a large bowl. Make sure the ingredients are evenly distributed. This ensures your pancakes rise uniformly and taste balanced.
A common mistake? Not mixing the dry ingredients first. If your baking powder clumps in one spot, you might get flat pancakes or a bitter bite. So don’t rush—give it a thorough mix.
Step 2: Preparing the Wet Mixture
In a separate medium bowl, whisk together the egg, buttermilk, milk, oil (or melted butter), and vanilla extract until fully combined. This mixture should be smooth and light.
Let it sit for a couple of minutes. This allows the ingredients to meld and the egg to slightly thicken, which will help the batter stick together better.
Step 3: Combining Wet and Dry – The Right Way
Now that you’ve prepared both your dry and wet ingredients, it’s time to bring them together. This step is crucial in achieving the perfect IHOP-style pancake texture.
Mixing Technique:
- Create a Well: In your bowl of dry ingredients, make a well in the center.
- Add Wet Ingredients: Pour the wet mixture into the well.
- Gentle Mixing: Using a whisk or spatula, gently fold the ingredients together. It’s important not to overmix. The batter should be slightly lumpy; overmixing can lead to tough pancakes due to gluten development.
- Rest the Batter: Let the batter sit for about 5-10 minutes. This allows the flour to hydrate fully and the leavening agents to activate, resulting in fluffier pancakes.
Tips:
- Avoid Overmixing: Overmixing can cause the pancakes to be dense and chewy. Mix just until the ingredients are combined.
- Resting Time: Allowing the batter to rest helps in achieving a better texture.
Step 4: Heating the Pan – What to Watch For
Properly heating your pan is essential for cooking pancakes evenly and achieving that golden-brown finish.
Choosing the Right Pan:
- Non-Stick Skillet or Griddle: Using a non-stick surface ensures easy flipping and prevents sticking.
Heating Process:
- Preheat: Place your skillet or griddle over medium-low heat. Allow it to heat for about 5 minutes.
- Test the Heat: Sprinkle a few drops of water onto the surface. If they dance and evaporate quickly, the pan is ready.
- Light Greasing: Lightly grease the pan with butter or oil. Too much fat can cause uneven browning.
Tips:
- Consistent Temperature: Maintaining a steady medium-low heat ensures the pancakes cook through without burning.
- Avoid High Heat: High temperatures can cause the outside to burn while leaving the inside undercooked.
Step 5: Pouring and Flipping – Timing Is Everything
This step is where your pancakes come to life. Proper pouring and flipping techniques are key to achieving IHOP-style pancakes.
Pouring the Batter:
- Measure: Use a 1/4 cup measuring cup to pour the batter onto the heated pan.
- Shape: Gently spread the batter into a 5-inch circle for even cooking.
Cooking and Flipping:
- Watch for Bubbles: Cook the pancake until bubbles form on the surface and the edges look set, about 2-3 minutes.
- Flip Gently: Using a spatula, carefully flip the pancake and cook for another 1-2 minutes until golden brown.
Tips:
- Avoid Pressing: Do not press down on the pancakes with the spatula; this can make them dense.
- Consistent Size: Using the same amount of batter for each pancake ensures uniform cooking.
Pro Tips to Elevate Your Pancakes
Common Mistakes and How to Avoid Them
Even seasoned home cooks can stumble when making pancakes. Avoiding these common pitfalls can elevate your pancakes from just good to IHOP-level great.
1. Overmixing the Batter: One of the biggest errors is mixing the batter too much. You might think a smooth batter is ideal, but in reality, a few lumps are a good sign. Overmixing develops gluten in the flour, leading to chewy, dense pancakes. Instead, mix until the ingredients are just combined. Letting the batter rest also helps relax any developed gluten.
2. Skipping the Rest Time: Don’t rush it! Let the batter sit for at least 5 to 10 minutes. This allows the flour to fully absorb the liquids and the leavening agents to activate, making your pancakes lighter and fluffier.
3. Wrong Heat Setting: Too hot and you’ll get a burned outside with a raw inside. Too low and your pancakes won’t rise or brown properly. Stick to medium-low heat and take your time. Preheating the pan or griddle before adding the batter is a crucial step that shouldn’t be skipped.
4. Using Too Much or Too Little Fat: Lightly grease your cooking surface. A small dab of butter or brush of oil goes a long way. Too much and the pancakes will fry rather than cook. Too little and they might stick or cook unevenly.
5. Pressing the Pancakes: It’s tempting to flatten pancakes with a spatula, especially when you’re in a hurry. Don’t do it! Pressing forces out the air and moisture, making the pancakes dense.
Avoiding these mistakes ensures that every pancake comes out with that perfect golden edge, tender center, and melt-in-your-mouth texture.
Tricks to Keep Your Pancakes Fluffy
Fluffy pancakes are the dream, right? Let’s make sure you hit that cloud-like consistency with these professional hacks:
1. Use Buttermilk: The acidity in buttermilk reacts with baking soda to create bubbles, which make the pancakes rise. If you don’t have buttermilk, you can substitute by adding 1 tablespoon of lemon juice or vinegar to 1 cup of milk and letting it sit for 5 minutes.
2. Separate and Whip the Egg Whites: For extra fluffiness, separate the egg and whip the whites to stiff peaks. Fold them gently into the batter at the end. This adds extra air and volume.
3. Don’t Flatten the Batter: When scooping batter onto the pan, resist the urge to spread or press it down. Let it naturally settle into shape. This keeps more air in the mix and leads to a better rise.
4. Use Fresh Baking Powder: Leavening agents lose power over time. Check the expiration date on your baking powder and baking soda. Stale ingredients lead to flat pancakes.
5. Room Temperature Ingredients: Cold eggs and milk can hinder the leavening process. Let your ingredients sit out for a few minutes before mixing. It might seem minor, but it makes a noticeable difference in texture.
These tricks are easy to implement and make a world of difference. IHOP pancakes aren’t just about flavor—they’re about the texture. Master this, and you’ll be flipping flapjacks that rival any breakfast diner.
FAQs about IHOP Pancake Recipe
Can I make IHOP pancakes without buttermilk?
Yes, you can! If you don’t have buttermilk, mix 1 tablespoon of vinegar or lemon juice with 1 cup of milk and let it sit for 5 minutes. It’s a great substitute that mimics the acidity of buttermilk.
How do I make the pancakes extra fluffy?
Whip your egg whites separately and fold them into the batter at the end. Also, make sure your baking powder and soda are fresh. Resting the batter for 10 minutes helps too!
What toppings go best with IHOP-style pancakes?
Classic toppings include whipped butter and maple syrup. But you can also add fresh berries, chocolate chips, bananas, honey, or a dollop of whipped cream for extra indulgence.
Can I freeze and reheat these pancakes?
Absolutely! Let the pancakes cool completely, then store them in a ziplock bag with parchment paper between each one. Freeze for up to 2 months. Reheat in the microwave or toaster for best results.
How close is this recipe to the real IHOP pancakes?
Very close! While the exact IHOP recipe is a trade secret, this version mimics the flavor, texture, and appearance almost perfectly. The use of buttermilk, vanilla, and a few key techniques makes it nearly indistinguishable.
Conclusion
We’ve gone through everything you need—from the exact ingredients and tools, to expert techniques and common pitfalls to avoid. Each step brings you closer to pancake perfection. Whether you’re cooking for yourself, your family, or a Sunday brunch crew, these pancakes will leave everyone asking for seconds.
So go ahead, fire up that skillet, and let the scent of fresh pancakes fill your kitchen. It’s time to enjoy IHOP pancakes without ever leaving your house.

