Homemade Gravy Recipe: Let’s be honest—store-bought gravy just can’t compete with the rich, savory goodness of homemade gravy. It’s not only about the flavor but the control you get over what goes into it. Homemade gravy is free from preservatives, packed with fresh ingredients, and can be tailored to your taste. Whether you want it bold and peppery or mellow and buttery, you decide. Plus, there’s something deeply satisfying about creating a silky-smooth gravy from scratch that complements your dishes perfectly.
And here’s the kicker: making it yourself isn’t as intimidating as it sounds. You don’t need to be a professional chef. With just a few pantry staples and the right technique, you’ll be ladling out golden, velvety gravy like a pro in no time.
Perfect Occasions for Gravy
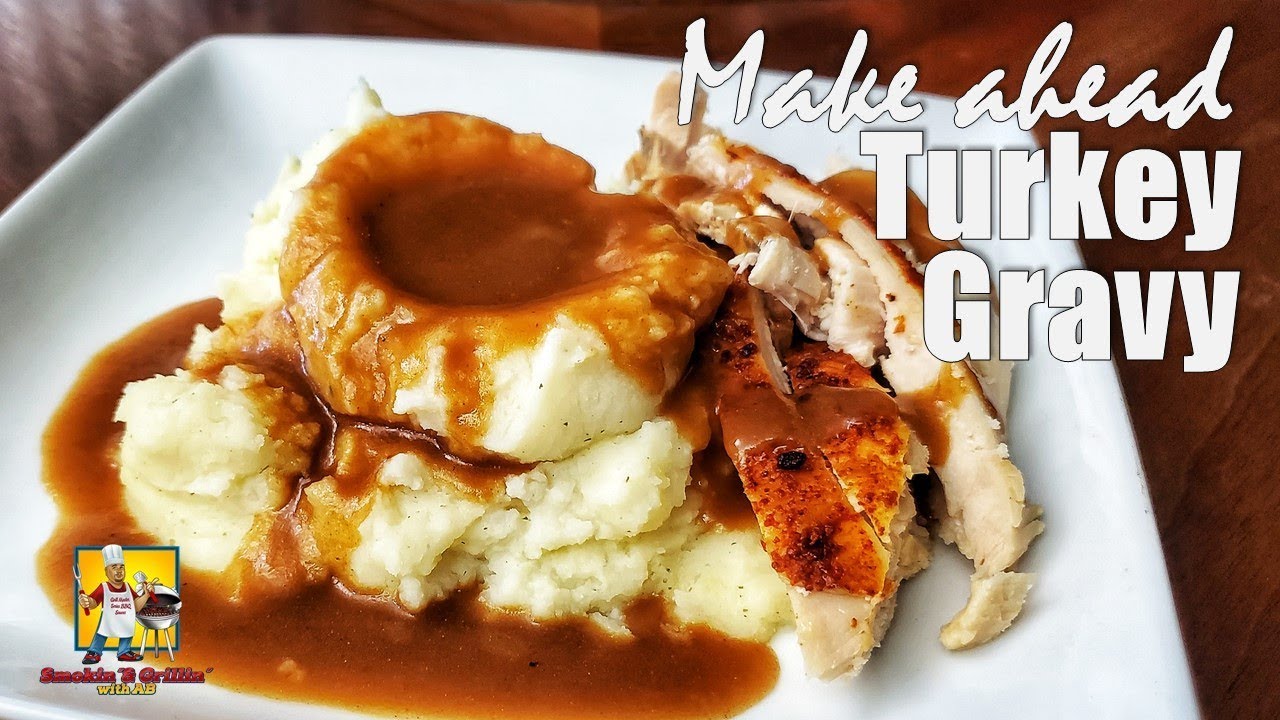
Gravy isn’t just for Thanksgiving or Christmas dinner—it’s a year-round comfort food companion. Think mashed potatoes, roast chicken, meatloaf, turkey sandwiches, or even biscuits and breakfast sausage. It’s the kind of thing that turns an average meal into something comforting and memorable.
Next time you cook up a roast or fry some pork chops, don’t toss those delicious drippings—turn them into liquid gold. Homemade gravy elevates everyday dinners into hearty, homestyle feasts. It brings people together around the table with smiles and satisfied stomachs.
Essential Ingredients for Gravy
Core Ingredients You Need
To make basic homemade gravy, you only need a few simple ingredients:
- Fat or drippings: These are collected from cooked meat like turkey, chicken, or beef. They provide a deep, meaty base.
- Flour: Used to thicken the gravy, creating a roux when combined with fat.
- Liquid: This is usually stock or broth, depending on the meat you’re serving. Chicken, beef, or vegetable broth all work beautifully.
- Salt and pepper: Simple, yet essential, for balancing the flavor.
Each of these components plays a vital role. The fat adds richness, the flour creates body, the broth brings flavor, and the seasoning ties it all together. When used in the right proportions and order, they transform into a luscious sauce that enhances nearly any dish.
Optional Add-ins for Extra Flavor
Want to jazz up your gravy? Here are a few additions you can stir in:
- Garlic or onion powder: For added depth
- Herbs: Rosemary, thyme, sage, or bay leaves give a more complex flavor
- Cream or butter: For an extra smooth, luxurious finish
- Soy sauce or Worcestershire sauce: Adds umami and color
- A splash of wine: Especially for beef gravies, this elevates the taste
Feel free to experiment. Gravy is incredibly forgiving and can be customized depending on what you’re serving or what flavor notes you want to hit.
Tools and Equipment Required
Must-Have Kitchen Tools
Before diving into the recipe, gather the tools that will make the process seamless:
- Medium saucepan or skillet: Preferably non-stick or stainless steel for even cooking
- Whisk: Essential for stirring the roux and preventing lumps
- Measuring cups and spoons: Accuracy matters
- Strainer or sieve: Optional, but great for removing any clumps or bits
- Ladle: For serving
Using the right tools makes a world of difference when aiming for that perfect, glossy gravy texture. A whisk, in particular, is your best friend when combining flour and fat.
Nice-to-Have Tools for Ease
If you’re cooking often or preparing a big holiday meal, these tools can be a game-changer:
- Fat separator: Helps isolate the fat from pan drippings
- Gravy boat: For presentation and easy pouring
- Thermometer: Ensures broth is at the right temp before mixing
While not essential, these tools streamline the process and boost your gravy-making confidence.
Step-by-Step Gravy Preparation
Step 1: Preparing the Fat and Drippings
Once your meat is cooked, pour the drippings into a heatproof bowl or cup. Let it sit for a minute or two—fat will rise to the top. If you’re using a fat separator, this part is super easy. Skim off about 1/4 cup of fat and discard the rest or save it for another batch.
Be sure to scrape up the brown bits (fond) stuck to the roasting pan—those little flavor bombs are gravy gold. If needed, add a splash of broth to the pan and heat gently to deglaze. Those pan bits will give your gravy a deep, roasted flavor.
Next Steps: Making the roux and combining your ingredients for the base of the gravy.
Step 2: Making the Roux
Alright, now comes the magic—making the roux. This is the secret behind that smooth, silky texture. Place your saucepan over medium heat and add the reserved fat (about 1/4 cup). Once it’s hot, gradually whisk in an equal amount of all-purpose flour—roughly 1/4 cup. Stir constantly with a whisk. You want the flour and fat to cook together for about 2–3 minutes.
At this stage, the mixture should bubble gently and take on a light golden color. Cooking the flour is key. It eliminates that raw taste and lays down a nutty, rich foundation for your gravy. Be patient and don’t rush. Stirring consistently prevents lumps and ensures a smooth, cohesive base.
Want a darker gravy? Keep cooking the roux for another few minutes until it reaches a deep brown color. Just be cautious—don’t let it burn. Burnt roux equals bitter gravy, and nobody wants that!
Step 3: Adding Liquid and Simmering
Once your roux is ready, slowly begin adding your broth or stock. This is where things come together beautifully. Pour in about 2 cups of warm or room-temperature broth in a steady stream while whisking constantly. Keep whisking until the mixture is fully combined and smooth.
After adding the broth, turn the heat to medium-low and let the gravy simmer. It should start to thicken within a few minutes. Don’t walk away just yet—keep an eye on it and give it the occasional stir.
Simmering helps develop flavor and ensures the flour is fully cooked. Depending on your preferred consistency, you can add more broth for a thinner gravy or let it simmer longer for something thicker and heartier. Always remember, gravy continues to thicken slightly as it cools, so factor that in before turning off the heat.
Step 4: Seasoning and Final Adjustments
Now that your gravy has thickened and looks like a glossy, velvety dream, it’s time to add that final burst of flavor. Season with salt and freshly ground black pepper to taste. This step is essential—don’t skip it.
Want to go the extra mile? Add a teaspoon of Worcestershire sauce or soy sauce for umami depth. A pinch of garlic powder, a splash of cream, or even a few fresh herbs like thyme or rosemary can elevate your gravy from great to gourmet.
Taste as you go. If it feels too salty, add a bit more broth or even a splash of water. Too thick? Thin it out with warm liquid. Too bland? Add a dash of acid like lemon juice or a touch of mustard to balance it.
Before serving, strain the gravy if you prefer a smoother texture—especially if you have bits of meat or flour that didn’t break down completely.
And there you have it—perfect homemade gravy, rich, flavorful, and made from scratch.
Tips for Perfect Gravy Every Time
Avoiding Lumps
Lumpy gravy is every cook’s nightmare, but it’s totally avoidable. The key is in the whisking. Add your flour gradually to the hot fat while stirring non-stop. Don’t dump it all at once. Whisk until the mixture is smooth before adding the liquid.
Also, add your broth slowly while whisking vigorously. This prevents clumping and ensures the flour integrates properly. If lumps still sneak in, don’t panic. Use a fine mesh strainer or give it a quick whirl in a blender to save the day.
Achieving the Ideal Consistency
Gravy consistency is a personal thing—some like it pourable and light, others thick and rich. The best part? You’re in control.
- Too thin? Let it simmer longer to evaporate excess liquid, or make a slurry (1 tbsp flour + 2 tbsp cold water) and whisk it in.
- Too thick? Add more broth, a little at a time, until it reaches the texture you want.
Don’t forget: it thickens as it cools, so stop cooking just before you hit your ideal thickness.
FAQs about Gravy Recipe
Q1: Can I make gravy without meat drippings?
Absolutely! Use butter or oil instead of drippings and pair it with a quality broth for flavor.
Q2: What’s the best flour for gravy?
All-purpose flour is standard, but cornstarch works too if you want a gluten-free option.
Q3: Can I freeze homemade gravy?
Yes! Cool it completely, store in freezer-safe containers, and freeze for up to 3 months.
Q4: My gravy tastes bland—how can I fix it?
Try adding a splash of soy sauce, Worcestershire, or lemon juice to punch up the flavor.
Q5: Can I use milk instead of broth?
Sure! That creates a cream-style gravy, which pairs beautifully with biscuits or fried chicken.
Conclusion
There’s something incredibly rewarding about whipping up your own homemade gravy. It’s simple, soul-warming, and a guaranteed crowd-pleaser. Whether it’s drizzled over mashed potatoes, spooned onto turkey, or soaked into stuffing, this classic sauce makes everything better.
Make it part of your go-to recipe arsenal. Once you master it, you’ll never go back to powdered packets or store-bought jars. Plus, your guests will think you’re a culinary genius—even though you now know it’s easier than it looks!
Serve it hot and fresh. Store any leftovers in an airtight container in the fridge for up to 4 days, or freeze it for future meals. Just reheat gently and add a splash of broth to refresh its consistency.