Gingerbread Icing Recipe: Gingerbread cookies are an iconic part of holiday baking, but let’s be real—the icing is what makes them shine. Whether you’re decorating intricate holiday scenes on cookies or building a towering gingerbread house, the right icing holds everything together. Literally. It acts as both the glue and the glam.
But not all icings are created equal. You want something that not only looks good but also dries properly, holds its shape, and doesn’t melt into a puddle halfway through your masterpiece. That’s where this step-by-step guide swoops in to help you master the art of gingerbread icing, even if you’re a complete beginner in the kitchen.
We’re breaking down everything—from the essential ingredients to foolproof steps, all the way to coloring, piping, and storing your icing. Ready to get into it? Let’s go!
Types of Gingerbread Icing
Before we dive into the recipe, let’s talk options. There are a few different types of icing that work with gingerbread, depending on what you’re going for.
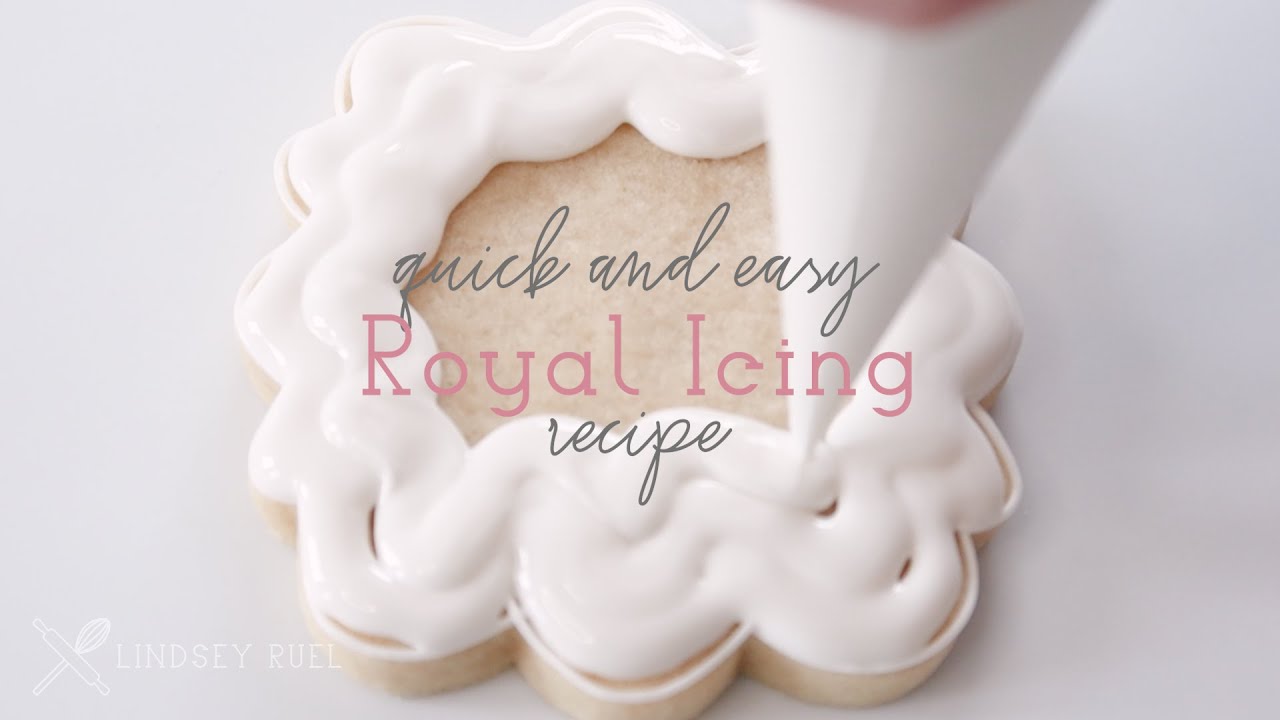
Royal Icing
This is the most popular option. It’s made with egg whites or meringue powder and powdered sugar. It dries hard, making it perfect for stacking cookies or assembling gingerbread houses. This is the go-to for precision decorating too.
Glaze Icing
This is thinner and shinier. Made with powdered sugar and milk or water, glaze icing is good for flooding cookies and adding a glossy finish. It doesn’t dry as hard as royal icing, but it’s super easy to make.
Buttercream (Optional)
Buttercream is rich and creamy but doesn’t dry hard. It’s not ideal for gingerbread houses, but it works well for soft cookies if you want a melt-in-your-mouth frosting.
Most people go with royal icing for its durability and polished look, and that’s the one we’ll focus on today.
List of Ingredients You’ll Need
Alright, time to stock your kitchen. Here’s what you’ll need to whip up a batch of royal icing that’s perfect for gingerbread.
Basic Royal Icing Ingredients
- 3 tablespoons meringue powder or 2 large pasteurized egg whites
- 4 cups powdered sugar (sifted)
- 6 tablespoons warm water (adjust for consistency)
Optional Flavor Enhancers
- 1 teaspoon vanilla extract (for taste)
- 1/4 teaspoon almond extract (if you like a nutty touch)
- Lemon juice or cream of tartar (for added stability)
Ingredient Substitutions
- Instead of meringue powder: use pasteurized egg whites (for food safety)
- For vegan option: use aquafaba (the liquid from canned chickpeas)
- Replace vanilla with peppermint extract for a holiday twist
These ingredients are easy to find and affordable. A good tip: always sift your powdered sugar. It helps avoid lumps and makes for a smoother icing.
Kitchen Tools Required
The right tools can turn a messy job into a total breeze. Here’s what you’ll want on your counter before you begin:
- Electric mixer (hand or stand mixer)
- Mixing bowls (medium to large)
- Measuring spoons and cups
- Rubber spatula
- Piping bags
- Piping tips (round and star tips work great)
- Toothpicks or skewers (for detail work)
- Airtight containers (for storing extra icing)
If you don’t have piping bags, you can use a plastic sandwich bag and snip off the corner—DIY style.
How to Make Gingerbread Icing (Royal Icing) – Step-by-Step
Let’s walk through this together. This recipe makes enough to decorate about 2 dozen medium cookies or build a small gingerbread house.
Step 1: Gather All Ingredients
Lay out everything you need before mixing. Make sure egg whites or meringue powder is at room temperature for the best volume and texture.
Step 2: Mix the Meringue Powder or Egg Whites
Using your mixer, beat the egg whites or meringue powder with water on medium speed until foamy (about 1–2 minutes).
Step 3: Gradually Add Powdered Sugar
Add sifted powdered sugar a cup at a time. Mix on low speed to avoid sugar clouds. Scrape down the bowl often so everything incorporates evenly.
Step 4: Whip Until Stiff Peaks Form
Increase the mixer speed to medium-high and whip until the icing forms stiff, glossy peaks. This usually takes 5–7 minutes. If you lift the beater and the peak stands straight up, you’re good to go.
Step 5: Adjust the Consistency
Now you can thin the icing by adding small amounts of warm water—1/2 teaspoon at a time—until you reach your desired thickness. Thicker for piping, thinner for flooding.
Step 6: Add Color if Desired
Divide your icing into bowls and tint each with gel food coloring. Stir gently to avoid introducing air bubbles.
Tips for the Perfect Icing Consistency
Getting the consistency just right is what separates basic icing from Instagram-worthy gingerbread designs. It’s all about the texture—too thin and it’ll run off the cookie; too thick and it’s nearly impossible to pipe.
Piping vs. Flooding Consistency
Here’s a quick breakdown:
- Piping consistency is thick and holds its shape. You’ll use this to outline cookies, add details, and build gingerbread houses. It should be like toothpaste: stiff but still squeezable.
- Flooding consistency is thinner and used to fill in the outlined areas of cookies. It should flow smoothly without running over the edge—think thick honey.
To test consistency:
- For piping: Drag a knife through the icing. The line should hold.
- For flooding: Drag a knife through, and the icing should smooth out in 10–15 seconds.
Fixing Icing Consistency
- Too thick? Add warm water, a few drops at a time.
- Too thin? Add a spoonful of sifted powdered sugar and mix again.
Pro tip: Always cover your bowl with a damp paper towel or plastic wrap when you’re not using the icing. It dries fast!
How to Color Gingerbread Icing
Let’s bring some holiday magic to your icing with color! Gingerbread cookies are a blank canvas just waiting for your creativity. But you’ve got to color your icing the right way to avoid thinning it too much or making it look dull.
Gel vs. Liquid Food Coloring
- Gel coloring is the gold standard. It’s concentrated and won’t change the consistency of your icing.
- Liquid coloring can work in a pinch but might water down the mix, especially for piping.
Always start with just a little bit of color on a toothpick or the tip of a knife—you can always add more, but you can’t take it out!
Tips for Vibrant, Consistent Colors
- Let colored icing sit for 30 minutes to deepen in tone (especially true for red and black).
- If you need pastel shades, use a tiny amount of gel and mix it with white icing.
- Mix colors to create custom shades: red + yellow = orange; blue + green = teal.
Store each color in separate piping bags or airtight containers. Don’t forget to label them so you don’t confuse red and brown later.
How to Use Gingerbread Icing
Now that you’ve got your icing ready, it’s time to put it to use! There are two major applications: decorating cookies and constructing gingerbread houses. Each one requires a different technique and consistency.
Decorating Cookies
This is where the fun really begins.
- Outline the cookie with stiff piping consistency icing. This helps hold in your flooding icing.
- Fill the inside (aka “flood”) with thinner icing. Use a toothpick or skewer to spread it evenly and pop any air bubbles.
- Let it dry completely before adding more details—this can take 4–8 hours or overnight, depending on the humidity.
- Add decorative elements like dots, stripes, or snowflakes once the base layer is dry.
You can get really creative with layers, textures, and designs—just take your time and have fun.
Assembling Gingerbread Houses
Royal icing works like edible cement here.
- Use thick, stiff icing for “gluing” the walls and roof.
- Pipe a generous line along the edges and hold pieces together for 30 seconds to a minute.
- Let the structure dry before adding decorations to avoid collapse.
Decorate with candy, sprinkles, edible glitter—whatever makes it feel festive and fun!
Decorating Ideas with Gingerbread Icing
Feeling stuck on design ideas? Don’t worry, here are some classic and creative themes you can try with your gingerbread icing:
Classic Holiday Themes
- Snowflakes: Use white icing with a fine piping tip.
- Santa & Reindeer: Red hats, brown noses, and white beards.
- Christmas Trees: Use green icing and sprinkle on edible stars or silver balls.
Creative & Fun Concepts
- Ugly Sweater Cookies: Make colorful, quirky patterns.
- Gingerbread People with Personality: Add buttons, bows, and funny faces.
- Mini Gingerbread Houses: Create tiny houses that sit on the edge of mugs.
Want a trendy look? Try a minimalist aesthetic with white-on-brown designs. Elegant and super easy.
Storing and Reusing Icing
You don’t have to use all your icing at once. With the right storage, it’ll stay good for your next baking session.
Short-Term Storage
- Store in an airtight container.
- Place a layer of plastic wrap directly on the icing to prevent crusting.
- Keep at room temperature if using within 24 hours.
Long-Term Storage
- Store in the fridge for up to 1 week.
- For longer use, you can freeze it for up to 1 month. Let it come to room temp and re-whip before using.
Pro tip: If it separates or gets watery, give it a good stir or re-mix it with a hand mixer to bring it back to life.
Common Mistakes and How to Avoid Them
Let’s avoid a few rookie errors that can totally mess up your gingerbread decorating game.
Overmixing the Icing
- Mixing too long can create air bubbles, which make piping difficult.
- Mix until just stiff and glossy.
Wrong Consistency
- Don’t try to decorate with icing that’s too runny—it won’t hold shape.
- Test small batches until you find what works best for you.
Color Bleeding
- Let each layer dry completely before adding new colors.
- Avoid using too much liquid food coloring.
Other mistakes include storing icing uncovered, using wet tools (which can ruin texture), and not sifting powdered sugar—always sift, seriously!
Alternative Icing Recipes
Maybe you’re working around dietary restrictions or just want to try something a little different. No worries—we’ve got options! Here are two solid alternatives to traditional royal icing for decorating gingerbread cookies or houses.
Vegan Royal Icing
You can skip the egg whites and still get that firm, glossy finish.
Ingredients:
- 3 tablespoons aquafaba (the liquid from canned chickpeas)
- 3–4 cups powdered sugar (sifted)
- 1/2 teaspoon vanilla extract (optional)
How to make it:
- Whisk aquafaba until it’s frothy (about 1–2 minutes).
- Slowly add in powdered sugar, mixing until stiff peaks form.
- Adjust the consistency with a little more sugar or water if needed.
Aquafaba mimics egg whites really well, and once it dries, you’ll barely notice the difference. It’s also totally safe for those avoiding eggs.
Glaze Icing (Quick and Easy)
This is perfect when you’re in a hurry or want a more casual, glossy look.
Ingredients:
- 1 cup powdered sugar
- 2 tablespoons milk or plant-based milk
- 1/2 teaspoon vanilla or almond extract (optional)
How to make it:
- Mix everything together until smooth.
- Adjust thickness with more sugar or milk.
- Use immediately. It dries fast and is perfect for a quick cookie set-up.
Remember, this won’t dry as hard as royal icing, so it’s not the best option for gingerbread house construction—but it works like a charm for simple cookies.
Health and Allergy Considerations
Holiday treats are meant for everyone, and a little mindfulness can make sure nobody gets left out.
Egg-Free Options
- Use meringue powder or aquafaba in place of raw egg whites.
- Always check your ingredient labels to make sure there’s no hidden egg content, especially in premade products.
Nut-Free Zones
- Almond extract is optional—skip it if there’s a nut allergy concern.
- Cross-contamination can happen, especially with certain food colorings and flavorings, so check those labels carefully.
Gluten-Free Icing?
Yes! Most icings are naturally gluten-free. Just be sure your powdered sugar is processed in a gluten-free facility.
Always label your cookies and icing if you’re bringing them to a group event. It’s a small step that can save someone from a scary allergic reaction.
FAQs about Gingerbread Icing Recipe
1. Can I make gingerbread icing ahead of time?
Absolutely! Royal icing can be made up to a week in advance. Just store it in an airtight container and give it a good stir before using. If it stiffens, add a few drops of water and mix again.
2. What’s the best way to stiffen runny icing?
Add more sifted powdered sugar, 1 tablespoon at a time, and beat until you reach the desired consistency. It’s easier to thicken than to thin, so take it slow.
3. How long does it take for gingerbread icing to dry?
Royal icing can take 4 to 8 hours to fully dry, depending on humidity and thickness. If you’re layering colors or stacking cookies, let them dry overnight.
4. Can I freeze decorated cookies with royal icing?
Yes, you can! Place them in a single layer on a baking sheet to freeze individually. Once frozen, transfer to an airtight container with parchment between layers. Thaw at room temp in a single layer to avoid condensation.
5. How do I prevent icing colors from bleeding into each other?
Let each color dry completely before applying the next. Also, use gel food coloring rather than liquid, and avoid humid environments if possible.
Conclusion
There you have it—a complete, no-fail guide to making the perfect gingerbread icing. Whether you’re decorating a dozen cookies with the kids or crafting a jaw-dropping gingerbread mansion, the right icing makes all the difference.
From choosing the best ingredients to mastering consistency and exploring fun decorating ideas, now you’re ready to bring your sweet holiday visions to life. Don’t be afraid to experiment with colors, flavors, or textures. Baking is as much about creativity and joy as it is about precision.
So grab that piping bag, fire up the holiday playlist, and let your gingerbread artistry shine. Happy decorating!