Edible Playdough Recipe: If you’ve got kids at home, you already know how much they love playdough. It’s squishy, moldable, and the ultimate hands-on activity. But if your little one is prone to putting things in their mouth (which, let’s be honest, most toddlers are), regular playdough just doesn’t cut it. That’s where edible playdough comes in—safe, non-toxic, and tasty!
Edible playdough is a fun and engaging way for kids to explore their creativity while also being completely safe to nibble on. And no, you don’t need to be a Pinterest-perfect parent to make it. All you need are a few kitchen staples and a few minutes to whip up a batch of squishable fun that you can feel good about.
Whether you’re planning a rainy day activity, a sensory play session, or just want to keep those little hands busy, this step-by-step guide will walk you through making your own edible playdough at home. Let’s get into it!
Why Make Edible Playdough?
You might be wondering, “Why go through the trouble of making playdough that’s safe to eat?” Well, there are a few solid reasons:
- Safety First: Regular playdough often contains salt, borax, or other chemicals that aren’t meant to be ingested. Edible versions remove the worry.
- Perfect for Toddlers: Young kids explore the world with their mouths. Edible playdough allows them to play without constant supervision.
- Allergy-Friendly Options: You can customize your recipe based on allergies—no wheat, no dairy, or even no nuts if needed.
- Multi-Sensory Learning: It’s a fun way to engage touch, smell, taste, and sight all in one activity.
- Involve the Kids: Making the dough can be part of the activity too. Kids love mixing and kneading with you.
- Budget-Friendly: It’s cheaper than store-bought playdough and often uses ingredients you already have at home.
So basically, you get peace of mind, the kids get an awesome sensory experience, and everyone has a little more fun. Win-win!
Safety First: Is Edible Playdough Really Safe to Eat?
Yes! But let’s clarify what “edible” really means here. Edible playdough is safe to consume, but it’s not necessarily a snack. Think of it more like something that can be eaten, but probably shouldn’t be eaten in bulk.
Most edible playdough recipes include ingredients like flour, powdered sugar, peanut butter, or marshmallows—things you’d find in your pantry. These are food-safe but aren’t intended to replace a meal. So, a nibble here or there? Totally fine. Eating the entire batch? Not recommended.
That said, always consider allergies. If you’re using peanut butter or dairy-based ingredients, be cautious. You can easily substitute nut-free butters, gluten-free flours, or vegan options based on your needs.
Also, hygiene matters. Since kids will be handling and possibly tasting the dough, clean hands and sanitized surfaces are key. And of course, once the dough starts to look worn out or dirty, it’s time to toss it.
List of Ingredients You’ll Need
Let’s talk ingredients. The beauty of edible playdough is how flexible it is. Here’s a basic list to get you started.
Basic Pantry Ingredients
These are the staples of most edible playdough recipes:
- Flour (all-purpose or gluten-free)
- Cornstarch
- Powdered sugar
- Vegetable oil or coconut oil
- Condensed milk or water
- Food coloring (optional)
Optional Flavorings & Colors
Want to get creative with colors or scents? Try these additions:
- Jell-O powder (adds both color and scent)
- Kool-Aid packets
- Vanilla or almond extract
- Cocoa powder
- Natural dyes from beets, turmeric, or spinach
These ingredients can turn basic dough into a sensory explosion of colors and smells—perfect for curious little minds.
Tools and Equipment Required
Before we dive into the recipe, make sure you’ve got the right tools on hand:
- Mixing bowls
- Measuring cups and spoons
- A spatula or spoon for mixing
- Rolling pin (optional)
- Airtight containers for storage
- Clean countertop or cutting board for kneading
Having everything set up ahead of time will make the process smooth and mess-free (well, almost).
Step-by-Step Guide to Making Edible Playdough
Alright, now for the fun part—let’s make some edible playdough!
Step 1: Gather Your Ingredients
Start by collecting all your ingredients and tools. If you’re involving your kids, let them help with the gathering—it builds excitement and gets them invested in the process.
Make sure your workspace is clean and spacious enough for a bit of messy fun. Lay out everything, measure ingredients, and prepare your food coloring or flavorings if you’re using them.
Step 2: Mixing the Dry Ingredients
In a large bowl, combine:
- 2 cups of flour
- 1 cup of cornstarch
- ½ cup of powdered sugar
Whisk everything together until well mixed. This helps prevent clumping later on and ensures your playdough is smooth and uniform in texture.
Want chocolate-scented dough? Add a couple tablespoons of cocoa powder here.
Step 3: Adding Wet Ingredients Slowly
Now slowly pour in your wet ingredients:
- ⅓ cup vegetable oil or coconut oil
- ½ to 1 cup water (start small and add as needed)
- Food coloring or flavoring
Stir with a spoon or spatula at first, then use your hands once it starts to form a dough. Add water gradually—you want a soft but not sticky texture. Too dry? Add more water or oil. Too sticky? Add a little flour or cornstarch.
Step 4: Kneading the Dough
Transfer the dough to a clean surface and knead it for 5–10 minutes. This is where the magic happens—kneading develops the perfect soft, pliable texture.
Kids love this part, so let them dive in and squish away. If the dough sticks to their hands, sprinkle a little flour on top.
Step 5: Adjusting Texture and Consistency
Now feel the dough—too sticky, too dry, or just right? Here’s a quick troubleshooting guide:
- Too Sticky? Add more powdered sugar or flour.
- Too Dry? Add a teaspoon of water or a touch of oil.
- Too Oily? Blot with a paper towel and knead in extra dry ingredients.
Once it’s smooth and easy to handle, you’re good to go!
Different Variations of Edible Playdough
One of the best things about edible playdough? It’s super customizable. You can switch up the base ingredients to create different textures, flavors, and scents. Here are some fun variations to try:
Peanut Butter Playdough
This one’s a classic and smells absolutely delicious!
Ingredients:
- 1 cup peanut butter (creamy works best)
- ½ cup honey
- 1 ½ cups powdered milk or flour
Instructions:
Mix all ingredients in a bowl until a dough forms. If it’s too sticky, add more powdered milk or flour. This version is protein-rich and naturally sweet, so it’s a hit with kids and adults alike. Just be careful with nut allergies!
Marshmallow Playdough
Super stretchy and fun to play with—kind of like edible slime!
Ingredients:
- 1 cup mini marshmallows
- 2 tablespoons coconut oil or vegetable oil
- 1 cup powdered sugar
- Food coloring (optional)
Instructions:
Microwave marshmallows and oil together until melted (about 30 seconds), then stir until smooth. Add food coloring and powdered sugar, and knead until doughy. This dough has a smooth, silky texture that’s just plain fun to squish.
Frosting-Based Playdough
Turn leftover frosting into a colorful dough.
Ingredients:
- 1 cup canned frosting (any flavor)
- 2–3 cups powdered sugar
Instructions:
Mix frosting and powdered sugar until a dough forms. Add more sugar if needed for texture. It’s sweet, soft, and perfect for cupcake play!
Jell-O Edible Playdough
This version adds both color and scent with one easy ingredient—Jell-O!
Ingredients:
- 1 cup flour
- ½ cup salt
- 1 package (3 oz) Jell-O (any flavor)
- 2 tablespoons cream of tartar
- 1 tablespoon vegetable oil
- 1 cup warm water
Instructions:
Mix all ingredients in a saucepan over medium heat, stirring constantly until a dough forms. Remove from heat and knead once cool. It’s vibrant, smells amazing, and lasts longer than most.
Fun Color and Flavor Ideas
This is where you can let your creativity run wild! Make your edible playdough look and smell like candy or fruit. Here are some cool ideas:
- Strawberry Red: Add pink food coloring and strawberry extract.
- Chocolate Brown: Use cocoa powder for a rich chocolatey smell.
- Lemon Yellow: Add yellow food coloring and lemon zest or extract.
- Mint Green: A drop of peppermint extract and green dye.
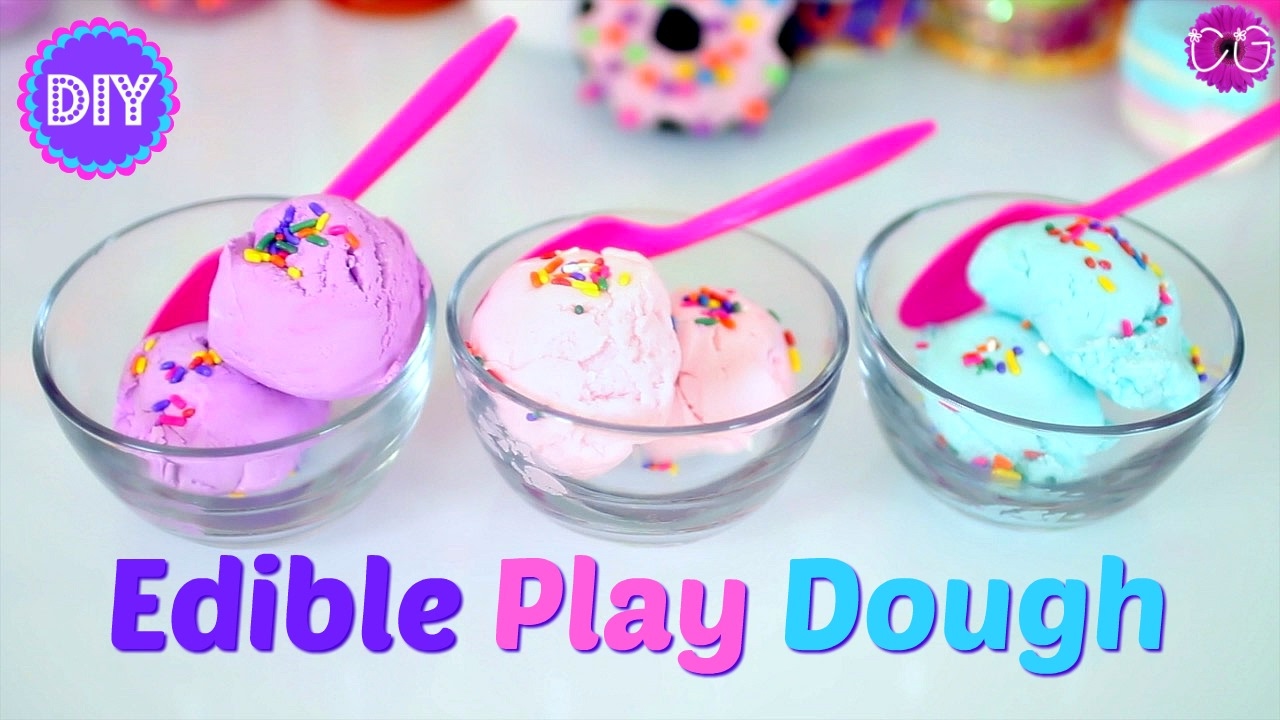
- Unicorn Swirl: Divide dough into three colors (pink, blue, and purple), then swirl them together!
Want to go natural? Try:
- Beet juice (red/pink)
- Spinach powder (green)
- Turmeric (yellow)
- Blue spirulina (blue)
These give your dough subtle, earthy tones without using artificial dyes.
Storage Tips to Keep It Fresh
Edible playdough doesn’t have preservatives like store-bought kinds, so proper storage is key to keeping it fresh.
Storage Tips:
- Airtight Container: Place your dough in a sealed plastic container or ziplock bag.
- Refrigeration: If the dough contains perishable ingredients (like milk or peanut butter), store it in the fridge.
- Label It: Add a date to the container so you remember when you made it.
Before using it again, check for mold or off smells. If anything seems off, toss it and make a fresh batch.
How Long Does Edible Playdough Last?
It depends on the ingredients and how it’s stored:
- Basic flour-based dough: Lasts up to 5–7 days at room temperature, up to 2 weeks in the fridge.
- Peanut butter or frosting-based dough: 3–5 days in the fridge.
- Marshmallow dough: Best used within 2–3 days, as it dries out quickly.
Always inspect before reusing. If it’s too hard or smells funny, it’s time to say goodbye.
Want it to last longer? Add a teaspoon of vinegar or lemon juice—this can act as a mild preservative.
Fun Ways to Use Edible Playdough
Now that you’ve made it, what can you do with it? Plenty!
Creative Playtime Ideas:
- Shape and Mold: Use cookie cutters, plastic knives, and rolling pins.
- Letter Practice: Form letters and numbers for an educational twist.
- Color Mixing: Teach color theory by blending different dough colors.
- Themed Play: Make playdough pizza, pretend cupcakes, or a dinosaur world.
Sensory Bins
Add your edible playdough to a sensory bin with:
- Rice
- Oats
- Pasta
- Scoops and spoons
Let your child explore textures, smells, and shapes for a full sensory experience.
Tips for Parents and Teachers
Whether you’re a parent planning a rainy-day activity or a teacher looking to bring play-based learning into the classroom, here are some pro tips:
- Portion the dough into smaller sizes to avoid waste.
- Teach hygiene—wash hands before and after play.
- Get interactive—ask your child to describe what they feel, smell, or see.
- Involve them in cleanup—a great way to build responsibility.
- Try themed play—holidays, animals, foods, or alphabets.
For classroom settings, prepare multiple batches in different colors and provide labeled containers for reuse.
Cleaning Up After Play
Let’s be real: playdough is fun, but cleanup? Not so much. Here’s how to make it painless.
Cleanup Tips:
- Use a damp cloth or paper towel to wipe up dough bits.
- Don’t wait too long—once it dries, it sticks!
- For dough stuck in carpet, use a stiff brush and a little vinegar water.
- Wipe down tools and counters with warm soapy water.
- Involve the kids—turn it into a game!
With the right setup and attitude, even cleanup can be part of the fun.
FAQs about Edible Playdough Recipe
1. Can I freeze edible playdough to make it last longer?
Freezing isn’t recommended, as it changes the texture. It’s best to make fresh batches as needed and store them in the fridge.
2. Is edible playdough safe for babies under one year?
Depends on the ingredients. Avoid honey and certain dairy products for babies under one year due to allergy risks and bacteria concerns. Always consult with a pediatrician.
3. My dough is too sticky! How can I fix it?
Easy fix! Just knead in a bit more flour, cornstarch, or powdered sugar until it’s the right texture.
4. Can I use gluten-free flour in edible playdough?
Absolutely. Try almond flour, coconut flour, or gluten-free baking mixes. Just know you may need to adjust your liquid ratios.
5. Can older kids help make it?
Yes, and they love it! Making the dough together can be a fun kitchen activity that teaches measuring, mixing, and even patience.
Conclusion
Edible playdough is more than just a fun kitchen craft—it’s a creative, safe, and interactive experience for kids of all ages. Whether you’re dealing with a curious toddler, planning a preschool activity, or just looking for a unique family project, making your own edible playdough at home is a game-changer.
Not only is it budget-friendly and customizable, but it also turns simple ingredients into a tool for learning, exploring, and even (occasional) snacking. With endless color, scent, and texture possibilities, you can tailor it to any occasion or mood.
So next time your little one says, “I’m bored,” you know what to do. Head to the kitchen, grab some pantry basics, and whip up a batch of squishy fun you’ll both love.