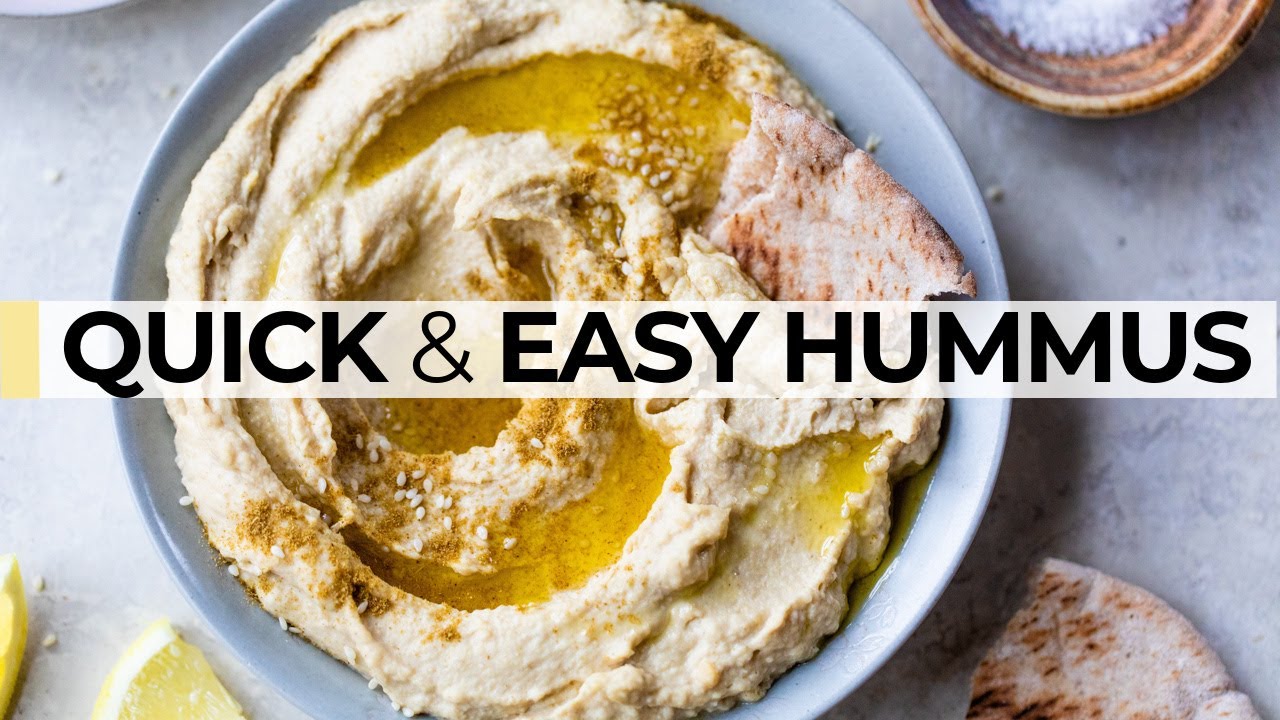
Easy Hummus Recipe: Hummus is a creamy, dreamy dip made from chickpeas (also known as garbanzo beans), tahini (a sesame seed paste), olive oil, lemon juice, garlic, and a pinch of salt. It’s a staple in Middle Eastern cuisine and has become a global favorite for its rich flavor and smooth texture. What makes hummus so lovable is its versatility—it’s just as perfect for spreading on sandwiches as it is for dipping veggies or crackers.
Whether you’re a full-blown foodie or just looking for healthier snack options, hummus checks all the boxes. It’s rich, savory, slightly tangy, and incredibly satisfying.
The Origins and Popularity of Hummus
Hummus has ancient roots, with debates about whether it originated in Lebanon, Israel, Palestine, or Egypt. But one thing’s for sure—it’s been beloved for centuries. Over the years, its fame has spread globally, thanks to both its nutritional benefits and its incredible taste. Today, you’ll find it in lunch boxes, at dinner parties, and in almost every grocery store. But trust me—nothing beats the homemade version.
Why Make Hummus at Home?
Health Benefits of Homemade Hummus
Store-bought hummus is convenient, but making your own gives you complete control over what goes in it. Want less salt? Go for it. Prefer extra garlic? Toss it in. Homemade hummus skips the preservatives, artificial flavors, and excess oils often found in packaged varieties.
Plus, hummus is packed with plant-based protein, fiber, and healthy fats. It supports digestion, heart health, and can even help with weight management when enjoyed in moderation.
Cost-Effective and Customizable
A single tub of hummus from the store can cost as much as making a whole batch at home. All you need are some pantry staples—most of which are cheap and long-lasting. Not only is it budget-friendly, but it’s also endlessly customizable. Want it spicy, herby, or with a hint of sweetness? You’ve got options, my friend.
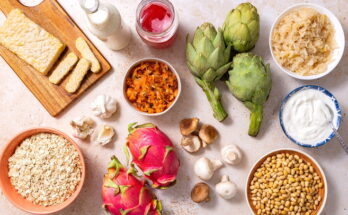
Essential Ingredients for Classic Hummus
Chickpeas – The Heart of Hummus
The magic of hummus starts with chickpeas. You can use canned chickpeas for convenience or dried ones for the ultimate texture and taste. Chickpeas are rich in protein, iron, and fiber, making them the perfect base for a healthy, hearty dip.
If using canned chickpeas, rinse them well to remove excess sodium. If using dried, soak them overnight and cook them until tender. Pro tip: removing the skins makes for an ultra-smooth finish.
Tahini – The Creamy Game-Changer
Tahini adds a nutty, slightly bitter depth that balances the richness of the chickpeas. It’s made from ground sesame seeds and can be found in most supermarkets near the nut butters or in the international aisle. If your hummus ever feels like it’s missing something, it’s probably tahini.
Choose a good-quality tahini that’s smooth and pourable—not overly thick or bitter. This single ingredient makes a huge difference in flavor and texture.
Garlic, Lemon, and Olive Oil – Flavor Boosters
Fresh garlic gives hummus its signature kick. Lemon juice brightens everything up and cuts through the richness. And olive oil? It adds a luxurious texture and subtle fruitiness that ties it all together.
These ingredients are like the supporting cast that turns a good hummus into a great one. Adjust them to your liking—some people love a garlicky punch, while others prefer a lighter touch.
Step-by-Step Guide to Making Hummus
Step 1: Gather Your Ingredients
Here’s what you’ll need:
- 1½ cups cooked chickpeas (or 1 can, drained and rinsed)
- ¼ cup tahini
- 2 tablespoons fresh lemon juice
- 1-2 garlic cloves
- 2-3 tablespoons olive oil
- 2-4 tablespoons cold water
- Salt to taste
- Optional: cumin, paprika, parsley for garnish
Having everything prepped and ready makes the process smoother. It’s like mise en place for your blender.
Step 2: Preparing the Chickpeas
If you’re aiming for super creamy hummus, this step is crucial. You can remove the skins from the chickpeas by gently rubbing them between your hands in a bowl of water. The skins float to the top—just scoop them off. Yes, it takes a few extra minutes, but the payoff in texture is massive.
Warm chickpeas blend better too. If you’re using canned, give them a quick simmer in water before blending.
Step 3: Blending to Perfection
Add the tahini and lemon juice to your food processor first and blend for about 30 seconds. This helps the tahini whip up and gives a fluffier base.
Next, add the chickpeas, garlic, salt, and olive oil. Start blending and slowly add ice-cold water until the hummus reaches your desired consistency. Scrape down the sides as needed and keep blending until it’s ultra-smooth and creamy.
Step 4: Taste Testing and Adjusting
Now’s the time to get personal. Taste your hummus. Need more lemon for brightness? More salt? A little extra garlic? Go for it. Hummus is all about balance—richness, acidity, salt, and spice. Don’t be afraid to tweak.
Step 5: Plating and Garnishing
Spoon your hummus into a shallow bowl. Use the back of a spoon to create little swoops. Drizzle with olive oil, sprinkle with paprika or cumin, and maybe toss on a few whole chickpeas or fresh parsley for flair. Presentation counts—even for dips.
Tips for the Creamiest Hummus Ever
Skinning Chickpeas – Worth the Extra Effort
If there’s one trick that separates decent hummus from restaurant-quality hummus, it’s peeling the chickpeas. Yes, it’s a bit tedious, but here’s the thing—those little skins can ruin your texture. When you take them off, you’re left with a super smooth, velvety result that’s totally worth the effort.
The easiest method? Soak your cooked or canned chickpeas in warm water with a bit of baking soda for a few minutes. This softens the skins, making them easy to rub off with your hands or a clean kitchen towel. They’ll float to the top, and you can skim them off. It takes 10 minutes, but the creamy payoff is pure gold.
Using Ice Water in Blending
Another secret to achieving that luscious texture is blending your hummus with ice-cold water. Why ice water? It helps emulsify the tahini and olive oil while giving the hummus a light, fluffy consistency that feels like a dream on your tongue.
Start with 2 tablespoons and add more as needed to reach the consistency you like. Not only does this help whip air into the hummus, but it also keeps it from turning too thick or dense.
Fun Variations to Try
Roasted Red Pepper Hummus
Want to add a smoky, slightly sweet twist to your classic hummus? Roasted red pepper hummus is where it’s at. Just blend in one or two roasted red peppers along with the base ingredients. You’ll get a vibrant orange color, a richer depth of flavor, and a hummus that pairs perfectly with pita chips or grilled veggies.
To roast your own peppers, just char them over an open flame or roast in the oven until blistered. Peel off the skins and blend them right in. Easy and delicious.
Spicy Jalapeño Hummus
If you’re a heat lover, this version’s for you. Toss in a fresh jalapeño (seeded if you want less heat) or a spoonful of pickled jalapeños for that spicy kick. This hummus variation is perfect for taco night or served with tortilla chips.
Add a bit of lime juice instead of lemon for a Southwest twist, and you’ve got yourself a bold, flavor-packed dip that’s not afraid to bring the heat.
Sweet Beetroot Hummus
Looking for something a little different—and gorgeous to look at? Enter beetroot hummus. It has an earthy sweetness and a stunning magenta color that makes it a showstopper at any gathering.
Use roasted beets (cooked and peeled), and blend them in with your usual ingredients. A little extra lemon juice balances out the sweetness. Not only is it tasty, but it’s also loaded with antioxidants.
Best Ways to Serve Hummus
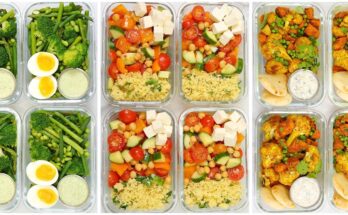
With Fresh Veggies
This is the ultimate guilt-free snack. Slice up some cucumbers, carrots, bell peppers, or cherry tomatoes, and you’ve got a colorful, crunchy platter ready to go. It’s perfect for entertaining or just keeping healthy snacks on hand throughout the week.
Want to make it extra appealing? Arrange the veggies around a bowl of hummus on a wooden board. Instant party platter!
As a Sandwich Spread
Move over mayo—hummus is your new go-to spread. Slather it on wraps, pitas, or toast for an instant flavor boost. It adds creaminess without the dairy and packs in protein and fiber, too.
Try layering it with roasted veggies, grilled chicken, or falafel. It brings everything together and keeps things moist and tasty.
In Mediterranean Bowls
Buddha bowls, grain bowls, Mediterranean platters—you name it, hummus fits right in. Spoon a generous dollop over quinoa or couscous, add some grilled meat or tofu, fresh greens, and a drizzle of olive oil.
It’s quick, nourishing, and oh-so-satisfying. Plus, you can meal prep these bowls for an easy, healthy lunch all week long.
Storing and Shelf Life
Refrigeration Tips
Homemade hummus should always be stored in an airtight container in the fridge. It stays fresh for about 5–7 days. For best results, pour a thin layer of olive oil on top before sealing—it acts as a barrier to keep it from drying out.
Make sure to give it a good stir before serving. And always use a clean spoon when scooping to keep bacteria out and your hummus fresher longer.
Freezing Hummus
Yep, you can totally freeze hummus! It’s a great way to make a big batch and portion it out for later. Just divide it into small containers or freezer bags, and label them with the date.
When you’re ready to enjoy it, thaw overnight in the fridge and stir well. The texture may change slightly, but a quick blend or stir can bring it back to life. Add a little olive oil or lemon juice if it feels too thick.
FAQs about Easy Hummus Recipe
1. What ingredients are needed to make hummus at home?
To make classic hummus, you’ll need cooked chickpeas, tahini, garlic, lemon juice, olive oil, salt, and optionally, cumin or paprika for extra flavor.
2. Can I make hummus without tahini?
Yes, you can! Substitute tahini with plain Greek yogurt, peanut butter, or sunflower seed butter for a similar creamy texture.
3. How long does homemade hummus last?
Homemade hummus can last 4–7 days in the refrigerator when stored in an airtight container.
4. Can I freeze hummus?
Absolutely! Freeze in small containers for up to 3 months. Just thaw overnight in the fridge before using and stir well.
5. Is hummus healthy?
Yes, hummus is rich in plant-based protein, fiber, and healthy fats, making it a nutritious snack or dip.
6. What can I eat with hummus?
Enjoy hummus with pita bread, veggie sticks, crackers, in wraps, or as a spread on sandwiches.
7. Why is my hummus too thick?
If your hummus is too thick, add a little cold water, olive oil, or lemon juice and blend again until smooth.
8. Can I use canned chickpeas?
Yes! Canned chickpeas are perfect for a quick and easy hummus recipe. Just rinse them well before blending.
9. How can I make my hummus extra smooth?
For ultra-creamy hummus, peel the chickpeas or blend them while warm. Also, use a high-powered food processor or blender.
10. Is hummus gluten-free?
Yes, hummus is naturally gluten-free. Just ensure all added ingredients are also gluten-free if you’re sensitive or celiac.
Conclusion
So there you have it—a foolproof, flavor-packed, totally customizable guide to making hummus at home. Whether you stick with the classic version or branch out with fun flavors, one thing’s for sure: once you make your own hummus, you’ll never want to go back to store-bought again.
With a few simple ingredients and a bit of blending magic, you’ve got a creamy, dreamy dip that’s ready to steal the show at your next snack session or dinner party. Ready to whip up a batch?