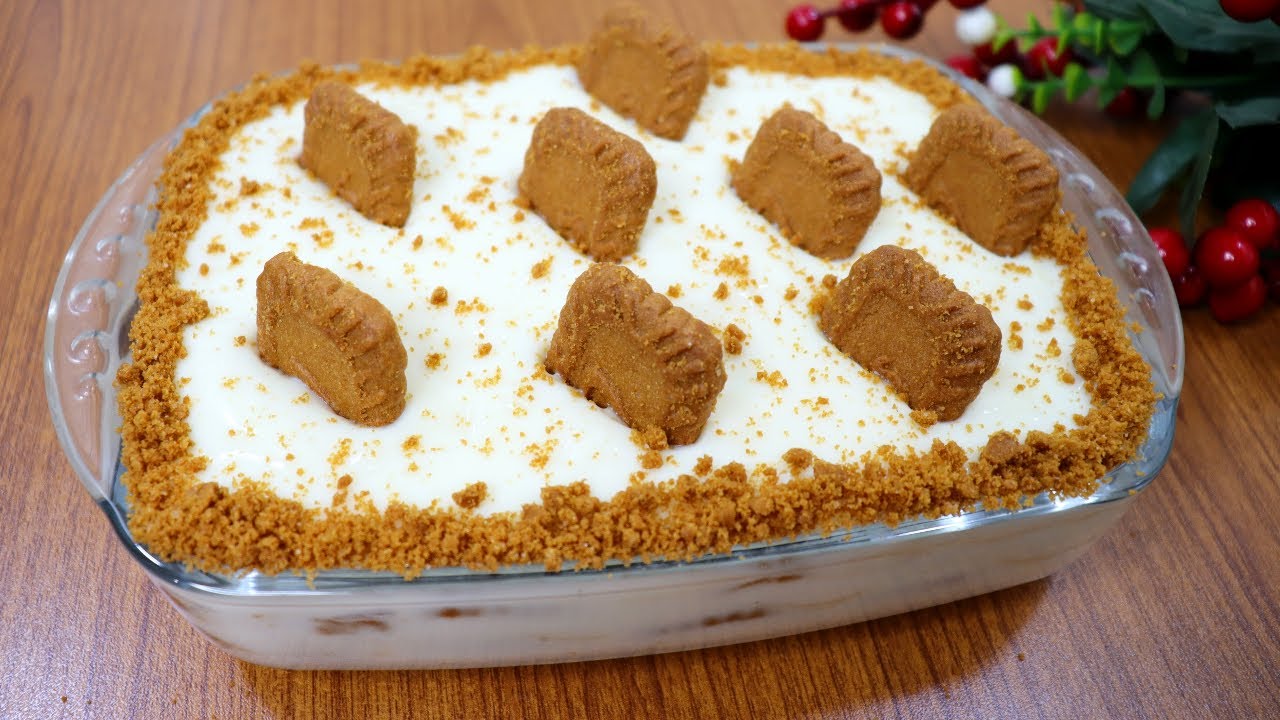
Dessert Recipe: There’s something universally comforting about desserts. Whether it’s a decadent slice of cake after a long day or a refreshing fruit tart on a summer afternoon, desserts bring joy in the simplest, sweetest way. Across cultures and cuisines, desserts have become the closing statement of a perfect meal, a way to celebrate, or just a moment of self-indulgence we all need sometimes.
Why Desserts Are Loved Worldwide
Desserts connect us through memories and emotions. A classic apple pie can remind you of childhood, while tiramisu might take you back to a special dinner in Italy. The balance of sweet, creamy, crispy, and fruity notes triggers satisfaction on a whole different level. People love desserts because they often symbolize celebration, comfort, and happiness. Birthdays, weddings, and even casual get-togethers are incomplete without something sweet.
Besides the emotional connection, desserts also showcase culinary creativity. Think of how many varieties exist: from chocolate lava cakes to Thai mango sticky rice, from panna cotta to baklava. It’s an ever-evolving world where textures, temperatures, and flavors come together in mouthwatering harmony.
Choosing the Right Dessert for the Occasion
Not all desserts suit every moment. Planning a romantic dinner? Go for something elegant like crème brûlée or chocolate mousse. Hosting a summer BBQ? A no-bake cheesecake or a fruit trifle would shine. When choosing a dessert, think about the setting, the effort you’re willing to put in, dietary preferences, and how far ahead you can prepare.
For this guide, we’re diving into a no-bake dessert that’s both luxurious and beginner-friendly: Creamy Chocolate Mousse. It’s timeless, rich, and easy to master.
Ingredients You’ll Need
Before jumping into the actual process, let’s take a look at what you’ll need to whip up the perfect chocolate mousse. The best part? You don’t need anything fancy – just quality ingredients and some love for chocolate.
Common Ingredients for Most Desserts
There are staples that pop up in almost every dessert recipe. You’ll find them in cakes, puddings, mousses, and even chilled sweets. Here’s a quick list:
- Sugar: Whether it’s granulated, powdered, or brown, sugar is key to sweetness.
- Eggs: Often used for structure, richness, or as a binding agent.
- Cream: Especially heavy cream, which adds richness and volume.
- Butter: Adds flavor and helps in achieving the perfect texture.
- Vanilla Extract: A small spoonful can transform your dessert’s flavor.
- Chocolate: From dark to milk to white – it’s a must in many indulgent recipes.
These basic ingredients can be turned into dozens of different sweet treats. It’s all about the technique and combination.
Special Ingredients to Elevate Flavor
To really impress, consider adding ingredients that bring your mousse up a notch:
- High-Quality Dark Chocolate (60-70% cocoa): The better the chocolate, the richer your mousse will be.
- Espresso Powder: Just a pinch enhances the chocolate flavor.
- Liqueur (Optional): A tablespoon of Grand Marnier or Bailey’s can add a sophisticated twist.
- Sea Salt Flakes: A tiny sprinkle can balance the sweetness beautifully.
- Fresh Berries: Raspberries or strawberries for garnish bring freshness and color.
Remember, quality matters more than quantity in desserts. Using premium chocolate and fresh cream can take your dessert from “pretty good” to “absolutely divine.”
Kitchen Tools and Equipment Checklist
Let’s face it—dessert-making is way easier (and cleaner) when you have the right tools. You don’t need a Michelin-starred kitchen, just a few essentials that make the process smoother and more enjoyable.
Essential Tools for Baking and Chilling
Here are the must-haves for making this chocolate mousse and many other desserts:
- Mixing Bowls: Multiple sizes for prepping and mixing ingredients.
- Measuring Cups and Spoons: Precision is key in desserts.
- Whisk or Electric Mixer: For whipping cream and mixing mousse.
- Heatproof Bowl: For melting chocolate safely over a water bath.
- Rubber Spatula: Ideal for folding ingredients gently.
- Serving Glasses or Ramekins: Presentation matters, even at home.
- Refrigerator Space: You’ll need to chill the mousse, so make sure there’s room.
Optional Tools for Better Results
- Double Boiler or Bain-Marie: Great for melting chocolate evenly without scorching.
- Fine Mesh Sieve: For sifting cocoa or powdered sugar for garnish.
- Piping Bag: If you want a fancy swirl presentation.
- Zester or Microplane: To add some citrus zest or chocolate shavings on top.
Having your tools prepped and ready makes the process more enjoyable. It also helps prevent common kitchen chaos like over-whipped cream or clumpy chocolate.
Step-by-Step Dessert Recipe: Creamy Chocolate Mousse
Let’s get to the heart of this guide. Below is a foolproof recipe that even beginners can ace, and trust me—it tastes as amazing as it sounds.
Step 1 – Gather Your Ingredients
Start with the basics. Here’s what you’ll need for 4 servings:
- 200g (7 oz) dark chocolate (60–70% cocoa)
- 300ml (1 ¼ cup) heavy whipping cream
- 2 large eggs (separated)
- 2 tbsp sugar
- 1 tsp vanilla extract
- A pinch of salt
- Optional: espresso powder, liqueur, berries for garnish
Lay everything out on your counter. Make sure the cream is cold, and the chocolate is chopped finely so it melts easily. Always separate the eggs carefully to avoid even a drop of yolk in the whites—this helps in achieving the right volume when whipping.
Step 2 – Melt the Chocolate Perfectly
Melting chocolate is an art. If you rush it, you risk burning it. If water gets into it, it can seize and turn grainy. To do it right, use a double boiler or make one at home by placing a heatproof bowl over a pot of simmering water. Make sure the bowl doesn’t touch the water.
Place the chopped dark chocolate into the bowl and let it melt slowly, stirring occasionally with a rubber spatula. This process should take 5–7 minutes on medium-low heat. If you’re adding espresso powder or liqueur, this is the moment. Stir it in once the chocolate is smooth and glossy.
Alternatively, you can microwave the chocolate in short 20-second bursts, stirring in between, until fully melted. But this method needs more attention to avoid burning. Once done, set it aside to cool slightly.
The cooling is important—you don’t want hot chocolate going into whipped cream or eggs as it could deflate or cook them.
Step 3 – Whip the Cream to Perfection
This is where the magic begins. Take your chilled heavy cream and pour it into a cold mixing bowl. Using an electric hand mixer or a stand mixer with a whisk attachment, start beating the cream on medium speed.
After about 2 minutes, you’ll see it start to thicken. Add the vanilla extract and continue whipping until you get soft peaks. You’re looking for a smooth, fluffy texture that holds its shape but is still pillowy. Avoid over-whipping—it can quickly turn into butter or become too stiff to fold properly.
Once you reach the desired consistency, put the whipped cream in the fridge while you move to the next step.
Step 4 – Fold and Chill
Now comes the delicate part—folding everything together. Begin by beating the egg whites with a pinch of salt in a clean, dry bowl. As they begin to foam, add the sugar slowly and continue whipping until stiff peaks form. This gives your mousse that signature airy texture.
In another bowl, mix the egg yolks into the slightly cooled melted chocolate until fully incorporated. Then, add about one-third of the whipped cream into the chocolate mixture to lighten it. Gently fold it in using a spatula.
Once it’s combined, carefully fold in the rest of the whipped cream, and finally, the egg whites. Do this gradually, and avoid stirring—use gentle, sweeping motions to keep the air in the mix.
Once everything is combined into a smooth, rich mousse, spoon it into serving glasses or ramekins. Cover and refrigerate for at least 2 hours, or until set.
Step 5 – Serve and Garnish Like a Pro
When your mousse has chilled and firmed up, it’s time to add the finishing touches. Presentation is half the experience when it comes to desserts.
Here are some fun and elegant ideas:
- Fresh Berries: Add raspberries or strawberries on top for a fresh, tangy balance.
- Whipped Cream Dollop: A small swirl of sweetened whipped cream adds height and creaminess.
- Shaved Chocolate or Cocoa Powder: Use a microplane to create delicate chocolate shavings, or dust with cocoa powder for a rustic look.
- Mint Leaves: Add a pop of green and freshness with a couple of mint sprigs.
- Crushed Nuts: Pistachios or hazelnuts give a wonderful crunch.
Serve chilled and enjoy the compliments. It’s luxurious, impressive, and deceptively easy.
Tips and Tricks for Dessert Success
Even the simplest dessert can turn into a mess without the right tricks up your sleeve. Here are some top tips to ensure your mousse (or any dessert you try) turns out flawless.
Avoiding Common Mistakes
- Don’t Overheat the Chocolate: Chocolate can burn easily and ruin the taste.
- Avoid Water Contact: A single drop of water in your melted chocolate can cause it to seize.
- Use Cold Cream: For whipping, your cream needs to be cold to build volume properly.
- Fold, Don’t Stir: Stirring deflates the air you worked hard to whip in.
- Set Aside Enough Chilling Time: Rushing the chill process can make your mousse soupy.
Flavor Enhancement Hacks
- Add zest of orange or lime for a citrus twist.
- Mix a bit of sea salt into the melted chocolate for a gourmet edge.
- Infuse the cream with herbs like mint or basil for a subtle flavor boost.
- Use flavored extracts like almond, hazelnut, or even lavender to switch things up.
Remember, the more you make this mousse, the more ways you’ll discover to make it uniquely yours. Experiment and taste often—it’s the best way to learn.
FAQs about Dessert Recipe
1. Can I substitute ingredients in this mousse recipe?
Absolutely. If you’re avoiding eggs, you can use whipped aquafaba (chickpea water) as a substitute. For dairy-free options, use coconut cream instead of heavy cream and vegan dark chocolate. Adjust sweeteners based on taste preferences.
2. How long does the mousse last in the fridge?
Your mousse will stay fresh for up to 3 days in the refrigerator when kept covered. It’s best consumed within the first two days for optimal texture and flavor.
3. What’s the best chocolate to use?
Go for high-quality dark chocolate with at least 60–70% cocoa content. Brands like Valrhona, Lindt, or Ghirardelli work beautifully. The better the chocolate, the richer your mousse.
4. Can I make it vegan?
Yes! Use dairy-free chocolate and coconut cream instead of heavy cream. Replace eggs with aquafaba or skip them entirely if you’re okay with a denser mousse. It’s just as tasty with the right balance.
5. How do I make it look Instagram-worthy?
Presentation is key. Use clear dessert glasses, layer with berries, whipped cream, and top with chocolate curls or edible flowers. A drizzle of raspberry sauce can also add color contrast and elegance.
Conclusion
This recipe offers a balance between decadence and simplicity. It doesn’t require baking, fancy machines, or hard-to-find ingredients. What it does require is a little care, love for chocolate, and a desire to impress yourself and those around you. Whether you’re hosting a dinner party or just craving something sweet on a weeknight, this mousse is a must-try.
As with all things in the kitchen, the more you make it, the better you’ll get. Don’t be afraid to put your own spin on it, whether that’s through unique garnishes, layering it with other desserts, or even experimenting with different chocolates.
So grab your whisk, stock up on chocolate, and get ready to experience dessert bliss—one spoonful at a time.


