Chocolate Icing Recipe: Who doesn’t love chocolate icing? It’s that luscious, velvety finishing touch that takes cakes, cupcakes, and cookies to a whole new level of indulgence.
Whether you’re making a birthday cake, a batch of brownies, or simply want a rich topping for your dessert, a good chocolate icing can make all the difference. The best part? Making it at home is easier and tastier than any store-bought alternative.
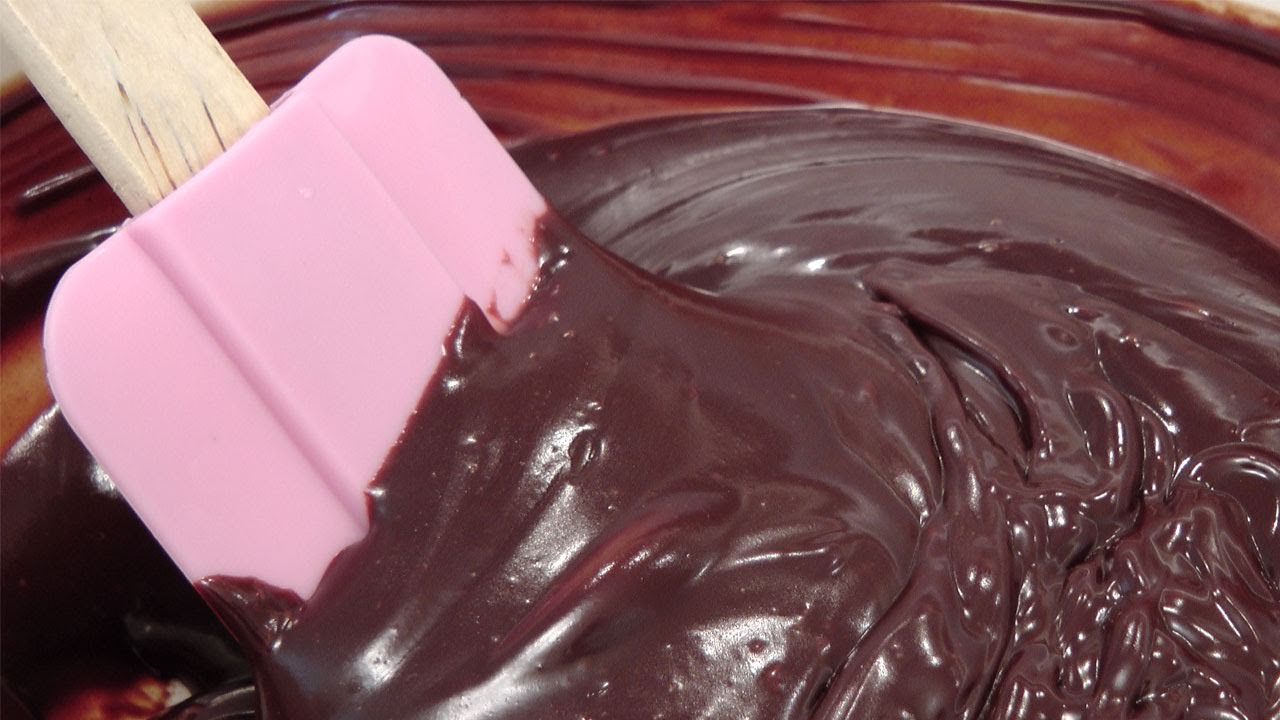
Let’s dive into this step-by-step guide to create the perfect chocolate icing.
Ingredients for Chocolate Icing
Before you start whipping up your chocolate icing, it’s crucial to know what ingredients you’ll need. Each component plays a vital role in achieving that smooth, rich flavor.
Here’s a list of what you’ll typically need:
- Unsalted butter (softened) – For a creamy base
- Powdered sugar – To sweeten and add structure
- Cocoa powder (or melted chocolate) – The star ingredient for deep chocolate flavor
- Milk or cream – To adjust consistency
- Vanilla extract (optional) – To enhance the overall flavor
- Salt (a pinch) – Balances the sweetness and boosts the chocolate taste
Opt for high-quality cocoa powder or chocolate for the best results. The flavor of your icing directly depends on the quality of these ingredients.
Types of Chocolate Icing
There are several variations of chocolate icing, each suitable for different desserts and preferences.
- Buttercream Chocolate Icing – The classic choice, perfect for cakes and cupcakes. It’s creamy, sweet, and easy to spread.
- Ganache Chocolate Icing – A rich, glossy glaze made with chocolate and heavy cream. It sets beautifully on cakes.
- Whipped Chocolate Icing – Light and airy, ideal for those who want a less dense frosting.
Choose the one that fits your dessert goals best. For this guide, we’ll focus on a buttercream-based chocolate icing recipe.
Required Tools and Equipment
To ensure your icing process goes smoothly, gather the following tools:
- Mixing bowls
- Hand mixer or stand mixer
- Spatula
- Measuring cups and spoons
- Whisk
If you don’t have a stand or hand mixer, a whisk and some arm strength will work, though it may take longer to achieve a fluffy texture.
Step 1: Gather Ingredients and Tools
First things first: set yourself up for success by organizing your workspace. Gather all your ingredients and tools so you’re not scrambling mid-recipe. Double-check that your butter is softened and your powdered sugar is sifted to remove any lumps. Trust me, this little bit of prep will save you a lot of frustration later!
Step 2: Melt the Chocolate (If Required)
If your recipe calls for melted chocolate instead of cocoa powder, you’ll need to handle it carefully. Burnt chocolate is a recipe disaster waiting to happen. Here’s how to melt chocolate safely:
- Microwave method: Place the chocolate in a microwave-safe bowl and heat in 20-second intervals, stirring each time.
- Double boiler method: Place a heatproof bowl over a pot of simmering water. Stir the chocolate continuously until melted.
Make sure to remove the chocolate from heat as soon as it’s smooth and glossy. Let it cool slightly before adding it to your butter mixture.
Step 3: Cream Butter and Sugar
This is a critical step to get that light and fluffy icing texture. In a large bowl, beat the softened butter using a hand mixer or stand mixer on medium speed until it’s smooth and creamy. Gradually add the powdered sugar, one cup at a time, while continuing to mix. This prevents sugar from flying everywhere and allows it to incorporate evenly.
Pro tip: Scrape down the sides of the bowl occasionally to ensure everything is mixed well.
Step 4: Add Cocoa Powder or Melted Chocolate
Now, it’s time to bring in that rich chocolatey goodness. If you’re using cocoa powder, sift it into the bowl to avoid lumps. Beat the mixture on low speed until the cocoa is fully blended. If you’re using melted chocolate, drizzle it in slowly while the mixer is running.
You’ll notice the icing darken and take on a rich chocolate color. Adjust the amount of cocoa or chocolate to match your taste preferences.
Step 5: Add Liquid (Milk, Cream, or Water)
At this point, the icing might look a little thick. Gradually add a tablespoon of milk or cream at a time, mixing well after each addition. The liquid helps to thin the icing and make it spreadable. Be careful not to add too much at once; a little goes a long way!
Continue beating until the icing is smooth and fluffy. You want it to hold its shape but still spread easily.
Step 6: Incorporate Vanilla Extract (Optional)
Vanilla extract may not seem essential, but it adds a subtle warmth that enhances the overall flavor of your icing. Just a teaspoon can make a big difference. Stir it in thoroughly after you’ve achieved the desired consistency.
Want to take it a step further? Try experimenting with other extracts or flavorings like almond extract, peppermint, or even a splash of espresso. These options can transform your icing into something truly unique for special occasions.
Step 7: Whip the Icing to Perfection
Here’s where the magic happens. Continue beating the icing for about 3-5 minutes on medium-high speed. This step incorporates air into the mixture, making the icing light and fluffy.
What should you look for? The icing should hold soft peaks—this means that when you lift the mixer, the icing should form a peak that curls slightly at the tip. If it looks too stiff, add a splash of milk or cream. If it’s too runny, mix in more powdered sugar.
Adjusting Consistency
Getting the right consistency is a balancing act. Sometimes, the icing might end up too thick or too thin. Don’t worry—there are simple fixes for both scenarios.
- To thicken: Add more powdered sugar, a little at a time, and beat until fully incorporated.
- To thin: Add small amounts of liquid (milk, cream, or even water) until the desired texture is reached.
Consistency is especially important depending on how you plan to use the icing. For piping intricate designs, a thicker consistency works best. For spreading over a cake, a smoother, more fluid texture is ideal.
Flavor Enhancements and Customizations
Feeling creative? There are plenty of ways to customize your chocolate icing to match the theme of your dessert.
Here are some fun ideas to try:
- Espresso Powder: Adds depth and enhances the chocolate flavor.
- Orange Zest: For a fresh, citrusy twist.
- Mint Extract: Perfect for a holiday dessert.
- Cinnamon or Nutmeg: Adds a hint of warmth, great for fall treats.
Start with small amounts of these add-ins, taste-testing as you go. A little can go a long way when it comes to flavor boosters.
Application Techniques
Now that your chocolate icing is ready, it’s time to put it to good use! The way you apply the icing can make a big difference in the final presentation of your dessert.
Here are some tips for flawless application:
- For cakes: Use an offset spatula to spread an even layer. Apply a crumb coat first (a thin layer to seal in crumbs) before adding a thicker final coat.
- For cupcakes: Use a piping bag fitted with your favorite tip to create swirls or rosettes.
- For cookies: Simply use a butter knife or spatula to spread the icing evenly.
Don’t rush—take your time to achieve a smooth, polished look.
Storing Chocolate Icing
If you have leftover icing, don’t let it go to waste! You can store it in an airtight container for up to a week in the refrigerator. Before using it again, allow it to come to room temperature and give it a quick whip to restore its creamy texture.
For longer storage, you can freeze chocolate icing for up to 2-3 months. Thaw it in the refrigerator overnight and rewhip it for best results.
Common Mistakes and Troubleshooting
Even with a simple recipe like chocolate icing, things can occasionally go wrong. Here are some common issues and how to solve them:
- Icing is too thick: Gradually add more liquid and mix until the desired consistency is achieved.
- Icing is too runny: Beat in more powdered sugar to thicken it.
- Icing tastes too sweet: Add a pinch of salt or a little more cocoa powder to balance the sweetness.
- Lumpy texture: Ensure ingredients like powdered sugar and cocoa powder are sifted before mixing.
With these tips, you’ll be ready to tackle any icing mishap with confidence!
FAQs about Chocolate Icing Recipe
1. What are the basic ingredients needed for chocolate icing?
To make chocolate icing, you typically need unsweetened cocoa powder, powdered sugar, butter or margarine, vanilla extract, and milk or a milk alternative. These ingredients blend to create a smooth, rich frosting perfect for cakes, cupcakes, and other desserts.
2. How can I make my chocolate icing thicker?
If your chocolate icing is too thin, you can thicken it by gradually adding more powdered sugar until you reach the desired consistency. Be sure to mix well to avoid lumps. If it becomes too thick, you can thin it by adding a small amount of milk or cream.
3. Can I make chocolate icing without dairy?
Yes, you can make dairy-free chocolate icing by substituting the butter with a non-dairy alternative like coconut oil or vegan butter, and using a dairy-free milk such as almond milk, soy milk, or oat milk. Ensure all other ingredients are dairy-free as well.
4. How long can I store chocolate icing?
Chocolate icing can be stored in an airtight container in the refrigerator for up to a week. Before using refrigerated icing, let it sit at room temperature to soften, and stir well to restore its creamy texture.
5. Is it possible to freeze chocolate icing?
Yes, chocolate icing freezes well. Place it in a sealed container or airtight bag and freeze for up to 3 months. Thaw in the refrigerator overnight and then bring to room temperature and stir well before using.
6. How do I make my chocolate icing extra glossy?
For an extra glossy finish, add a tablespoon of corn syrup or honey to your icing mixture. This will not only enhance the sheen but also add a slight sweetness. Mix thoroughly to achieve a smooth, shiny texture.
Conclusion
There you have it—a step-by-step guide to making rich and creamy chocolate icing. Whether you’re a seasoned baker or a beginner, this recipe is simple enough to master and versatile enough to suit any dessert. Once you try homemade chocolate icing, you’ll never want to go back to the store-bought version again. So grab your ingredients, whip up a batch, and let your creativity run wild!


