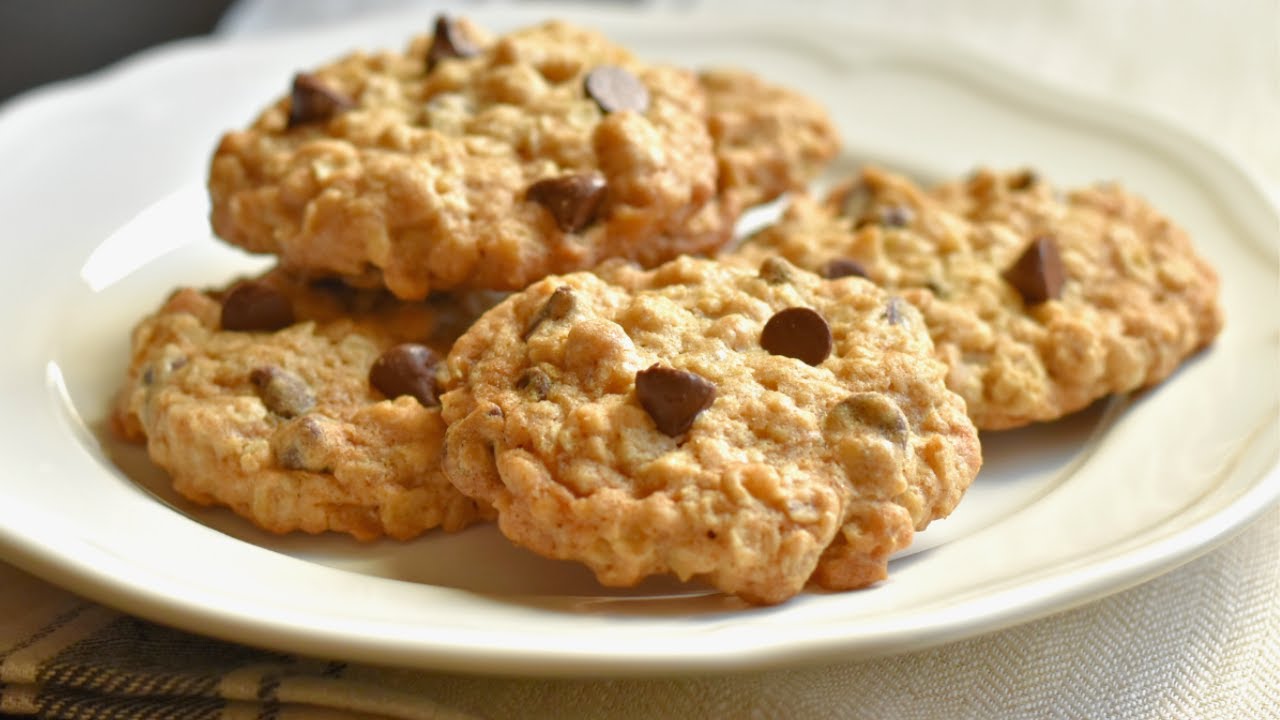
Chocolate Chip Oatmeal Cookies Recipe: Chocolate chip oatmeal cookies are the ultimate comfort food. They combine the nutty, wholesome flavor of oats with the rich sweetness of chocolate chips, creating a cookie that’s both hearty and indulgent. Unlike plain chocolate chip cookies, oatmeal chocolate chip cookies offer a chewy texture that keeps you coming back for more. They’re a perfect snack for kids, a quick dessert for family dinners, and even a thoughtful homemade gift for friends.
One of the best things about these cookies is their versatility. You can make them soft and chewy or crisp and crunchy depending on how long you bake them. You can even customize the recipe with add-ins like nuts, raisins, or coconut flakes. Beyond taste, oats bring a bit of nutrition to the table, making these cookies slightly less guilty compared to other desserts.
Baking cookies at home is more than just cooking—it’s a cozy ritual. The smell of fresh cookies filling the kitchen creates warmth and joy. Plus, homemade cookies allow you to control what goes in, avoiding unnecessary preservatives and artificial flavors. If you’re ready to bake, let’s dive into the ingredients and step-by-step guide to making these delicious chocolate chip oatmeal cookies.
Ingredients You’ll Need
Before diving into the baking process, let’s get everything ready. The secret to perfect cookies lies in using the right ingredients in the right proportions. Quality matters, so whenever possible, choose fresh, high-quality products. Here’s a breakdown of everything you’ll need:
Dry Ingredients
- All-purpose flour – The base of the cookie, giving structure.
- Baking soda – Helps the cookies rise just enough.
- Salt – Enhances all the flavors.
- Rolled oats – The star of the recipe, adding texture and chewiness.
Wet Ingredients
- Unsalted butter – Softened for easy mixing.
- Brown sugar – Adds moisture and a deep caramel flavor.
- Granulated sugar – Balances sweetness.
- Eggs – Bind everything together and add richness.
- Vanilla extract – Enhances the overall flavor.
Chocolate Options
- Semi-sweet chocolate chips – Classic choice for balance between sweet and bitter.
- Dark chocolate chunks – For a richer, less sweet version.
- White chocolate chips – Adds creamy sweetness.
- Optional mix-ins – Chopped nuts, raisins, or shredded coconut.
Pro tip: Always measure ingredients properly. Too much flour can make cookies dry, while too little can make them spread too much. Using a kitchen scale can help you get exact measurements for consistent results.
Step-by-Step Guide to Baking Chocolate Chip Oatmeal Cookies
Step 1 – Preparing Your Ingredients
Before you start mixing, preparation is key. Make sure your butter is softened but not melted—this helps it cream properly with the sugars. Eggs should be at room temperature to blend smoothly with the butter mixture. Measure out all your dry ingredients ahead of time and keep them in separate bowls. This way, you won’t miss anything in the middle of baking.
Think of this step as setting the stage. Just like a chef lays out everything before cooking, bakers should organize ingredients to avoid mistakes. Once everything is prepped, the actual baking process flows much smoother and stress-free.
Step 2 – Mixing the Dry Ingredients
Take a large bowl and combine the flour, baking soda, and salt. Whisk them together to evenly distribute the baking soda and salt throughout the flour. Add in the rolled oats and give it a quick stir. This ensures that every bite of cookie has the right balance of oats and flour.
Mixing dry ingredients separately before combining them with wet ones is essential. If you skip this, you risk clumps of baking soda or salt in your cookies. This simple step helps achieve a uniform texture and flavor throughout the batch.
Step 3 – Creaming Butter and Sugars
In another bowl, beat the softened butter with both brown sugar and white sugar. Use an electric mixer if you have one, or a sturdy whisk if you’re going manual. Creaming means mixing until the butter and sugars are light and fluffy. This process traps air, which makes cookies softer and lighter.
Brown sugar gives the cookies a chewy texture, while white sugar helps them spread and crisp up slightly at the edges. The combination of the two creates a perfect balance of chewy and crunchy. Spend at least 2-3 minutes on this step for the best results.
Step 4 – Adding Eggs and Vanilla
Once the butter and sugar are perfectly creamed, crack in the eggs one at a time. Beat each egg thoroughly before adding the next. This ensures proper emulsification, meaning the fats and liquids combine smoothly. Then, stir in the vanilla extract for flavor.
Eggs are crucial—they provide moisture, structure, and help bind the ingredients. Vanilla, on the other hand, enhances the sweetness and depth of flavor. Without it, the cookies may taste flat.
Step 5 – Combining Wet and Dry Mixtures
Now comes the moment when everything comes together. Gradually add the dry ingredients into the wet mixture. Use a spatula or wooden spoon to fold gently. Avoid overmixing—doing so can develop too much gluten, making cookies tough instead of tender.
The dough should be thick but not overly dry. If it feels too sticky, let it chill in the refrigerator for 20–30 minutes before shaping. This also helps the cookies bake evenly without spreading too much.
Step 6 – Adding Chocolate Chips
This is where the magic happens! Pour in your chocolate chips (or chunks, if you’re going for that rustic, bakery-style vibe) and fold them into the dough. The key here is even distribution—you don’t want one cookie overloaded with chocolate while another gets left out. Use a spatula to gently mix until the chocolate is spread throughout.
Don’t be afraid to get creative. Want an extra indulgent bite? Use both semi-sweet and dark chocolate. Craving something different? Add in white chocolate chips or even peanut butter chips for a twist. If you like texture, throw in a handful of chopped walnuts, pecans, or almonds. For a fruity surprise, raisins or dried cranberries can balance the sweetness beautifully.
Remember, less is not always more when it comes to chocolate in cookies. But be careful not to overdo it—too many mix-ins can weigh down the dough and cause uneven baking. Stick to about 1 to 1 ½ cups of chips for the perfect ratio. Once the dough looks chunky and chocolatey, you’re ready for the next step.
Step 7 – Shaping the Cookie Dough
Now that your dough is ready, it’s time to shape your cookies. There are two popular methods: scooping and rolling. If you have a cookie scoop, use it for perfectly uniform cookies. Otherwise, roll small portions of dough into balls with your hands. Aim for about 1 to 2 tablespoons of dough per cookie, depending on how big you want them.
For a rustic look, don’t smooth them out too much. The rougher the dough ball, the more textured and bakery-style your cookies will look once baked. Place the dough balls onto a parchment-lined baking sheet, leaving at least 2 inches between each one—these cookies spread while baking.
Pro tip: If you want your cookies to look picture-perfect, press a few extra chocolate chips on top of each dough ball before baking. This way, you’ll see melted chocolate peeking out of every cookie when they come out of the oven.
If the dough feels too soft or sticky, chill it for 20 minutes before shaping. This helps prevent the cookies from spreading too much in the oven, giving you a thicker, chewier result.
Step 8 – Baking the Cookies
Preheat your oven to 350°F (175°C). Place your prepared baking sheet in the middle rack of the oven for even baking. Bake the cookies for 10–12 minutes, depending on how chewy or crispy you like them.
Here’s a little trick: cookies are usually done before they look done. Take them out when the edges are golden brown, but the centers still look slightly soft. They’ll continue to cook on the baking sheet after you remove them from the oven, giving you that perfect chewy middle.
If you prefer crispier cookies, leave them in for an extra 2–3 minutes. But be careful—oatmeal cookies can go from golden to burnt very quickly. Keep a close eye on them during the last couple of minutes.
Also, avoid overcrowding your oven with too many trays at once. Bake one tray at a time for the best results. If you need to bake in batches, keep the dough refrigerated between rounds.
Step 9 – Cooling and Serving
When the cookies come out of the oven, let them sit on the baking sheet for about 5 minutes. This helps them firm up and makes them easier to transfer without breaking. After that, move them to a wire cooling rack so air can circulate and prevent soggy bottoms.
Once cooled, you can serve them immediately—or better yet, enjoy them warm with a glass of cold milk. If you’re planning to store them, place the cookies in an airtight container. They’ll stay soft for about 4–5 days at room temperature. For longer storage, freeze them in a sealed bag for up to 2 months. Just reheat in the microwave for a fresh-from-the-oven taste.
Presentation also matters if you’re gifting these cookies. Wrap them in parchment paper, tie with a ribbon, and you have a thoughtful homemade treat for family or friends. They also make a perfect addition to lunch boxes, coffee breaks, or late-night cravings.
Tips for Perfect Chocolate Chip Oatmeal Cookies
Baking cookies may seem simple, but a few small tricks can make the difference between average and unforgettable. Here are some pro tips to help you nail the recipe every single time:
- Don’t overmix the dough – Overmixing develops gluten, which can make cookies tough. Mix just until combined.
- Chill the dough if needed – If the dough feels sticky, refrigerate for 20–30 minutes before shaping. This helps control spreading.
- Use parchment paper or silicone mats – Prevents sticking and ensures even baking.
- Room temperature ingredients matter – Cold butter or eggs can cause uneven texture.
- Measure accurately – Baking is science, and even small differences can affect texture.
- Rotate the baking sheet – If your oven heats unevenly, turn the sheet halfway through baking.
- Experiment with textures – Bake shorter for chewy cookies, longer for crispy ones.
With these tips, you’ll master oatmeal chocolate chip cookies and impress anyone who takes a bite.
Variations of Oatmeal Chocolate Chip Cookies
The beauty of oatmeal chocolate chip cookies lies in their adaptability. Once you’ve mastered the classic version, you can get creative and experiment with different flavors, textures, and add-ins. Whether you’re aiming for a healthier cookie, a gourmet treat, or a diet-specific option, the possibilities are endless.
Nutty Additions
Adding nuts is one of the simplest ways to elevate your cookies. Walnuts, pecans, or almonds bring a crunchy contrast to the chewy oats. Toasting the nuts beforehand enhances their flavor, giving the cookies a rich, roasted taste. If you love peanut butter, try folding in peanut butter chips along with your chocolate for a nutty-sweet twist.
Fruit-Inspired Variations
If you want a more wholesome bite, consider adding dried fruits. Raisins are a classic choice, but cranberries, cherries, or chopped dates also pair beautifully with chocolate. They add a natural sweetness and a chewy texture that complements the oats. For a tropical spin, mix in shredded coconut and a handful of macadamia nuts.
Healthier Swaps
For those trying to cut down on refined sugar or fats, there are plenty of easy swaps:
- Use whole wheat flour instead of all-purpose flour for extra fiber.
- Swap butter with coconut oil for a lighter, dairy-free option.
- Replace white sugar with honey or maple syrup for a natural sweetener.
- Add flaxseed or chia seeds for a nutritional boost.
These changes make the cookies slightly denser but still delicious.
Gluten-Free and Vegan Options
Don’t worry if you’re gluten-free or vegan—you can still enjoy oatmeal chocolate chip cookies! Use certified gluten-free oats and substitute regular flour with almond flour or oat flour. For a vegan version, swap the butter with vegan butter or coconut oil and replace eggs with flax eggs (1 tablespoon ground flaxseed + 3 tablespoons water = 1 egg). You’ll still get chewy, flavorful cookies without compromising on taste.
Experimenting with variations ensures you never get bored. Each batch becomes a unique creation tailored to your cravings and dietary needs.
FAQs about Chocolate Chip Oatmeal Cookies Recipe
1. Can I use quick oats instead of rolled oats?
Yes, but the texture will be different. Rolled oats give cookies a hearty, chewy bite, while quick oats create a softer, less textured cookie. If you prefer a smoother cookie, quick oats can work—but rolled oats are the gold standard.
2. How do I keep cookies soft after baking?
The secret is to store them in an airtight container with a slice of bread. The bread releases moisture that keeps the cookies soft without making them soggy. Also, avoid overbaking, as that’s the main reason cookies turn hard.
3. Can I freeze the dough for later use?
Absolutely! Scoop the dough into balls, place them on a tray to freeze, and once solid, transfer them to a freezer bag. They’ll last for up to 3 months. When you’re ready to bake, just add a couple of extra minutes to the baking time—no need to thaw.
4. How long do homemade cookies stay fresh?
At room temperature, they stay fresh for about 4–5 days in an airtight container. If you refrigerate them, they can last up to a week. For longer storage, freezing is your best option.
5. Can I use margarine instead of butter?
Yes, but the flavor and texture won’t be the same. Butter adds richness and depth that margarine can’t fully replicate. If you must use margarine, go for a high-quality stick version rather than the spreadable kind.
Conclusion
Chocolate chip oatmeal cookies are a timeless treat that balance comfort, flavor, and versatility. From the chewy oats to the rich bursts of chocolate, every bite feels like a warm hug. What makes this recipe even better is how customizable it is—you can add nuts, fruits, or even healthier ingredients to make them your own.
Whether you’re baking for family, friends, or simply to satisfy your sweet tooth, these cookies are guaranteed to impress. The step-by-step guide ensures foolproof results, while the variations let you play around and create something unique each time.
So, grab your mixing bowl, preheat the oven, and let your kitchen fill with the irresistible aroma of freshly baked cookies. Once you take that first bite, you’ll see why this recipe is a true classic.