Cherry Confiture Recipe: There’s something magical about cherry confiture. The rich, ruby color. The perfect balance of tart and sweet. And that sticky-smooth texture that clings beautifully to toast, pastries, or a spoon (because let’s be honest, we’ve all eaten it straight from the jar). Whether you’re a breakfast fanatic or a foodie who loves homemade goodies, learning how to make cherry confiture at home is one of those kitchen skills you’ll never regret mastering.
In this guide, you’ll get a full breakdown of everything you need to make the perfect cherry confiture—from the ingredients and equipment to step-by-step instructions and tips to make it foolproof. Let’s get started.
What is Cherry Confiture?
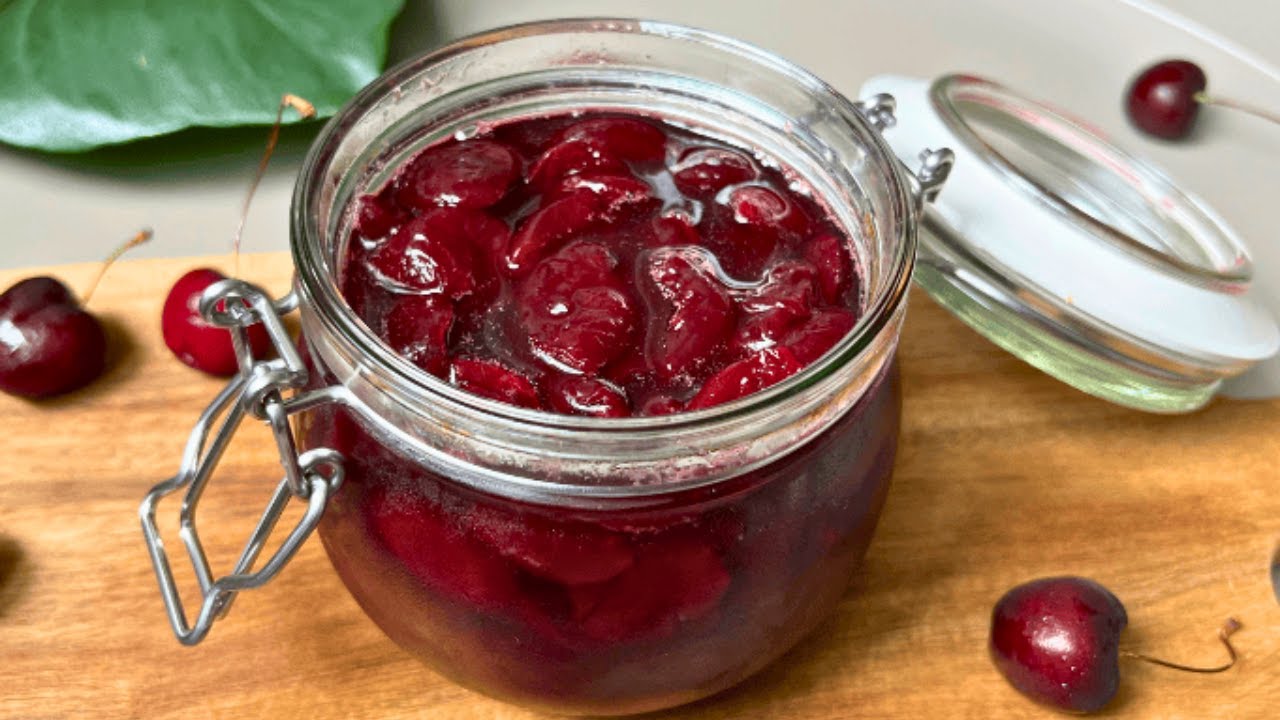
Cherry confiture is essentially a fancy French way of saying “cherry jam,” but there’s a twist. Unlike typical jams that are often heavily pureed and cooked down quickly, confiture takes a gentler, more patient approach. The fruit is often kept in larger pieces, and the cooking method helps preserve the fresh flavor and texture of the fruit. The result is a luxurious, slightly chunky preserve that tastes like summer in a jar.
It’s not just a spread—it’s an experience. Think of it as the French cousin to traditional jam, a little more refined, a little more flavorful, and a whole lot more satisfying.
Why You’ll Love This Cherry Confiture
So, why go through the trouble of making cherry confiture at home when you can just grab a jar from the store? Let us count the ways:
- Flavor Explosion: Fresh cherries cooked down slowly with sugar and lemon juice create a confiture that’s rich, fruity, and layered with natural sweetness.
- No Preservatives or Additives: You control what goes into your jar—no weird chemicals or artificial flavors.
- Versatile: Slather it on bread, drizzle it over cheesecake, or even stir it into yogurt. The possibilities are endless.
- Gift-Worthy: A jar of homemade cherry confiture makes a beautiful and thoughtful gift for holidays, birthdays, or housewarmings.
Making cherry confiture at home is easy once you get the hang of it, and the reward? Absolutely worth every minute.
How Cherry Confiture Differs from Cherry Jam or Jelly
Let’s clear up the confusion between confiture, jam, and jelly—because they’re not the same:
| Type | Texture | Fruit Content | Cooking Style |
|---|---|---|---|
| Jelly | Clear, smooth | Fruit juice only | Strained to remove solids |
| Jam | Soft, spreadable | Mashed or pureed fruit | Fast cooking |
| Confiture | Chunky, syrupy | Whole or sliced fruit | Slow-cooked with sugar |
Cherry confiture uses whole or halved cherries, gently cooked until suspended in a thick, syrupy glaze. It retains the integrity of the fruit, giving you little bursts of cherry flavor with every spoonful.
Best Cherry Varieties for Confiture
Not all cherries are created equal. The best cherry confiture starts with choosing the right variety:
- Bing Cherries: Deep red, juicy, and sweet. Perfect for a rich, flavorful confiture.
- Rainier Cherries: Slightly golden and more delicate. Great if you want a lighter, golden-toned confiture.
- Montmorency Cherries: Tart cherries that give your confiture a bright, tangy twist. Ideal for balancing sweetness.
- Sweetheart Cherries: A hybrid that has both sweet and tart elements.
For the best results, use ripe, unblemished cherries. Fresh is always better than frozen, but frozen can be used in a pinch (more on that later).
When is Cherry Season?
Cherries have a short but glorious season. Here’s what you need to know:
- Peak Season (Northern Hemisphere): Late May through early July.
- Off-Season Tip: Buy in bulk during peak and freeze them (pitted) for year-round confiture-making.
Pro tip: Farmers’ markets are your best friend. Look for plump, shiny cherries with fresh green stems.
List of Ingredients You’ll Need
Time to hit the kitchen! Here’s what you’ll need to whip up a batch of cherry confiture:
Fresh Cherries
- 4 cups (about 1.5 lbs), pitted.
- Opt for ripe, sweet varieties like Bing or Rainier.
- You can mix in some tart cherries for flavor contrast.
Granulated Sugar
- 2 to 3 cups, depending on how sweet your cherries are.
- Don’t cut the sugar too much—it helps preserve the fruit and gives it that signature gel.
Lemon Juice
- 2 tablespoons, freshly squeezed.
- Adds brightness and helps with natural gelling.
Optional Flavor Add-ins
- 1 tsp vanilla extract or a split vanilla bean.
- A splash of kirsch or brandy.
- A few sprigs of rosemary or thyme for an herbal note.
Keep it simple or get creative—cherry confiture is forgiving and welcomes flavor experiments.
Tools and Equipment You’ll Need
You don’t need a fancy setup, but a few basic tools will make the process smoother:
- Large heavy-bottomed saucepan
- Wooden spoon or silicone spatula
- Potato masher (optional for breaking up fruit slightly)
- Candy thermometer (for precision)
- Clean jars with lids (Mason jars work great)
- Jar funnel (makes filling easier)
- Tongs or jar lifter
- Ladle
Sterilizing your jars properly is key—more on that in a bit.
How to Prepare Cherries for Confiture
Preparing the cherries is half the battle, but don’t rush it. Here’s how to do it right:
- Wash thoroughly: Rinse the cherries under cold water to remove dirt and pesticides.
- Pit the cherries: Use a cherry pitter or cut each one in half and remove the pit manually.
- Optional: Halve or quarter the cherries if you want smaller pieces in the final product.
Want to avoid red-stained hands? Wear kitchen gloves, or rub lemon juice on your hands before starting.
Step-by-Step Guide to Making Cherry Confiture
Let’s break this down one step at a time so you can master the art of confiture-making like a pro.
Step 1: Wash and Pit the Cherries
Rinse fresh cherries under cool water, then remove the stems and pits. Use a cherry pitter or carefully slice each cherry to remove the seed. Measure about 4 cups of pitted cherries for the recipe.
Step 2: Macerate the Cherries with Sugar
Place the cherries in a large bowl and add 2 cups of granulated sugar. Stir to coat evenly, then let them sit for at least 1 hour (or overnight in the fridge). This draws out the juices and helps the sugar dissolve, creating a rich syrup.
Step 3: Simmer and Stir the Mixture
Transfer the cherries and their syrup to a large saucepan. Bring to a gentle boil over medium heat, stirring often to prevent sticking. Skim off any foam that rises to the top.
Step 4: Add Lemon Juice and Flavor Enhancers
Stir in 1 tablespoon of lemon juice to balance sweetness and aid setting. You can also add a splash of vanilla or a cinnamon stick for depth.
Step 5: Test for Doneness (Gel Test)
Drop a small spoonful on a cold plate—if it wrinkles when pushed, it’s ready.
Step 6: Sterilize Your Jars
While the confiture cooks, sterilize jars by boiling them for 10 minutes, then dry completely.
Step 7: Fill and Seal Jars
Ladle the hot confiture into warm jars, seal tightly, and let cool. Store in a cool, dark place—sweet, glossy, and bursting with cherry flavor!
Storage Tips for Homemade Cherry Confiture
Storing your cherry confiture properly ensures it stays fresh and flavorful for months to come.
- Refrigerated (unprocessed jars): Lasts up to 4 weeks.
- Canned (processed): Store in a cool, dark place and enjoy for up to 1 year.
- After Opening: Always refrigerate and use within 3–4 weeks.
Be sure to label jars with the date so you know when to use them.
How Long Does Cherry Confiture Last?
Here’s a quick breakdown:
| Storage Method | Shelf Life |
|---|---|
| Refrigerator (unprocessed) | 3–4 weeks |
| Processed & Canned | Up to 12 months |
| Opened Jar (in fridge) | 3–4 weeks |
Keep an eye out for any mold, off smells, or discoloration—when in doubt, toss it out.
Serving Ideas – How to Enjoy Cherry Confiture
Now for the fun part—eating it! This cherry confiture is beyond versatile. Here are some of the best ways to use it:
- Spread on toast or croissants
- Swirled into Greek yogurt
- Spooned over vanilla ice cream
- Tucked into crepes or pancakes
- Used as a cake filling
- Paired with cheese on a charcuterie board
- Glazed over roast meats or duck
- Added to cocktails or mocktails
Want to impress at brunch? Serve it in a tiny glass jar with warm scones and clotted cream. You’ll feel like royalty.
Common Mistakes to Avoid When Making Confiture
Even though cherry confiture is simple in theory, there are a few common pitfalls that can mess up your batch. Here’s what to watch out for:
1. Not Using Ripe Cherries
Overripe or underripe cherries can affect both flavor and texture. Ripe cherries have the perfect sugar-acid balance and break down just enough during cooking. Avoid bruised or moldy fruit—if it’s not good enough to eat raw, it’s not good enough for confiture.
2. Skipping the Maceration Step
Don’t skip this! Macerating the cherries with sugar draws out their juice and makes the cooking process smoother. It also helps preserve the integrity of the fruit during simmering. Skipping it can lead to overcooked fruit and a syrup that’s not properly thickened.
3. Cooking Too Fast
Patience is key. High heat might speed up the process, but it often results in burnt sugar, mushy fruit, or a confiture that doesn’t set properly. Gentle simmering preserves the color, texture, and flavor.
4. Not Testing for Doneness
Always perform the plate test or use a thermometer. Guessing whether it’s done can result in either overly stiff or runny confiture. Neither is ideal.
5. Improper Jar Sterilization
This is a huge safety issue. Bacteria can grow if jars aren’t sterilized correctly, especially for long-term storage. Always boil or bake your jars before filling them.
6. Not Sealing the Jars Properly
After pouring the confiture into the jars, make sure the lids are tightly sealed. If you skip the hot water bath or don’t achieve a vacuum seal, your confiture may spoil quickly—even in the fridge.
Avoiding these mistakes will set you up for sweet, cherry-packed success every time.
Variations You Can Try (Alcohol, Spices, Herbs)
One of the most fun parts of making your own cherry confiture is that you can customize it to match your flavor preferences. Here are some delicious ways to shake things up:
Add a Splash of Alcohol
- Kirsch: Traditional cherry brandy that intensifies cherry flavor.
- Bourbon: Adds a rich, smoky depth.
- Rum: Lends a tropical, molasses sweetness.
- Amaretto: Almond-flavored liqueur that pairs beautifully with cherries.
Just a tablespoon or two at the end of cooking is enough—don’t overdo it or it’ll overpower the fruit.
Try Some Warming Spices
- Cinnamon Stick: Adds warmth and spice.
- Star Anise: Gives it a sophisticated, licorice-like note.
- Clove or Allspice: Perfect for a holiday twist.
Tie whole spices in cheesecloth or remove them before jarring to avoid a bitter bite later.
Herbal Infusions
- Rosemary: Earthy and fragrant, great with dark cherries.
- Thyme: Subtle, lemony notes that balance sweetness.
- Basil or Mint: Refreshing summer twist (use sparingly).
Infuse herbs during simmering and remove them before sealing your jars.
Customizing your confiture gives it a unique signature and makes each batch feel special. It’s also a great way to use what’s already in your pantry.
Nutritional Value of Cherry Confiture
While cherry confiture is definitely a treat, it does offer a few nutritional benefits—especially when made at home without artificial additives.
| Nutrient | Per Tablespoon (Approximate) |
|---|---|
| Calories | 40–50 |
| Sugar | 8–10g |
| Fiber | 0.2g |
| Vitamin C | Small amounts |
| Antioxidants | High (from cherries) |
Keep in mind the sugar content is relatively high, as it’s essential for preserving and setting the fruit. But because you’re using real fruit, you also get antioxidants like anthocyanins, which support heart and brain health.
Want to make it a bit healthier?
- Use less sugar and enjoy the confiture sooner.
- Add chia seeds for a fiber boost.
- Mix it with plain yogurt instead of sugary desserts.
It’s all about balance!
Benefits of Making Confiture at Home
Still wondering if homemade is worth it? Here are a few reasons to roll up your sleeves:
1. Better Taste
Fresh fruit, real sugar, and your choice of flavorings beat any store-bought jar, hands down.
2. No Preservatives
You know exactly what’s going into your food—no hidden nasties, no shelf stabilizers, no artificial flavors.
3. Cost Effective
Buying fresh cherries in season and making your own confiture can be cheaper than premium brands, especially if you’re making large batches.
4. Personal Satisfaction
There’s nothing like hearing the “pop” of a sealed jar you made yourself or seeing your confiture spread on the table next to fresh bread.
5. Great Gift Idea
Homemade cherry confiture in a cute jar with a ribbon? Chef’s kiss. Perfect for birthdays, holidays, or just because.
Plus, you can tweak it endlessly with herbs, spices, liqueurs, or even mix in other fruits like raspberries or plums.
FAQs about Cherry Confiture Recipe
1. Can I use frozen cherries for confiture?
Yes! Just make sure they’re fully thawed and drained before you begin. You might need to simmer a bit longer to account for the extra moisture.
2. What’s the difference between confiture and preserves?
They’re very similar. “Confiture” is the French term for jam or preserves, but it typically includes whole or large pieces of fruit suspended in syrup, making it slightly more elegant than your typical jam.
3. How do I fix runny confiture?
Put it back in the pot and simmer for another 5–10 minutes. Add a bit more lemon juice if needed. You can also stir in pectin or a spoonful of chia seeds for a natural thickener.
4. Can I reduce the sugar content?
You can—but be cautious. Sugar not only sweetens the confiture but helps it gel and acts as a preservative. If you reduce sugar, store your confiture in the fridge and use it within a few weeks.
5. Can cherry confiture be canned for long-term storage?
Absolutely. Just make sure to sterilize your jars properly and process them in a boiling water bath for 10 minutes. Properly sealed, they’ll keep for up to a year in a cool, dark place.
Conclusion
Making cherry confiture at home might sound fancy, but it’s surprisingly doable—and incredibly rewarding. Whether you’re using it to elevate your breakfast toast, add flair to desserts, or give away as a heartfelt gift, this vibrant, sticky-sweet preserve is a little jar of summer that you can enjoy all year long.
Once you’ve made your first batch, chances are you’ll never go back to store-bought. The deep flavor, the ruby color, and that homemade touch make all the difference.
So, grab some fresh cherries, a bit of sugar, and a cozy afternoon—and let the magic happen in your kitchen.

