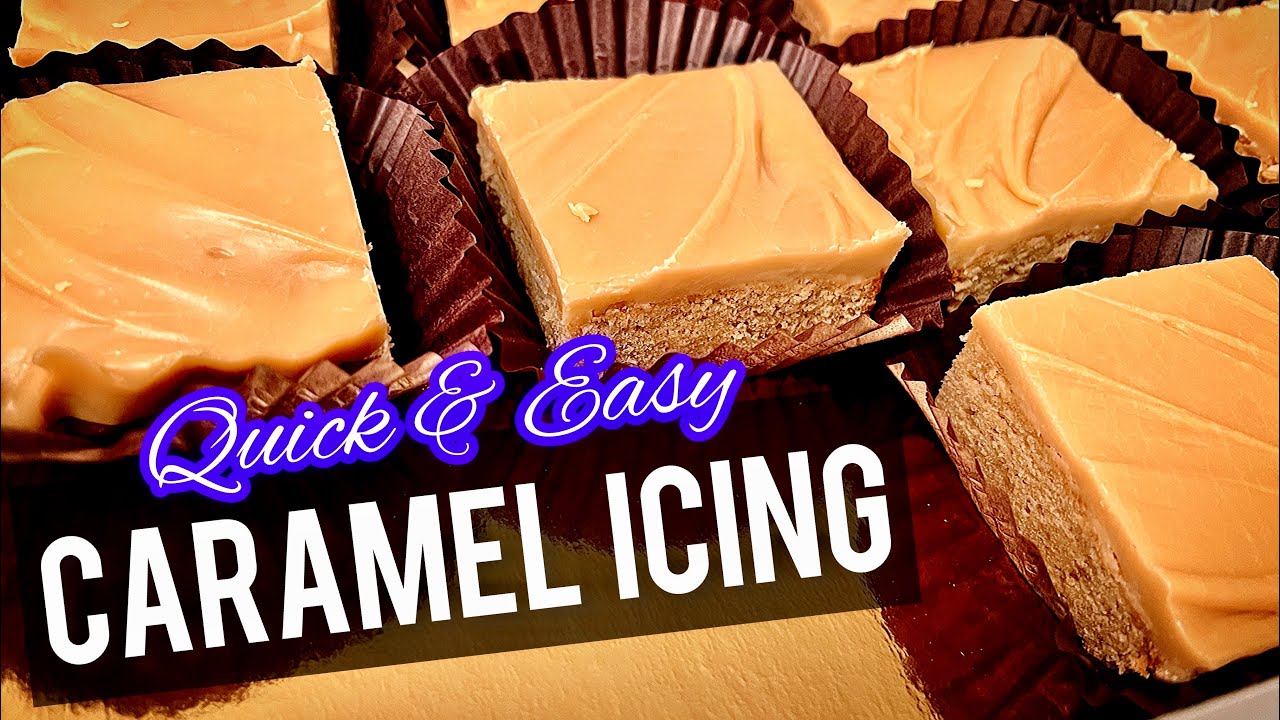
Caramel Icing Recipe: There’s something irresistibly nostalgic about caramel icing. Its buttery richness and golden hue bring to mind family gatherings, cozy fall evenings, and cakes that vanish within minutes.
Whether you’re new to baking or just craving a classic flavor with a homemade touch, this step-by-step caramel icing recipe is for you.
Stick around, and by the end, you’ll know exactly how to whip up a velvety, sweet caramel icing that takes any dessert from good to unforgettable.
Why Caramel Icing Is a Must-Try
Caramel icing is like a warm hug on a slice of cake. It’s smooth, creamy, and has that perfect balance of sweet and slightly burnt sugar that gives it depth. What makes caramel icing so special is how it complements almost any flavor—vanilla, chocolate, apple, spice—you name it. It’s especially popular in Southern baking traditions where comfort and flavor rule the kitchen.
This icing isn’t just another topping. It’s a conversation starter. Serve a cake with caramel icing at any gathering, and you’ll see what I mean—people will ask for the recipe, guaranteed. It’s that kind of flavor: familiar, yet magical.
What Makes This Recipe Unique
This isn’t one of those overly complex caramel icing recipes with a laundry list of steps. It’s simplified without compromising flavor or texture. With a few pantry staples and a bit of care, you’ll create a thick, spreadable icing that sets beautifully and enhances anything it touches. No candy thermometer? No problem. We’re keeping it approachable and kitchen-friendly for bakers at any level.
Essential Ingredients for Caramel Icing
Detailed Ingredient List
Here’s what you’ll need:
- 1/2 cup (1 stick) unsalted butter
- 1 cup packed light brown sugar
- 1/4 cup whole milk
- 2 cups powdered sugar
- 1 tsp vanilla extract
- Optional pinch of salt (to balance sweetness)
These ingredients are basic, yet when combined in the right way, they create an icing that’s smooth, luscious, and flavorful. The brown sugar adds that rich molasses note, while the butter gives body and depth. Milk smooths it all out, and powdered sugar brings the thick, fluffy consistency we’re aiming for.
Tips for Selecting Quality Ingredients
Want your caramel icing to be next level? Start with top-notch ingredients. Choose real butter, not margarine. It gives your icing that authentic creamy taste and helps with consistency. When picking brown sugar, go for light brown unless you want a deeper molasses flavor (which can be a bit overpowering for some).
As for the milk, whole milk is best for richness. If you’re going dairy-free, almond or oat milk can work—but you’ll want to test the consistency carefully. And don’t skimp on pure vanilla extract—that synthetic stuff just doesn’t give the same warm, sweet notes.
Tools and Equipment You’ll Need
Kitchen Tools to Prepare Ahead
Before you begin, make sure you’ve got these tools ready to roll:
- Medium saucepan – for melting and mixing
- Whisk or wooden spoon – for stirring the caramel
- Mixing bowl – if you’re transferring icing to cool
- Electric hand mixer or stand mixer – for whipping the powdered sugar in
- Measuring cups and spoons – accuracy matters
- Rubber spatula – for scraping the sides and spreading the icing
Having your tools prepped and ready ensures your icing comes together quickly and smoothly. Timing is everything with caramel-based recipes, and delays can lead to crystallization or separation.
Recommended Brands and Alternatives
While any decent brand will do, these are some fan-favorites among seasoned bakers:
- Kerrygold or Plugrá for butter (ultra creamy and flavorful)
- Domino Light Brown Sugar – consistent quality and moisture
- Nielsen-Massey Vanilla Extract – premium vanilla that makes a difference
- OXO or Pyrex measuring tools – precise and reliable
If you’re baking on a budget, store brands can work just fine—just make sure your sugar isn’t clumpy and your butter isn’t salty (unless you adjust for it).
Step-by-Step Caramel Icing Recipe
Step 1 – Preparing Your Workspace
Before you even touch the stove, get everything laid out. Measure your ingredients, prep your tools, and clear a workspace. Trust me, caramel doesn’t wait for you to find your whisk buried in the drawer. It moves fast, and having everything in place can be the difference between silky icing and a burnt mess.
Lay out a heatproof surface where you’ll cool the caramel before adding powdered sugar. And don’t forget a towel or oven mitt nearby—the pot will get hot, and you’ll need a steady grip.
Step 2 – Melting the Butter and Sugar
Grab your saucepan, toss in the butter, and melt it over medium heat. Once it’s fully melted, add the brown sugar. Stir constantly. The mixture will look grainy at first—that’s totally normal.
Cook for about 2-3 minutes, stirring the entire time. You’ll notice the sugar starts to dissolve and the mixture begins to bubble slightly. That’s your cue that the caramelization is starting. The aroma? Pure heaven. Like caramel popcorn at a state fair.
But don’t crank up the heat to speed it up—you’ll risk burning the sugar. Keep it low and slow. This is where the caramel base builds flavor.
Step 3 – Achieving the Right Caramel Texture
This is where it gets real. Once your butter-sugar combo is bubbling and smooth, slowly pour in the milk while continuing to stir. It might hiss and bubble up a bit—don’t panic, that’s expected.
Stir for another 2 minutes, allowing the mixture to thicken slightly. You’re aiming for a consistency similar to pancake syrup—not too thick, not too runny. Remove it from the heat and let it cool for 5–10 minutes before adding powdered sugar. Cooling prevents lumps and helps achieve that dreamy spreadable texture later.
Step 4 – Mixing in the Milk and Vanilla
Once your caramel mixture has cooled slightly, it’s time to add the flavor boosters—milk and vanilla. These two ingredients don’t just round out the flavor; they’re crucial to achieving the right consistency for spreading or piping.
Pour in the vanilla extract first. Stir gently. That touch of vanilla really opens up the caramel’s flavor, making it more aromatic and warm. Next, add another splash of milk if the mixture seems too thick—this depends on your desired texture. For icing cupcakes, you might want it softer; for layer cakes, a slightly firmer consistency works best.
Now gradually sift in the powdered sugar, one cup at a time, whisking or using a hand mixer on low speed. Be patient—this is where the magic happens. The icing will transform from a glossy sauce to a luscious, fluffy spread. Make sure there are no lumps, and if needed, add a little more milk, one teaspoon at a time.
The goal? Smooth, spoonable, and rich icing that holds its shape but melts in your mouth. Think peanut butter consistency, only glossier.
Step 5 – Cooling and Whipping the Icing
This step separates average icing from bakery-level magic. Once everything is combined, allow the mixture to rest for about 5–10 minutes. This cooling step helps the caramel stabilize and slightly thicken, especially if your kitchen is warm.
Now give it a final whip using your hand or stand mixer. Start at a low speed, then gradually increase to medium-high. Whip for about 2–3 minutes until the icing becomes lighter in color and texture. You’ll notice it holding peaks and becoming airy. That’s when you know it’s ready.
Want a more rustic look? Leave it slightly looser and drizzle it over cakes or muffins. Prefer the clean, smooth finish? Chill the icing for 10 minutes, then spread or pipe as needed. Either way, you’re working with caramel gold.
Pro Tips for Perfect Caramel Icing
How to Avoid Common Mistakes
Let’s talk about the gremlins that ruin great icing. One of the biggest mistakes is overcooking the sugar. If you go beyond that gentle bubbling point, your icing can taste bitter or even gritty. Always keep the heat medium-low and stir constantly.
Another pitfall? Adding powdered sugar too soon. If the caramel is too hot, the sugar will dissolve too fast or clump up. That’s why letting it cool slightly is key.
Also, don’t rush the mixing process. Whipping it well gives you that silky texture that spreads like a dream. And don’t forget to taste as you go—you can always adjust the vanilla or a pinch of salt to fine-tune the flavor.
Lastly, if your icing starts to seize or separate, a small splash of warm milk and some vigorous mixing can usually bring it back to life.
Tricks to Enhance Flavor and Consistency
Want your icing to stand out? Try these easy upgrades:
- Add a pinch of sea salt – Salted caramel fans, this one’s for you.
- Stir in a touch of cinnamon or nutmeg – Especially great for fall desserts.
- Use heavy cream instead of milk – For extra decadence.
- Splash of bourbon or rum – A grown-up twist that pairs beautifully with spice cakes.
- Brown butter instead of regular butter – Adds nutty complexity that’s irresistible.
Consistency-wise, if your icing is too stiff, add milk one teaspoon at a time. If it’s too loose, mix in more powdered sugar slowly. Remember, temperature affects thickness, so adjust based on your kitchen conditions.
How to Use Caramel Icing
Best Cakes and Desserts for This Icing
This icing is like that one friend who gets along with everyone. It’s incredibly versatile and pairs well with tons of desserts. Here are some favorites:
- Classic vanilla or yellow cake – Simple and satisfying.
- Spice cake or apple cake – The caramel compliments warm spices like cinnamon, clove, and nutmeg.
- Chocolate cake – Yes, chocolate and caramel are a divine duo.
- Cupcakes – Perfect for piping or drizzling.
- Brownies or blondies – A caramel swirl on top adds extra flair.
- Cookies and whoopie pies – Use it as a filling or dip.
Caramel icing also works beautifully for sandwich cookies, donut glazes, or even spread on graham crackers for a quick treat. The options are endless.
Storage and Reuse Tips
You’ll probably want to eat the whole batch, but if you have leftovers (or you’re prepping ahead), here’s how to store your caramel icing:
- Refrigerator: Store in an airtight container for up to 1 week. Before using, let it come to room temperature and give it a quick whip.
- Freezer: Yes, it freezes well! Store in a zip-top bag or airtight container for up to 3 months. Thaw overnight in the fridge, then bring to room temp before using.
- Reheating tip: If it stiffens up too much, microwave in 10-second intervals or warm on the stove over low heat, stirring frequently.
Avoid storing it in warm or humid places—caramel icing is delicate and prefers cool, dry environments.
FAQs about Caramel Icing Recipe
Can I make caramel icing ahead of time?
Absolutely! In fact, making caramel icing a day or two ahead can even improve the flavor. Store it in an airtight container in the fridge for up to 1 week. Just make sure to let it return to room temperature before spreading, and give it a quick stir or whip to restore its creamy texture.
How do I fix runny caramel icing?
If your icing turns out too runny, don’t worry—it’s fixable. Try adding a bit more powdered sugar, one tablespoon at a time, until you get the right consistency. Also, check the temperature—if it’s still warm, it will thicken as it cools. For faster results, pop it in the fridge for 10–15 minutes and then whip again.
Can I make this recipe dairy-free?
Yes! You can swap out the butter for a plant-based alternative like Earth Balance and use a non-dairy milk like oat or almond milk. Just keep in mind, the flavor will be slightly different—still delicious, just not as rich as traditional caramel. Choose unsweetened, plain varieties for the best results.
What’s the best sugar for caramel icing?
Light brown sugar is typically the best choice—it offers a nice balance of sweetness and molasses flavor without being overpowering. If you want a deeper, more robust flavor, you can use dark brown sugar. Just remember, the darker the sugar, the more intense the flavor.
How long does caramel icing last?
Stored properly in an airtight container, caramel icing lasts:
- Up to 1 week in the refrigerator
- Up to 3 months in the freezer
Always bring it back to room temperature before using, and re-whip if needed for the best texture.
Conclusion
There you have it—the ultimate guide to making caramel icing that tastes just as good as it looks. Whether you’re layering it between fluffy cakes or drizzling it over warm cupcakes, this recipe is bound to become a go-to in your baking arsenal. It’s rich, sweet, and deeply satisfying—the kind of icing that people remember long after the last crumb is gone.
Caramel icing might seem intimidating at first, but with this step-by-step approach, you’ll find it’s actually pretty simple. A little patience, the right ingredients, and a few solid techniques are all you need to create something magical. The best part? You don’t need fancy tools or chef-level skills—just a love for good food and a little time in the kitchen.
Now go ahead, grab that whisk and show your next dessert some love with a generous layer of homemade caramel icing. Your taste buds (and everyone else’s) will thank you.