Butter Recipe: There’s something deeply satisfying about crafting your own food, and butter is one of those things that’s surprisingly simple to make but feels luxurious in every bite. Store-bought butter might be convenient, but homemade butter offers an unmatched freshness, a rich flavor, and the joy of knowing exactly what’s in it. Whether you’re looking to impress guests, reduce preservatives in your diet, or just enjoy a fun kitchen project, making butter at home is worth trying at least once.
So, why should you make butter at home? For one, it’s more natural. You only need one ingredient—cream. No additives, no artificial flavorings, and definitely no preservatives. Plus, the process is fascinating. Watching cream transform into a golden block of butter is like a science experiment you can eat. The end result? A fresh, creamy, and flavorful spread that elevates your toast, cooking, and baking to a whole new level.
The science behind butter-making is just as cool. When cream is agitated or churned, the fat molecules clump together, separating from the liquid (which becomes buttermilk). What’s left is pure butterfat, which, after a little washing and kneading, becomes the delicious butter we know and love. And the best part? It takes just 10–15 minutes of actual work!
Ingredients and Tools Needed
Before diving into the butter-making process, let’s make sure you’ve got everything on hand. You don’t need fancy equipment, but having the right tools makes the process smoother.
Essential Ingredients:
- Heavy Cream or Whipping Cream (preferably non-ultra-pasteurized) – About 2 cups for a decent yield.
- Salt (optional) – For flavor.
- Ice Water – To wash the butter and remove residual buttermilk.
That’s it! Butter, in its simplest form, needs just one ingredient: cream. But if you want to jazz it up with flavors like garlic, herbs, or honey, that’s up to you.
Kitchen Tools You’ll Need:
- Mixer or Food Processor – A stand mixer, hand mixer, or even a food processor works perfectly.
- Strainer or Cheesecloth – To separate the butter from buttermilk.
- Bowl – Preferably a chilled one to collect and wash the butter.
- Spatula or Wooden Spoon – For kneading and shaping the butter.
If you’re doing it the old-fashioned way, you can even use a mason jar and shake the cream by hand—it takes longer, but it’s a great arm workout and fun for kids too.
Step-by-Step Instructions for Making Butter
Let’s break it down into five easy steps. Trust me, once you try this, you’ll wonder why you didn’t start sooner.
Step 1: Choose the Right Cream
Start with high-quality cream. Look for heavy cream or whipping cream that’s not ultra-pasteurized. Why? Ultra-pasteurization heats the cream to a high temperature, which can affect the butter’s ability to form properly. If you can find cream from a local dairy or farmer’s market, even better—fresh cream always yields better butter.
Step 2: Let the Cream Sit at Room Temperature
Before churning, let the cream sit out for about an hour to reach room temperature. This helps the fat molecules loosen up and makes the churning process quicker. It also brings out a slightly tangier, cultured butter flavor if you leave it a bit longer (4–6 hours). Just make sure it doesn’t spoil.
Step 3: Start Churning the Cream
Pour the cream into your stand mixer, food processor, or mixing bowl. Start whipping it on medium speed. First, it will turn into whipped cream. Keep going. After a few more minutes, you’ll notice the texture changing—the cream will start to clump, and you’ll hear sloshing sounds. That’s the butter separating from the buttermilk.
When the fat solids clump together into a yellow mass and the liquid (buttermilk) separates clearly, you’re there!
Step 4: Separating the Butter from the Buttermilk
Pour the mixture into a strainer lined with cheesecloth or a fine mesh. Let the buttermilk drain off (don’t toss it—it’s perfect for pancakes or baking). Press gently to squeeze out as much liquid as possible.
This step is super important. If you leave too much buttermilk in your butter, it will spoil quickly.
Step 5: Washing and Kneading the Butter
Now comes the cleanup. Rinse the butter under cold running water or place it in a bowl with ice water. Knead it with a spatula or your hands to remove the last traces of buttermilk. Change the water and repeat until the water runs clear.
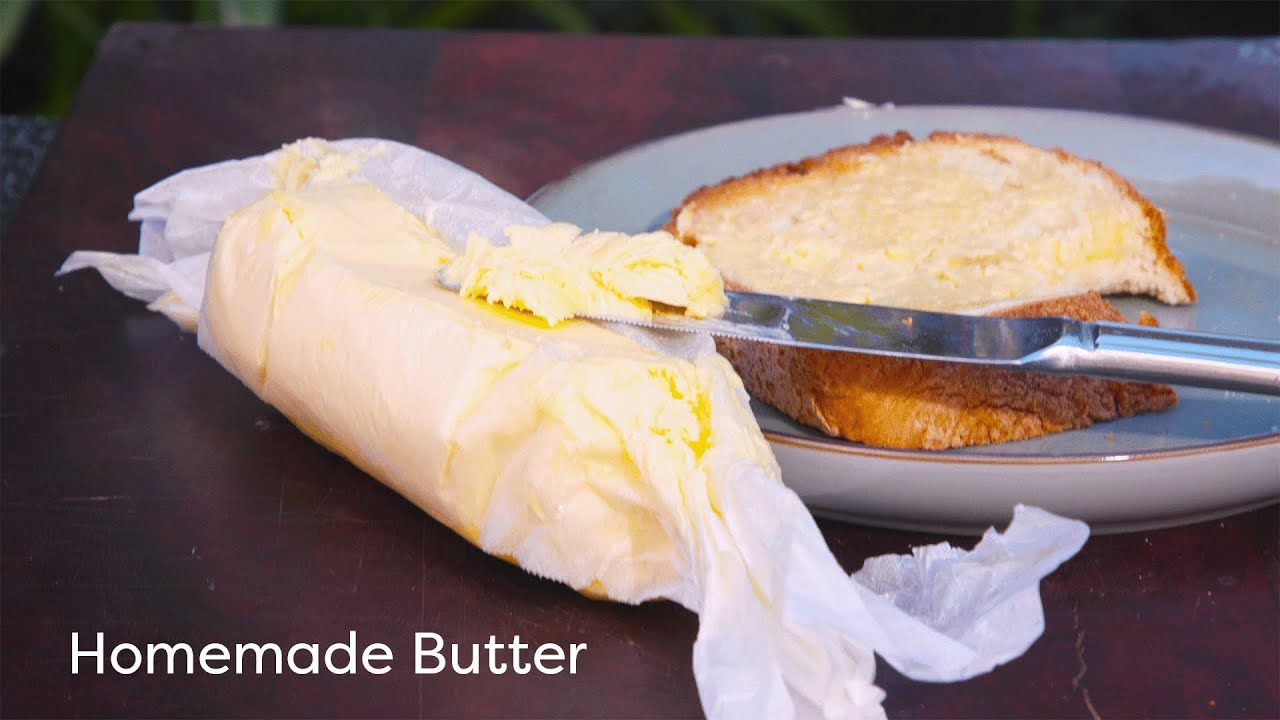
Once clean, knead in salt or other flavorings if desired. Shape your butter into a block, ball, or pack it into a container.
Flavoring and Storing Your Homemade Butter
Adding Salt or Herbs for Flavor
Once you’ve kneaded out all the buttermilk and rinsed your butter clean, it’s time for the fun part—flavoring it! If you’re a purist, you can leave it unsalted. But adding a pinch of salt not only enhances the taste but also acts as a natural preservative. Use a fine sea salt or kosher salt—about ¼ teaspoon per half cup of butter is a good starting point. Adjust to your liking.
Want to get fancy? Try mixing in herbs, spices, or even sweet ingredients. Here are some delicious ideas:
- Garlic and Herb Butter: Minced garlic, chopped parsley, thyme, and a pinch of pepper.
- Honey Cinnamon Butter: Perfect for toast or pancakes—just mix in honey and ground cinnamon.
- Chili Lime Butter: Great on corn or grilled veggies.
- Lemon Dill Butter: Pairs wonderfully with fish.
Just remember to store flavored butters in airtight containers and refrigerate them—they won’t last as long as plain butter due to the moisture in added ingredients.
Proper Storage Tips
Homemade butter, when properly washed and stored, lasts for about a week at room temperature or up to 2–3 weeks in the refrigerator. For best results:
- Wrap it tightly in parchment paper or store it in an airtight container.
- Avoid using wet or dirty utensils when scooping.
- Label your butter with the date it was made.
- For long-term storage, freeze it! Just portion it into usable amounts, wrap tightly, and place it in a freezer-safe bag or container. Frozen butter can last up to 6 months.
Pro tip: Freeze butter in ice cube trays for easy, pre-portioned pats you can grab anytime.
FAQs about Butter Recipe
1. How long does homemade butter last?
If stored properly in the refrigerator, homemade butter can last about 2–3 weeks. If you freeze it, it can stay fresh for up to 6 months. Just make sure to keep it well-wrapped and in an airtight container.
2. Can I use any cream for making butter?
You can use most types of heavy cream or whipping cream, but avoid ultra-pasteurized versions. The ultra-pasteurization process can interfere with butter formation. For best results, choose fresh, non-ultra-pasteurized cream.
3. What’s the difference between salted and unsalted butter?
Salted butter has salt added, which enhances flavor and slightly extends shelf life. Unsalted butter is pure butterfat with no additives, often preferred in baking where precise salt levels matter. Homemade gives you control over the amount of salt.
4. Is homemade butter healthier?
Homemade butter doesn’t contain preservatives, colorants, or artificial flavors, making it a cleaner option. However, nutritionally it’s similar to store-bought butter—rich in fat and calories—so enjoy it in moderation.
5. Can I freeze homemade butter?
Yes! Homemade butter freezes very well. Wrap it tightly in plastic wrap or foil, place in an airtight container or freezer bag, and it will keep for up to 6 months. You can even freeze it in small portions for convenience.
Conclusion
So there you have it—a creamy, dreamy, homemade butter that’s fresher, tastier, and more customizable than anything you’ll find in the grocery store. With just one ingredient and a few simple steps, you can turn ordinary cream into a spreadable masterpiece.
Use your butter on warm toast, melt it over pancakes, mix it into mashed potatoes, or slather it on corn on the cob. It’s also great for baking or sautéing—basically, any way you’d use store-bought butter, only better.
Making butter at home is more than a kitchen experiment. It’s a way to reconnect with your food, control your ingredients, and savor every bite with a little more appreciation. Plus, it’s a great conversation starter—just imagine telling your guests, “I made the butter myself!”