Best Pizza Crust Recipe: Who doesn’t love a homemade pizza with a golden, crispy crust that holds all the delicious toppings just right? Whether you’re a pizza night veteran or a first-time dough roller, this guide will walk you through creating the absolute best pizza crust from scratch. Trust me, once you master this, you’ll never look back at store-bought again!
Introduction to Perfect Pizza Crust
Let’s face it—when it comes to pizza, the crust is the real star. Sure, toppings matter, but the foundation of every amazing pizza is a well-made crust. It’s what carries the sauce, cheese, and all that goodness straight to your mouth. But what separates a mediocre crust from an unforgettable one?
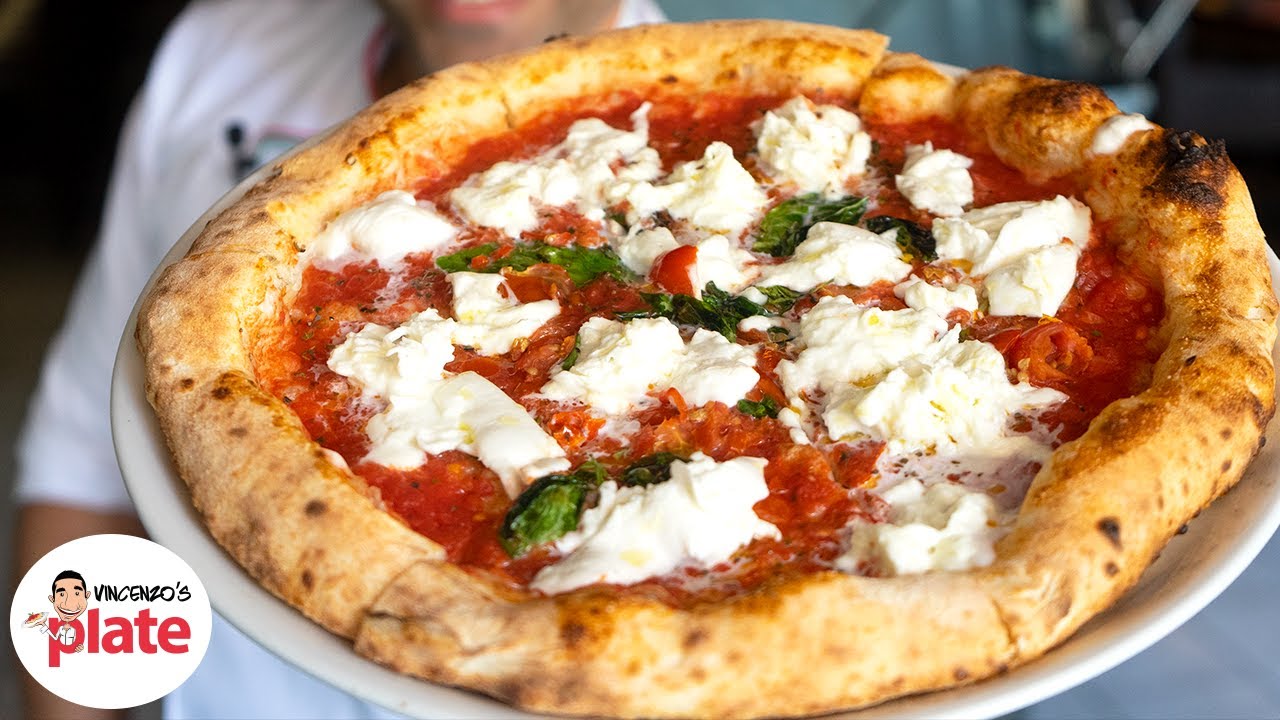
A great pizza crust should be crispy on the outside, chewy on the inside, with enough structure to support your favorite toppings without turning soggy. It’s the balance of flavor, texture, and technique. And the good news? You don’t need a professional kitchen to get it right.
Whether you like a thick, fluffy base or a thin, crunchy one, it all starts with mastering the dough. Once you have that skill in your culinary toolbox, the pizza world is yours to dominate.
Ingredients for the Ultimate Pizza Crust
Making the best pizza crust doesn’t require exotic ingredients. In fact, simplicity is part of the charm. But don’t let that fool you—each element plays a critical role in achieving perfection.
Basic Ingredients:
- Flour – All-purpose flour works fine, but bread flour gives you that chewy, pizzeria-style crust. If you’re going for Neapolitan, opt for 00 flour.
- Water – Filtered or lukewarm water helps activate the yeast properly.
- Yeast – Instant or active dry yeast will do. This is what gives your dough the rise and airy texture.
- Salt – Balances flavor and strengthens gluten.
- Olive oil – Adds richness and enhances browning.
Optional Enhancements:
- Sugar or honey – Helps feed the yeast and adds slight sweetness.
- Garlic powder or herbs – For an aromatic twist to your dough.
- Cornmeal or semolina – Used underneath the dough to give a crunchy, pizzeria-like base.
Pro tip: Always measure your ingredients accurately, preferably with a kitchen scale for the best results. Even a small deviation can change your dough’s texture.
Tools You’ll Need to Get Started
You don’t need a commercial pizza oven or fancy gadgets, but having the right tools makes a world of difference.
Essential Tools:
- Mixing bowl – For combining ingredients and proofing the dough.
- Wooden spoon or dough whisk – To initially mix the dough.
- Clean surface or pastry board – For kneading.
- Kitchen towel or plastic wrap – To cover the dough during proofing.
- Rolling pin or your hands – For shaping the dough.
Nice-to-Have Tools:
- Stand mixer with a dough hook – Takes the elbow grease out of kneading.
- Pizza stone or steel – Creates an ultra-crispy crust by retaining high heat.
- Pizza peel – Helps transfer the pizza in and out of the oven without a mess.
- Dough scraper – Makes handling sticky dough easier.
Even with just the basics, you can pull off a pizza crust that rivals your favorite local joint. Ready to roll up your sleeves?
Step-by-Step Guide to Making the Best Pizza Crust
Let’s dive into the fun part—actually making the dough. This process is simple, but timing and technique matter, so follow along carefully.
Step 1 – Preparing the Dough
Start with mixing the ingredients. In a large bowl, combine:
- 3 ¾ cups (500g) bread flour
- 1 ½ tsp (9g) salt
- 1 tsp (3g) instant yeast
- 1 ¼ cups (300ml) lukewarm water
- 1 tbsp olive oil
Use a wooden spoon or your hands to bring it together until you get a shaggy dough. Now comes the kneading—this develops the gluten that gives your crust its structure and chewiness.
Kneading tips:
- Knead on a lightly floured surface for about 8–10 minutes.
- If using a stand mixer, knead for 6–7 minutes on medium speed.
- Dough should be slightly tacky but not sticky.
Once it’s smooth and elastic, shape it into a ball, rub with a touch of olive oil, and place it back into the bowl. Cover it with a damp cloth or plastic wrap.
Let’s move on to the magic of fermentation.
Step 2 – First Rise (Fermentation)
Place your dough in a warm, draft-free area for its first rise. This step allows the yeast to work, creating those flavorful air pockets.
Best spots for rising:
- Inside your oven (turned off) with the light on.
- Near a warm window or on top of the refrigerator.
How long?
Let it rise until doubled in size—about 1 to 2 hours depending on the temperature. Don’t rush it. The longer the fermentation, the deeper the flavor. You can even do a slow cold rise in the fridge for 24–48 hours to develop a more complex taste.
Once it’s doubled, punch it down gently to release excess gas.
Step 3 – Shaping the Dough
Now that your dough has gone through its first rise, it’s time to give it shape. This is where things start to feel real!
Start by dividing the dough if you’re making multiple pizzas. A standard batch like the one above can be split into two 12-inch pizzas. Lightly flour your surface and your hands to prevent sticking.
Now, here’s how to shape like a pro:
- Flatten the dough gently with your fingertips to form a disk.
- Pick it up and let gravity do some work. Hold the edge of the dough and let it stretch downward, rotating it like a steering wheel.
- Avoid using a rolling pin unless you want a very thin crust with less airiness—rolling can push out all those beautiful bubbles.
- Stretch the dough evenly, working from the center out, leaving a slightly thicker edge for the crust.
Be patient here. If the dough keeps springing back, let it rest for 5–10 minutes and try again. That just means the gluten is tight and needs time to relax.
You want the final dough circle to be about ¼-inch thick in the center and a bit thicker around the edge. Too thick? You’ll end up with bread. Too thin? You risk tearing.
Once shaped, transfer the dough to a pizza peel or a parchment-lined baking tray for the next step.
Step 4 – Second Rise (Optional but Recommended)
This step is optional but highly recommended if you want the softest, airiest crust possible. Think of this as the pizza dough’s beauty sleep.
Here’s why a second rise helps:
- It relaxes the gluten, making the crust tender and chewy.
- It allows for more gas bubbles to form, which means better oven spring and a lighter crust.
How to do it:
- Cover your shaped dough loosely with a towel.
- Let it rise again at room temperature for 30–45 minutes.
This is a great time to preheat your oven (more on that in the next step). If you’re in a hurry, you can skip this rise, but the difference in texture is totally worth the wait if you can spare the time.
Step 5 – Prepping for Baking
You’ve made it to the homestretch—let’s get that crust crispy and golden!
Preheat your oven to the max—seriously. Most home ovens go up to 500°F (260°C), and you’ll want to crank it all the way up. Preheat for at least 30 minutes, especially if you’re using a pizza stone or steel. The higher the heat, the better the bottom crisp.
Prepare your baking surface:
- If using a pizza stone or steel: Preheat it in the oven on the lowest rack.
- If using a baking tray: Lightly grease or line it with parchment.
For a crispier crust:
- Sprinkle cornmeal or semolina flour on your peel or tray before placing the dough.
- Brush the edge of the crust with olive oil to help it brown.
You can also par-bake the crust for 3–5 minutes before adding toppings if you’re working with heavy ingredients or extra sauce. This prevents sogginess and gives you a firm base.
Now, let’s get into the real fun—toppings and baking!
Step 6 – Adding Toppings and Baking
Your crust is shaped, risen, and ready. Time to bring it all together.
Topping tips:
- Less is more. Don’t overload your pizza or it’ll get soggy.
- Start with sauce, then cheese, then meats and veggies.
- Precook wet toppings like mushrooms or onions to avoid excess moisture.
Here’s a classic topping order:
- Pizza sauce
- Mozzarella cheese
- Pepperoni or other meats
- Veggies (pre-cooked if needed)
- A final drizzle of olive oil or seasoning (optional)
Baking instructions:
- Slide your pizza onto the hot stone or place your tray on the bottom rack.
- Bake at 475–500°F (245–260°C) for 8–12 minutes.
- Look for a golden-brown crust and bubbling, melted cheese.
Keep an eye on it after the 7-minute mark. Every oven is different, and you want to catch it at just the right golden moment.
When done, let it rest for a few minutes before slicing. This helps the cheese set and prevents burning your mouth on molten hot pizza lava (you know what I mean).
Pro Tips for Perfect Pizza Crust Every Time
Even if you follow all the steps, these little details can make or break your final result:
- Use room temperature dough for shaping. Cold dough is stiff and won’t stretch easily.
- Don’t overload toppings. The crust needs to bake properly, and too many toppings can weigh it down.
- Let the dough rest if it fights back. Elasticity is a sign the gluten needs a break.
- Use a pizza stone or steel for maximum heat and that crispy base.
Common mistakes to avoid:
- Not preheating the oven long enough
- Using too much flour when shaping
- Rolling instead of stretching the dough
- Skipping fermentation for flavor
The crust is the canvas—master it, and every pizza becomes a masterpiece.
FAQs about Best Pizza Crust Recipe
Q1. What is the secret to a crispy pizza crust?
A hot oven! Bake your pizza at the highest temp your oven allows (ideally 475°F to 500°F) and use a preheated pizza stone or steel for that golden, crisp bottom.
Q2. How long should I let pizza dough rise?
Let it rise for at least 1 to 2 hours at room temperature, or overnight in the fridge for better flavor and texture. Cold fermentation is a game-changer!
Q3. Can I make pizza crust without yeast?
Yes, but it won’t be the same. A yeast-free crust uses baking powder and gives you more of a flatbread vibe—quicker, but not that chewy, airy goodness.
Q4. What flour is best for pizza dough?
Bread flour is ideal for chewy crusts, while all-purpose flour gives a softer bite. For a true Neapolitan feel, go with 00 flour—it’s super fine and makes magic happen.
Q5. Why is my pizza crust tough or rubbery?
Most likely, it’s overworked or overbaked. Don’t over-knead, and bake it hot and fast. Also, skip too much flour when shaping—it dries the dough out.
Q6. Can I freeze homemade pizza dough?
Absolutely! Just portion it, wrap tightly, and freeze for up to 3 months. Thaw overnight in the fridge and let it come to room temp before baking.
Q7. Do I need a pizza stone?
It helps! A pizza stone or steel mimics a brick oven by distributing heat evenly and absorbing moisture—giving you that crispy, pizzeria-style base.
Conclusion
Don’t be afraid to experiment with flour types, hydration levels, and even fermentation times. The beauty of homemade pizza is that you can tailor it to your taste. Want a super-thin crust? Roll it out thinner and bake at high heat. Prefer thick and fluffy? Give it more time to rise and bake a little longer at a slightly lower temp.
Once you master the base, the possibilities are endless. From BBQ chicken and pesto veggie to four-cheese white sauce or classic Margherita, your pizza game is about to level up in a big way.
So go ahead—get your hands floury, have some fun, and enjoy your own handcrafted slice of perfection.