Rice-A-Roni Recipe: Few comfort foods are as satisfying as a warm, buttery bowl of Rice-A-Roni. Known for its savory flavor, tender rice, and toasted pasta texture, this classic side dish has become a favorite in countless homes. Preparing a homemade version allows us to enjoy fresher ingredients, richer flavors, and complete control over seasoning and texture.
This detailed guide walks through everything needed to prepare a delicious homemade Rice-A-Roni recipe from scratch. Whether served alongside chicken, beef, seafood, or vegetables, this dish delivers restaurant-quality flavor with simple pantry ingredients.
What Is Rice-A-Roni?
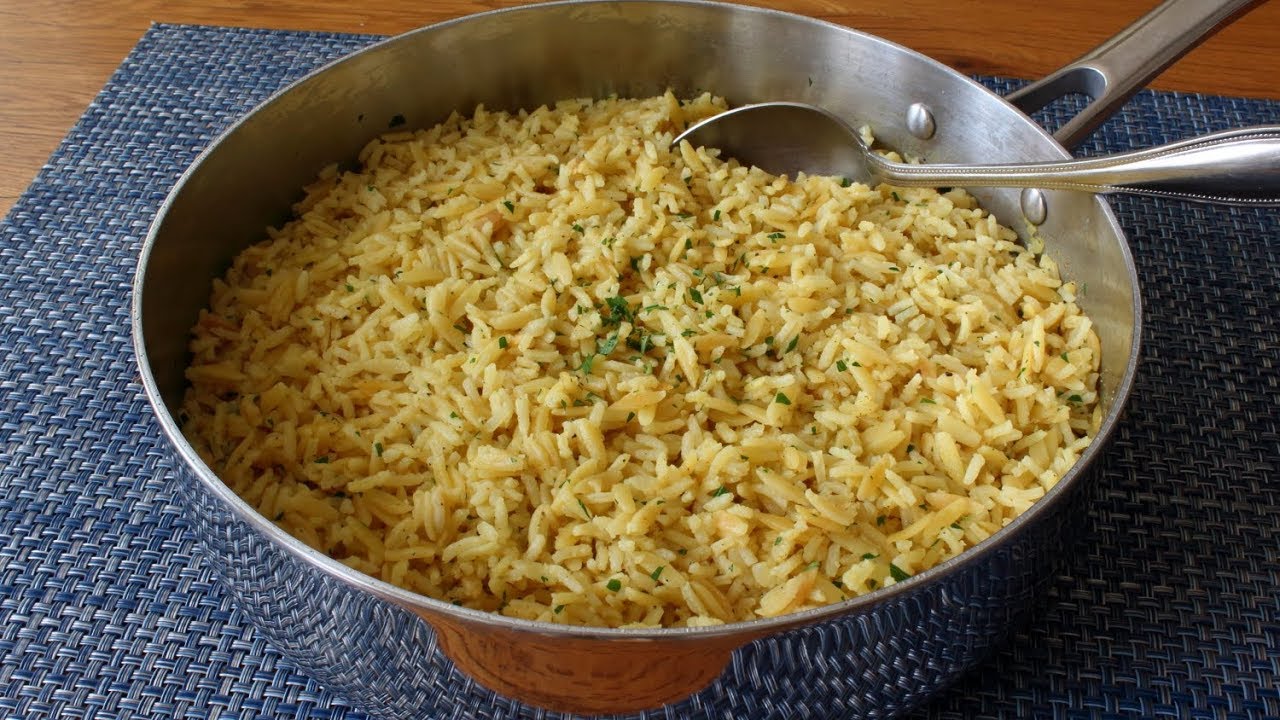
Rice-A-Roni is a flavorful rice and pasta dish traditionally made with white rice, vermicelli pasta, broth, butter, and seasonings. The signature taste comes from browning the pasta and rice before simmering them in seasoned broth until perfectly tender.
Homemade Rice-A-Roni tastes significantly better than boxed versions because it contains:
- Fresh ingredients
- Rich buttery flavor
- Customizable seasoning
- Better texture
- No unnecessary preservatives
Ingredients You’ll Need
To make the best homemade Rice-A-Roni, gather the following ingredients.
Main Ingredients
- 1 cup long-grain white rice
- ½ cup vermicelli pasta, broken into small pieces
- 2 tablespoons butter
- 1 tablespoon olive oil
- 1 small onion, finely chopped
- 2 cloves garlic, minced
- 2 cups chicken broth
- ½ teaspoon salt
- ¼ teaspoon black pepper
- ½ teaspoon paprika
- ½ teaspoon dried parsley
- ¼ teaspoon onion powder
- ¼ teaspoon garlic powder
Optional Add-Ins
For extra flavor and texture, we can add:
- Peas
- Diced carrots
- Mushrooms
- Bell peppers
- Parmesan cheese
- Cooked shredded chicken
- Toasted almonds
Kitchen Equipment Needed
To prepare this homemade Rice-A-Roni recipe efficiently, gather:
- Medium saucepan
- Wooden spoon
- Measuring cups
- Sharp knife
- Cutting board
How to Make Rice-A-Roni Step by Step
Step 1: Gather Your Ingredients
We start by preparing everything needed. You will need one box of Rice-A-Roni, water, butter or oil, and any optional ingredients like vegetables or chicken. Read the instructions on the package for the correct water measurement.
Step 2: Brown the Rice and Pasta
Place a saucepan on medium heat and add butter or oil. Pour the Rice-A-Roni mixture into the pan and stir continuously for about 3 to 5 minutes. Cook until the rice and pasta become lightly golden brown. This step gives Rice-A-Roni its rich flavor.
Step 3: Add Water and Seasoning
Carefully pour the required amount of water into the saucepan. Add the seasoning packet that comes inside the box. Stir well so the seasoning mixes evenly with the rice and pasta.
Step 4: Simmer Until Tender
Bring the mixture to a gentle boil. Once boiling, reduce the heat to low and cover the saucepan with a lid. Let it simmer for about 15 to 20 minutes until the rice becomes soft and the liquid is fully absorbed. Avoid opening the lid too often.
Step 5: Fluff and Serve
Turn off the heat and let the Rice-A-Roni rest for 2 to 3 minutes. Use a fork to fluff the rice gently. Serve warm as a side dish or add cooked vegetables, beef, or chicken for a complete meal.
Best Tips for Perfect Rice-A-Roni
Use Long-Grain Rice
Long-grain white rice produces the best fluffy texture. Short-grain rice may become sticky.
Toast the Pasta Properly
Golden brown vermicelli provides the iconic flavor. Pale pasta will lack depth.
Use Quality Broth
A rich broth dramatically improves flavor. Homemade broth works exceptionally well.
Keep the Lid Closed
Avoid removing the lid repeatedly during simmering. Steam is essential for even cooking.
Let It Rest Before Serving
Resting the rice allows excess moisture to redistribute evenly.
Flavor Variations
Chicken Rice-A-Roni
Add shredded rotisserie chicken for a hearty one-pot meal.
Cheesy Rice-A-Roni
Mix in shredded cheddar or Parmesan cheese after cooking.
Vegetable Rice-A-Roni
Add peas, carrots, and corn for extra nutrition and color.
Spicy Rice-A-Roni
Add cayenne pepper or chili flakes for heat.
Mexican-Style Rice-A-Roni
Mix in cumin, tomatoes, cilantro, and jalapeños.
What to Serve with Rice-A-Roni
This versatile side dish pairs beautifully with many meals.
Best Main Dishes
- Grilled chicken
- Fried chicken
- Steak
- Roasted turkey
- Salmon
- Shrimp
- Meatballs
Vegetable Pairings
- Roasted broccoli
- Green beans
- Asparagus
- Sauteed spinach
How to Store Leftovers
Refrigerator Storage
Place cooled Rice-A-Roni in an airtight container and refrigerate for up to 4 days.
Freezing Instructions
Freeze in sealed freezer-safe containers for up to 2 months.
Allow it to thaw overnight before reheating.
How to Reheat Rice-A-Roni
Stovetop Method
Add a splash of broth or water to prevent dryness and heat over low heat.
Microwave Method
Cover loosely and microwave in 30-second intervals while stirring occasionally.
Nutritional Information
Approximate values per serving:
- Calories: 240
- Protein: 5g
- Carbohydrates: 35g
- Fat: 8g
- Fiber: 1g
Values vary depending on ingredients used.
Why Homemade Rice-A-Roni Tastes Better
Homemade Rice-A-Roni delivers:
- Better texture
- Rich buttery flavor
- Fresh seasoning
- Higher-quality ingredients
- Customizable spice levels
Unlike packaged mixes, homemade versions contain no artificial preservatives while offering a richer and more authentic flavor.
Common Mistakes to Avoid
Burning the Pasta
Cook over medium heat and stir continuously.
Using Too Much Liquid
Excess broth creates mushy rice.
Overcooking the Rice
Follow the simmering time carefully.
Skipping the Toasting Step
Toasting is what creates the classic Rice-A-Roni flavor.
FAQs about Rice-A-Roni Recipe
1. What is Rice-A-Roni made of?
Rice-A-Roni is usually made with rice, vermicelli pasta, butter, broth, and seasonings. It is cooked until the rice becomes tender and flavorful.
2. Can we make Rice-A-Roni without the box mix?
Yes. We can make homemade Rice-A-Roni using long-grain rice, broken spaghetti or vermicelli, chicken broth, garlic powder, onion powder, and butter.
3. How long does Rice-A-Roni take to cook?
Rice-A-Roni usually takes about 20 to 25 minutes to cook, depending on the rice and the amount of liquid used.
4. Can we add chicken or vegetables?
Yes. We can add cooked chicken, peas, carrots, bell peppers, onions, or mushrooms to make it more filling and nutritious.
5. How do we store leftover Rice-A-Roni?
Store leftovers in an airtight container in the refrigerator for up to 3 to 4 days. Reheat with a splash of water or broth to keep it moist.
Final Thoughts
This homemade Rice-A-Roni recipe combines buttery toasted pasta, fluffy rice, rich broth, and savory seasonings into one incredibly satisfying dish. It is simple enough for busy weeknights yet flavorful enough for family gatherings and special dinners.
By following this detailed step-by-step guide, we can create a comforting side dish that tastes fresher, richer, and far more delicious than boxed alternatives. Whether served plain or customized with vegetables, cheese, or protein, homemade Rice-A-Roni is always a reliable crowd-pleaser.
Bookmark this recipe and enjoy perfectly seasoned Rice-A-Roni anytime.


