McCormick Chili Seasoning Recipe: Who doesn’t love a hearty bowl of chili on a cold day? If you’ve ever reached for the famous red packet of McCormick Chili Seasoning, you know just how flavorful it makes a pot of chili. But what if you could replicate that same flavor at home—anytime you want, with ingredients you can pronounce, adjust, and trust? This guide is here to show you exactly how to do that. With a homemade version of McCormick Chili Seasoning, you’ll never be without that comforting taste again.
Making your own chili seasoning not only saves money, but it also gives you full control over flavor and spice levels. Whether you’re aiming for a mild kick or something fiery enough to knock your socks off, this seasoning blend has your back. Let’s dive into everything you need to know—ingredients, step-by-step instructions, usage tips, and a few chef’s secrets to make your blend truly special.
What is McCormick Chili Seasoning?
McCormick Chili Seasoning is a well-known spice blend sold in grocery stores across the U.S. It’s a convenient way to flavor chili and other Tex-Mex dishes with a consistent, balanced profile. The seasoning packet includes a blend of chili powder, cumin, oregano, paprika, onion powder, garlic powder, and sometimes a touch of cayenne. The result? Bold, warm, and comforting flavors with a subtle smoky undertone.
Think of it like a shortcut to dinner. The store-bought version is great in a pinch, but making your own version ensures you can avoid additives or preservatives while dialing in the flavors that YOU like most. Whether you’re avoiding gluten, watching sodium, or just want the satisfaction of doing it yourself, this copycat recipe is the answer.
Why Make Your Own McCormick Chili Seasoning?
Let’s be real—homemade always hits different. When you make your own spice blend, you take ownership over the taste and the quality. Many store-bought blends include anti-caking agents, preservatives, or even hidden sugars. Making your own chili seasoning is easy, takes just five minutes, and can be customized to suit your taste buds.
Here’s why you’ll want to start blending your own:
- Custom Flavor: Adjust the spice level, saltiness, and depth of flavor.
- Freshness: Freshly ground spices pack way more punch than pre-packaged blends.
- Save Money: Buying spices in bulk is way cheaper in the long run.
- Dietary Control: Avoid allergens, gluten, excess salt, or MSG.
Whether you’re meal prepping for the week or cooking for a big family, this homemade seasoning keeps things quick and flavorful.
Benefits of Homemade Chili Seasoning
Homemade seasoning isn’t just about flavor—it’s about empowerment in the kitchen. Imagine being able to control every single ingredient that goes into your meal. No sneaky chemicals, no overly salty mixes—just whole spices blended together by your own hands.
Here’s what makes homemade chili seasoning a smart choice:
- Healthier Alternative – No added MSG, sugar, or unnecessary fillers.
- Long Shelf Life – Stored properly, it can last up to 6 months while staying flavorful.
- Multi-Purpose – Use it in tacos, soups, stews, or even as a dry rub for meat.
- Easy to Scale – Make a small jar or a big batch—it’s totally up to you.
Plus, the smell of all those spices coming together? Pure kitchen magic.
List of Ingredients You’ll Need
Before you get started, gather the following pantry staples. Most of these are common spices you might already have sitting in your spice rack:
Ground Spices
- 2 tablespoons chili powder
- 1 tablespoon ground cumin
- 1 teaspoon garlic powder
- 1 teaspoon onion powder
- 1 teaspoon paprika (smoked or sweet)
- ½ teaspoon oregano (dried)
- ¼ teaspoon cayenne pepper (optional for heat)
- ½ teaspoon salt (optional)
- ¼ teaspoon black pepper
Optional Add-ins
- 1 teaspoon cocoa powder (for depth, just like in Texas-style chili)
- ½ teaspoon brown sugar (balances acidity)
- ½ teaspoon cornstarch (for thickening)
Feel free to experiment with additional spices like coriander, turmeric, or crushed red pepper if you’re feeling adventurous.
Choosing the Right Ingredients
Not all spices are created equal. When you’re making a seasoning blend, quality matters. The fresher your spices, the more aromatic and flavorful your chili will be. Look for non-irradiated, organic spices when possible. And if you can, grind whole cumin seeds and peppercorns yourself for a fresher taste.
Another tip? Avoid pre-mixed “chili powder blends” that already contain salt and other seasonings. Go for pure, ground chili powder so you have total control over the final blend.
Also, if you’re gluten-sensitive or vegan, be sure to double-check each spice bottle. While spices themselves are naturally gluten-free and vegan, some brands may include cross-contamination or additives.
Tools You’ll Need in the Kitchen
You don’t need any fancy equipment to make this spice blend, but having a few basic tools will make the process smoother:
- Measuring spoons
- Small mixing bowl
- Whisk or spoon for mixing
- Spice grinder (optional for fresh grinding)
- Airtight glass jar or spice container
- Label and pen (you’ll want to remember what’s in the jar!)
Once you’ve mixed your ingredients, a spice funnel can also come in handy for transferring the seasoning into a jar without spills.
Step-by-Step Guide to Make McCormick Chili Seasoning
Let’s break it down into three simple steps. You’ll go from raw ingredients to a fully blended, shelf-stable spice mix in under five minutes.
Step 1: Measure Out the Spices
Start by carefully measuring each spice. Use a set of measuring spoons to be accurate, especially if you’re trying to match the McCormick flavor exactly. Add each spice into a mixing bowl one by one. This helps ensure you don’t accidentally double an ingredient or forget one.
Pro tip: If you’re scaling the recipe, keep the same ratios but use tablespoons or even ¼ cup measures to suit larger batches.
Step 2: Mix Everything Thoroughly
Once all your spices are in the bowl, grab a small whisk or spoon and mix them together thoroughly. Stir for about 30–60 seconds until you’re confident everything is evenly combined.
You want a uniform color and texture. No clumps, no streaks. If you’re including cocoa powder or cornstarch, break up any lumps with the back of a spoon or sift the powders first.
Step 3: Store It Properly
Transfer your chili seasoning into a small, airtight container—a glass spice jar or mason jar works great. Label it with the date and name so you don’t forget. Store it in a cool, dark place like a pantry or cupboard.
If kept dry and sealed, your homemade chili seasoning will stay fresh for 4 to 6 months—though let’s be honest, you’ll probably use it all long before then!
How to Use McCormick Chili Seasoning in Recipes
Once you’ve made your own chili seasoning blend, it’s time to put it to work. This spice mix isn’t just for chili—though it truly shines in a steaming pot of it. Here’s a quick breakdown of how to use your homemade McCormick-style chili seasoning:
- For Classic Chili: Use 2 to 3 tablespoons per pound of ground beef or protein.
- In Soups and Stews: Add 1 tablespoon per quart for a rich, warm base.
- On Vegetables: Toss veggies like potatoes or bell peppers with a drizzle of oil and 1–2 teaspoons of seasoning before roasting.
- In Tacos or Burritos: Replace taco seasoning with this chili blend for a deeper, smokier taste.
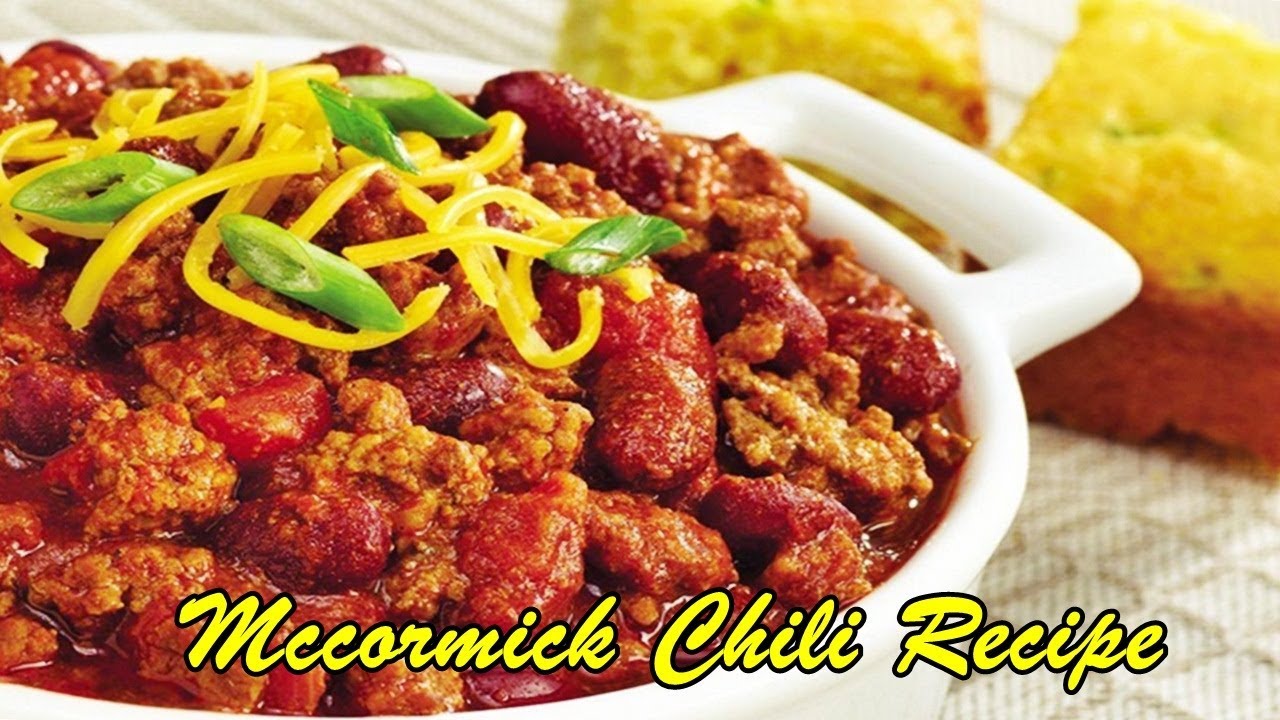
Want a quick chili recipe? Brown some ground beef, toss in some chopped onions, a can of diced tomatoes, kidney beans, and 2–3 tablespoons of your homemade mix. Simmer it low and slow. That’s it. Dinner = done.
Perfect Homemade Chili Using Your Seasoning
Let’s break down how to make a rich, hearty pot of chili using your new seasoning. This recipe serves 4 to 6 people and is perfect for game day, meal prep, or lazy Sundays.
Ingredients:
- 1 lb ground beef or turkey
- 1 medium onion, chopped
- 2 cloves garlic, minced
- 2 (14.5 oz) cans diced tomatoes
- 1 (15 oz) can kidney beans, drained
- 1 (15 oz) can black beans, drained
- 2 ½ tablespoons homemade chili seasoning
- Salt to taste
- Optional: Corn, bell peppers, jalapeños
Instructions:
- Brown the meat in a large pot over medium heat. Drain excess fat if needed.
- Add onions and garlic, cook until softened.
- Stir in your chili seasoning, coating the meat and veggies.
- Pour in diced tomatoes and beans, stir everything together.
- Simmer uncovered for 25–30 minutes, stirring occasionally.
- Taste and adjust seasoning before serving. Top with cheese, sour cream, or chopped green onions if desired.
This recipe freezes beautifully, so make extra and save it for a busy night!
Other Dishes You Can Spice Up
Your homemade chili seasoning isn’t a one-trick pony. It’s surprisingly versatile, bringing bold flavors to a variety of dishes:
- Sloppy Joes: Add 2 tablespoons to your sloppy joe mix for a twist on the classic.
- Chili Mac: Mix it into a cheesy pasta dish for chili-inspired comfort food.
- Baked Potatoes: Sprinkle over baked potatoes with sour cream and cheddar.
- Tex-Mex Rice: Stir a spoonful into cooked rice for instant flavor boost.
- Dry Rub for Grilling: Rub it onto steak, chicken, or tofu before grilling or roasting.
Pro tip: Mix with olive oil to create a paste for marinades.
Customizing the Heat Level
Everyone’s spice tolerance is different. One of the best parts of making your own chili seasoning is how easy it is to tweak the heat.
Want more kick? Add:
- Extra cayenne pepper
- Crushed red pepper flakes
- A pinch of ghost pepper powder (careful with this one!)
Prefer it mild? Simply omit the cayenne or use sweet paprika instead of smoked.
You can even create “mild” and “hot” versions and label them accordingly. That way, everyone at the table gets the flavor experience they want.
Storing and Shelf Life Tips
Proper storage is key to maintaining the flavor of your homemade seasoning blend. Spices don’t exactly “expire” in a dangerous way, but they lose potency over time.
Here’s how to store your chili seasoning right:
- Use airtight containers, preferably glass jars.
- Keep in a cool, dry place—away from direct sunlight and heat.
- Label with date of preparation.
Shelf life: For best flavor, use within 6 months. After that, it’s still usable but may need a bit more added to recipes to achieve the same kick.
Common Mistakes to Avoid
Let’s avoid those rookie mistakes that can mess up your otherwise awesome seasoning:
- Overloading on cayenne: A little goes a long way. Don’t turn your chili into lava unless that’s your vibe.
- Using old spices: Stale spices = dull flavor. Check expiration dates and smell for freshness.
- Skipping the mix step: If you don’t blend thoroughly, you’ll end up with uneven flavor.
- Storing near heat sources: Don’t keep your spice jars near the stove—heat destroys oils and aroma.
Stick to these best practices, and your seasoning will stay fresh and flavorful every time.
Is This Seasoning Gluten-Free and Vegan Friendly?
Yes—and that’s one of the best reasons to make it yourself! Unlike some store-bought blends, this homemade chili seasoning is:
- ✅ Gluten-free
- ✅ Vegan
- ✅ Keto-friendly
- ✅ Paleo-compatible
Just be cautious if you’re buying bulk spices. Always read labels to ensure there’s no cross-contamination or added fillers. Brands like Simply Organic and Frontier Co-op are usually safe bets.
Comparison: Homemade vs. Store-Bought
Let’s break it down:
| Feature | Homemade Seasoning | McCormick Store-Bought |
|---|---|---|
| Ingredients Control | ✅ Full control | ❌ Limited customization |
| Preservatives | ❌ None | ✅ Often included |
| Cost | ✅ Cheaper per use | ❌ More expensive per packet |
| Shelf Life | ✅ Long (6 months+) | ✅ Long, but contains additives |
| Flavor Customization | ✅ Totally adjustable | ❌ Fixed formula |
| Dietary Flexibility | ✅ Gluten-free, vegan, etc. | ❓ May contain allergens or gluten |
Bottom line: Going homemade gives you better flavor, cleaner ingredients, and more flexibility. It’s a no-brainer for serious chili lovers.
FAQs about McCormick Chili Seasoning Recipe
1. How long does homemade chili seasoning last?
Stored in an airtight container, it stays fresh for up to 6 months. After that, it’s still usable but may lose some potency.
2. Can I double or triple the recipe?
Absolutely! Just maintain the same ratios. Store the extra in multiple jars or one large container.
3. Is this seasoning too spicy for kids?
Not at all—just omit or reduce the cayenne pepper for a milder version that’s family-friendly.
4. Can I use this for vegetarian chili?
Yes! It pairs wonderfully with beans, lentils, tofu, and vegetables.
5. Is it okay to add cornstarch to the blend?
Yes—adding a little cornstarch helps thicken sauces or chili automatically when cooking.
Conclusion
Making your own McCormick-style chili seasoning is a small kitchen habit with big benefits. In just a few minutes, you create a blend that’s more flavorful, healthier, and more adaptable than anything you’ll pull off a grocery shelf. Whether you’re a chili enthusiast, a home chef experimenting with new dishes, or someone trying to eat cleaner, this recipe delivers every time.
So next time chili night rolls around, skip the store and reach for your homemade jar instead. Once you taste the difference, you’ll never look back.


