Funfetti Cookie Recipe: Is there anything more joyful than biting into a chewy, buttery cookie bursting with colorful sprinkles? That’s exactly what you get with Funfetti cookies. They’re not only super fun to look at, but they also taste like a party in every bite. Whether you’re making them for a birthday, holiday, or just because—it’s impossible not to smile with a Funfetti cookie in hand.
Let’s break it down, step by step, so you can make your own batch of soft, chewy, bakery-style Funfetti cookies right in your kitchen.
Why Everyone Loves Funfetti Cookies
There’s something nostalgic and mood-boosting about Funfetti. It takes people right back to birthday parties, cupcakes with rainbow sprinkles, and carefree moments. These cookies bring that same energy—fun, festive, and full of flavor.
They’re also ridiculously easy to make, which means you don’t need to be a baking expert to whip up a delicious batch. Plus, they’re super versatile. You can switch up the colors for different holidays, add white chocolate chips, or even make them gluten-free or vegan. They’re the kind of cookie that fits every occasion, and they’re a guaranteed crowd-pleaser.
What Are Funfetti Cookies?
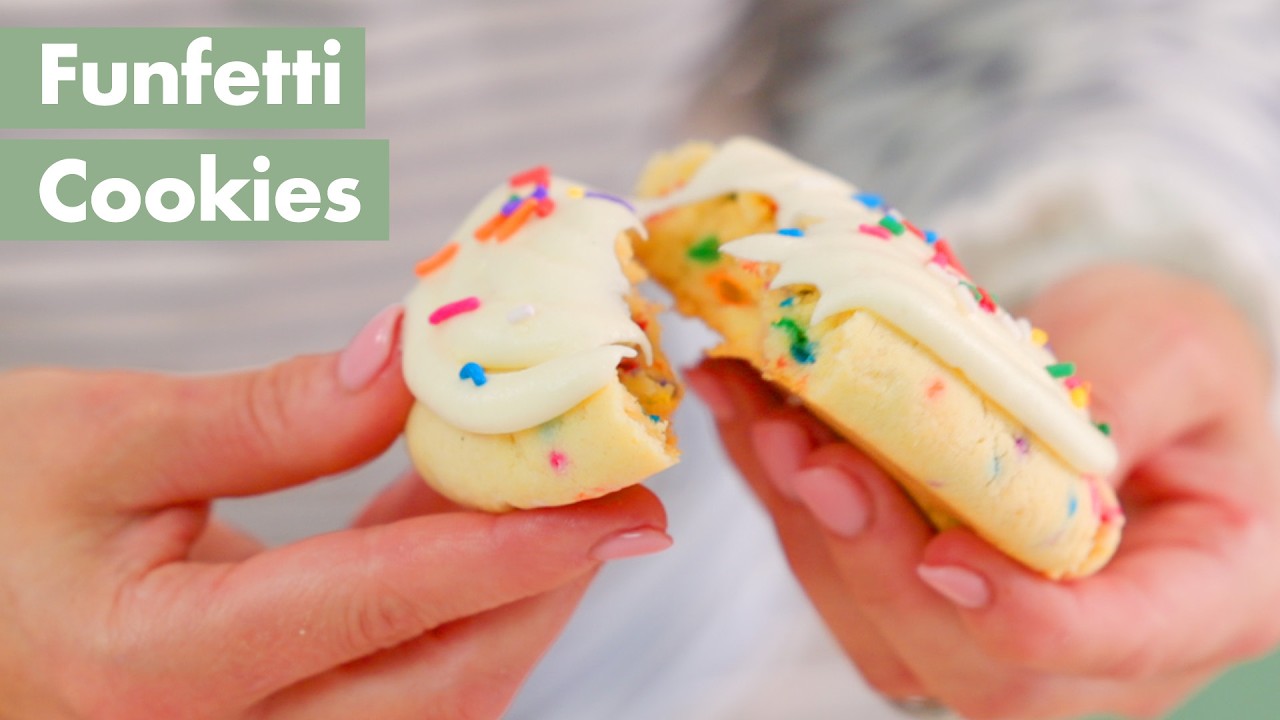
At their core, Funfetti cookies are soft sugar cookies with rainbow sprinkles mixed in. The name “Funfetti” comes from a combination of “fun” and “confetti”—and that’s exactly what they look like.
Think of them as sugar cookies with a twist. They’re buttery, sweet, and chewy, with the surprise crunch of colorful sprinkles in every bite. If you’re a fan of those classic boxed Funfetti cakes, you’ll adore these cookies because they bring all that birthday cake flavor in cookie form.
Perfect Occasions to Make Funfetti Cookies
Funfetti cookies aren’t just for birthdays (though they do make a fantastic birthday treat). They’re also perfect for:
- Holiday cookie exchanges (use red & green sprinkles!)
- School bake sales
- Baby showers
- Graduation parties
- Random Tuesday nights when you need a pick-me-up
They’re always in season. Just change the color of the sprinkles to match the vibe.
The Secret to Soft and Chewy Funfetti Cookies
Want that irresistible chewy center and soft edges? It’s all in the method and ingredients. You’ll want to:
- Use real butter, not margarine.
- Don’t overmix your dough—this keeps the texture soft.
- Chill the dough before baking to prevent too much spread.
- Use the right kind of sprinkles (jimmies work best).
Mastering these simple tricks will level up your Funfetti cookie game big time.
List of Ingredients You’ll Need
Let’s get down to the essentials. Here’s everything you need to bake a perfect batch of Funfetti cookies.
Basic Baking Ingredients:
- 1 cup (2 sticks) unsalted butter, softened
- 1 ¼ cups granulated sugar
- 1 large egg
- 1 egg yolk (for extra chewiness)
- 2 tsp vanilla extract
- 2 ¾ cups all-purpose flour
- ½ tsp baking powder
- ½ tsp baking soda
- ½ tsp salt
- ½ cup rainbow sprinkles (jimmies style, not nonpareils)
Optional Add-Ins for Customization:
- ½ cup white chocolate chips
- ¼ tsp almond extract for a subtle flavor twist
- Holiday-themed sprinkles
These are pantry staples for most bakers, but double-check your supplies before you start. Nothing kills the cookie vibe like realizing you’re out of eggs halfway through mixing.
Equipment You’ll Need in the Kitchen
You won’t need any fancy tools, but here’s a list to make sure you’re ready:
- Mixing bowls (medium and large)
- Electric mixer (hand or stand)
- Rubber spatula or wooden spoon
- Measuring cups and spoons
- Baking sheet(s)
- Parchment paper or silicone baking mat
- Cookie scoop or tablespoon
- Cooling rack
Prepping your tools ahead of time makes the whole process smoother—trust me.
Step-by-Step Guide to Making Funfetti Cookies
Alright, it’s time to roll up those sleeves and bake! Here’s your step-by-step roadmap to cookie greatness.
Step 1: Preheat and Prep
Before you mix anything, preheat your oven to 350°F (175°C). Line your baking sheets with parchment paper or silicone baking mats. This helps prevent sticking and gives your cookies those perfect golden bottoms.
Also, make sure your butter is at room temperature. Softened butter blends better and gives you that smooth, fluffy dough.
Step 2: Mix the Dry Ingredients
In a medium bowl, whisk together:
- All-purpose flour
- Baking powder
- Baking soda
- Salt
Set this bowl aside for now. Mixing the dry ingredients separately ensures even distribution and avoids clumps of baking soda later on.
Step 3: Creaming Butter and Sugar
In a large bowl, use an electric mixer to beat the butter and granulated sugar together. Cream for about 2–3 minutes until the mixture is light and fluffy.
This step is super important—it adds air into the dough, which helps your cookies stay soft and rise just right.
Step 4: Add Eggs and Vanilla
Once your butter and sugar are perfectly creamed, add in:
- 1 large egg
- 1 egg yolk
- Vanilla extract
Beat again until everything is well combined and silky smooth. The extra egg yolk adds richness and helps with that chewy center everyone loves.
Step 5: Combine Wet and Dry Mixtures
Slowly add the dry ingredients into the wet mixture, about one-third at a time. Use your mixer on low or stir by hand with a spatula until just combined. Don’t overmix here—you want the dough to come together but still be soft.
Step 6: Fold in Sprinkles
Gently fold in the sprinkles using a spatula. Be careful not to overmix, as this can cause the sprinkles to bleed color into the dough.
Want extra sprinkles on top? Save a handful to press into each cookie before baking.
Step 7: Chill the Dough (Optional but Recommended)
If you have time, chill the dough for at least 30 minutes. This helps the flavors develop and keeps the cookies from spreading too much in the oven.
You can even make the dough a day in advance and refrigerate overnight.
Step 8: Shape and Bake the Cookies
Use a cookie scoop or spoon to portion out the dough—about 1.5 tablespoons per cookie. Roll into balls and place on your prepared baking sheet, leaving about 2 inches between each one.
Bake for 10–12 minutes, or until the edges are just starting to turn golden. The centers might look slightly underdone, and that’s perfect. They’ll finish setting as they cool.
Step 9: Cool and Enjoy
Let the cookies cool on the baking sheet for 5 minutes, then transfer to a wire rack to cool completely.
Now for the best part—eat one (or three). They’ll be soft, chewy, and packed with colorful bursts of joy.
Pro Tips for the Best Funfetti Cookies
Want to take your Funfetti cookies from good to unforgettable? Here are some expert tips you won’t want to skip:
- Use jimmies-style sprinkles: They’re longer and softer, and they won’t bleed into the dough like nonpareils.
- Slightly underbake for a gooey center: Remove the cookies from the oven when the centers still look a little soft—they’ll firm up as they cool.
- Rotate the pan halfway through baking: This ensures even baking and golden edges every time.
- Use a cookie scoop: For consistent size, even baking, and prettier presentation.
- Add a sprinkle press: Before baking, press a few extra sprinkles on top for that extra wow factor when they come out of the oven.
These small tweaks make a big difference. Your cookies will look bakery-worthy and taste even better.
Common Mistakes to Avoid
Even a simple recipe like Funfetti cookies can go sideways if you’re not careful. Here’s what to watch out for:
- Overmixing the dough: This makes your cookies tough instead of soft.
- Skipping the chill time: Warm dough spreads too much and creates flat cookies.
- Using the wrong sprinkles: Nonpareils can melt, bleed color, or give an odd texture.
- Overbaking: If the edges are brown, they’re likely overdone. Aim for light golden edges and soft centers.
- Not measuring flour properly: Too much flour = dry, cakey cookies. Spoon and level your flour into the measuring cup.
Pay attention to these common pitfalls, and you’ll end up with perfect cookies every single time.
How to Store Funfetti Cookies
Cookies this good deserve proper storage. Here’s how to keep them fresh:
- Room Temperature: Store in an airtight container for up to 5 days. Place a slice of bread in the container to keep cookies soft.
- Refrigerator: Not recommended unless you’re in a very hot climate. It can dry out the cookies.
- Freezer (Baked Cookies): Wrap cooled cookies in plastic wrap, then place in a freezer-safe bag. Store for up to 2 months.
When you’re ready to enjoy, just let them thaw at room temp. They’ll still be as soft and chewy as day one.
Can You Freeze the Dough or Cookies?
Absolutely, and it’s a total game-changer for busy bakers.
To freeze the dough:
- Scoop the dough into cookie portions.
- Place them on a lined baking sheet and freeze for 1–2 hours.
- Transfer the frozen dough balls into a freezer-safe bag or container.
- When ready to bake, pop them straight into the oven—just add an extra 1–2 minutes to the baking time.
To freeze the baked cookies:
- Allow cookies to cool completely.
- Wrap individually or stack with parchment between each layer.
- Store in an airtight container for up to 2 months.
Perfect for when cravings strike or guests show up unannounced!
Funfetti Cookie Variations to Try
If you love the classic version, wait till you try these fun spins:
- Birthday Cake Funfetti Cookies: Add ½ tsp almond extract and white chocolate chips.
- Chocolate Funfetti Cookies: Use cocoa powder in the base dough.
- Lemon Funfetti Cookies: Add lemon zest and replace vanilla with lemon extract.
- Holiday Theme: Use red, green, and white sprinkles for Christmas; pastel for Easter; orange and black for Halloween.
- Stuffed Funfetti Cookies: Wrap the dough around a mini chocolate or cream-filled center for a surprise bite.
You can experiment endlessly while still keeping that playful Funfetti vibe alive.
Gluten-Free and Vegan Funfetti Cookie Options
Got dietary restrictions? No problem—Funfetti cookies can easily be adapted:
For Gluten-Free Cookies:
- Use a 1:1 gluten-free flour blend.
- Add 1 tsp xanthan gum if the flour blend doesn’t include it.
- Bake a test batch—GF cookies may need a slightly shorter bake time.
For Vegan Cookies:
- Swap butter with plant-based butter.
- Replace eggs with:
- 2 tbsp ground flaxseed + 5 tbsp water (let sit for 5 mins)
- Or use commercial egg replacers
Make sure your sprinkles are vegan-friendly—some may contain confectioner’s glaze (which isn’t vegan).
These swaps still yield delicious, chewy cookies—without compromising on flavor or texture.
FAQs about Funfetti Cookie Recipe
1. How long do Funfetti cookies last?
Stored in an airtight container at room temperature, they stay soft and delicious for up to 5 days. You can also freeze them for longer storage.
2. Can I use different types of sprinkles?
Yes, but jimmies are the best choice. Avoid nonpareils—they can bleed color into the dough and turn your cookies muddy.
3. Do I need to chill the dough?
Chilling is optional, but recommended. It prevents the cookies from spreading too much and helps develop better flavor and texture.
4. Why did my cookies spread too much?
Likely reasons: butter too soft, dough wasn’t chilled, or you used too little flour. Try chilling the dough longer or double-checking measurements.
5. Can I make these cookies ahead of time?
Absolutely! Make the dough and refrigerate for up to 48 hours, or freeze dough balls and bake whenever you’re ready.
Conclusion
Funfetti cookies are more than just a treat—they’re a full-blown mood booster. Bright, cheerful, and bursting with sweetness, these cookies are perfect for any celebration (or no reason at all). With simple ingredients and an easy process, you can make bakery-quality Funfetti cookies right from home.
Whether you’re baking them for a party, a gift, or just a little pick-me-up, one thing is certain: they’ll bring smiles to everyone who tastes them.
Now that you’ve got the full step-by-step guide, what are you waiting for? Preheat that oven and bring the fun to your kitchen—one sprinkle at a time.


