Frying Saucer Recipe: Looking for something crunchy, golden, and oh-so-satisfying? The frying saucer is a delightful treat that’s crispy on the outside and soft on the inside.
Whether you’re whipping it up for a party or just craving a street-style snack at home, this guide will walk you through everything you need to make it perfectly every single time.
What is a Frying Saucer?
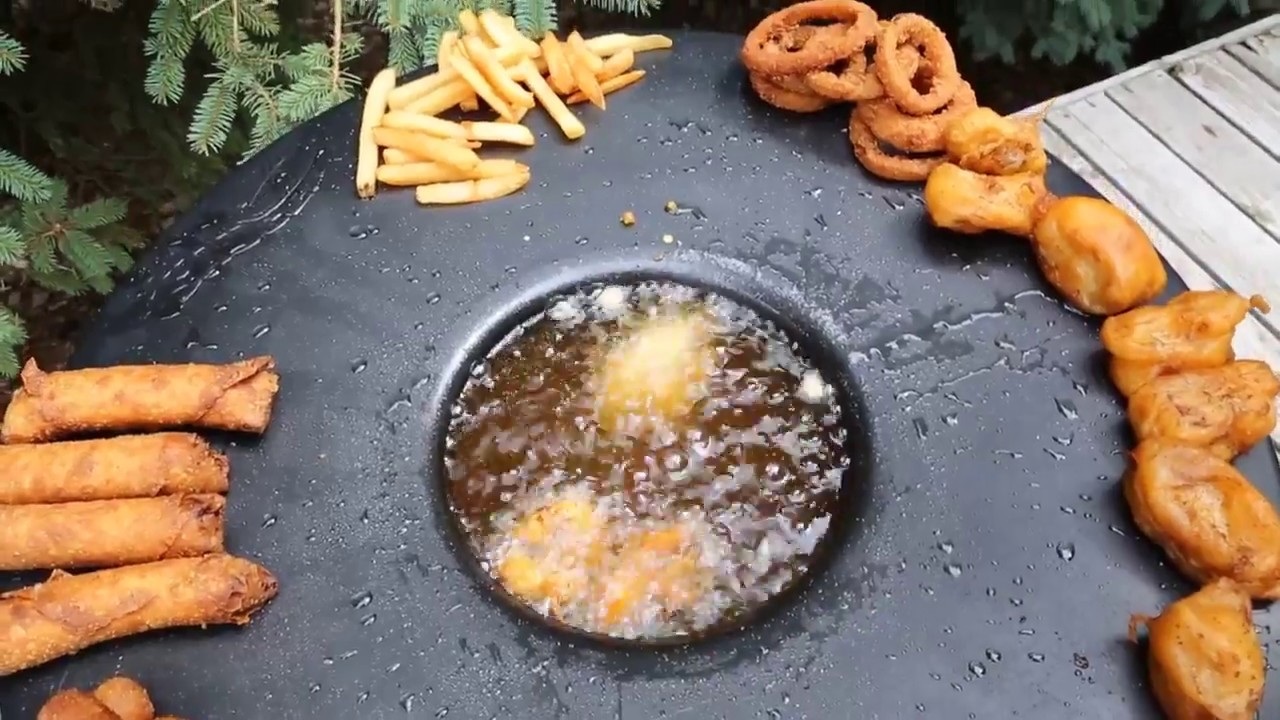
The name might sound out of this world, but the frying saucer is very much an earthly delight. It’s a deep-fried, round, crispy snack that looks like a flying saucer—hence the name. Think of it as a cross between a pancake and a fritter, often made with a seasoned batter and sometimes filled with savory or sweet ingredients. It’s crunchy, light, and downright addictive.
History and Origin of the Frying Saucer
While its exact origins are unclear, frying saucers have become a staple in many street food scenes. They are commonly seen at fairs, food festivals, and roadside stalls in different cultures. Some regions add their own twist to it—spices, fillings, or sweet coatings—making it a versatile snack with a wide appeal.
Why You’ll Love This Recipe
- Quick and easy to prepare
- Uses everyday pantry ingredients
- Perfectly crispy every time
- Endless variations (sweet, savory, spicy!)
- Great for parties, gatherings, or a cozy night in
Whether you’re a seasoned cook or a total newbie, this recipe is foolproof.
Cooking Equipment You’ll Need
To get started, gather the following tools:
- Mixing bowls (1 large, 1 medium)
- Whisk or electric beater
- Measuring cups and spoons
- Deep frying pan or wok
- Slotted spoon or spider strainer
- Paper towels
- Tongs or spatula
- Ladle or squeeze bottle (for shaping)
With the right tools in hand, you’ll be halfway to that irresistible crunch!
List of Ingredients You’ll Need
For the Batter
- 1 cup all-purpose flour
- ¼ cup cornflour (for extra crispiness)
- 1 tsp baking powder
- ½ tsp salt
- ½ tsp paprika or chili powder (optional)
- ½ tsp garlic powder or onion powder (optional)
- ¾ cup cold water (adjust as needed)
For the Filling (Optional)
- Grated cheese
- Chopped onions
- Jalapeños or green chilies
- Shredded chicken or paneer
Feel free to mix and match to create your perfect saucer.
For Frying
- 2–3 cups of vegetable oil or canola oil
Choosing the Right Oil for Frying
The best oils for frying have a high smoke point and a neutral flavor. Here are your top picks:
- Canola oil
- Peanut oil
- Sunflower oil
- Vegetable oil
Avoid olive oil or butter—they burn too fast and won’t give you the right crisp. Make sure the oil is hot enough before you start; around 350°F (175°C) is ideal.
Tips Before You Start Cooking
- Preheat the oil: Don’t pour batter into lukewarm oil.
- Keep ingredients cold: Cold batter reacts better to hot oil, making the snack crispier.
- Avoid overcrowding: Fry in batches to maintain oil temperature.
- Drain well: Use paper towels to absorb extra oil after frying.
- Test first: Drop a spoonful of batter to check oil readiness. It should sizzle and float.
Taking a few extra minutes to prep properly can make all the difference.
Step-by-Step Guide to Make Frying Saucers
Step 1: Mix the Dry Ingredients
Start by combining all-purpose flour, cornflour, baking powder, salt, and any spices you want to use in a large mixing bowl. Whisk them together thoroughly to make sure all the dry ingredients are well-distributed.
You can sift them for an even smoother batter if you like. The key is a light, lump-free dry base.
Step 2: Add Wet Ingredients to Make the Batter
Slowly pour cold water into your dry mix while stirring. Whisk until you get a smooth, slightly thick but pourable batter. It should coat the back of a spoon—not too runny, not too stiff.
If you’re going with a filling, this is the stage where you mix in cheese, herbs, onions, or meat.
Step 3: Heat the Oil to the Right Temperature
Pour oil into a deep frying pan and place it over medium heat. Use a kitchen thermometer to track the temperature or test by dropping a bit of batter in—if it sizzles and floats, you’re good to go.
Too hot? Your saucers will burn before cooking through. Too cold? They’ll soak up oil and turn soggy.
Step 4: Pour Batter into Oil in Saucer Shape
Now comes the fun part. Use a ladle or squeeze bottle to drop the batter in circular, flat shapes. Think of a mini flying saucer—about 3 to 4 inches wide. Fry one at a time or a few depending on your pan size.
The batter will spread slightly and puff up around the edges.
Step 5: Fry Until Golden and Crisp
Let the saucers cook on one side for about 2–3 minutes until you see the edges turning golden. Flip using a spatula or slotted spoon and fry the other side.
Keep the heat steady to avoid overcooking or undercooking. Once both sides are evenly golden-brown and crisp, they’re ready.
Step 6: Drain and Serve
Take them out of the oil and place them on a plate lined with paper towels. Let them drain for a minute or two before serving.
Sprinkle with a little salt, chili flakes, or a drizzle of your favorite sauce. Serve hot!
Flavor Variations You Can Try
The beauty of the frying saucer lies in how customizable it is. You can experiment with countless ingredients to keep things fresh and exciting.
Savory Versions:
- Cheese Explosion: Add shredded mozzarella or cheddar directly into the batter or as a gooey center.
- Spicy Kick: Toss in chopped jalapeños, chili flakes, or even hot sauce.
- Herbed Up: Add fresh cilantro, parsley, or basil for a fragrant twist.
- Protein-Packed: Shredded chicken, diced ham, or crumbled bacon makes them more filling.
Sweet Versions:
- Sugar & Spice: Sprinkle powdered sugar and cinnamon after frying.
- Fruit-Infused: Add finely chopped apples, bananas, or berries into the batter.
- Chocolate Lovers: Toss in chocolate chips or drizzle with melted chocolate post-fry.
- Caramel Dream: Top with caramel sauce and a pinch of sea salt.
Let your taste buds lead the way. You can even create a fry platter with multiple saucer types—sweet on one side, savory on the other!
How to Make it Sweet or Savory
Want to go the dessert route? Easy! Just swap out the spices and savory add-ins for sugar and your favorite sweet flavors.
For Sweet Frying Saucers:
- Remove garlic/onion powders
- Add 2–3 tablespoons sugar to the batter
- Add a splash of vanilla or almond extract
- Optional: Add a dash of cinnamon or nutmeg
Once fried, dust with powdered sugar or drizzle with honey.
For Savory Frying Saucers:
- Keep spices like paprika, cumin, garlic powder
- Add finely chopped veggies or proteins
- Serve with dipping sauces like ranch, marinara, or spicy mayo
Whether you’re craving something sweet after dinner or a crispy appetizer before the main meal, frying saucers fit right in.
Common Mistakes to Avoid
Even a simple recipe can go wrong without a few heads-ups. Here are common mistakes to avoid:
1. Batter Too Thick or Thin
If it’s too thick, the saucers won’t cook through. Too thin, and they’ll absorb oil like a sponge. Aim for pancake batter consistency.
2. Oil Not Hot Enough
Cold oil equals greasy, soggy snacks. Make sure it’s at 350°F (175°C) before frying.
3. Overcrowding the Pan
Adding too many at once drops the oil temp, leading to uneven cooking. Fry in small batches.
4. Not Draining Properly
Skipping the paper towel step will leave excess oil clinging on—making the snack heavy and greasy.
5. Under-seasoning the Batter
Frying dulls flavors a bit, so season your batter well before cooking. Don’t forget to taste!
By steering clear of these pitfalls, you’ll be frying like a pro in no time.
How to Store Leftovers Properly
If (and that’s a big if) you have leftovers, here’s how to store them:
- Let them cool completely before packing
- Use an airtight container lined with paper towels
- Store in the refrigerator for up to 2 days
- Avoid stacking too many on top of each other to maintain some crispiness
For longer storage, freezing isn’t ideal, as it can change the texture. However, if you must freeze them, reheat directly from frozen in an oven or air fryer.
Reheating Tips for Crispiness
To get that same-day crunch back, you’ll need a little heat magic:
- Oven method: Place saucers on a baking sheet, heat at 375°F (190°C) for 8–10 minutes.
- Air fryer: Reheat at 350°F (175°C) for 5–6 minutes.
- Stovetop: Place on a hot skillet and warm for 2–3 minutes per side (don’t add oil).
- Avoid the microwave: It’ll turn them soggy and limp—trust us on this one.
Always reheat in a single layer and never cover while heating to prevent trapping moisture.
Perfect Pairings and Serving Ideas
Frying saucers are delicious on their own, but you can elevate the experience by pairing them with:
Dipping Sauces
- Garlic aioli
- Spicy ketchup
- Sour cream with herbs
- Chili garlic sauce
- Sweet syrup (for dessert versions)
Drinks
- Lemonade or iced tea for a summer vibe
- Hot coffee or chai for cozy snacking
- Milkshakes or smoothies for a sweet combo
You can even serve them as a side to soups or salads, especially the savory ones.
Healthier Alternatives and Substitutes
Trying to keep things light? Here’s how to make frying saucers a little healthier without sacrificing taste:
Ingredient Swaps:
- Use whole wheat flour instead of all-purpose flour
- Add flaxseed meal or oats for fiber
- Swap water with buttermilk for a richer flavor
Cooking Method:
- Use an air fryer: Brush or spray a little oil and air fry at 375°F (190°C) for 10–12 minutes.
- Try shallow frying with less oil, flipping halfway through.
These changes can cut down on fat and calories while keeping the crunch alive.
FAQs about Frying Saucer Recipe
1. Can I make frying saucers ahead of time?
Yes! Prepare the batter and store it in the fridge for up to 24 hours. Fry just before serving for best results.
2. What’s the best way to shape the saucer in oil?
Use a squeeze bottle or ladle to gently pour in a circular motion. Don’t stress about perfect shapes—irregular edges make them crunchier!
3. Can I make these gluten-free?
Absolutely. Use gluten-free all-purpose flour or a mix of rice flour and cornstarch for a crispy alternative.
4. How do I make them extra crispy?
Add a little rice flour or cornstarch to the batter. Also, ensure the oil is hot enough and avoid overcrowding the pan.
5. Can kids help make this recipe?
Yes! They can help mix the batter and add ingredients. Just keep them away from hot oil for safety.
Conclusion
The frying saucer is more than just a snack—it’s a canvas for creativity. From savory to sweet, simple to spicy, it’s a recipe you’ll come back to again and again. The best part? You can make it entirely your own. Whether you’re serving it at a party, enjoying a late-night craving, or bonding with family over food, this saucer will always land perfectly.


