Caramel Puff Corn Recipe: There’s something downright magical about caramel puff corn. Imagine that sweet, buttery caramel coating melting into light, crispy puff corn—it’s snack perfection. This treat is the kind that disappears within minutes at parties, potlucks, or cozy movie nights at home. It’s crunchy, it’s sweet, and it doesn’t get stuck in your teeth like traditional caramel popcorn. Plus, it’s ridiculously easy to make, and you don’t even need to pop a single kernel!
In this detailed guide, you’ll learn exactly how to make caramel puff corn from scratch. Whether you’re a baking pro or a total kitchen newbie, you’re going to love how simple and satisfying this recipe is. We’ll cover everything—from the ingredients and tools to baking techniques and storage tips. So, tie on your apron, and let’s get into the good stuff!
What is Caramel Puff Corn?
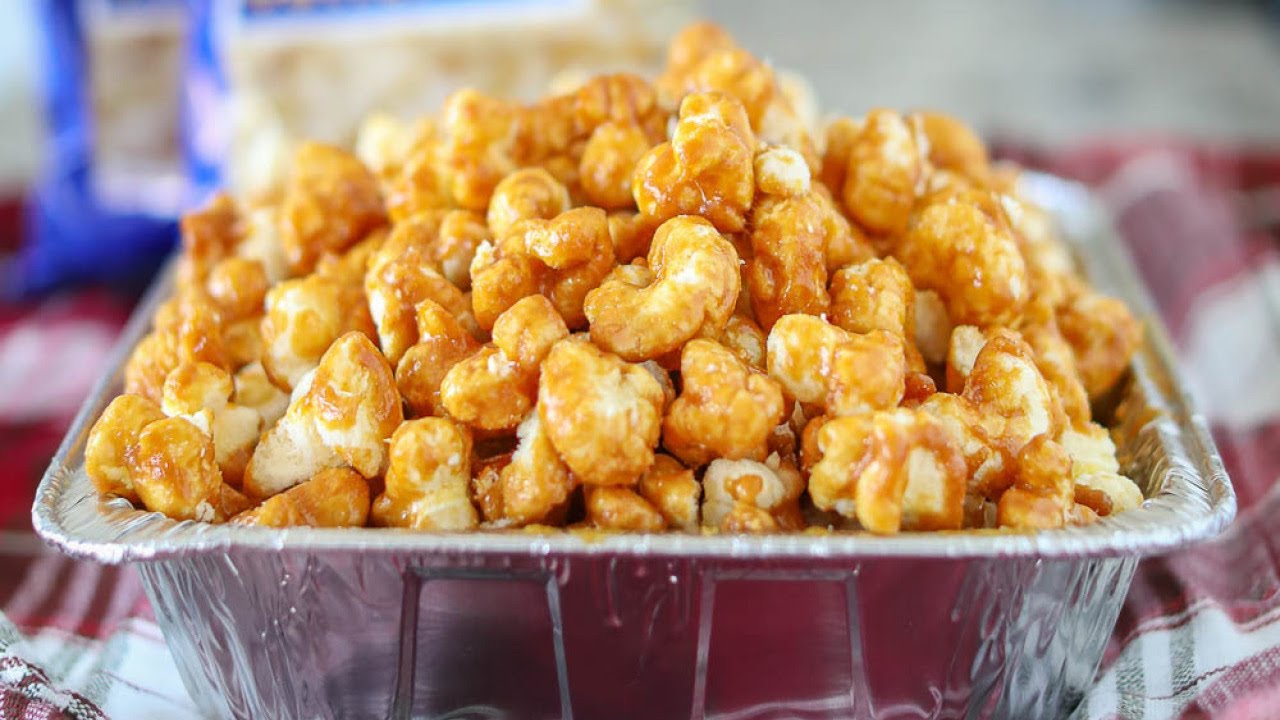
Caramel puff corn is the ultimate snack hybrid. It has the look and crunch of popcorn, but it’s made with puffed corn—think of it as the popcorn’s smoother, hull-less cousin. That means no kernels, no annoying bits stuck in your teeth, and no need for a popcorn maker. The puff corn is airy and light, making it the perfect canvas for a rich, buttery caramel sauce.
What really sets caramel puff corn apart is how addictive it is. The caramel coating hits that sweet spot (literally) between crispy and chewy, and when it bakes onto the puff corn, it creates the most glorious golden crunch. And because there are no unpopped kernels, you can go all-in without any unpleasant surprises. It’s kid-friendly, adult-approved, and ideal for gifting or hoarding (we don’t judge).
Ingredients You’ll Need
Let’s start with the essentials. Here’s everything you need to make this mouthwatering caramel puff corn at home:
Main Ingredients:
- 2 bags (8-9 oz each) of puff corn
- Look for “hulless” or “butter-flavored” puff corn, usually found in the snack aisle.
- 1 cup (2 sticks) unsalted butter
- Use real butter for best flavor.
- 1 cup brown sugar (packed)
- Light brown sugar gives a milder caramel; dark adds richer depth.
- 1/2 cup light corn syrup
- This helps keep the caramel from crystalizing.
- 1 tsp salt
- Balances the sweetness perfectly.
- 1/2 tsp baking soda
- Helps the caramel puff and coat the corn more evenly.
- 1 tsp vanilla extract
- Adds warmth and depth of flavor.
Optional Add-ins:
- Drizzle of melted chocolate
- Crushed peanuts or almonds
- Sea salt flakes for a sweet-salty combo
These basic ingredients are pantry staples, making this a quick go-to recipe when you’re craving something sweet and crunchy.
Tools and Equipment
Before you start, make sure you have these tools on hand. It’ll make your life easier and your caramel puff corn turn out just right.
- Large saucepan or pot
- To cook your caramel sauce
- Wooden spoon or heat-resistant silicone spatula
- For stirring without melting
- Large mixing bowl
- To coat the puff corn evenly
- Baking sheets (2 large)
- For baking and crisping up the coated puff corn
- Parchment paper or silicone baking mats
- Prevents sticking and makes cleanup a breeze
- Oven mitts
- Because hot caramel = hot mess
- Measuring cups and spoons
- Precision is key here
Don’t have all the fancy tools? No worries—you can still pull this off with basic kitchen gear.
Step-by-Step Guide to Making Caramel Puff Corn
Let’s break this process down. It’s easier than you think, and once you do it once, you’ll be hooked.
Step 1: Preheat Your Oven and Prepare Your Baking Pan
Preheat your oven to 250°F (120°C). Lightly grease a large roasting pan or line it with parchment paper. A wide pan works best so the puff corn spreads evenly.
Step 2: Prepare the Puff Corn
Use plain puff corn (not popcorn). Pour it into your prepared pan or a large heatproof bowl. Remove any crumbs so the caramel coats evenly and stays crisp.
Step 3: Make the Caramel Sauce
In a saucepan over medium heat, melt butter, then add brown sugar and corn syrup. Stir constantly until fully combined. Bring to a gentle boil and let it boil for 2–3 minutes. Watch closely—overcooking can burn the caramel.
Step 4: Add Baking Soda and Vanilla
Remove the saucepan from heat. Stir in vanilla extract, then add baking soda. The mixture will foam up—this reaction creates air bubbles that make the caramel lighter and easier to coat.
Step 5: Combine Caramel and Puff Corn
Slowly pour the hot caramel over the puff corn. Gently stir with a spatula, folding from the bottom up to coat evenly. Work carefully to avoid crushing the puff corn or creating soggy spots.
Step 6: Bake the Caramel Puff Corn
Place the pan in the oven and bake for 45–60 minutes, stirring every 15 minutes. This helps dry the caramel and ensures even coating without burning.
Step 7: Cool and Break into Pieces
Remove from the oven and spread the puff corn onto parchment paper. Let it cool completely—this is when it becomes crunchy. Once set, break into pieces and store in an airtight container for freshness.
Flavor Variations You Can Try
Once you’ve mastered the classic caramel puff corn, why not level it up with fun twists? Here are a few delicious variations:
- Chocolate Drizzle: After baking and cooling, drizzle melted milk, dark, or white chocolate over the puff corn. Let it harden before breaking into chunks.
- Peanut Butter Swirl: Add 1/2 cup of creamy peanut butter to the caramel sauce while cooking for a nutty, sweet twist.
- Spicy Kick: Add a pinch of cayenne pepper or chili powder to the caramel mix for a sweet-and-spicy snack.
- S’mores Style: After baking, mix in mini marshmallows, graham cracker bits, and chocolate chips.
- Pumpkin Spice: Add 1 tsp of pumpkin spice mix to your caramel for a fall-inspired flavor.
These creative spins make the recipe more fun and perfect for seasonal gifts or themed parties.
Troubleshooting Common Mistakes
Even with simple recipes, a few things can go wrong. Here’s how to fix (or avoid) the most common caramel puff corn issues:
- Caramel Burns Quickly: Stir the sugar, butter, and syrup constantly while it melts, then let it boil undisturbed for no more than 4–5 minutes.
- Sticky or Chewy Texture: If your puff corn is too sticky after baking, it likely wasn’t baked long enough. Be sure to stir every 15 minutes during the baking process and let it cool fully before storing.
- Uneven Coating: Make sure to mix quickly after pouring the caramel, and bake on large enough trays so the puff corn can spread out.
- Too Salty or Too Sweet: Balance is key. Stick to the recommended measurements, especially with salt if your puff corn is already buttered or salted.
- Caramel Hardens Before Mixing: Work fast after adding the caramel to puff corn. If needed, pop the coated corn in a warm oven for a few minutes to soften the caramel before stirring.
Storage Tips: How to Keep It Fresh Longer
Caramel puff corn stores really well—if you can keep it around long enough!
- Airtight Containers: Store in airtight containers or zip-top bags to keep it crispy.
- Room Temperature: It’ll stay fresh for 7–10 days at room temperature if stored properly.
- Avoid Moisture: Moisture is the enemy. Don’t refrigerate—it’ll make the caramel soggy.
- Freezing: Yes, you can freeze it! Just place in freezer-safe bags, squeeze out extra air, and freeze for up to 3 months. Thaw at room temp before serving.
Why Homemade Beats Store-Bought
Sure, you can find caramel puff corn in some stores—but once you’ve tried the homemade version, there’s no going back.
- No Preservatives: You control what goes in—no weird ingredients or additives.
- Better Taste: Freshly made caramel has a richness that store-bought just can’t touch.
- Customization: You get to play with flavors, add-ins, and textures to make it your own.
- Cost-Effective: One batch can feed a crowd—and it’s cheaper than buying individual snack bags.
Homemade caramel puff corn is a labor of love that turns out tastier, fresher, and a whole lot more fun than anything off the shelf.
Fun Ways to Gift Caramel Puff Corn
Want to spread the caramel joy? This puff corn makes a fantastic DIY gift!
- Holiday Jars: Fill mason jars with puff corn, tie a ribbon around the lid, and add a custom tag.
- Birthday Bags: Use clear treat bags, colorful twist ties, and stickers for a festive look.
- Party Favors: Package in themed bags for weddings, baby showers, or holiday parties.
- Snack Jars: Pair with other snacks like trail mix or candy-coated nuts for a gourmet snack bundle.
- Teacher Gifts: Add to a small basket with a cute thank-you note—who wouldn’t love that?
It’s a sweet, thoughtful gift that looks as good as it tastes.
FAQs about Caramel Puff Corn Recipe
1. Can I use microwave popcorn instead of puff corn?
Microwave popcorn isn’t ideal for this recipe. Puff corn is hull-less and more airy, while popcorn has kernels and can get chewy. Stick to puff corn for best results.
2. How long does caramel puff corn last?
If stored properly in an airtight container at room temperature, it can last up to 10 days. For longer storage, freeze it for up to 3 months.
3. Can I make it without baking?
Technically, yes—but baking helps harden the caramel and gives the puff corn that signature crunch. Without baking, it may turn out chewy and sticky.
4. Is caramel puff corn gluten-free?
Yes, most puff corn is naturally gluten-free, and the caramel ingredients typically are too. Always check labels to be sure.
5. What other toppings can I add?
Try chocolate drizzle, sprinkles, crushed nuts, or candy pieces like M&Ms. Get creative and customize it to your taste.
Conclusion
There you have it—your ultimate guide to making caramel puff corn from scratch. It’s easy, affordable, and hands-down delicious. Whether you’re whipping up a batch for movie night, surprising a friend with a sweet gift, or just craving something crunchy and sweet, this recipe delivers every time.
The steps are simple: make the caramel, coat the puff corn, bake until crispy, and try not to eat the whole pan in one sitting. Once you try it, you’ll understand why caramel puff corn has such a devoted fan base. So go ahead—grab your ingredients and start creating snack magic today.


