Blackberry Crisp Recipe: There’s something magical about a warm, bubbly blackberry crisp straight out of the oven. The contrast of sweet-tart blackberries with a golden, crunchy oat topping is simply irresistible. If you’ve ever had a bite of this classic dessert, you know it’s a nostalgic comfort food with a flavor punch that feels like summer in every spoonful. And the best part? It’s incredibly easy to make, even if you’re a beginner in the kitchen.
Blackberry crisp is one of those desserts that fits just about any occasion. Whether you’re hosting a casual dinner party, preparing a weekend treat, or just craving something sweet and fruity, this recipe is a go-to. It doesn’t require any fancy techniques or rare ingredients, which makes it accessible and fun for all levels of home cooks.
In this complete guide, we’re diving deep into the blackberry crisp universe. From ingredients to step-by-step instructions, helpful tips, and even storage ideas—we’ve got it all covered so you can whip up a flawless crisp that’ll have everyone asking for seconds. Ready to get baking?
What is Blackberry Crisp?
Before we jump into the recipe, let’s clarify what makes a blackberry crisp, well, a “crisp.” Many people confuse it with similar desserts like crumbles or cobblers. While they all have that irresistible fruit base, the difference lies in the topping.
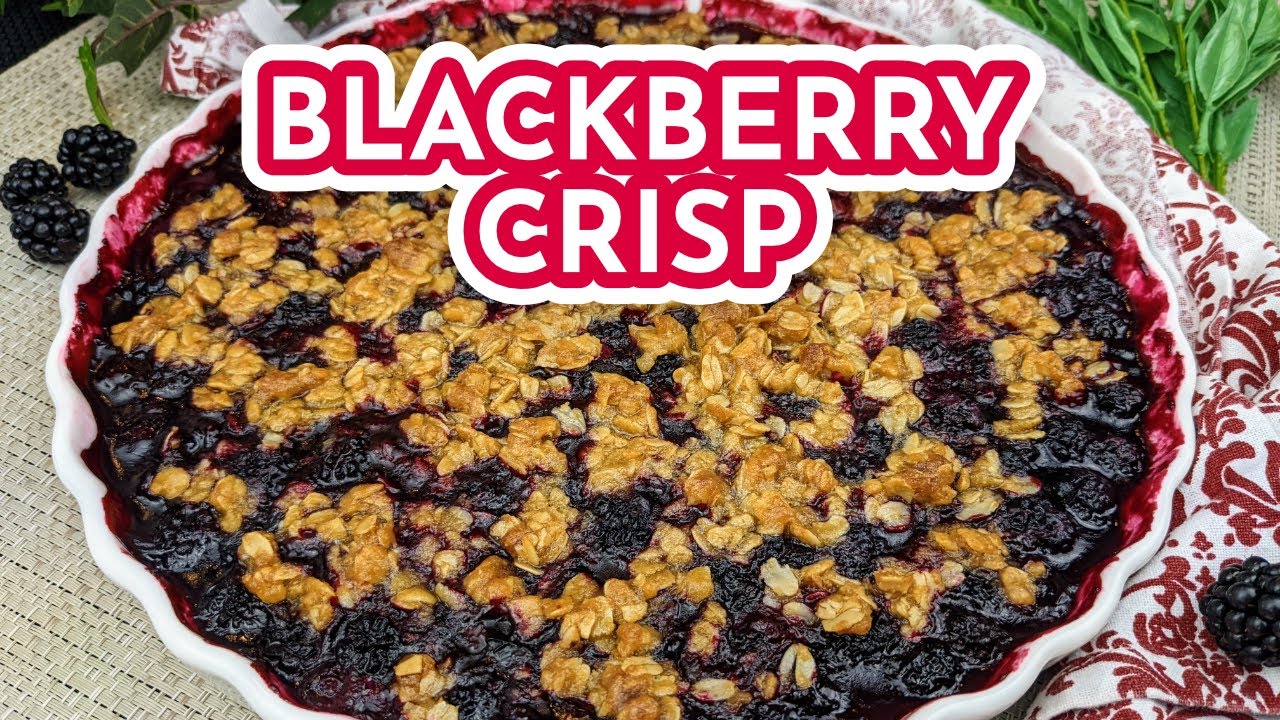
A blackberry crisp features a crunchy, buttery topping made from oats, flour, sugar, and butter. That oat-based topping is what gives it its crispiness after baking. In contrast, a crumble usually skips the oats and is a bit softer and denser. A cobbler, on the other hand, uses a biscuit or cake-like topping instead of a crunchy one.
Crisps have been around for generations, originating as a humble farmhouse dessert made with whatever fruit was in season. Over the years, it became a beloved classic in American and British kitchens alike, especially during the summer and fall months when berries are at their best.
This dish is more than just a dessert—it’s a celebration of seasonal fruit wrapped in warm, golden comfort.
Why You’ll Love This Recipe
Let’s be real—there’s a lot to love about blackberry crisp. For starters, it’s incredibly forgiving. You don’t need exact measurements like you might with a cake. And you don’t need to roll out dough or use special equipment.
Here’s why this recipe stands out:
- Flavor: The combination of sweet and tart blackberries with brown sugar and cinnamon makes each bite perfectly balanced.
- Texture: The soft, jammy filling pairs beautifully with a buttery, crispy topping.
- Customizable: Add nuts, swap fruits, or go gluten-free—it’s versatile to suit all tastes.
- Quick to prepare: From start to finish, you can have it ready in under an hour.
- Family favorite: It’s a hit with both kids and adults, especially when topped with ice cream or whipped cream.
Once you make this once, it’s guaranteed to become part of your dessert rotation.
The Best Time to Make Blackberry Crisp
Blackberry crisp shines the most when made with fresh, juicy blackberries in season. Typically, blackberries are at their peak between June and September, depending on where you live. That’s when they’re sweetest and most flavorful.
But don’t worry—frozen blackberries work just as well! They’re picked and frozen at their prime, locking in flavor and nutrients. Just make sure to thaw and drain them a bit before baking to avoid excess moisture that can make the crisp soggy.
Pro tip: If you ever go berry picking in the summer, freeze the extras so you can enjoy this dessert even in the colder months.
List of Ingredients You’ll Need
Let’s break down everything you need for this simple yet satisfying dessert. The ingredients are divided into two main parts: the berry filling and the crisp topping.
For the Blackberry Filling:
- 4 cups of blackberries (fresh or frozen)
- 2 tablespoons lemon juice
- ½ cup granulated sugar
- 2 tablespoons all-purpose flour or cornstarch (to thicken)
- ½ teaspoon vanilla extract (optional, for extra flavor)
For the Crisp Topping:
- ¾ cup rolled oats
- ½ cup all-purpose flour
- ½ cup brown sugar (light or dark)
- ½ teaspoon cinnamon
- ¼ teaspoon salt
- ½ cup unsalted butter (cold and cut into small cubes)
These basic pantry staples come together to create a rich, satisfying dessert. Don’t skip the lemon juice—it adds a brightness that lifts the berry flavor.
Kitchen Tools You’ll Need
You don’t need a fancy setup to make blackberry crisp, but having the right tools can make the process even easier. Here’s what you’ll need:
Essential Tools:
- 8×8 or 9×9 baking dish (glass, ceramic, or metal)
- Large mixing bowl
- Medium mixing bowl
- Pastry cutter or fork (for mixing the topping)
- Measuring cups and spoons
- Spatula or wooden spoon
Optional but Helpful:
- Zester (if adding lemon zest)
- Food processor (to quickly mix the topping)
- Ice cream scoop (for serving, of course!)
Make sure to grease your baking dish lightly with butter or non-stick spray before adding the filling.
Step-by-Step Guide to Making Blackberry Crisp
Now for the fun part—let’s walk through how to make this delicious blackberry crisp from scratch. Whether it’s your first time baking or you’re a seasoned pro, these steps are straightforward and easy to follow.
1. Preheat Your Oven
Set your oven to 350°F (175°C) so it’s ready when you are. This ensures even baking.
2. Prep the Blackberries
If using fresh blackberries, rinse them gently and pat them dry. For frozen berries, thaw them in a colander over a bowl to drain excess liquid. You want them juicy, not watery.
3. Mix the Filling
In a large mixing bowl, combine:
- Blackberries
- Lemon juice
- Sugar
- Flour or cornstarch
- Vanilla extract
Gently stir until the berries are evenly coated. Be careful not to mash the berries too much—chunks are good!
4. Pour Into Baking Dish
Spread the berry mixture evenly into your greased baking dish. Make sure it’s evenly distributed for consistent baking.
5. Make the Crisp Topping
In a separate bowl, mix:
- Oats
- Flour
- Brown sugar
- Cinnamon
- Salt
Add the cold butter cubes and use a pastry cutter, fork, or your fingers to blend until the mixture resembles coarse crumbs. It should hold together when pressed but still be crumbly.
6. Add the Topping
Sprinkle the oat topping evenly over the berry mixture. Try to cover the fruit entirely without pressing it down too much.
7. Bake
Place the baking dish in the preheated oven and bake for 35–40 minutes, or until the top is golden brown and the filling is bubbling around the edges.
8. Cool Slightly Before Serving
Let the crisp cool for about 10–15 minutes. This helps the filling thicken slightly and prevents it from burning your mouth when served.
Serve warm, ideally with a scoop of vanilla ice cream or a dollop of whipped cream. Perfection!
Tips for the Perfect Blackberry Crisp
Want to take your blackberry crisp from good to absolutely unforgettable? Here are some key tips that’ll make all the difference. These little adjustments and kitchen secrets help create the perfect balance of texture and flavor—and make sure you never end up with a soggy or bland dessert.
1. Use Cold Butter for the Topping
One of the most common mistakes is using soft or melted butter in the topping. Cold butter creates that beautifully crisp and crumbly texture we all love. Cut it into small cubes straight from the fridge, and use a pastry cutter or fork to mix. If you have warm hands, avoid using your fingers too much, or the butter will soften too quickly.
2. Don’t Overmix the Topping
You want the topping to stay chunky. If you mix it until it’s too smooth, you’ll lose the texture that makes it a “crisp.” Coarse crumbs = crispy topping.
3. Add a Touch of Citrus Zest
While lemon juice is already part of the filling, grating in some lemon or orange zest into the berries or even the topping adds an extra layer of brightness and fragrance that’s next-level good.
4. Let It Rest Before Serving
This step is tough—because your kitchen will smell incredible—but letting your crisp sit for at least 10 minutes after baking helps the juices thicken and the flavors settle.
5. Bake on a Sheet Pan
If you’re worried about juices bubbling over in the oven (which happens often), place your baking dish on a foil-lined sheet pan. This saves you cleanup time and protects your oven.
These small changes can completely upgrade your final dessert—making it more bakery-worthy while still super homey.
Substitutions and Variations
Whether you’re working with dietary restrictions or just like to mix things up, this blackberry crisp recipe is flexible and easy to adapt. Here are some ways you can customize it without losing that comforting deliciousness.
1. Make it Gluten-Free
Swap out the all-purpose flour in both the filling and topping with a gluten-free flour blend. Make sure your oats are certified gluten-free as well.
2. Make it Vegan or Dairy-Free
Replace the butter with:
- Vegan butter (Earth Balance, Miyoko’s, etc.)
- Coconut oil (solid, not melted—chill it first for best results)
You won’t even miss the dairy!
3. Use Different Sugars
No brown sugar? Try:
- Coconut sugar for a caramel-like taste
- Maple syrup in the filling (reduce the lemon juice slightly)
- White granulated sugar (though you’ll lose some of the depth from brown sugar)
4. Mix Up the Fruit
Blackberries play well with others. Try combining them with:
- Apples
- Blueberries
- Raspberries
- Peaches
- Pears
You can create seasonal combos depending on what’s in your fridge or market. Just keep the total fruit quantity around 4 to 5 cups.
5. Add Nuts or Seeds
Add some crunch by tossing ¼ cup of chopped pecans, almonds, or walnuts into the topping. You could even sprinkle chia seeds or flaxseeds for extra nutrients.
Blackberry crisp is meant to be played with, so don’t be afraid to experiment!
Nutritional Value of Blackberry Crisp
Here’s a general idea of what you’re getting nutritionally from a serving of blackberry crisp. Please note this is an estimate for one serving (based on 8 servings per pan) and will vary depending on exact ingredients used.
| Nutrient | Amount per Serving |
|---|---|
| Calories | 280–320 kcal |
| Total Fat | 12–15 g |
| Saturated Fat | 7–9 g |
| Carbohydrates | 45–50 g |
| Sugars | 22–26 g |
| Fiber | 4–6 g |
| Protein | 2–4 g |
| Vitamin C | 15–20% DV |
Blackberries are packed with antioxidants, vitamin C, and fiber. While this dessert is definitely a treat, it’s not without a few health benefits—especially when made with wholesome ingredients and served in moderation.
Storing and Reheating Leftovers
Blackberry crisp stores really well, which means you can enjoy it for days—if there are any leftovers, that is.
Refrigerator Storage:
- Let the crisp cool completely.
- Cover the baking dish with plastic wrap or transfer to an airtight container.
- Store in the fridge for up to 4 days.
Reheating:
- For best results, reheat in the oven at 350°F (175°C) for 10–15 minutes.
- You can also microwave individual portions for about 30–60 seconds, but the topping won’t be as crispy.
Quick Tip:
If the topping softens in the fridge, sprinkle a few extra oats or nuts on top before reheating in the oven for a crunchy refresh.
Serving Suggestions
This dessert is fabulous on its own—but paired with a creamy sidekick? It becomes a total showstopper. Here are some great ways to serve it:
Toppings:
- Vanilla ice cream (classic and perfect)
- Whipped cream (homemade or store-bought)
- Greek yogurt (for a tangy breakfast twist)
- Coconut cream (dairy-free option)
Drinks to Pair With:
- A cup of hot chai tea or coffee
- Sparkling lemonade for summer
- A dessert wine like Moscato or Port (for adults)
Blackberry crisp transitions from weeknight dessert to dinner party centerpiece with the right sidekick.
Can You Freeze Blackberry Crisp?
Yes! Blackberry crisp is very freezer-friendly, whether you’re prepping ahead or storing leftovers.
Freezing Before Baking:
- Prepare the filling and topping separately.
- Assemble in a freezer-safe baking dish.
- Wrap tightly in plastic wrap and then foil.
- Freeze for up to 3 months.
When ready to bake:
- Bake from frozen at 350°F (175°C) for 50–60 minutes, or until bubbly and golden.
Freezing After Baking:
- Let the crisp cool completely.
- Store in freezer-safe containers or wrap the dish.
- Freeze for up to 2 months.
Thaw overnight in the fridge and reheat as needed. Great for meal-prepping desserts or saving seasonal fruits for later!
Common Mistakes to Avoid
Even though blackberry crisp is an easy dessert, a few simple missteps can lead to disappointment. Avoid these common pitfalls:
1. Using Too Much Sugar
Blackberries can be tart, but don’t over-sweeten them. Start with less sugar—you can always add a sweet topping later.
2. Not Thicking the Filling
Skipping the flour or cornstarch can lead to a watery mess. A couple of tablespoons go a long way in keeping your filling juicy but not soupy.
3. Overbaking
If the topping gets too dark, it turns bitter. Bake until just golden and bubbling, then pull it out.
4. Soggy Topping
Let the crisp cool before covering or refrigerating. Trapping steam makes the topping soggy, and that’s just sad.
5. Not Tasting the Berries First
Taste your berries before baking! If they’re super tart, a touch more sugar or honey in the filling will make all the difference.
FAQs about Blackberry Crisp Recipe
1. Can I use frozen blackberries for crisp?
Yes! Just thaw and drain them slightly before using to avoid excess moisture in your crisp.
2. What’s the difference between a crisp and a crumble?
Crisps include oats in the topping for crunch, while crumbles usually use only flour and butter for a softer topping.
3. Can I make blackberry crisp ahead of time?
Absolutely. You can assemble it and store in the fridge (unbaked) for up to 24 hours, then bake when ready. Or freeze it for later use.
4. What if I don’t have oats?
You can make a crumble-style topping using just flour, butter, and sugar—though you’ll miss some of the signature crunch.
5. How do I stop the topping from getting soggy?
Bake uncovered and let it cool before covering or storing. Reheat in the oven to bring the crunch back.
Conclusion
And there you have it—the ultimate, foolproof, and totally delicious blackberry crisp recipe. Whether you’re baking it for a weeknight treat, a special gathering, or just to use up a pint of berries sitting in your fridge, this recipe is a guaranteed crowd-pleaser. With its buttery, crispy topping and sweet, tangy blackberry filling, it hits every note of comfort and flavor.
Plus, with so many ways to tweak it—gluten-free, vegan, fruit swaps—you can keep it fresh and exciting every time you bake it.
Now it’s your turn: gather your ingredients, preheat that oven, and treat yourself to one of the easiest, coziest desserts out there. Happy baking!


