Party Mix Recipe: There’s something downright addictive about a bowl of crunchy, savory party mix. Whether it’s a game night, holiday get-together, or just a weekend Netflix binge, a good party mix recipe can win over any crowd. It’s that perfect combo of salty, crispy, buttery, and bold flavors that makes it vanish before the drinks are even poured. The best part? You don’t need fancy ingredients or culinary school skills—just a few pantry staples, some spice love, and this foolproof guide.
In this article, I’ll walk you through every little detail: from the list of ingredients, and kitchen tools, to exact steps that’ll help you nail the texture and taste. Plus, you’ll get creative twists and pro tips to take your mix to the next level. Let’s dive into snack heaven.
What Is a Party Mix?
Party mix—also known as trail mix, snack mix, or Chex mix—is a delicious blend of cereals, pretzels, nuts, crackers, and a buttery seasoning baked until golden and crunchy. It’s customizable, easy to make in large batches, and ideal for sharing. While store-bought versions exist, nothing compares to homemade, where you control the flavor, ingredients, and spice levels.
At its core, a party mix is all about texture and taste—the satisfying crunch from cereals, the saltiness of pretzels, the richness of nuts, and the buttery coating that binds it all together. You can make it spicy, sweet, cheesy, or nutty depending on your vibe. It’s not just a snack; it’s an experience.
Why Party Mix Is the Ultimate Crowd-Pleaser
Let’s be real—people love to snack. And when it comes to munch-worthy finger food that caters to all ages and taste buds, party mix delivers every single time. Why? Because it hits that magical spot where crunch meets flavor. Here are a few reasons why it’s the MVP at any gathering:
- Customizable: Everyone’s taste is different. You can go bold with spices or keep it mellow with just salt and butter.
- Budget-Friendly: Made from affordable pantry staples.
- Make-Ahead Friendly: Perfect for prepping a day or two in advance.
- No Mess: It’s dry, clean, and easy to serve—no forks or napkins required.
Plus, you can pack it in jars as gifts, add it to lunchboxes, or just snack on it throughout the week. Win-win!
Occasions Where Party Mix Steals the Show
You name the occasion, and party mix fits right in like it was born for that moment. Here are a few times when this savory snack becomes the unexpected star:
- Game Nights: Finger food that keeps hands clean? Yes, please.
- Holiday Gatherings: Add festive flavors and pack in jars as edible gifts.
- Birthday Parties: Kid- and adult-approved, always.
- Potlucks and Picnics: Easy to transport and serve cold.
- Movie Nights: Upgrade from plain popcorn with a flavorful crunch mix.
Whether you’re throwing a big bash or chilling at home with close friends, party mix has your back.
List of Ingredients You’ll Need
Creating your own party mix is like building a dream team—you want a balance of textures, flavors, and colors. Here’s your ultimate checklist to make the most irresistible batch.
Dry Ingredients
These form the base of your mix, giving it that iconic crunch:
- Corn Chex (2 cups)
- Rice Chex (2 cups)
- Wheat Chex (2 cups)
- Mini Pretzels (2 cups)
- Cheese Crackers (like Cheez-Its, 1 cup)
- Salted Peanuts or Mixed Nuts (1 cup)
- Bagel Chips or Rye Chips (1 cup)
You can swap any of these based on your preference or what you have on hand.
Wet Ingredients (For Coating)
This buttery-spicy blend is what gives the party mix its bold flavor:
- Unsalted Butter (½ cup, melted)
- Worcestershire Sauce (2 tbsp)
- Garlic Powder (1 tsp)
- Onion Powder (1 tsp)
- Paprika or Smoked Paprika (½ tsp)
- Salt (½ tsp)
- Cayenne Pepper (optional, ¼ tsp for heat)
Optional Add-Ins for Variety
Want to get creative? Here are extras you can throw in:
- Parmesan Cheese (grated)
- Coconut Flakes
- Candy-Coated Chocolates
- Wasabi Peas
- Tortilla Chips
- Popcorn
Don’t be afraid to play around—it’s your mix, your rules.
Essential Tools and Kitchen Gear
Before you start mixing and baking, gather your tools. Having everything in place will make the process smoother (and more fun).
- Large Mixing Bowl – Big enough to toss everything without spilling.
- Microwave-Safe Bowl or Saucepan – For melting butter and mixing the coating.
- Measuring Cups and Spoons – Precision matters when seasoning.
- Baking Sheet or Roasting Pan – Wide and shallow for even baking.
- Spatula or Wooden Spoon – For mixing and spreading.
- Parchment Paper or Foil (Optional) – Makes cleanup a breeze.
Tips Before You Start Mixing
Want that perfect batch that’s evenly coated, perfectly crisp, and bursting with flavor? These tips are golden:
- Use fresh ingredients – Especially the nuts and crackers. Stale snacks = bland mix.
- Toss gently but thoroughly – Make sure every piece gets a good coating.
- Don’t overcrowd your pan – Bake in batches if needed to avoid soggy bits.
- Watch the oven like a hawk – This stuff goes from perfect to burnt fast.
Ready to mix things up? Let’s get into the fun part—the actual recipe.
Step-by-Step Guide to Making the Perfect Party Mix
Step 1: Preheat Your Oven
Begin by preheating your oven to 250°F (120°C). This low temperature allows the mix to crisp up slowly without burning. Line a large baking sheet with parchment paper for easy cleanup.
Step 2: Measure Out Your Base Ingredients
In a large bowl, combine your favorite crunchy elements—Chex cereals, pretzels, cheese crackers, bagel chips, nuts, or popcorn. Use a variety of shapes and textures to make the mix more exciting and satisfying.
Step 3: Make the Flavorful Butter Coating
Melt butter in a small saucepan or microwave-safe bowl. Add Worcestershire sauce, garlic powder, onion powder, smoked paprika, and salt. Stir until the seasoning is fully dissolved. This coating is what transforms simple snacks into an irresistible party mix.
Step 4: Combine and Toss Everything
Pour the warm butter mixture over the dry ingredients, tossing gently but thoroughly. Make sure every piece is evenly coated for consistent flavor throughout the mix.
Step 5: Bake to Crispy Perfection
Spread the coated mixture onto the baking sheet in a thin, even layer. Bake for about 1 hour, stirring every 15 minutes to ensure every piece gets crunchy and toasted.
Step 6: Let It Cool Completely
Remove from the oven and cool fully before serving or storing. Once cooled, your party mix will be crisp, flavorful, and perfect for snacking or entertaining. Enjoy!
How to Store Party Mix for Maximum Freshness
Homemade party mix stays fresh for up to 2 weeks if stored properly, though chances are it’ll be gone way before that. Here’s how to keep it tasting just as good as day one:
- Cool before storing: Like mentioned earlier, don’t seal it up while it’s still warm.
- Use airtight containers: This keeps moisture out and preserves crispness.
- Keep it in a cool, dry place: A pantry or cupboard works best.
- Avoid the fridge: Moisture inside the refrigerator can turn your mix soft.
Want to keep it longer? You can freeze party mix for up to 2 months. Just make sure it’s sealed tightly, and thaw it at room temperature before serving.
Creative Variations of the Classic Party Mix
Tired of the same-old flavor profile? Let’s shake things up. Party mix is incredibly versatile—think of it like a blank canvas waiting for your personal flair.
Sweet and Spicy Blend
- Add-ins: Honey roasted nuts, dried cranberries, cinnamon cereal
- Coating: Butter, honey, cayenne pepper, brown sugar
- Flavor: Sweet upfront with a slow-burning heat in the background
Cheesy Explosion
- Add-ins: Cheese crackers, Parmesan crisps, nacho tortilla chips
- Coating: Butter, powdered cheese, garlic, onion powder
- Flavor: Bold, cheesy, and totally crave-worthy
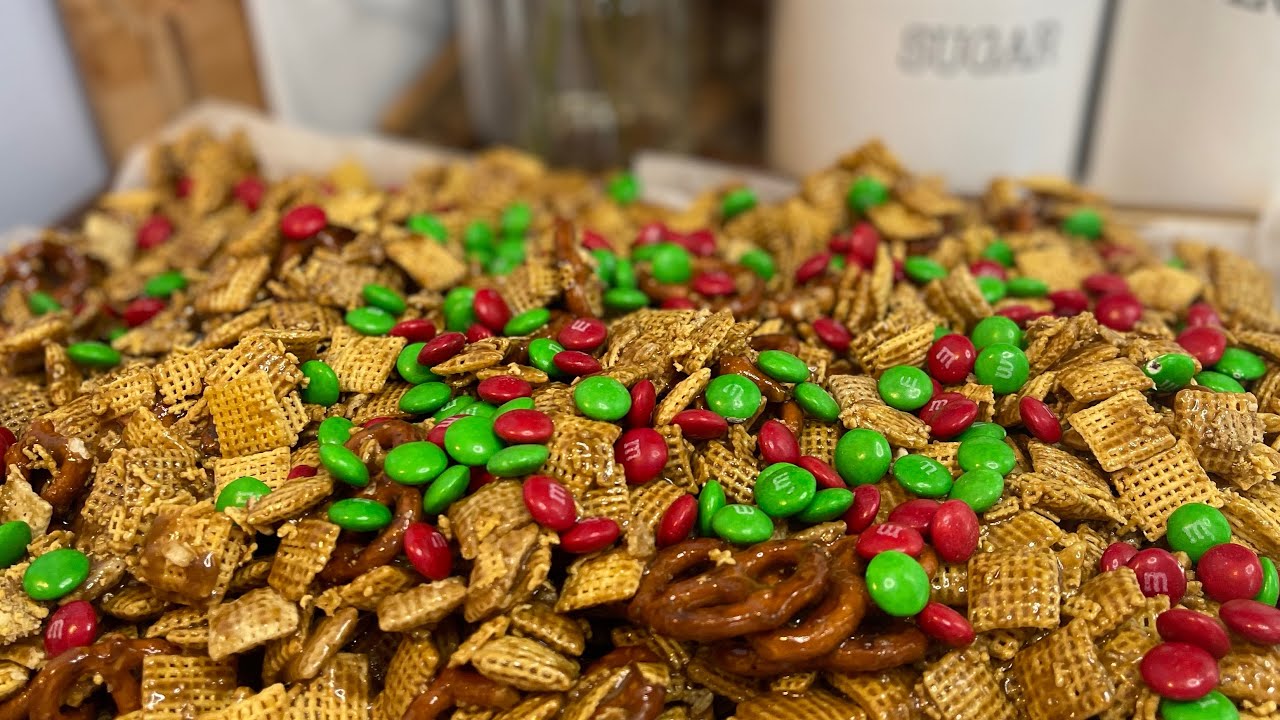
Holiday-Inspired Mix
- Add-ins: Peppermint pretzels, red/green candy-coated chocolates, dried cherries
- Coating: White chocolate drizzle + cinnamon spice blend
- Flavor: Sweet, festive, and ideal for gift bags or holiday parties
These twists not only add variety but also keep things exciting for returning guests or family who think they’ve tasted it all.
Gluten-Free and Vegan Options
Got dietary restrictions? No problem. You can easily modify the classic party mix recipe to make it both gluten-free and vegan without sacrificing flavor.
Gluten-Free Tips
- Use certified gluten-free cereals (many Chex varieties are!)
- Replace pretzels and crackers with GF alternatives
- Double-check sauces (like Worcestershire) to ensure they’re GF-certified
Vegan Adjustments
- Use vegan butter or margarine
- Opt for soy-based Worcestershire sauce (traditional versions contain anchovies)
- Skip cheese-based snacks and go for roasted chickpeas or spiced nuts
Don’t forget to taste-test and tweak your spice mix accordingly. Vegan and gluten-free snacks can still be full of punchy, rich flavor!
Common Mistakes to Avoid
Even though party mix is super simple, it’s still easy to make a few blunders. Here are some pitfalls to dodge:
- Overloading the pan – Crowded pans lead to uneven baking and soggy patches.
- Pouring the butter all at once – Always drizzle gradually and toss as you go.
- Baking at too high a temp – Low and slow is the way to go for crisp, not burnt.
- Not stirring during baking – Every 15 minutes helps all pieces bake evenly.
- Skipping the cooling step – Steam = moisture = chewy mix.
Fix these, and you’re already ahead of 90% of party mix makers out there.
Pro Tips from a Home Chef
Want to go from “pretty good” to “next-level awesome”? Here are some tried-and-true tricks to elevate your party mix:
- Use clarified butter – It doesn’t burn as easily and adds a rich, nutty depth.
- Try air-frying small batches – For a super quick and crispy result.
- Add fresh herbs post-bake – Like rosemary or thyme for an earthy punch.
- Toss with grated cheese after baking – Let it stick to the warm mix for a cheesy kick.
- Include a mix of textures – Soft nuts, airy cereal, dense chips: contrast is key.
Mix it up like a pro, and everyone will be asking for your recipe at the next party.
Perfect Pairings: Drinks That Go Well with Party Mix
Pairing your party mix with the right drinks can take the experience to a whole new level. Here are some matchups to try depending on your flavor profile:
| Party Mix Flavor | Drink Pairing |
|---|---|
| Classic Savory | Light beer, lemonade |
| Sweet and Spicy | Sparkling water, cider |
| Cheesy Explosion | IPA, Bloody Mary |
| Holiday Mix | Mulled wine, hot cocoa |
| Spicy Mix | Margarita, ginger beer |
Don’t be afraid to set up a drink + snack station—your guests will thank you.
FAQs about Party Mix Recipe
1. Can I make party mix in the microwave?
Yes! Mix all your ingredients with the butter coating, then microwave in a large bowl for 5-6 minutes, stirring every 90 seconds. It won’t be quite as crispy as oven-baked but still delicious.
2. How long does homemade party mix last?
Stored in an airtight container, it lasts up to 2 weeks. Just make sure it’s completely cooled before sealing.
3. Can I freeze party mix?
Absolutely. Freeze in zip-lock bags for up to 2 months. Thaw at room temperature before serving.
4. Is it okay to use margarine instead of butter?
Yes, but butter provides a richer flavor. Margarine works if you’re vegan or dairy-free—just choose one without added water.
5. How do I fix soggy party mix?
Pop it back in the oven at 250°F for 15–20 minutes, stirring once. Let it cool again before storing.
Conclusion
So there you have it: the ultimate party mix recipe broken down into bite-sized (pun intended) steps. Whether you’re a seasoned snacker or making this for the first time, one thing’s for sure—this stuff won’t last long. It’s easy to make, endlessly customizable, and basically snack gold.
So the next time you’re planning a gathering, don’t settle for store-bought bags of mystery mix. Whip up your own batch using this step-by-step guide, and enjoy the crunchy, savory, totally addictive payoff.
Happy snacking!


