Meringue Recipe: Meringue – that light, airy, and sweet cloud of whipped perfection – has been a beloved element of desserts for centuries. Whether it’s sitting proudly atop a lemon pie or forming the crisp, melt-in-your-mouth base of a pavlova, meringue is one of those baking wonders that feels magical to both make and taste. But here’s the secret: making meringue isn’t as tricky as it looks. In fact, once you get the hang of the basics, it’s a skill you’ll have in your baking toolkit for life.
In this step-by-step guide, we’re going to walk you through every part of making the perfect meringue. From understanding the key ingredients and tools to avoiding common pitfalls and learning flavor tricks, you’ll be whipping up glossy, stiff peaks like a pro in no time. Whether you’re a beginner baker or someone who’s had a few flops trying meringue before, this guide is designed to set you up for success.
So grab your eggs and mixer—let’s make magic happen.
What is Meringue?
Meringue is essentially a mixture of egg whites and sugar, whipped to create a fluffy, stable foam. But within that simple definition lies a world of variation, texture, and use.
There are three main types of meringue:
- French Meringue: The easiest and most common. Egg whites are whipped and sugar is gradually added until stiff peaks form. It’s often baked or folded into batters.
- Swiss Meringue: Egg whites and sugar are gently heated over a water bath, then whipped. It’s smooth, dense, and often used for buttercream or baked goods.
- Italian Meringue: Hot sugar syrup is whipped into beaten egg whites, creating a silky, stable meringue. Often used in professional patisserie and frostings.
Meringue can be piped into cookies, used as a pie topping, or baked into shells for desserts like pavlova. Its texture can range from soft and marshmallowy to crisp and brittle, depending on how it’s cooked. It’s versatile, elegant, and surprisingly forgiving once you understand the basics.
List of Ingredients You’ll Need
Before you start whipping, gather your ingredients. Luckily, meringue is minimal in its requirements—but the quality of these few ingredients really matters.
Essential Ingredients:
- Egg Whites (from large eggs) – The star of the show. Fresh eggs separate better and whip up more reliably. Avoid pre-packaged egg whites unless they’re pasteurized for meringue use.
- Granulated Sugar – Fine sugar is best, as it dissolves more easily. You can also use superfine or caster sugar.
- Cream of Tartar (Optional but recommended) – Helps stabilize the egg whites and gives structure to the foam.
- Salt (Just a pinch) – Enhances flavor slightly.
- Vanilla Extract or Other Flavorings – For aroma and taste.
Optional Flavor Add-ins:
- Almond, Lemon, or Peppermint Extracts
- Cocoa Powder or Melted Chocolate
- Zest from citrus fruits
- Espresso Powder
You can also get creative with colors using gel food coloring (avoid liquid types as they can deflate the meringue).
Remember, when it comes to meringue, less is more—but quality is everything.
Tools and Equipment Required
To make flawless meringue, a few kitchen tools will make all the difference:
Essential Tools:
- Electric Mixer (Stand or Handheld) – Hand whisking is possible, but it’s labor-intensive. A stand mixer makes the job much easier.
- Mixing Bowl (Glass or Metal only) – Avoid plastic, which can retain grease and ruin your foam.
- Spatula – For folding and scraping down the sides.
- Measuring Cups and Spoons
- Piping Bag and Tips – If you plan to pipe your meringue into cookies or decorative shapes.
- Baking Sheet with Parchment Paper – Prevents sticking and promotes even baking.
- Kitchen Scale – For precise measurements, especially with sugar.
Pro tip: Before starting, wipe all tools with a bit of lemon juice or vinegar to ensure they’re grease-free.
The Science Behind Perfect Meringue
Why do egg whites puff up into a cloud of sweetness when beaten? It’s all about science.
Egg whites contain proteins that, when agitated (whipped), unwind and create a mesh of air bubbles. This forms a foam. Sugar helps stabilize the structure, while acids like cream of tartar enhance it even more by lowering the pH level, making proteins more flexible.
Room temperature eggs whip faster and to greater volume because the proteins are more relaxed. That’s why it’s best to take your eggs out about 30 minutes before you start.
Think of it like blowing up a balloon—the right environment and timing keep it from popping.
Choosing the Right Eggs
You might not think eggs matter much, but in meringue making, egg quality and freshness play a big role. Fresh eggs create a stronger foam, but older eggs can whip to greater volume (although they may weep more after baking).
Here are some egg tips:
- Use large, room-temperature eggs.
- Separate eggs carefully, ensuring no yolk contaminates the whites.
- Always crack the egg into a small bowl first, then transfer to your mixing bowl—this way, if you mess up, you won’t ruin the whole batch.
Need to separate eggs easily? Use cold eggs straight from the fridge (they’re firmer), then let the whites warm up to room temp.
Tips Before You Start
Your success starts even before you crack an egg. Here’s what to know before mixing:
- Clean your tools thoroughly. Even a tiny bit of grease or yolk will sabotage your meringue.
- Don’t use plastic bowls—they can hold onto oils.
- If your egg whites aren’t whipping, check your sugar and timing.
- Add sugar slowly, one spoon at a time, only after soft peaks form.
- Don’t rush. Whipping takes time, especially if doing it by hand.
Creating meringue is like building a house—skip a step, and the whole thing can collapse.
Step-by-Step Guide to Making Meringue
Alright, here’s the moment you’ve been waiting for. Let’s whip up the perfect meringue, one step at a time.
Step 1: Prepare Your Tools
Start by ensuring your mixing bowl and whisk or mixer attachments are completely clean and dry. Any trace of grease can prevent the egg whites from whipping properly. Glass or metal bowls work best because plastic can hold onto oils.
Step 2: Separate the Eggs
Carefully separate the egg whites from the yolks. Even a small drop of yolk can interfere with whipping, so take your time. Let the egg whites sit at room temperature for about 10–15 minutes—this helps them whip more easily and to a greater volume.
Step 3: Whip the Egg Whites
Using a hand mixer or stand mixer, begin whipping the egg whites on medium speed until they become foamy. This initial stage introduces air and creates the structure needed for a stable meringue.
Step 4: Gradually Add Sugar
Once the egg whites turn white and bubbly, start adding sugar one tablespoon at a time. Adding it slowly helps the sugar dissolve fully and creates a smooth, glossy finish. Keep mixing as you add.
Step 5: Beat to Stiff Peaks
Continue whipping until stiff peaks form—meaning the meringue stands up firmly without drooping when you lift the whisk. The mixture should look shiny and smooth.
Step 6: Bake or Use Immediately
Use the meringue right away for pies, cookies, or pavlova, or pipe it onto a baking sheet and bake low and slow for crisp treats. Enjoy!
Types of Meringue and Their Preparation
Not all meringue is created equal. Each type—French, Swiss, and Italian—has its own texture, stability, and ideal use. Here’s how each one works and when to use it.
French Meringue
This is the most classic and beginner-friendly type of meringue. It’s also the least stable, meaning it’s best used when you plan to bake it right away—like for cookies or folded into a batter for cakes or macarons.
How to make it:
- Whip room-temperature egg whites with cream of tartar or a pinch of salt.
- Gradually add sugar until stiff peaks form.
- Use or bake immediately at low heat (around 200°F/93°C) for crispy cookies.
Best for: Meringue cookies, macaron shells, folding into soufflés or cakes.
Swiss Meringue
This one’s all about smoothness and stability. It’s perfect for buttercreams and topping pies where you want a silky texture.
How to make it:
- Combine egg whites and sugar in a heatproof bowl.
- Place over a pot of simmering water (double boiler method).
- Stir constantly until sugar dissolves (about 160°F/71°C).
- Remove from heat and whip until cool and stiff.
Best for: Swiss meringue buttercream, baked Alaska, or piping onto tarts.
Italian Meringue
This is the most stable (and technically challenging) type. It involves pouring hot sugar syrup into whipped egg whites, resulting in a glossy, dense meringue.
How to make it:
- Boil sugar and water to soft-ball stage (240°F/115°C).
- Meanwhile, whip egg whites to soft peaks.
- Slowly pour the hot syrup into the egg whites while whipping continuously.
- Keep beating until the mixture cools and reaches stiff peaks.
Best for: Frostings, mousses, marshmallow-style toppings, and professional-grade desserts.
Knowing which meringue to use—and how to make each—is like having a secret baking superpower.
How to Flavor Meringue
Sure, plain vanilla meringue is lovely, but why stop there? Meringue is a blank canvas that welcomes all kinds of creative flavor additions. The key is to add flavor without compromising stability.
Popular Flavor Options:
- Vanilla Extract – Classic and always reliable.
- Lemon Zest or Juice – Adds brightness and tang.
- Almond or Peppermint Extract – Just a drop or two goes a long way.
- Espresso Powder – Deepens the flavor and pairs well with chocolate.
- Cocoa Powder – For a rich chocolate twist (add carefully and sifted).
Tips for Flavoring:
- Add extracts or zests once soft peaks form, before stiff peaks.
- Avoid adding too much liquid. A few drops are enough.
- Dry flavorings like spices or zest are best because they don’t add moisture.
Want a festive twist? Try spicing with cinnamon or nutmeg for holiday vibes.
How to Color Meringue
Let’s be honest—colorful meringues are just fun. You can swirl them, stripe them, or tint them pastel shades for holidays or events. But there’s a trick to doing it without ruining the structure.
Best Practices:
- Use gel or powdered food coloring. Avoid liquid colors—they’ll thin your meringue.
- Add color at the soft-peak stage for uniform color.
- For marbled or striped effects, paint stripes of gel color inside the piping bag before filling it with meringue.
Creative Ideas:
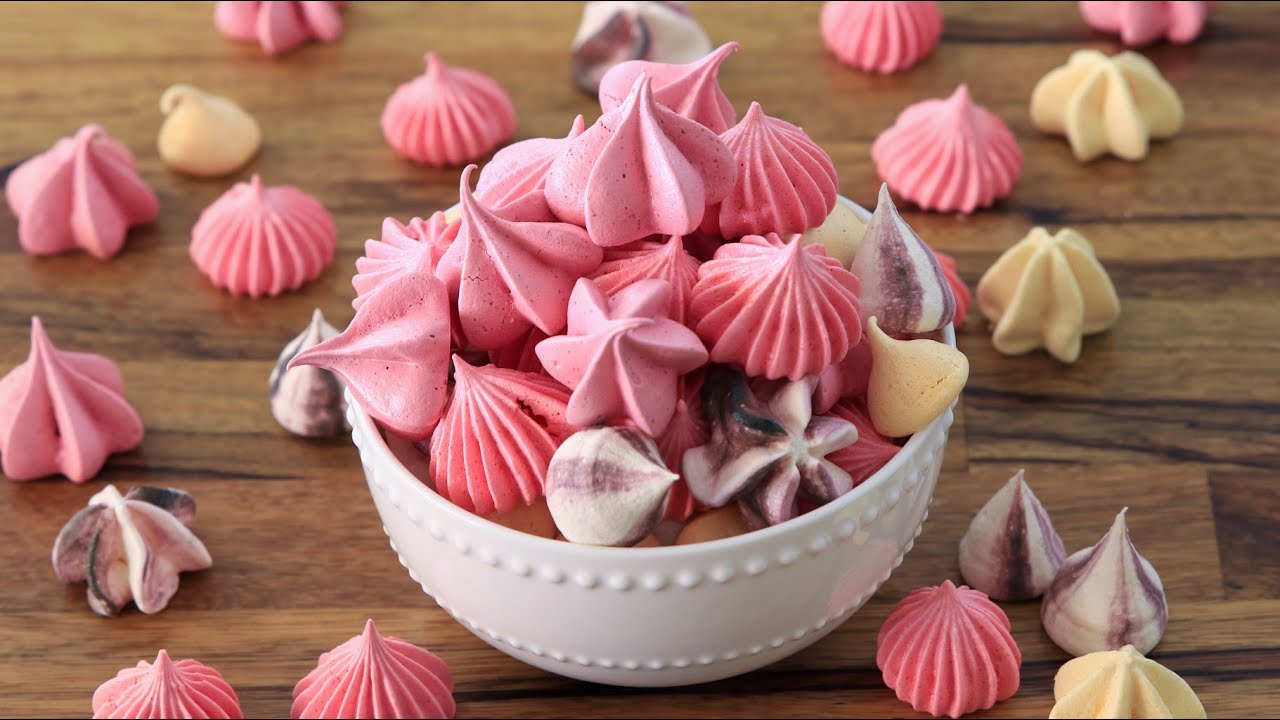
- Pastel meringue kisses for baby showers.
- Red-and-white swirl meringues for Christmas.
- Ombre colors for birthday treats.
Color adds that wow-factor and makes even simple meringues pop on the dessert table.
How to Bake Meringue
Once you’ve made your meringue, baking is the next important step—and low and slow is the name of the game.
Baking Tips:
- Preheat oven to 200°F (93°C)—or even lower for crispier cookies.
- Line baking trays with parchment paper or a silicone mat.
- Pipe or spoon meringue into desired shapes.
- Bake for 1.5 to 2.5 hours, depending on size.
- Turn the oven off and let meringues cool inside to avoid cracking.
Texture Options:
- Crispy All Over: Bake until meringue is firm and dry to the touch.
- Chewy Inside: Bake for slightly less time or at a higher temp for a shorter period.
Storage Tip:
Let them cool completely before storing—warm meringues attract moisture and become sticky.
Common Mistakes to Avoid
Even experienced bakers can mess up meringue. Here are the most common missteps and how to dodge them:
1. Greasy Bowl or Utensils
Fat is meringue’s worst enemy. Any grease will prevent your whites from whipping.
Fix: Clean everything with vinegar before starting.
2. Yolk Contamination
Even a drop of yolk will sabotage your peaks.
Fix: Separate eggs carefully and use a small bowl to catch each white.
3. Adding Sugar Too Early or Too Fast
Dumping sugar too soon can deflate the whites.
Fix: Wait until soft peaks form, then add sugar slowly.
4. Overbeating
Too much whipping causes dry, clumpy meringue.
Fix: Stop at glossy, stiff peaks that hold their shape.
5. Baking on a Humid Day
Humidity ruins meringue texture.
Fix: Make meringue on dry days, or use a dehumidifier in the kitchen.
Avoiding these pitfalls ensures your meringue stays lofty, stable, and delicious.
How to Store Meringue
So, you’ve made a beautiful batch—now what? Proper storage keeps your meringue from turning into a soggy mess.
Storing Fresh Meringue (Unbaked):
- Use immediately for best results.
- If needed, cover with plastic wrap and refrigerate for up to 24 hours.
Storing Baked Meringue:
- Let cool completely.
- Store in an airtight container at room temperature.
- Keep away from humidity and sunlight.
- Lasts up to 2 weeks if stored properly.
Freezing Tips:
- Baked meringue can be frozen—but may lose texture.
- Place between parchment layers in an airtight container and freeze for up to 1 month.
Creative Ways to Use Meringue
Sure, meringue cookies are great—but that’s just the beginning. Here’s how to take your meringue game to the next level:
1. Pavlova
Crispy shell, marshmallow-soft inside, topped with whipped cream and fruit. Heavenly.
2. Lemon Meringue Pie
Tart filling topped with toasted, pillowy meringue.
3. Meringue Kisses
Tiny piped cookies in various flavors and colors—perfect for gifts.
4. Baked Alaska
Ice cream cake wrapped in toasted meringue. A showstopper.
5. Ghost Meringues for Halloween
Pipe spooky shapes and add chocolate eyes—fun for kids!
Whether you want a rustic pie topping or an elegant dessert centerpiece, meringue offers endless opportunities.
FAQs about Meringue Recipe
1. Can I make meringue without cream of tartar?
Yes, though cream of tartar helps stabilize the egg whites. You can substitute with a small amount of lemon juice or vinegar.
2. What happens if I overbeat my meringue?
Overbeaten meringue becomes grainy and starts to separate. If this happens, it’s best to start over for a smooth result.
3. Why is my meringue weeping or leaking liquid?
Weeping happens due to overbaking, underbaking, or sugar not fully dissolving. Ensure slow baking and proper sugar incorporation.
4. Can I use carton egg whites?
Some brands sell pasteurized egg whites that whip well, but they’re not all created equal. Check the label or opt for fresh eggs for best results.
5. How can I make vegan meringue?
Use aquafaba (the liquid from canned chickpeas) as a substitute for egg whites. Whip it just like you would eggs—it’s surprisingly effective!
Conclusion
There’s something genuinely magical about transforming a few humble egg whites into fluffy, sweet clouds of dessert perfection. With just a little practice and attention to detail, meringue becomes one of the most rewarding—and versatile—recipes in your baking arsenal.
From learning about the science of egg whites to mastering three different meringue types, you now have all the tools to whip, flavor, color, bake, and even troubleshoot your way to meringue mastery.
So go ahead, crack those eggs, fire up the mixer, and create some edible clouds!


