Country Fried Chicken Recipe: Craving something crispy, golden, and absolutely comforting? You’re in the right place. This Country Fried Chicken recipe is the kind of dish that makes you feel like you’re right at grandma’s house on a Sunday afternoon. We’re talking crunchy breading, juicy meat, and southern-style flavor packed into every bite.
Whether it’s your first time frying chicken or you’re just on the hunt for a fail-proof, flavor-loaded recipe—this step-by-step guide has you covered. From selecting the perfect cut to getting that ultimate crunch, we’ll walk through every step like you’re standing right in the kitchen with me.
What is Country Fried Chicken?
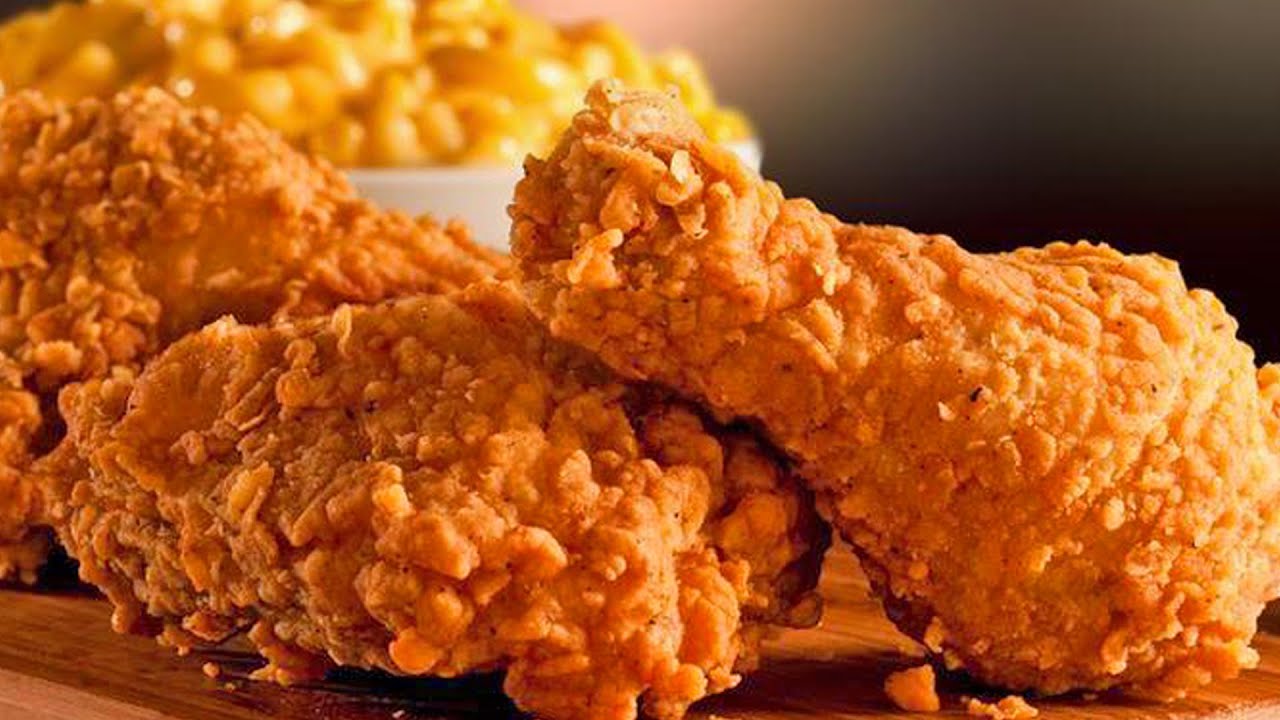
Country Fried Chicken is a timeless American classic. It’s all about tender chicken pieces, coated in seasoned flour, then deep-fried until golden and crispy. What sets it apart is its homestyle, rustic preparation—typically pan-fried or deep-fried, sometimes served with creamy gravy.
This dish originated in the American South but has become a staple comfort food across the country. It’s not fussy or fancy, but it is full of soul. Think: family gatherings, picnic lunches, and Sunday dinners.
And no, it’s not the same as fast food fried chicken. Country Fried Chicken has a homemade feel—heartier breading, juicy meat, and tons of flavor in every crunch.
Difference Between Country Fried Chicken and Southern Fried Chicken
You’ve probably heard both terms used interchangeably, but there are subtle differences.
- Country Fried Chicken is usually dredged in flour and fried until crisp, often served with white peppered gravy.
- Southern Fried Chicken, on the other hand, typically has a thicker, crunchier crust and is usually marinated in buttermilk before frying.
The flavor? Both are amazing. But country-style tends to be more homey and less spicy, with a gravy element that sets it apart. If Southern Fried Chicken is the flashy cousin, Country Fried Chicken is the cozy one that makes you feel right at home.
Why You’ll Love This Recipe
- Crunch Factor: That crackling, crispy outer layer is unbeatable.
- Juicy Meat: Thanks to a well-seasoned marinade and proper cooking technique.
- No Fancy Ingredients: Everything you need is likely already in your kitchen.
- Customizable: You can spice it up or keep it mild.
- Classic Comfort Food: It’s nostalgia in every bite.
This recipe is ideal for weeknight dinners, weekend feasts, or anytime you want to impress with a little down-home cooking.
List of Ingredients You’ll Need
For the Chicken
- 6 bone-in, skin-on chicken thighs (or drumsticks or breasts)
- Salt and pepper (to taste)
For the Marinade
- 2 cups buttermilk
- 1 tablespoon hot sauce (optional, for a kick)
- 1 teaspoon paprika
- 1 teaspoon garlic powder
- 1 teaspoon onion powder
For the Breading
- 2 cups all-purpose flour
- ½ cup cornstarch (for extra crispiness)
- 1 teaspoon salt
- 1 teaspoon black pepper
- 1 teaspoon paprika
- ½ teaspoon cayenne pepper (optional)
- ½ teaspoon dried thyme
- ½ teaspoon baking powder (helps the crust puff up)
For Frying
- 4 cups vegetable oil (canola or peanut oil works too)
- Heavy-duty frying pan or Dutch oven
- Wire rack and paper towels (for draining)
Simple pantry staples, right? The trick is in how we bring them together.
Choosing the Right Chicken Cuts
Choosing the right cut of chicken makes a huge difference in flavor and texture. You want pieces that are:
- Bone-in, skin-on: for maximum juiciness and flavor
- Thighs or drumsticks: These hold up well during frying and stay moist
- Breasts: Can be used, but make sure they’re not too thick; consider butterflying or pounding them slightly
Avoid boneless, skinless chicken for this recipe—they just don’t have the same texture or depth of flavor when fried.
Want that authentic, mouthwatering, Southern crunch? Go with a mix of thighs and drumsticks. Trust me, they deliver every single time.
Tools You’ll Need in Your Kitchen
Before you start, make sure you have:
- Large mixing bowls: For marinating and breading
- Tongs: For handling the chicken safely
- Heavy-duty skillet or Dutch oven: Holds heat evenly for consistent frying
- Thermometer: To monitor oil temperature (aim for 350°F/175°C)
- Cooling rack: Keeps chicken crispy while draining
- Paper towels: To absorb extra oil
These tools make a huge difference in ease, safety, and results.
Preparing the Chicken (Marinating for Flavor)
This step is key. Marinating in buttermilk not only tenderizes the meat, but it also helps the breading stick and adds tons of flavor.
Here’s how to do it:
- Rinse and pat dry your chicken pieces with paper towels.
- In a large bowl, mix the buttermilk, hot sauce, paprika, garlic powder, and onion powder.
- Add chicken to the bowl and turn to coat thoroughly.
- Cover and refrigerate for at least 4 hours, preferably overnight.
Don’t skip this step unless you’re in a serious rush. It makes all the difference between good fried chicken and unforgettable fried chicken.
The Secret to Crispy Coating
Now, let’s talk about the magic layer: that irresistible crispy coating.
- Use a combo of flour and cornstarch for a light, crunchy texture.
- Add baking powder—it reacts with the oil to puff up the crust.
- Season the flour just like you season the chicken—don’t rely on the marinade alone.
Here’s a pro tip: Double dredging (dip in buttermilk, dredge in flour, dip again, dredge again) gives an extra thick, crunchy crust. Just make sure your chicken rests for 10-15 minutes after coating—this helps the breading stick like glue.
Step-by-Step Cooking Instructions
Step 1: Prepare the Marinade
In a large bowl, mix buttermilk, hot sauce, paprika, onion powder, and garlic powder. Adjust the heat level with more or less hot sauce.
Step 2: Marinate the Chicken
Submerge chicken in the marinade, cover, and refrigerate for at least 4 hours. Overnight is best.
Step 3: Prepare the Breading Station
In another large bowl, combine flour, cornstarch, baking powder, salt, pepper, paprika, thyme, and cayenne. Stir well.
Step 4: Coat the Chicken Properly
Remove chicken from marinade (don’t wipe it off). Dredge in the seasoned flour. Press the flour into the chicken for an even coating. Rest the breaded chicken on a rack for 15 minutes.
Step 5: Heat the Oil
Pour oil into a heavy skillet or Dutch oven until it’s about 2 inches deep. Heat to 350°F (use a thermometer for accuracy).
Step 6: Fry the Chicken
Carefully add chicken pieces (don’t overcrowd the pan). Fry 6–8 minutes per side until golden brown and internal temperature hits 165°F.
Step 7: Drain and Rest
Remove chicken and place on a wire rack over paper towels. Let it rest 10 minutes before serving—this locks in the juices.
Tips for Extra Crispy Fried Chicken
Want that perfect, shatteringly crisp crust that doesn’t fall off after one bite? Here’s how you get it:
- Let the chicken rest after dredging: This is non-negotiable. Letting the coated chicken sit for at least 10–15 minutes before frying allows the flour to absorb some of the buttermilk moisture. This forms a paste-like layer that clings to the meat and crisps up beautifully in the oil.
- Use cornstarch in your flour mix: Cornstarch helps lighten the flour, giving your chicken that signature crispy finish.
- Double-dip for a thicker crust: If you like an extra thick, crunchy crust, dip the chicken back into the buttermilk after the first dredge, then coat it again in the flour mixture.
- Hot oil, not smoking: Keep your oil temp between 325°F and 350°F. Too hot and the outside will burn before the inside is cooked. Too cool and your crust will be soggy and greasy.
- Don’t overcrowd the pan: Fry in batches. Putting too many pieces in at once drops the oil temperature, and that’s a no-go for crispy results.
- Drain on a wire rack, not paper towels: Paper towels trap steam and make the bottom of the chicken soggy. A wire rack lets air circulate all around the chicken to keep it crispy.
A few extra minutes of care? Totally worth it. These simple tricks can transform a basic fried chicken into something guests won’t stop talking about.
What to Serve with Country Fried Chicken
Country Fried Chicken is the star of the show—but it shines even brighter with the right sides. Here are some soul-satisfying ideas to round out your meal:
Classic Southern Sides
- Mashed Potatoes with Gravy: You can even make a white pepper gravy using the chicken drippings.
- Buttermilk Biscuits: Fluffy, buttery, and perfect for sopping up any leftover gravy.
- Collard Greens or Green Beans: Adds balance and freshness.
- Cornbread: A slightly sweet bread that complements the salty crunch of the chicken.
Cool and Crunchy Sides
- Coleslaw: The tangy crunch cuts through the richness of the fried chicken.
- Potato Salad: Creamy and hearty, a picnic favorite.
- Mac and Cheese: Go big or go home, right?
Drinks to Pair
- Iced Tea or Lemonade: A classic pairing.
- Sweet Tea: The Southern essential.
- Craft Beer: A light lager or pilsner goes beautifully with fried foods.
Whether you’re making a full Southern spread or keeping it simple with just one or two sides, the key is balance—rich chicken with something fresh, creamy, or tangy to bring it all together.
Common Mistakes to Avoid
Even seasoned home cooks can slip up. Here’s a quick checklist of what not to do:
1. Skipping the Marinade
Don’t rush the process. Marinating isn’t optional—it tenderizes and infuses the chicken with flavor.
2. Uneven Oil Temperature
No thermometer? You’re frying blind. Use a thermometer to keep your oil between 325°F and 350°F.
3. Overcrowding the Pan
Putting too many pieces in at once drops the temperature and leads to soggy chicken. Give your chicken room to crisp up.
4. Using Boneless Chicken
Yes, it’s faster, but boneless pieces often dry out and don’t offer the same juicy texture and flavor.
5. Not Letting the Chicken Rest After Frying
Resting allows juices to redistribute. Cut into it too soon, and all the good stuff runs out.
6. Skimping on Seasoning
Season every layer—marinade, flour, and even the final sprinkle after frying. Bland fried chicken is just…sad.
Avoiding these mistakes means the difference between “meh” chicken and a standing ovation at the dinner table.
Storing and Reheating Leftovers
Let’s be real—leftover fried chicken is almost as good as fresh. Almost. But only if you store and reheat it right.
How to Store It:
- Cool first: Let the chicken cool to room temperature before storing.
- Use airtight containers: Store in the fridge for up to 3–4 days.
- Avoid stacking pieces: Stack with parchment paper between them if you must.
How to Reheat It:
Oven Method (Best Option):
- Preheat your oven to 375°F.
- Place chicken on a wire rack over a baking sheet.
- Heat for 10–15 minutes until the skin is crisp and the inside is warmed through.
Air Fryer Method:
- Set air fryer to 350°F.
- Reheat for 5–8 minutes.
Avoid the Microwave: It turns that glorious crust into soggy sadness. Only use it in desperation.
FAQs about Country Fried Chicken Recipe
What’s the best oil for frying chicken?
Vegetable, peanut, or canola oil are all great choices. You want an oil with a high smoke point and neutral flavor to let the chicken shine.
Can I make this recipe in an air fryer?
You can! Though you won’t get quite the same level of crunch, it’s a great lower-oil option. Spray the chicken generously with oil and air fry at 375°F for 20–25 minutes, flipping halfway.
How do I know when the chicken is fully cooked?
Use a meat thermometer. The internal temperature should be 165°F at the thickest part. No guesswork needed!
Can I marinate the chicken overnight?
Absolutely. In fact, it’s encouraged. The longer it marinates (up to 24 hours), the more flavorful and tender it becomes.
Why is my breading falling off?
It could be that you didn’t let the chicken rest after dredging, or you overcrowded the pan. Resting time helps the flour bind, and space in the pan ensures the breading stays intact.
Conclusion
There’s just something magical about a plate of Country Fried Chicken. It’s warm, crunchy, juicy, and downright satisfying. Whether you’re cooking for yourself, feeding a family, or hosting a full-blown southern-style dinner party, this recipe delivers every single time.
With a little planning and some love, you’ll go from chicken rookie to crispy king (or queen). It’s all about layering flavor, respecting the process, and letting the magic of frying do its thing.
So next time you’re craving comfort food, skip the drive-thru and fry up something unforgettable at home. Your tastebuds will thank you.


