Buttermilk Pound Cake Recipe: Let’s be honest—there’s just something irresistible about a classic pound cake. But what if we told you that adding a splash of buttermilk takes it to a whole new level of moist, tangy, buttery perfection? Yep, this isn’t your average loaf of cake. This is the Buttermilk Pound Cake, a delicious twist on a traditional favorite that’s been baked and loved for generations.
Why is it so special? It’s tender, buttery, rich, and slightly tangy—all thanks to the buttermilk. It has the kind of texture that melts in your mouth, and the flavor is warm, comforting, and subtly sweet. Whether you’re serving it for dessert, at a tea party, or just indulging in a late-night snack, this cake never disappoints.
This guide is packed with tips, tricks, and a full breakdown to make sure your cake turns out perfect every single time—even if you’ve never baked one before. So roll up your sleeves, preheat that oven, and let’s dive into this sweet and fluffy journey!
History of Pound Cake
Before we get our hands dirty, let’s take a quick trip back in time. Pound cake has been around since the early 1700s. The name comes from its original recipe: one pound each of flour, butter, sugar, and eggs. No more, no less. Simple, right? This method made it easy to remember—and incredibly rich!
Over the years, bakers worldwide started experimenting, tweaking the traditional recipe with new ingredients, and adding flavors like vanilla, lemon, or even cream cheese. That’s where buttermilk came into play. It softens the crumb and adds a gentle tang, giving this cake a unique twist while keeping the core tradition alive.
What Makes Buttermilk Pound Cake Unique?
If you’re wondering why you shouldn’t just stick with the old-school version, the answer lies in one magical ingredient: buttermilk. This cultured dairy product does a few things to elevate the cake:
- Moisture: Buttermilk is acidic, which tenderizes gluten and makes the cake super soft.
- Flavor: It gives a light tang that balances the richness of butter and sugar.
- Structure: The acidity reacts with baking soda (if used), helping the cake rise just right.
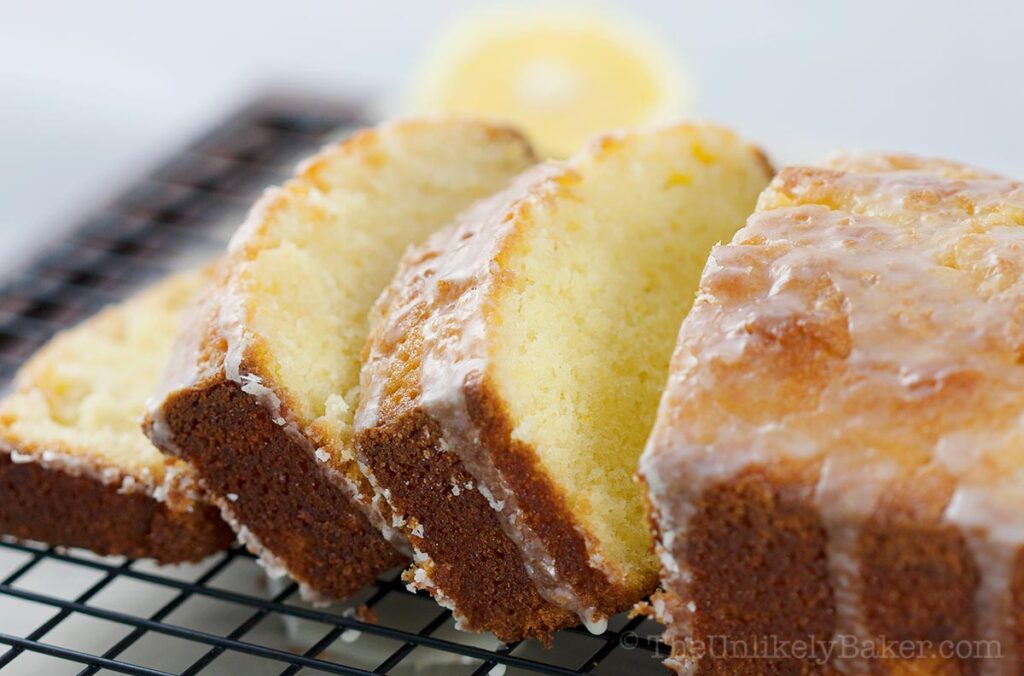
The result? A beautifully golden-brown exterior with a soft, buttery, velvety inside. No dry slices here, promise!
Ingredients You’ll Need
Let’s get our shopping list ready. Here’s everything you’ll need to bake the perfect buttermilk pound cake:
Essential Ingredients List
- 3 cups all-purpose flour (sifted)
- 1 teaspoon baking powder
- ½ teaspoon baking soda
- ½ teaspoon salt
- 1 cup (2 sticks) unsalted butter, softened
- 2 ½ cups granulated sugar
- 4 large eggs, room temperature
- 1 tablespoon vanilla extract
- 1 cup buttermilk, room temperature
Substitutes and Variations
- No buttermilk? Use 1 cup of whole milk mixed with 1 tablespoon of lemon juice or vinegar. Let it sit for 5–10 minutes.
- Add-ins: Chopped nuts, lemon zest, or even a swirl of fruit jam can take this cake to another level.
- Flavor swaps: Try almond extract, maple extract, or even a splash of bourbon for fun variations.
Tools You’ll Need for the Recipe
Here’s a quick checklist of kitchen tools you’ll want nearby:
- Mixing bowls (preferably large)
- Electric mixer or stand mixer
- Measuring cups and spoons
- Sifter (for flour)
- Rubber spatula
- Bundt or loaf pan (greased and floured)
- Cooling rack
- Toothpick or cake tester
Having everything prepped makes the process smooth and enjoyable—no scrambling mid-recipe.
Preparation Tips Before You Start
Before you turn on the oven, a little prep work goes a long way in ensuring your pound cake comes out just right:
- Bring all your ingredients to room temperature. This ensures even mixing and better texture.
- Sift your dry ingredients. This keeps the batter lump-free and helps the cake rise evenly.
- Grease and flour your pan. Pound cake sticks like glue if the pan isn’t prepped well.
- Don’t overmix. Once the flour is added, mix just until incorporated to avoid a tough cake.
Set your oven to 325°F (163°C) and let it fully preheat. Accuracy matters here!
Step-by-Step Guide to Making Buttermilk Pound Cake
Step 1. Preparing Your Ingredients
Start by sifting your flour with baking powder, baking soda, and salt. In a separate bowl, cream the softened butter and sugar together until it’s pale and fluffy—this usually takes about 3–5 minutes with an electric mixer on medium speed.
Crack in the eggs one at a time, making sure each is fully incorporated before adding the next. Add your vanilla extract and give it one more mix.
Step 2. Mixing the Batter Properly
Now it’s time to combine the wet and dry ingredients. Alternate between adding the flour mixture and the buttermilk to the butter mixture. Start and end with flour—usually three additions of flour and two of buttermilk work best.
- Flour > Buttermilk > Flour > Buttermilk > Flour
Use your mixer on low speed or switch to a spatula to prevent overmixing.
Step 3. Pouring and Prepping for Baking
Pour the batter into your prepared pan and smooth the top with a spatula. Tap the pan gently on the counter to release any air bubbles hiding inside.
Place the cake in the middle of the oven and bake at 325°F (163°C) for 70–80 minutes. Begin checking around the 70-minute mark. A toothpick inserted into the center should come out clean or with just a few moist crumbs.
Step 4. Cooling and Unmolding the Cake
Now comes the moment of patience. Once your cake is golden brown and a toothpick comes out clean, remove it from the oven. But wait—don’t unmold it right away. That’s one of the biggest mistakes people make with pound cake.
Let the cake cool in the pan for about 10–15 minutes. This allows it to firm up just enough to release from the sides of the pan without cracking or sticking. Then, gently run a butter knife around the edges to loosen it.
Turn it out onto a wire cooling rack and let it cool completely—at least 1 hour. If you cut into it while it’s still warm, the structure might collapse and all that buttery goodness might go to waste. So yes, patience is truly a baker’s best friend.
Serving Suggestions
You’ve just baked a gorgeous buttermilk pound cake—now, how should you serve it?
Classic Ways to Serve
- Plain and proud: Honestly, this cake doesn’t need much. A slice served on its own with a cup of coffee or tea is heavenly.
- Dusted with powdered sugar: A light sprinkle adds a nice aesthetic and a touch of extra sweetness.
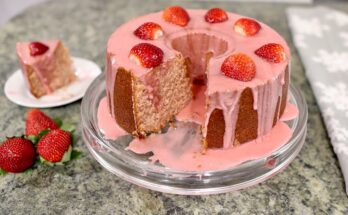
- With whipped cream and berries: This is a game-changer. Strawberries, blueberries, raspberries—whatever’s in season works beautifully.
Creative Toppings and Twists
- Drizzle with lemon glaze or vanilla icing
- Serve with a scoop of vanilla ice cream
- Top with caramel sauce or fruit compote
- Make it tropical with a pineapple rum sauce
This cake is incredibly versatile—it works for breakfast, dessert, brunch, or even as a late-night sweet tooth fix.
Storage Instructions
Let’s say you (somehow) have leftovers. Here’s how to keep that pound cake as fresh as possible.
- Room Temperature: Wrap it tightly in plastic wrap or store in an airtight container. It will stay fresh for up to 4 days.
- Refrigerator: You can refrigerate it to extend its life up to a week, but make sure it’s well-wrapped so it doesn’t dry out.
- Pro Tip: If the cake starts to get a bit dry, a quick zap in the microwave (10–15 seconds) with a damp paper towel over it can bring it back to life.
Freezing Tips
Yes, buttermilk pound cake freezes beautifully. Here’s how to do it right:
- Cool completely. You don’t want any warmth in the cake before freezing.
- Wrap tightly. Use plastic wrap first, then wrap it in aluminum foil or place in a freezer-safe zip-top bag.
- Label and date. It’ll keep well in the freezer for up to 3 months.
- To thaw: Leave it in the fridge overnight or let it sit at room temperature for a few hours.
You can freeze it as a whole loaf or individual slices—perfect for portion control!
Common Mistakes to Avoid
Let’s prevent some of the most common pound cake disasters before they happen:
- Using cold ingredients: Always bring eggs, butter, and buttermilk to room temp.
- Overmixing the batter: This can create a tough, dense cake.
- Underbaking: The top might look done, but always test the center.
- Skipping the sifting: Lumps in your flour = lumpy batter = sad cake.
- Not greasing the pan properly: Nothing’s worse than half your cake sticking to the pan.
By avoiding these missteps, you’re already halfway to pound cake perfection.
Troubleshooting Guide
Here’s a quick table to help you out if something goes wrong:
| Problem | Cause | Fix for Next Time |
|---|---|---|
| Cake is too dry | Overbaked or not enough fat | Reduce baking time, check oven temp |
| Cake sinks in the middle | Underbaked or opened oven too early | Bake longer, don’t peek early |
| Cake is dense | Overmixed batter or cold ingredients | Mix just until combined, room temp items |
| Cake sticks to pan | Improper greasing/flouring | Grease generously, use flour or parchment |
| Cracked top | Oven temp too high or batter too thick | Use accurate oven temp, add a bit more liquid |
FAQs about Buttermilk Pound Cake Recipe
1. Can I make buttermilk pound cake ahead of time?
Absolutely! It actually tastes better the next day. Just wrap it tightly and let the flavors settle.
2. Can I use self-rising flour instead of all-purpose?
It’s best not to. Self-rising flour changes the balance of baking powder and salt, which could mess with the texture.
3. What if I don’t have buttermilk?
Make a quick substitute by adding 1 tablespoon of lemon juice or vinegar to 1 cup of milk. Let it sit for 10 minutes.
4. Can I add lemon or almond flavoring?
Totally! Swap out or add 1 teaspoon of your favorite extract. Lemon zest also adds a bright twist.
5. How do I prevent my pound cake from sticking to the pan?
Generously grease your pan with butter and dust it with flour—or use a baking spray with flour in it. And make sure the cake cools for 10–15 minutes before trying to unmold it.
Conclusion
There you have it—the ultimate Buttermilk Pound Cake recipe that combines the rich legacy of traditional pound cake with the tender magic of buttermilk. Whether you’re a beginner baker or a seasoned pro, this recipe is a must-have in your dessert rotation. It’s simple yet sophisticated, cozy yet elegant, and most importantly—absolutely delicious.
Remember, baking is as much about joy and patience as it is about measurements and mixing. So take your time, enjoy the process, and don’t be afraid to make it your own. This cake is meant to be shared, savored, and celebrated.
Now, go preheat that oven and treat yourself (and your loved ones) to a slice of homemade comfort.