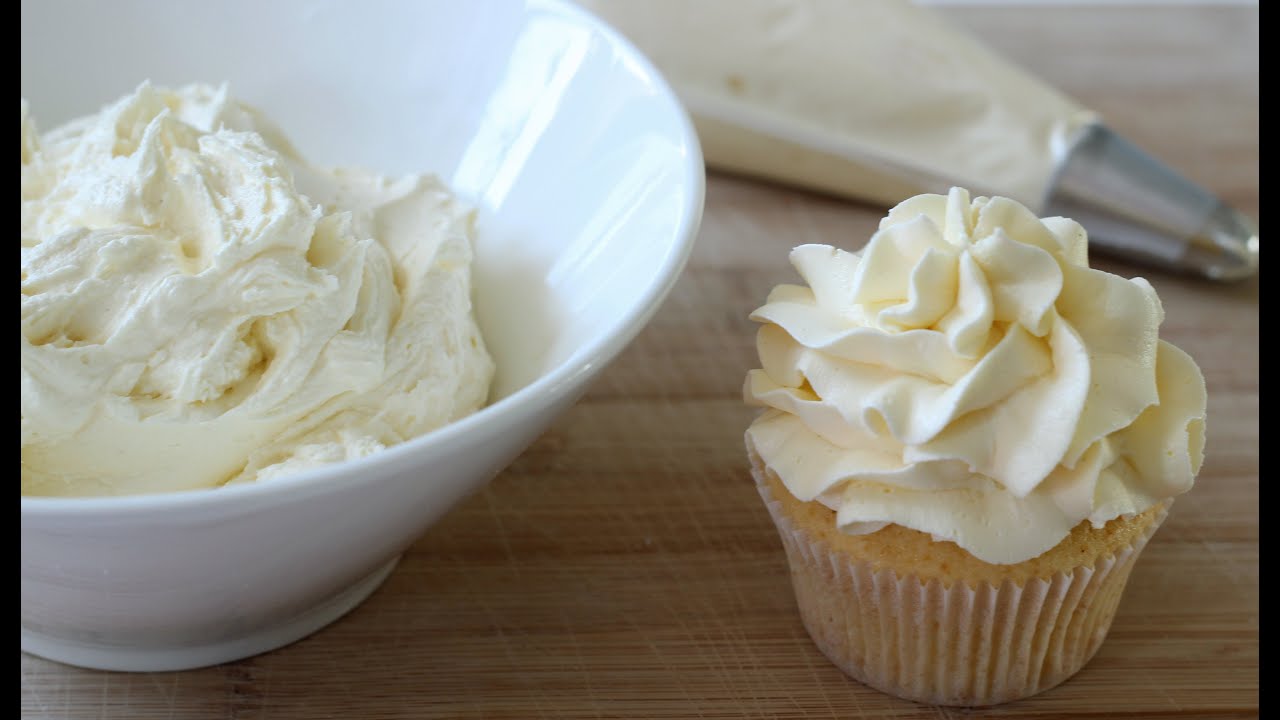
Butter Cream Frosting Recipe: Buttercream frosting is like the little black dress of the dessert world—it’s timeless, versatile, and never goes out of style. Whether you’re frosting cupcakes for a birthday bash or icing a cake for a wedding, a perfectly whipped buttercream can transform your baked goods from average to absolutely divine.
Let’s break it all down in this step-by-step guide to make your own fluffy, sweet, and customizable buttercream frosting at home.
What is Butter Cream Frosting?
Buttercream frosting is a rich, fluffy, and sweet icing made primarily from butter and sugar. It’s the go-to frosting for cakes, cupcakes, cookies, and even macarons. What makes buttercream so popular? It’s easy to make, holds its shape beautifully for decorating, and can be flavored or colored in endless ways. It’s like a blank canvas waiting for your artistic touch.
At its core, buttercream is an emulsion—meaning fat (butter) and sugar come together to create a smooth, creamy texture. With a little bit of milk, cream, or flavoring, you can turn this basic mix into a masterpiece. And depending on the recipe, buttercream can be light and fluffy or rich and silky. In this guide, we’ll focus on American buttercream, the most beginner-friendly and widely used version.
Why Butter Cream Frosting is a Must-Have in Your Baking Arsenal
You might be wondering, “Why not just buy frosting from the store?” Great question. Here’s the deal: homemade buttercream is fresher, tastes miles better, and can be tailored exactly to your preferences. Want less sugar? You got it. A hint of espresso? Go for it. Lavender-infused? Absolutely.
Store-bought frosting is often loaded with preservatives, artificial flavors, and a weird plastic-y aftertaste. With just a few ingredients and a bit of elbow grease, you can whip up a batch of buttercream that tastes like it came straight from a professional bakery.
Buttercream also acts as a protective barrier for your cakes and cupcakes, sealing in moisture and allowing for smooth fondant application or intricate piping. Once you master the art of making buttercream, your baking game levels up—big time.
Types of Buttercream Frosting
Buttercream isn’t just one recipe—it’s a whole family of frostings. Let’s break down the most common types:
American Buttercream
This is the easiest and most popular version. It’s made with butter, powdered sugar, and a splash of milk or cream. It’s sweet, rich, and perfect for piping or spreading.
Swiss Meringue Buttercream
Smooth, silky, and less sweet than American buttercream. It starts with egg whites and sugar whipped into a meringue, then butter is added. It’s ideal for wedding cakes and a polished finish.
Italian Meringue Buttercream
Similar to Swiss, but a bit more advanced. A hot sugar syrup is poured into whipped egg whites before butter is added. It’s ultra-stable and not overly sweet.
French Buttercream
Decadent and rich, made with egg yolks and hot sugar syrup. It’s custardy and luxurious but not as common due to its complexity.
Ingredients You’ll Need for Classic Buttercream
Let’s start with the basics. Here’s what you need for a classic American buttercream frosting recipe.
Essential Ingredients
- Unsalted Butter (1 cup / 2 sticks) – Room temperature is key. It should be soft but not melted.
- Powdered Sugar (4 cups) – Also known as confectioners’ sugar. This gives the frosting its sweetness and structure.
- Vanilla Extract (1-2 teaspoons) – Adds a warm, sweet flavor.
- Heavy Cream or Milk (2-4 tablespoons) – Adjusts consistency and makes the frosting creamy.
- Salt (a pinch) – Balances the sweetness and enhances the flavor.
Optional Flavor Enhancers
- Cocoa Powder or Melted Chocolate (for chocolate buttercream)
- Freeze-Dried Fruit Powders
- Espresso Powder
- Citrus Zest or Juice
- Almond, Peppermint, or Coconut Extracts
Tools You’ll Need
Making buttercream doesn’t require fancy gear, but a few tools will make the process easier and smoother:
- Electric mixer (hand or stand mixer)
- Mixing bowl (preferably deep)
- Rubber spatula
- Measuring cups and spoons
- Fine mesh sieve (to sift powdered sugar)
- Piping bags and tips (for decorating)
Preparing Your Ingredients for Success
Here’s a tip that many people skip: prep your ingredients ahead of time. Room temperature butter blends better and creates a smoother texture. Sift your powdered sugar to prevent lumps. And don’t skip the pinch of salt—it makes all the difference.
Also, taste as you go. One of the best parts of homemade frosting is that you can adjust it on the fly. Too sweet? Add a bit more butter or a pinch of salt. Too thick? A splash of milk will loosen it up.
Step-by-Step Guide to Making Buttercream Frosting
Let’s get to the good stuff. Follow this step-by-step guide and you’ll be on your way to buttercream bliss.
Step 1: Softening the Butter
Leave your butter out for at least 30-60 minutes. It should be soft enough to press a finger into but not so soft that it looks greasy or melty. Too cold, and it won’t whip properly. Too warm, and it won’t hold air.
Step 2: Creaming the Butter
Place the softened butter into your mixing bowl. Use your electric mixer to beat it on medium speed for 2-3 minutes. The goal? Light and fluffy. The more air you incorporate here, the creamier your final frosting will be.
Step 3: Adding the Sugar Gradually
Turn your mixer to low and start adding the powdered sugar one cup at a time. Don’t dump it all in at once—unless you like sugar clouds exploding in your kitchen. Beat each addition until fully incorporated before adding the next.
Step 4: Mixing in the Liquid
Once all the sugar is in, add your vanilla extract and 1 tablespoon of heavy cream or milk. Beat on low, then increase to medium-high for 2-3 minutes. Add more cream if the frosting is too stiff, a tablespoon at a time.
Step 5: Beating Until Fluffy
Crank up the speed and beat the frosting for another 2-3 minutes. It should look smooth, glossy, and airy. You’re aiming for that cloud-like texture that spreads like a dream.
Step 6: Taste Testing and Adjusting
Now’s the time to dip a spoon in and taste. Too sweet? Add a pinch of salt. Too stiff? More cream. Want to add a new flavor? Toss it in. Make it your own.
Flavor Variations You Can Try
Once you’ve nailed the classic buttercream base, it’s time to have some fun. Buttercream is like a blank canvas—you can paint it with almost any flavor under the sun. Here are some of the most popular (and delicious) variations you can try:
Chocolate Buttercream
- How to Make It: Add ¾ cup of unsweetened cocoa powder or 6 oz of melted dark chocolate to your base buttercream recipe.
- Tips: Use high-quality cocoa powder for the best flavor, and sift it to avoid clumps. Want it extra rich? Add a bit of brewed coffee or espresso—it intensifies the chocolate flavor without making it taste like mocha.
Vanilla Bean Buttercream
- How to Make It: Swap out regular vanilla extract for vanilla bean paste or scrape the seeds of one vanilla bean pod.
- Why It Rocks: This version gives your buttercream a speckled, gourmet look and a deeper, more complex vanilla flavor. It’s perfect for weddings or elegant desserts.
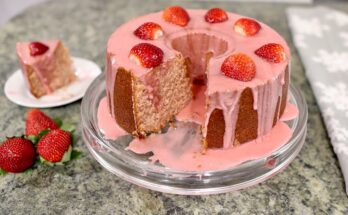
Strawberry Buttercream
- How to Make It: Add ½ cup of finely ground freeze-dried strawberries to the frosting. You can also use fresh strawberry puree, but beware—it can thin the consistency.
- Flavor Profile: Sweet, fruity, and perfect for spring and summer desserts. Pair it with vanilla or lemon cake for a refreshing combo.
Coffee Buttercream
- How to Make It: Dissolve 1-2 tablespoons of instant espresso powder in 1 tablespoon of hot water, then add to the frosting.
- Best For: Coffee lovers! This pairs well with chocolate cakes, mocha cupcakes, or even tiramisu-inspired desserts.
Want to experiment further? Try matcha powder, caramel sauce, peanut butter, or even lemon zest. The possibilities are endless once you’ve mastered the base.
Coloring Your Buttercream Like a Pro
Want that Instagram-worthy finish? Color makes all the difference. But before you go all out with the rainbows, let’s talk technique.
- Gel Food Coloring is King: Skip the liquid food coloring—it can thin out your buttercream. Gel or paste food colorings are more concentrated and won’t mess with the consistency.
- Use a Toothpick: Dip it into the color, then swirl it into your frosting a little at a time. You can always add more, but you can’t take it out.
- Let It Rest: Colors deepen as they sit. If you’re going for a bold hue, mix your color in and let the buttercream sit for 15-30 minutes before piping.
- Color in Batches: For ombré cakes or gradient piping, separate your frosting into bowls and add varying amounts of color to create different shades.
Bonus tip: For black or deep red buttercream, start with chocolate buttercream. It’s easier to achieve intense colors with a darker base.
Common Mistakes to Avoid
Even the pros mess up sometimes. Here are some buttercream blunders to avoid:
- Using Cold Butter: If your butter isn’t room temperature, it won’t whip properly, and you’ll end up with lumpy frosting.
- Overbeating: Yes, we want fluffy frosting—but over-mixing can cause separation or make it too airy to pipe properly.
- Adding Too Much Liquid: It’s tempting to add more milk or cream to get a silky texture, but too much will make your buttercream runny.
- Not Sifting the Sugar: Skipping this step can lead to a gritty texture. Always sift your powdered sugar!
- Ignoring Temperature: Hot kitchens can cause your buttercream to melt. If it starts looking glossy or too soft, pop it in the fridge for 10–15 minutes before using.
Fixing mistakes is part of learning, so don’t stress—just adjust as you go.
How to Store Buttercream Frosting
Got leftovers? Lucky you. Buttercream stores surprisingly well, and here’s how to keep it fresh:
Room Temperature
- Store in an airtight container for up to 2 days if your kitchen is cool (under 70°F/21°C).
- Rewhip before using to restore texture.
Refrigerator
- Store in an airtight container for up to 1 week.
- Let it sit at room temperature for 1 hour before rewhipping to make it creamy again.
Freezer
- Freeze in an airtight container for up to 3 months.
- Thaw overnight in the refrigerator, then bring to room temperature and rewhip.
Pro tip: Label your containers with the date and flavor to keep your freezer organized and your frosting flavorful.
How to Fix Common Buttercream Problems
Messed up your batch? Don’t panic. Here’s how to troubleshoot some common issues:
Frosting Too Thick
- Add 1 tablespoon of cream or milk at a time and beat until smooth.
Frosting Too Runny
- Add more sifted powdered sugar, a few tablespoons at a time.
- If it’s still too loose, chill for 20–30 minutes and beat again.
Frosting is Grainy
- Your sugar may not have fully dissolved. Let the frosting rest for 10 minutes, then beat again.
- Make sure you’re using powdered sugar, not granulated.
Frosting is Curdled
- Happens if ingredients are too cold. Warm the bowl slightly (over a double boiler or with a warm towel) and beat until it comes together.
Decorating Tips for Using Buttercream
Now that your buttercream is ready, it’s time to have some fun. Whether you’re a beginner or a seasoned decorator, these tips will help:
- Use the Right Tip: For flowers, use petal or star tips. For writing or borders, go with round or open star tips.
- Keep It Cool: If your hands warm up the piping bag too much, the buttercream can soften. Chill your piping bag or switch bags to keep it firm.
- Crumb Coat First: Apply a thin layer of buttercream to seal crumbs, chill the cake, then frost with a thicker layer for a smooth finish.
- Smooth with a Bench Scraper: For ultra-clean sides, use a metal bench scraper and a turntable to create a bakery-quality look.
- Practice Makes Perfect: If you’re new to piping, practice designs on parchment paper before applying them to your cake.
FAQs about Butter Cream Frosting Recipe
1. Can I make buttercream frosting in advance?
Yes! You can make it up to a week ahead and store it in the fridge. Just bring it to room temp and rewhip before using.
2. Why is my buttercream separating?
Separation usually happens when the ingredients are too cold or overmixed. Warm the bowl slightly and beat until smooth again.
3. Can I color buttercream with natural ingredients?
Yes! Beet juice for pink, matcha for green, turmeric for yellow. Just be mindful that they can affect flavor and consistency.
4. Can I use salted butter instead of unsalted?
You can, but reduce or skip the added salt in the recipe. Salted butter can sometimes overpower sweet frosting.
5. How much frosting does this recipe make?
The basic recipe (1 cup butter, 4 cups sugar) makes enough to frost 12–16 cupcakes or a two-layer 8-inch cake.
Conclusion
Buttercream frosting is one of those recipes every home baker should have in their back pocket. It’s forgiving, customizable, and seriously delicious. Whether you’re aiming for rustic cupcakes or a show-stopping celebration cake, buttercream can elevate your desserts like nothing else.
Start with the basics, play with flavors, and soon enough, you’ll be the go-to cake decorator in your circle. And remember, your first batch might not be perfect—and that’s totally fine. Practice, taste test (a lot), and most importantly, have fun with it.