Wedding Cake Recipe: Let’s be real—your wedding is one of the most meaningful days of your life. Every detail matters, from the dress to the flowers to (yes!) the cake. And when it comes to the cake, there’s something incredibly personal and heartfelt about making it yourself or with someone you love. A homemade wedding cake tells a story. It adds soul to your celebration. Plus, it’s a lot more budget-friendly than dropping hundreds (or thousands) at a high-end bakery.
Think about it: every layer can be crafted exactly how you want it—whether that’s a traditional vanilla sponge, rich chocolate fudge, or even something more daring like lavender or champagne-infused flavors. You control the sweetness, the texture, and the aesthetics. And with the right guidance (that’s where this article comes in!), you’ll see that baking your wedding cake isn’t just possible—it can actually be fun and rewarding.
So, if you’re someone who loves baking or just wants to add a special homemade touch to your big day, this guide will walk you through everything—from ingredients to icing, layering to decorating, and even avoiding the most common pitfalls. You’ve got this.
Overview of the Recipe and What to Expect
Before we dive headfirst into flour and frosting, let’s get a quick overview of what this recipe entails. This guide is specifically tailored to creating a 3-tier vanilla wedding cake with luscious buttercream frosting. Each tier will be moist, fluffy, and flavorful enough to impress even the pickiest guests. We’ll include a simple vanilla sponge recipe that scales well, buttercream frosting that’s easy to work with and delicious, and several optional filling and decoration ideas to help you personalize your cake.
The process is broken down into clear, actionable steps:
- Gathering ingredients and tools
- Preparing and baking the cake layers
- Making the frosting
- Assembling and frosting each tier
- Decorating your cake like a pro
Expect it to take a couple of days, especially if you’re new to baking. But trust us—it’s worth every second.
Ingredients You’ll Need
Let’s start with the backbone of your cake—ingredients. You’ll want to use high-quality, fresh ingredients because your final result really does depend on it. This is a celebration cake, after all.
For the Vanilla Wedding Cake Layers
This recipe makes a 3-tier wedding cake (6″, 8″, and 10″ round tiers), with each tier consisting of 2 cake layers. You can scale the recipe up or down depending on your wedding size.
Here’s what you’ll need (adjust quantities per tier):
Per 2 cake layers (for one tier):
- 2 ½ cups (315g) all-purpose flour
- 2 ½ tsp baking powder
- ½ tsp salt
- ¾ cup (170g) unsalted butter, room temperature
- 1 ¾ cups (350g) granulated sugar
- 4 large eggs, room temperature
- 1 tbsp pure vanilla extract
- 1 cup (240ml) whole milk, room temperature
Note: Triple this base recipe for a 3-tier cake (you’ll need separate batches for each tier to maintain even baking).
For the Buttercream Frosting
This American-style buttercream is creamy, sweet, and stable enough for stacking.
- 2 cups (450g) unsalted butter, room temperature
- 8 cups (1kg) powdered sugar, sifted
- ¼ tsp salt
- 2 tbsp vanilla extract
- 6–8 tbsp heavy cream (for consistency)
Pro Tip: You may need to double this recipe depending on how heavily you frost or decorate your cake.
Optional Fillings & Decorations
Want to add a surprise inside? Here are some delicious filling options:
- Raspberry jam or preserves
- Lemon curd
- Chocolate ganache
- Strawberry compote
- Cream cheese filling
Decoration add-ons:
- Fresh flowers (edible or pesticide-free only)
- Gold leaf
- Sprinkles or pearls
- Macarons
- Edible glitter
Tools & Equipment Required
Before you start baking, make sure your kitchen is equipped with the following tools:
- Stand mixer or hand mixer
- 3 round cake pans (6″, 8″, 10″)
- Cake leveler or serrated knife
- Parchment paper
- Cake boards (one per tier)
- Offset spatula
- Cake turntable (optional but highly recommended)
- Bench scraper
- Piping bags and tips
- Dowels or bubble tea straws (for support)
- Cooling racks
- Food-safe gloves (for decorating)
Preparing for Your Wedding Cake
Now that your ingredients and tools are set, let’s talk about preparation. Making a wedding cake is very different from your average Sunday bake. It requires planning, time management, and a clear workspace.
Choosing the Right Cake Size and Tiers
How many guests are coming to your wedding? That’s the first question to answer when choosing the size of your cake. Here’s a rough guide:
- 6-inch tier: Serves 10–12
- 8-inch tier: Serves 20–24
- 10-inch tier: Serves 30–38
Total: Around 60–75 servings
If your guest list is smaller, you can skip the 10″ tier or serve sheet cake alongside a display cake. If it’s larger, add a 12″ tier or create multiple cakes.
Other considerations:
- Odd-numbered tiers (3, 5) look more elegant and traditional.
- Each tier should be about 4 inches tall (two 2-inch layers).
Prepping Your Workspace
A clean, organized kitchen will make the process way smoother. Clear off your counters, set up your mixer, and pre-line your pans with parchment. Wash and dry all your tools before use. Don’t try to do it all in one go—space out your baking over 2 or 3 days:
- Day 1: Bake all cake layers
- Day 2: Level, fill, and frost layers
- Day 3 (Wedding Day): Decorate and transport
Prepping the Ingredients
Measure out all your ingredients in advance. This is called mise en place—a fancy French term that literally means “everything in its place.” It helps prevent mistakes (like forgetting the eggs or adding baking powder twice).
Don’t forget:
- Bring butter, milk, and eggs to room temperature before starting.
- Sift your dry ingredients to avoid lumps.
- Prepare fillings or decorations ahead of time.
Step-by-Step Guide to Making the Wedding Cake
Now comes the exciting part—actually baking and building your wedding cake. Take your time with each step, and don’t rush. The key here is patience, precision, and a whole lot of love.
Step 1: Making the Vanilla Cake Batter
Start by preheating your oven to 350°F (175°C). In a large bowl, cream together 1 cup of butter and 2 cups of sugar until light and fluffy. Beat in 4 eggs, one at a time, followed by 1 tablespoon of vanilla extract. In another bowl, whisk 3 cups of flour, 1 tablespoon baking powder, and a pinch of salt. Alternate adding the dry ingredients and 1 cup of milk to the butter mixture until smooth.
Step 2: Baking the Cake Layers Evenly
Divide the batter into greased cake pans (usually 8-inch or 9-inch rounds). Bake for 25–30 minutes, or until a toothpick comes out clean. Rotate halfway for even baking.
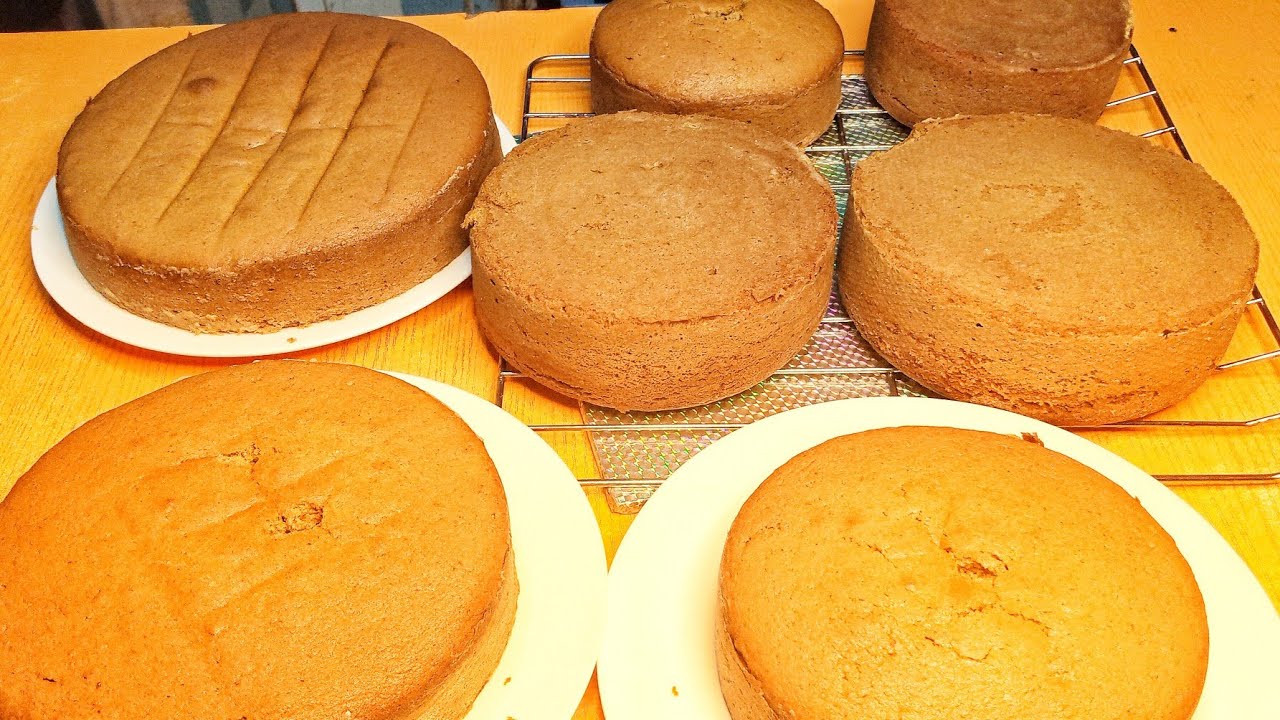
Step 3: Cooling and Leveling the Cakes
Let the cakes cool in the pans for 10 minutes, then transfer to a rack. Once cooled completely, level the tops using a serrated knife for perfect stacking.
Step 4: Making the Buttercream Frosting
Beat 1 cup butter until creamy. Gradually add 4 cups powdered sugar, 2 teaspoons vanilla, and 2–3 tablespoons milk or cream until smooth and fluffy.
Step 5: Assembling the Tiers
Place one layer on your cake board, spread frosting evenly, then stack the next. Insert dowels if making a multi-tiered wedding cake.
Step 6: Crumb Coating and Final Frosting
Apply a thin “crumb coat” to seal crumbs, chill for 20 minutes, then frost again with a thick, smooth layer.
Step 7: Decorating Your Wedding Cake
Finish with elegant touches — fresh flowers, edible pearls, or fondant accents. Keep chilled until ready to serve your stunning, handcrafted wedding masterpiece.
Wedding Cake Decoration Ideas
Let’s get inspired! Whether you’re going DIY with florals or dreaming of a Pinterest-worthy masterpiece, these ideas can help you decide on the perfect wedding cake aesthetic.
Classic White Fondant Finish
If you’re into timeless elegance, you can cover your buttercream-frosted cake with a thin layer of fondant. It gives a clean, smooth finish that’s perfect for traditional weddings. Fondant also allows for intricate details like lace patterns, embossing, or sugar flowers.
Best for:
- Black-tie weddings
- Vintage or formal themes
- Cakes needing to last longer outdoors
Fresh Flowers and Greenery
Fresh flowers are one of the easiest and most beautiful ways to dress up a cake. Whether you want a cascading floral arrangement or simple blossoms on top, the result is always romantic and dreamy.
Best floral combos:
- Blush roses with baby’s breath
- White peonies and eucalyptus
- Dahlias with trailing ivy
Make sure to use floral picks or wrap stems with food-safe material before adding to your cake.
Gold Accents and Metallics
Metallic cakes are trending for a reason—they’re eye-catching and luxurious. Whether it’s a gold drip, edible glitter, or full metallic tiers, this style adds instant glamour.
Ideas:
- Gold leaf flakes on buttercream
- Bronze fondant ribbons
- Silver pearl dragees
Use these accents sparingly to avoid overpowering the cake.
Themed Cake Designs
Hosting a boho, rustic, or destination wedding? Tailor your cake design to your wedding vibe.
Examples:
- Rustic: Naked cake with wildflowers and wooden cake stand
- Beach: Blue ombre frosting with edible shells
- Garden Party: Lavender buttercream with pressed edible flowers
- Fairytale: White and pastel with gold vines and sugar roses
The cake is a centerpiece—so let it reflect your personality as a couple.
Tips for a Stress-Free Wedding Cake Baking Experience
Even experienced bakers can feel the pressure when baking a wedding cake. Here are some real-life tips that’ll help you stay calm, confident, and on top of everything.
Time Management & Planning Ahead
The biggest secret to wedding cake success? Start early. You can’t bake a multi-tier cake the day before your wedding and expect it to turn out perfect.
Suggested Timeline:
- 2–3 weeks before: Finalize your design, test recipes, gather tools
- 1 week before: Shop for ingredients and non-perishables
- 3–4 days before: Bake all cake layers, wrap and chill/freeze
- 2 days before: Make frosting, fill and crumb coat tiers
- 1 day before: Stack, decorate, and chill cake
- Wedding day: Transport and set up (early morning)
Create a checklist. Use timers. Set reminders. You’ll thank yourself later.
Storing and Transporting Your Cake Safely
You’ve made a masterpiece—don’t let it fall apart in the car!
Storage Tips:
- Keep the cake chilled until it’s time to serve.
- Use a cake box for each tier if storing separately.
- Avoid humid or hot rooms—the buttercream can melt.
Transportation Tips:
- Place the cake on a non-slip mat in your vehicle.
- Transport it cold—it holds up better.
- Drive slowly and avoid sharp turns.
- Assemble the tiers on-site if you’re worried about the cake shifting.
Bring a cake emergency kit: extra frosting, spatula, knife, dowels, and wet wipes. You never know!
Common Mistakes to Avoid
Let’s be honest—mistakes happen. But if you know what to look out for, you can avoid the most common cake catastrophes.
Top Mistakes:
- Skipping the crumb coat: leads to messy frosting.
- Using warm cake layers: causes frosting to melt and slide.
- Overloading on fillings: makes tiers unstable.
- Not using dowels/supports: your cake might collapse.
- Forgetting to level: leads to a leaning cake.
- Last-minute baking: equals stress and chaos.
Preparation is your safety net. Plan smart, work slow, and don’t panic. Every baker has mishaps—just keep going!
FAQs about Wedding Cake Recipe
1. Can I freeze my wedding cake ahead of time?
Absolutely! You can bake and freeze cake layers up to 1 month in advance. Just wrap each layer tightly in plastic wrap and foil. Thaw in the fridge overnight before assembling and frosting.
2. How do I transport a multi-tier cake?
Carefully! Use dowels for internal support, chill the cake beforehand, and place it on a flat, non-slip surface in your vehicle. If you’re nervous, assemble the tiers at the venue.
3. Can I use different flavors in each tier?
Yes! It’s a great way to please a crowd. Just make sure each cake is structurally sound and that the fillings complement the frosting and overall design.
4. How long will the wedding cake stay fresh?
When refrigerated, your wedding cake will stay fresh for 3–5 days. Store it in an airtight container or cake box to maintain moisture.
5. Is it cheaper to make your own wedding cake?
Definitely. While time-consuming, DIY wedding cakes can save you hundreds of dollars, especially compared to bakery prices. Plus, it adds a deeply personal touch to your big day.
Conclusion
Baking your own wedding cake is not just a recipe—it’s a journey. It’s a story you’ll tell for years. Whether you’re doing it all yourself or with help from friends and family, it’s a beautiful way to add love and intention to your big day. From the first crack of an egg to placing the final flower on top, every step is part of the celebration.
You’ve got everything you need here—from ingredients to decoration, from baking tips to storage hacks. Take it one step at a time, enjoy the process, and remember: this cake doesn’t have to be perfect—it just has to be yours.


