Roasted Brussel Sprout Recipe: Let’s be real—Brussels sprouts didn’t always have the best reputation. Many of us grew up thinking of them as bitter, mushy green orbs that showed up at holiday dinners, only to be ignored. But all of that changes with roasting. Seriously, if you haven’t had roasted Brussels sprouts before, prepare to be blown away.
Roasting transforms these little cabbage-like veggies into crispy, caramelized, nutty bites of heaven. They’re easy to prepare, super healthy, and can be jazzed up in endless ways. Whether you’re planning a fancy holiday meal or just want to elevate your weeknight dinner, roasted Brussels sprouts deserve a permanent spot on your menu.
In this guide, we’re diving into everything you need to know—from ingredients and tools to tips and step-by-step instructions that guarantee perfect results every time. Let’s get roasting!
Ingredients You’ll Need
If you want delicious, crispy Brussels sprouts that are perfectly seasoned and roasted to golden perfection, the first step is gathering the right ingredients. You don’t need a laundry list of items—just a few simple staples, some fresh produce, and maybe a few extras to take things to the next level.
Fresh Ingredients
- Brussels Sprouts (1 to 1.5 pounds): Go for fresh, firm, vibrant green sprouts. The smaller ones are usually sweeter and more tender, while the larger ones offer a heartier bite.
- Garlic (optional but recommended): Fresh garlic cloves, minced, add a robust flavor.
- Fresh herbs (optional): Rosemary, thyme, or parsley can elevate the taste.
Pantry Staples
- Olive Oil (2 to 3 tablespoons): A must-have. It helps with even roasting and gives sprouts that crispy exterior.
- Salt (to taste): Sea salt or kosher salt works great.
- Black Pepper (to taste): Freshly ground is ideal for better aroma and bite.
Optional Add-Ons for Extra Flavor
- Parmesan Cheese: Sprinkle right after roasting for a salty, umami hit.
- Balsamic Vinegar or Glaze: Adds a tangy sweetness that balances out the natural bitterness.
- Red Pepper Flakes: For a spicy kick.
- Lemon Zest or Juice: Brightens up the flavor.
These ingredients are flexible, so feel free to experiment once you’ve nailed the basics.
Kitchen Tools and Equipment
You don’t need a fancy kitchen setup to make roasted Brussels sprouts, but having the right tools definitely helps streamline the process and improves the end result.
Must-Have Tools
- Baking Sheet or Sheet Pan: A large rimmed sheet ensures the sprouts spread out evenly and roast instead of steam.
- Sharp Knife or Paring Knife: You’ll need this to trim and halve the sprouts.
- Cutting Board: A stable surface for prepping.
- Mixing Bowl: For tossing the sprouts with oil and seasonings.
Optional But Helpful Tools
- Silicone Spatula or Tongs: For tossing during roasting or mixing with seasonings.
- Parchment Paper: Makes cleanup easier and prevents sticking.
- Oven Thermometer: To ensure your oven is truly at the right temp (many ovens run hot or cold).
Having these tools on hand makes the process quick, clean, and efficient—especially if you’re making this for guests or in a time crunch.
How to Choose the Best Brussels Sprouts
Getting the best results starts before you even turn on the oven. Choosing the right Brussels sprouts is essential for both flavor and texture. Bad sprouts can be bitter, rubbery, or just unpleasant. So here’s how to pick the best batch.
What to Look For at the Store or Market
- Color: Look for vibrant green sprouts. Yellowing or brown leaves are signs of aging.
- Size: Medium to small sprouts tend to be sweeter and more tender. Avoid overly large sprouts unless you’re okay with longer roasting times.
- Firmness: They should feel tight and firm when gently squeezed—not soft or squishy.
- Leaves: Outer leaves should be intact and not falling apart.
Buying from a farmer’s market? Even better. You can usually get fresher produce and sometimes even sprouts still on the stalk, which are fun and often tastier.
How to Store Them Until Use
- Refrigerator: Store unwashed Brussels sprouts in a plastic bag in your veggie crisper. They’ll stay fresh for up to a week.
- Avoid Washing Early: Moisture leads to mold. Wash only right before you’re ready to prep and roast.
- Stalk Storage (if applicable): If you buy sprouts still on the stalk, keep them whole and uncut in a cool place until ready to cook—ideally within 3 to 5 days.
Freshness is key to getting that crispy-on-the-outside, tender-on-the-inside magic.
Step-by-Step Guide to Roasting Brussels Sprouts
This is where the magic happens. Roasting Brussels sprouts is a simple process, but small mistakes can lead to soggy or bitter results. Follow this step-by-step guide to get perfectly crispy, flavorful sprouts every single time.
Step 1: Prepping the Brussels Sprouts
Start by preheating your oven to 400°F (200°C). Trim the stem ends of the Brussels sprouts and remove any yellow or damaged outer leaves. Cut them in half lengthwise to help them cook evenly and caramelize beautifully in the oven. Give them a quick rinse, then pat completely dry — moisture prevents proper roasting.
Step 2: Seasoning for Flavor
Place the prepped sprouts in a mixing bowl and drizzle with olive oil — enough to lightly coat them. Add salt, pepper, and your favorite seasonings like garlic powder, paprika, or a splash of balsamic vinegar for extra depth. Toss everything together so each sprout is evenly seasoned and glistening with oil.
Step 3: Roasting in the Oven
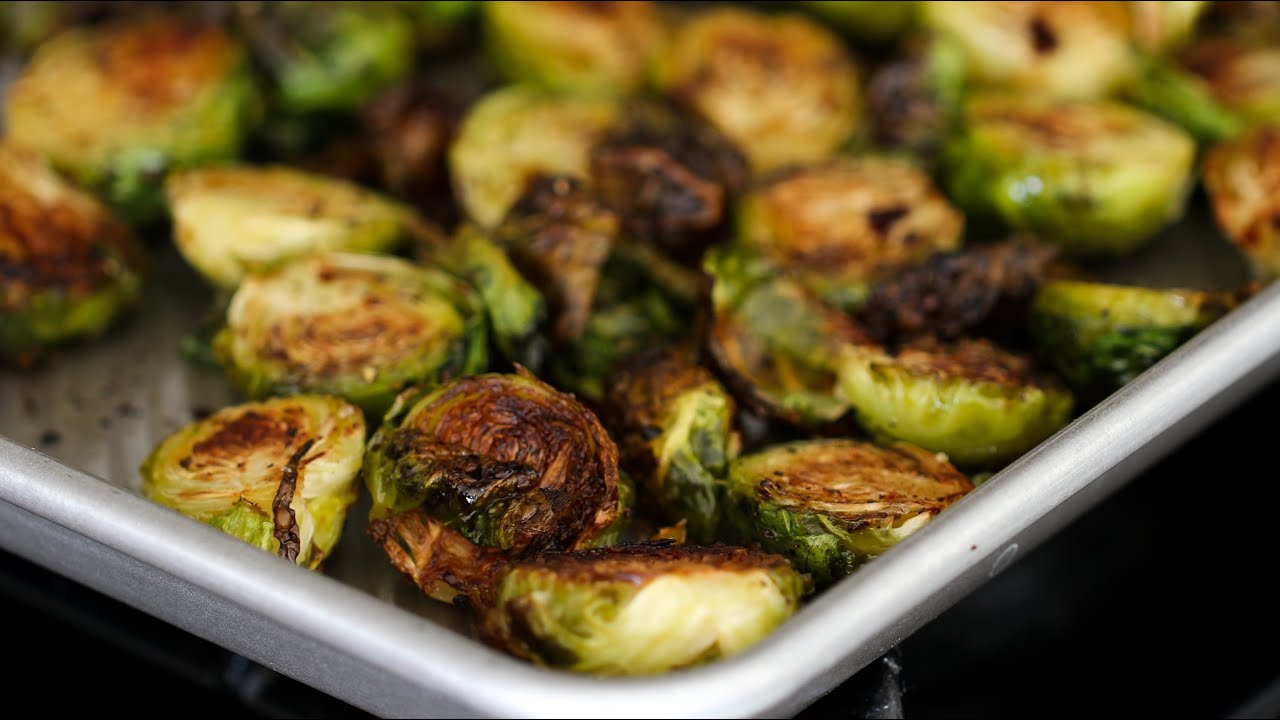
Spread the Brussels sprouts in a single layer on a baking sheet, cut side down for maximum browning. Roast in the preheated oven for 20–25 minutes, flipping halfway through for even crispiness. They’re done when the outer leaves are golden and crispy while the centers are tender.
Step 4: Final Touches Before Serving
Remove from the oven and let them cool slightly. For a flavor boost, toss with a drizzle of honey or a squeeze of lemon juice while still warm. You can also sprinkle grated Parmesan or crushed nuts for texture. Serve hot — smoky, crispy, and irresistibly savory Brussels sprouts that even skeptics will love!
Pro Tips for Crispy, Perfectly Roasted Brussels Sprouts
Even with a simple recipe, technique matters. These insider tricks can help you go from “just okay” to “WOW” every single time.
1. Dry Your Sprouts Like a Pro
Wet sprouts are your biggest enemy. Pat them dry thoroughly before tossing with oil. Moisture causes steaming, which is the opposite of what you want here.
2. Don’t Skimp on Oil
Too little oil and your sprouts won’t brown evenly. Think of oil as the vehicle that makes caramelization possible. Each sprout should be lightly coated but not dripping.
3. Use High Heat
425°F (218°C) hits the sweet spot. Lower temps lead to mushiness; higher temps can burn the outsides before the inside cooks through.
4. Cut Side Down = Crispy Goodness
Placing sprouts cut side down gives you that beautiful browning on the exposed surface. It’s the secret to that restaurant-style crisp texture.
5. Give Them Room
Seriously—don’t crowd the pan. If you have a ton of sprouts, use two pans or roast in batches. Overlapping sprouts leads to steaming instead of roasting.
6. Add Acid or Sweetness After Roasting
Things like lemon juice, vinegar, or honey should be added at the end. That way, they don’t interfere with the roasting process and won’t cause sogginess.
7. Don’t Be Afraid of the Crispy Leaves
Those loose outer leaves that crisp up in the oven? That’s Brussels sprout confetti. Keep them! They’re the best part.
Creative Variations to Try
Roasted Brussels sprouts are already delicious on their own, but once you’ve mastered the classic version, why not branch out? There are so many tasty ways to tweak the flavor depending on your mood, meal, or cravings. Here are a few creative variations that bring a whole new personality to this humble vegetable.
Garlic Parmesan Roasted Brussels Sprouts
This combo is a fan favorite. The nutty Parmesan blends perfectly with roasted garlic for an irresistible umami-packed side dish.
Here’s how to do it:
- During the seasoning stage, add 2–3 cloves of minced garlic.
- Roast as usual.
- Once out of the oven, sprinkle a generous amount of freshly grated Parmesan cheese.
- Return to the oven for 2–3 minutes to melt the cheese (optional).
The end result? A crispy, garlicky, cheesy bite that will convert even the pickiest eaters.
Balsamic Glazed Brussels Sprouts
Perfect for a holiday table or a date-night side dish, this version adds a tangy-sweet finish that balances the slight bitterness of Brussels sprouts.
To make it:
- Roast your sprouts as usual.
- In the last 5 minutes, drizzle 1–2 tablespoons of balsamic glaze over them.
- Toss lightly and return to the oven.
The balsamic caramelizes slightly, creating a sticky, rich glaze that elevates the dish beautifully.
Spicy Sriracha Roasted Brussels Sprouts
For the heat lovers out there, this spicy take is bold, punchy, and unforgettable.
Here’s what you need:
- Add 1 tablespoon of Sriracha and 1 teaspoon of honey to your olive oil before tossing the sprouts.
- Roast as directed.
- Optionally, garnish with sesame seeds or chopped green onions for an Asian-inspired twist.
This version is fiery, slightly sweet, and packed with flavor—great as a snack or side dish.
Serving Suggestions
You’ve got your beautifully roasted Brussels sprouts—now what do you serve them with? Luckily, this dish is wildly versatile. Whether you’re cooking for one, feeding a crowd, or hosting a dinner party, these pairings will help make it a complete meal.
Main Courses to Pair With
Roasted Brussels sprouts go well with just about anything, but here are some killer combos:
- Grilled or Roasted Chicken: A simple herb chicken pairs perfectly.
- Pork Tenderloin or Chops: The slightly sweet and nutty sprouts complement pork beautifully.
- Steak: Add a compound butter to your steak and serve with crispy sprouts for a rich and satisfying meal.
- Salmon or White Fish: Especially with a balsamic or lemon glaze on the sprouts.
- Tofu or Tempeh: For a plant-based option, toss sprouts with marinated tofu for a hearty vegan meal.
Holiday & Everyday Meal Ideas
- Thanksgiving: They’re a favorite side dish on Thanksgiving tables. Add dried cranberries or pecans for extra holiday flair.
- Christmas or Easter: Use Parmesan or bacon crumbles to make them festive and indulgent.
- Weeknight Dinners: Quick enough to make after work—pair with leftover proteins or a quick grain bowl.
- Meal Prep: Make a batch for the week to toss into salads, grain bowls, or wraps.
There’s no bad time to serve roasted Brussels sprouts—they’re just that flexible.
Common Mistakes to Avoid
Even though roasting Brussels sprouts is pretty straightforward, a few simple missteps can ruin the dish. To get that perfect texture and flavor every time, avoid these common pitfalls.
Roasting Too Long or Too Little
- Too Short: The inside will be hard, and you won’t get any of that crispy exterior.
- Too Long: They’ll burn and become bitter. Burnt sprouts = sad sprouts.
Solution: Stick to the 20–25 minute window at 425°F, and always check halfway through.
Overcrowding the Pan
This is probably the #1 mistake people make.
Why it’s bad: If your sprouts are crammed together, they’ll steam instead of roast. That means soggy, mushy sprouts instead of crispy, golden ones.
Fix it: Use a large baking sheet and spread them out in a single layer. If you’re making a big batch, roast in two pans.
Not Flipping Halfway Through
It’s tempting to just pop the pan in and forget about it. But flipping ensures even cooking and beautiful browning on both sides.
Pro Tip: Use tongs or a spatula around the 12-minute mark to flip each sprout.
Not Drying the Sprouts Thoroughly
We’ve said it before, and we’ll say it again—wet sprouts steam. Drying them thoroughly ensures they roast up crispy, not limp.
Tip: Lay them out on a clean towel after washing and give them at least 10 minutes to air dry if needed.
Nutritional Value Breakdown
Roasted Brussels sprouts aren’t just tasty—they’re also incredibly good for you. These green gems are packed with nutrients, antioxidants, and fiber, making them one of the healthiest veggies you can eat regularly.
Caloric Content Per Serving
Here’s the breakdown for one cup (about 150g) of roasted Brussels sprouts, lightly tossed in olive oil:
| Nutrient | Amount |
|---|---|
| Calories | 150 kcal |
| Carbohydrates | 12 g |
| Protein | 4 g |
| Fat | 9 g (mostly healthy fats from olive oil) |
| Fiber | 4 g |
They’re low in calories but high in satisfaction—a perfect combo for healthy eating.
Key Vitamins and Minerals
- Vitamin C: Supports immunity and skin health. One serving covers more than 100% of your daily needs.
- Vitamin K: Crucial for blood clotting and bone health.
- Folate: Important for cell growth and development.
- Iron: Helps transport oxygen through the blood.
- Potassium: Balances blood pressure and supports muscle function.
Plus, they’re rich in antioxidants that may help reduce inflammation and support long-term health.
How to Store Leftovers
So you’ve roasted a big batch of Brussels sprouts (nice work!), but now you’ve got some leftovers. Don’t toss them—roasted Brussels sprouts store well and can be just as tasty the next day with a little reheating know-how.
Fridge Storage Tips
- Cool Before Storing: Let your sprouts cool to room temperature before transferring them to a storage container. This helps prevent condensation, which can make them soggy.
- Use Airtight Containers: Store the sprouts in an airtight container to preserve flavor and texture.
- Shelf Life: Properly stored, they’ll last about 3 to 4 days in the fridge.
You can even store them separately from any sauces or toppings you added after roasting (like balsamic glaze or cheese) to keep them crispier longer.
Reheating Without Losing Texture
The microwave is convenient, but it can make sprouts limp and lifeless. For best results:
- Oven or Toaster Oven: Reheat at 400°F (204°C) for 5–7 minutes. This helps bring back that crispy texture.
- Air Fryer: Pop them in at 375°F for about 3–5 minutes. Quick, easy, and crispy!
- Skillet: Reheat in a nonstick pan over medium heat with a small drizzle of olive oil. Toss until warmed through and re-crisped.
Avoid steaming or covering with a lid during reheating—that’s a surefire way to lose the crisp.
Can You Freeze Roasted Brussels Sprouts?
You can absolutely freeze roasted Brussels sprouts—but there are some tricks to keep them from turning into a mushy mess when thawed.
Tips for Freezing Successfully
- Cool Completely First: Freezing hot sprouts will lead to ice crystals, which ruin the texture.
- Flash Freeze: Spread them out on a baking sheet and freeze for 1–2 hours. Then transfer them to a freezer-safe bag or container. This prevents clumping.
- Label and Date: Frozen Brussels sprouts are best used within 2 months for optimal taste and texture.
Best Practices for Reheating Frozen Sprouts
- Reheat from Frozen: No need to thaw. Just pop them directly into a hot oven (425°F) for about 15–20 minutes.
- Air Fryer Works Too: Toss them in at 375°F for 10–12 minutes.
- Avoid Microwaving: Unless you’re in a major rush, skip it—it’ll make them soggy.
While the texture might not be quite as perfect as fresh roasted, frozen-and-reheated sprouts can still be seriously tasty—especially when tossed in fresh seasonings or sauces.
FAQs about Roasted Brussel Sprout Recipe
Q1: Can I roast Brussels sprouts without oil?
Yes, but they won’t get as crispy. Try tossing them in a bit of lemon juice or veggie broth for flavor, but expect a slightly different texture.
Q2: Why do my Brussels sprouts taste bitter?
Older, overcooked sprouts can develop bitterness. Try using smaller, fresher sprouts and add a sweet glaze like balsamic or honey to balance the flavor.
Q3: Can I roast them with other vegetables?
Absolutely! Just choose veggies with similar cooking times like carrots, sweet potatoes, or cauliflower. Spread them evenly and don’t overcrowd the pan.
Q4: Do Brussels sprouts shrink when roasted?
Yes, slightly. They lose moisture and shrink a bit, which is why you might want to make more than you think you’ll need!
Q5: Can I serve roasted Brussels sprouts cold?
You can! They’re delicious in salads or grain bowls. Just be sure to dress them with something zesty like a lemon vinaigrette.
Conclusion
And there you have it—your ultimate, foolproof guide to making the best roasted Brussels sprouts ever. With a few simple ingredients and some pro tips, you can turn this often-overlooked veggie into the star of the meal. Whether you’re going classic, cheesy, spicy, or sweet, roasted Brussels sprouts are delicious, nutritious, and endlessly adaptable.
They’re easy enough for a weeknight dinner but impressive enough for your holiday spread. So next time you’re wondering what to make with that bag of sprouts sitting in your fridge, don’t overthink it—just roast them up!
Happy roasting!


