Marshmallow Fudge Recipe: There’s something incredibly nostalgic about biting into a soft, creamy piece of marshmallow fudge. The texture is silky, the flavor is rich, and the sweetness feels just right. Unlike traditional fudge recipes that require precise temperature control and a candy thermometer, marshmallow fudge is foolproof. It’s a shortcut recipe that gives you the luxurious taste of classic fudge without the stress of constant stirring or the risk of crystallization.
What makes marshmallow fudge truly stand out is its melt-in-your-mouth texture. The marshmallows work as a stabilizer, giving the fudge a smooth consistency while adding just the right touch of sweetness. This recipe is perfect for beginners who might find traditional fudge intimidating. Whether you’re making it for a holiday dessert, a birthday treat, or just a sweet snack to keep in the fridge, this fudge is guaranteed to please.
Think of it as the ultimate comfort dessert—easy to make, delightful to eat, and perfect for sharing. And the best part? You can customize it with endless add-ins, from nuts and caramel swirls to peanut butter ribbons or even crushed cookies.
Ingredients You’ll Need
Main Ingredients
To get started, you’ll need just a handful of basic pantry staples. Here’s what goes into a classic marshmallow fudge recipe:
- 2 cups of granulated sugar – The base that gives fudge its sweetness.
- ½ cup of unsalted butter – Adds richness and creaminess.
- ½ cup of evaporated milk – Helps create a smooth, creamy texture.
- 1 bag (10 oz) of marshmallows or marshmallow crème – The star ingredient that gives this fudge its signature soft consistency.
- 2 cups of semi-sweet chocolate chips – Balances the sweetness with a deep chocolate flavor.
- 1 tsp of vanilla extract – Enhances flavor and aroma.
Optional Add-ins for Flavor
Want to get creative? Marshmallow fudge is like a blank canvas. Here are some mix-ins you can try:
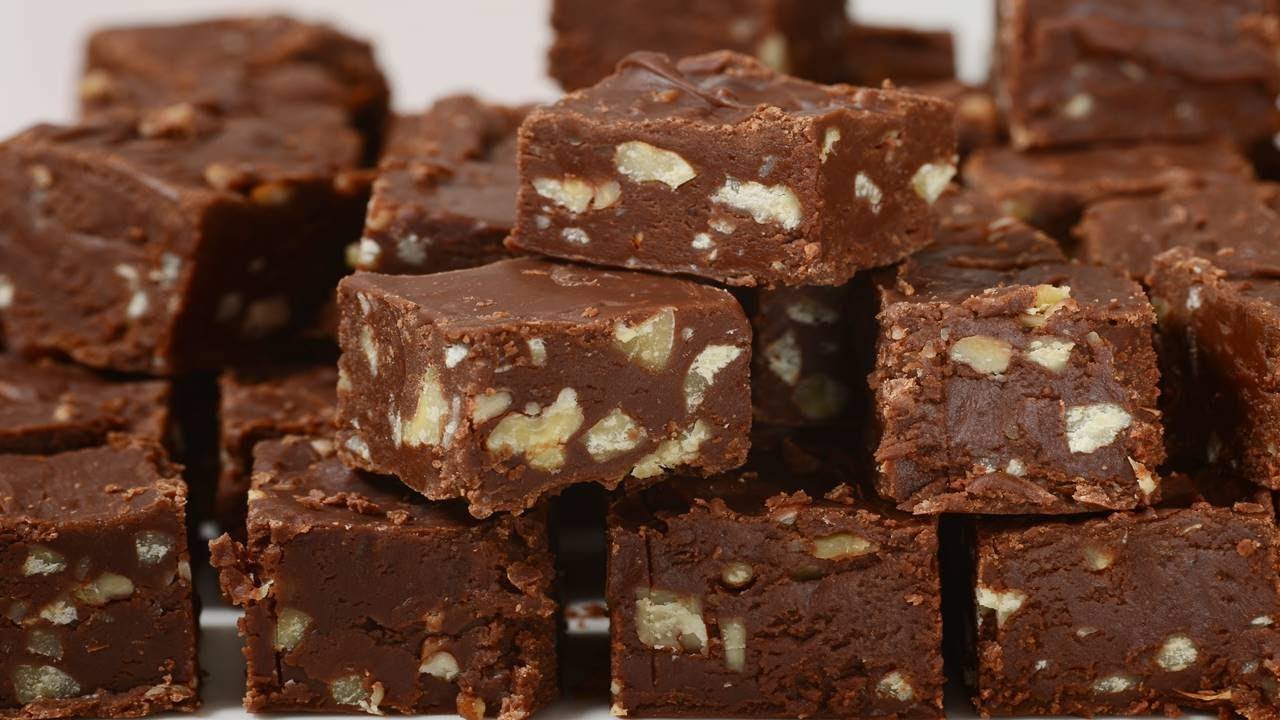
- Chopped nuts (walnuts, pecans, or almonds) for crunch.
- Peanut butter swirled in for a nutty twist.
- Caramel drizzle for extra indulgence.
- Crushed cookies (like Oreos or graham crackers) for added texture.
- Sea salt flakes sprinkled on top to balance the sweetness.
Equipment and Tools Required
Having the right tools will make the process smooth and stress-free:
- Medium-sized saucepan
- Wooden spoon or heatproof spatula
- 8×8-inch baking pan (lined with parchment paper or lightly greased)
- Mixing bowls
- Sharp knife for cutting squares
Step-by-Step Guide to Making Marshmallow Fudge
Step 1 – Preparing Your Workspace
Before you start cooking, it’s important to set up everything you need. Line your baking pan with parchment paper, leaving a bit of overhang on the sides to make it easier to lift the fudge out later. Lightly grease it if you prefer. Measure out all your ingredients in advance, because once you start melting, things move quickly. Trust me, you don’t want to be scrambling for the vanilla extract while your chocolate is seizing up.
Step 2 – Melting the Butter and Sugar
In a medium saucepan over medium heat, combine the sugar, butter, and evaporated milk. Stir continuously until the butter has melted and the mixture comes to a gentle boil. Once it starts bubbling, keep stirring for about 4–5 minutes until the sugar has dissolved completely. This step is crucial—if the sugar doesn’t dissolve properly, your fudge could turn grainy instead of silky smooth.
Step 3 – Adding Marshmallow and Chocolate
Remove the pan from the heat and immediately stir in your marshmallows (or marshmallow crème). As they melt, the mixture will become creamy and glossy. Next, add your chocolate chips, stirring until everything is completely smooth. At this point, add in the vanilla extract for an extra burst of flavor.
Step 4 – Mixing and Achieving the Perfect Texture
If you’re adding nuts, peanut butter, or other extras, now’s the time to fold them in. Work quickly, because fudge begins to set as soon as it starts cooling. The texture should be thick but pourable, almost like brownie batter.
Step 5 – Pouring and Setting the Fudge
Pour the mixture into your prepared baking pan, spreading it evenly with a spatula. Tap the pan lightly on the counter to remove air bubbles. Let the fudge cool at room temperature for 3–4 hours, or place it in the refrigerator for quicker setting. Once firm, lift the fudge out using the parchment paper overhang and cut it into squares with a sharp knife.
And there you have it—rich, creamy marshmallow fudge ready to be enjoyed!
Tips for Perfect Marshmallow Fudge Every Time
Avoiding Grainy Texture
One of the most common issues with homemade fudge is that unpleasant gritty or sandy texture. Luckily, marshmallows help prevent this, but you still need to be cautious. The key lies in the sugar mixture. Always make sure the sugar dissolves completely before moving to the next step. Stir constantly, and never walk away while it’s boiling. Another trick is to use evaporated milk instead of regular milk—it has a thicker consistency that helps bind everything together.
Also, avoid stirring too much once the chocolate is added. Over-mixing can make the fudge lose its creamy consistency. Think of it like whipping cream: too much movement and you’ll ruin the texture. Gentle and controlled stirring is the secret.
Cutting and Storing Properly
Once your fudge has set, the way you cut and store it matters more than you might think. For clean, sharp edges, dip your knife in hot water, wipe it dry, and then slice. Repeat between cuts. This little trick makes your fudge squares look professional and bakery-worthy.
As for storage, keep your fudge in an airtight container at room temperature for up to a week. If you want to extend its shelf life, refrigerate it for up to two weeks. Planning to save it for longer? You can freeze fudge in airtight bags or containers for up to three months. Just let it thaw slowly at room temperature before serving.
Flavor Variations to Try
While classic chocolate-marshmallow fudge is a winner, why stop there? Here are some fun twists you can experiment with:
- Rocky Road Fudge: Add chopped walnuts and extra mini marshmallows.
- Peanut Butter Swirl Fudge: Drop spoonfuls of peanut butter into the warm mixture and swirl with a knife.
- Mint Chocolate Fudge: Add a few drops of peppermint extract and top with crushed peppermint candies.
- Cookies and Cream Fudge: Fold in crushed Oreo cookies before pouring into the pan.
- Salted Caramel Fudge: Drizzle caramel sauce over the top and sprinkle with flaky sea salt.
With marshmallow fudge, creativity has no limits—you can tailor it to suit any occasion or craving.
Common Mistakes and How to Fix Them
Overcooking the Sugar Mixture
Overcooking is one of the quickest ways to ruin fudge. If your sugar mixture boils too long or at too high a temperature, the fudge will end up dry and crumbly instead of smooth and creamy. The solution? Stick to medium heat and stir constantly. Set a timer for 4–5 minutes once it starts boiling, and resist the urge to go longer.
If you do end up with overcooked fudge, don’t throw it out just yet. You can try salvaging it by reheating with a splash of milk and stirring until smooth again. It might not be perfect, but it’ll still taste delicious.
Fudge Not Setting Properly
If your fudge stays soft and sticky instead of firming up, it usually means the mixture wasn’t boiled long enough or didn’t reach the right consistency before adding the marshmallows and chocolate. Another culprit could be too much liquid.
To fix soft fudge, you can scrape it back into a saucepan, add a bit more chocolate, and heat gently until it thickens. Then, reset it in the pan. Alternatively, serve it as a “fudge spread” for toast or pancakes—it’s too tasty to waste!
Too Sweet or Too Bitter – Balancing Flavors
Fudge is supposed to be sweet, but sometimes it can feel overwhelming. If that’s the case, try using darker chocolate instead of semi-sweet. You can also sprinkle sea salt on top, which balances sweetness beautifully.
On the other hand, if your fudge tastes bitter, it’s often due to scorched chocolate or overcooked sugar. Always melt chocolate gently and avoid high heat. Remember, fudge is all about balance—smooth, sweet, and just the right amount of indulgent.
Serving Ideas and Presentation
How to Serve Marshmallow Fudge at Parties
Fudge is more than just a snack—it’s a centerpiece-worthy dessert. For parties, cut your fudge into bite-sized squares and arrange them on a decorative platter. Mix and match different fudge flavors (classic chocolate, peanut butter swirl, cookies and cream) for a colorful variety that will wow your guests.
You can also serve fudge alongside coffee or hot chocolate. The creamy sweetness pairs perfectly with warm drinks. Another idea is to use fudge cubes as cupcake toppers or ice cream mix-ins—talk about leveling up dessert!
Creative Packaging for Gifts
Homemade marshmallow fudge makes one of the best edible gifts. It’s simple, thoughtful, and guaranteed to bring smiles. Once your fudge is cut, wrap pieces in wax paper and place them in a festive tin or a small gift box. Tie with a ribbon, and you’ve got a ready-to-give treat for birthdays, holidays, or thank-you gifts.
For an extra personal touch, include a handwritten recipe card so the recipient can try making it themselves. Nothing says love quite like homemade fudge wrapped with care.
FAQs about Marshmallow Fudge Recipe
1. Can I make marshmallow fudge without chocolate?
Yes! You can substitute the chocolate with white chocolate, peanut butter, or even butterscotch chips for a unique twist.
2. How long does marshmallow fudge last?
At room temperature, it lasts up to a week. Refrigerated, it stays fresh for up to two weeks. Frozen, it can last three months.
3. Do I need to refrigerate marshmallow fudge?
Not necessarily. Room temperature storage is fine, but refrigeration extends freshness and gives a firmer texture.
4. Can I freeze marshmallow fudge?
Absolutely! Wrap it tightly in wax paper, place it in an airtight container, and freeze for up to three months.
5. How do I make marshmallow fudge vegan?
Use dairy-free butter, plant-based evaporated milk (like coconut milk), vegan marshmallows, and dairy-free chocolate chips.
Conclusion
Marshmallow fudge is the ultimate dessert hack—easy to make, endlessly customizable, and irresistibly delicious. With just a few simple ingredients, you can whip up a batch of creamy fudge that looks impressive but takes minimal effort. Whether you’re making it for a holiday party, gifting it to friends, or simply satisfying your sweet tooth at home, this recipe is a keeper.
Remember, the keys to success are patience, proper stirring, and a little creativity. Avoid overcooking, let it set properly, and don’t be afraid to experiment with fun add-ins. Once you master the basics, you’ll find yourself making marshmallow fudge again and again.
So go ahead—grab those marshmallows, melt that chocolate, and treat yourself to a bite of pure happiness.


