Loaf Bread Recipe: Nothing compares to the smell of freshly baked bread filling your kitchen. A warm loaf straight from the oven is comforting, satisfying, and surprisingly easy to make once you understand the process.
This step-by-step guide will walk you through everything you need to know about baking a perfect loaf of bread at home—from gathering ingredients to slicing that first piece.
Introduction to Homemade Loaf Bread
Homemade bread has a magic of its own. While store-bought bread is convenient, it often contains preservatives, excess sugar, and other additives that you don’t necessarily want in your body. Baking your own loaf bread gives you control over what goes inside. You can adjust the ingredients based on your preferences, whether you want a soft white loaf, a hearty whole wheat version, or even a slightly sweet variation.
Another reason to make bread at home is the satisfaction. Imagine kneading the dough with your own hands, watching it rise, and then pulling out a golden-brown loaf that you made entirely from scratch. It’s both rewarding and therapeutic. Many people find baking bread to be a relaxing ritual that helps them slow down and connect with something simple and wholesome.
On top of that, homemade bread tastes far superior. Freshly baked bread has a rich aroma, a crisp crust, and a soft interior that you’ll rarely find in store-bought varieties. The best part? You can enjoy it warm, with a smear of butter, straight from the oven.
So, whether you’re a beginner who’s never baked before or an experienced home cook looking to perfect your bread-making skills, this guide will cover everything you need to create a beautiful loaf from start to finish.
Ingredients You’ll Need
Before we dive into the process, let’s gather everything you’ll need. Bread doesn’t require a long shopping list. In fact, one of the most amazing things about loaf bread is that it uses basic pantry staples.
Essential Ingredients for Classic Loaf Bread
- Flour (3 ½ cups / 420g) – All-purpose flour works well for beginners, but bread flour is ideal because it has a higher protein content, which gives better gluten development and results in a chewier loaf.
- Warm Water (1 ¼ cups / 300ml) – Water temperature is important. It should be warm (around 105–110°F / 40–43°C), not hot, otherwise it could kill the yeast.
- Active Dry Yeast (2 ¼ tsp / 7g, or one packet) – This is what makes the bread rise. Instant yeast can also be used, and it doesn’t require pre-activation.
- Sugar (2 tbsp) – Yeast feeds on sugar to become active. It also adds a slight sweetness to the loaf.
- Salt (1 ½ tsp) – Enhances flavor and balances sweetness. Without salt, bread tastes flat.
- Oil or Butter (2 tbsp) – Adds moisture, improves texture, and helps keep bread soft longer.
Optional Ingredients for Flavor and Texture Variations
- Milk – Substituting some or all of the water with milk results in a richer, softer loaf.
- Honey – A natural sweetener alternative to sugar.
- Eggs – Adds richness and helps with structure.
- Seeds, Herbs, or Cheese – For extra flavor and crunch.
With just these few ingredients, you can make a beautiful loaf that rivals any bakery bread.
Tools and Equipment Required
Baking bread doesn’t require a fancy kitchen or expensive gadgets. With just a few simple tools, you can bake an excellent loaf.
Must-Have Kitchen Tools for Bread Baking
- Mixing Bowl – A large bowl to mix and knead your dough.
- Wooden Spoon or Dough Scraper – Helps mix and handle sticky dough.
- Measuring Cups and Spoons / Kitchen Scale – Accurate measurement is key in bread making. A scale is recommended for best results.
- Loaf Pan (9×5 inch / 23×13 cm) – Essential for shaping and baking your bread into a classic loaf.
- Clean Kitchen Towel or Plastic Wrap – To cover the dough during rising.
- Oven – Preheated to the right temperature for baking.
Nice-to-Have but Optional Equipment
- Stand Mixer with Dough Hook – Saves time and effort when kneading.
- Bench Scraper – Handy for dividing dough and keeping surfaces clean.
- Digital Thermometer – Helps you check water temperature and loaf doneness.
- Cooling Rack – Prevents bread from getting soggy after baking.
With these tools, you’re ready to move forward and start baking.
Preparing Your Ingredients
Preparation makes bread making much smoother. Before mixing, measure your ingredients precisely. Small errors can change the texture and rise of your bread. For example, adding too much flour makes bread dense, while too little results in a sticky dough that’s hard to handle.
When measuring flour, spoon it lightly into the measuring cup and level it off with a knife instead of scooping directly from the bag. Better yet, use a kitchen scale for accuracy.
Handling yeast requires care. Yeast is a living organism, and it needs the right conditions to work. Always check the expiration date before using it. If using active dry yeast, dissolve it in warm water with sugar and let it sit for about 5–10 minutes until foamy. That foam tells you the yeast is alive and ready. If nothing happens, the yeast is dead, and you’ll need a new packet.
Salt is essential for flavor, but it should never come into direct contact with yeast before mixing, as it can kill it. That’s why it’s always added with flour after yeast has been activated.
Finally, make sure all ingredients are at room temperature (except water, which should be warm). Cold ingredients slow down yeast activity and can make the dough take much longer to rise.
Step-by-Step Guide to Making Loaf Bread
Now comes the fun part—actually baking your loaf bread! This step-by-step method will walk you through everything from mixing to slicing. Whether you’re kneading by hand or using a mixer, the process is straightforward once you understand each stage.
Step 1 – Activating the Yeast
The first and most crucial step in bread making is to activate your yeast. If your yeast doesn’t come alive, your bread simply won’t rise, no matter how perfectly you follow the other steps.
To begin, take a small bowl and pour in your warm water (around 105–110°F / 40–43°C). Add sugar and stir until dissolved. Sprinkle the active dry yeast over the water and let it sit undisturbed for about 5–10 minutes.
You should see bubbles and a foamy layer forming on the surface. This is the yeast feeding on the sugar and becoming active. If the mixture remains flat, it means the yeast is inactive, and you’ll need to start over with a fresh packet.
Pro Tip: If you’re using instant yeast, you can skip this step and add it directly to your flour, but for beginners, proofing yeast is a great way to make sure it’s alive.
Step 2 – Mixing the Dough
Once your yeast is ready, it’s time to bring everything together. In a large mixing bowl, combine the flour and salt. Make a well in the center and pour in the activated yeast mixture along with your oil or melted butter.
Using a wooden spoon (or your hands if you don’t mind a little mess), stir everything together until it forms a shaggy dough. It might look rough at first, but don’t worry—that’s exactly how it should look.
If the dough feels too dry, add a tablespoon of water at a time. If it’s too sticky, sprinkle in a bit more flour. The goal is to achieve a soft, slightly tacky dough that doesn’t cling too much to your hands.
Step 3 – Kneading the Dough
Kneading is where the magic really happens. This step develops gluten, which gives bread its structure and chewiness.
Lightly flour your work surface and turn the dough out onto it. Start kneading by pushing the dough away from you with the heel of your hand, then folding it back toward you, and giving it a quarter turn. Repeat this process rhythmically for about 8–10 minutes.
The dough should gradually transform from rough and sticky into smooth and elastic. You’ll know it’s ready when it springs back slightly when poked.
Pro Tip: If kneading feels like a workout, you can use a stand mixer with a dough hook. Mix on low speed for about 6–7 minutes until the dough is smooth and stretchy.
Step 4 – First Rise (Proofing)
Once kneaded, form the dough into a ball and place it in a lightly oiled bowl. Turn the dough around once so that all sides are coated with oil—this prevents it from drying out. Cover the bowl with a clean kitchen towel or plastic wrap.
Leave the dough to rise in a warm, draft-free place for about 1 to 2 hours, or until it has doubled in size. The exact time depends on the temperature of your kitchen.
During this stage, the yeast is working hard, producing carbon dioxide that makes the dough expand. This is what gives your bread its airy, fluffy texture.
Pro Tip: If your kitchen is cold, place the bowl inside an oven with just the light on, or near a warm spot like the top of your refrigerator.
Step 5 – Shaping the Loaf
Once the dough has doubled in size, punch it down gently to release the trapped air. Don’t worry—you’re not undoing your hard work; you’re simply redistributing the yeast and gases for a better second rise.
Turn the dough onto a lightly floured surface and flatten it into a rectangle. Roll it up tightly like a jelly roll, tucking in the sides as you go, to create a nice loaf shape. Pinch the seam closed to keep it from opening during baking.
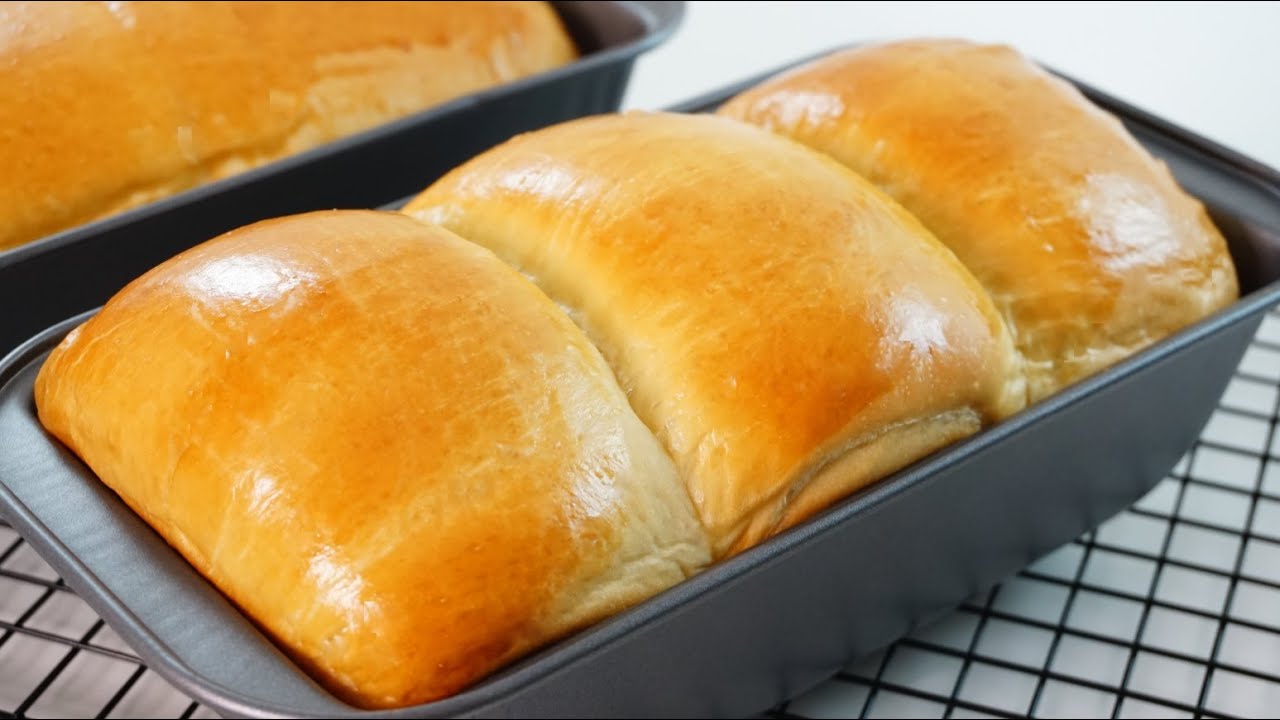
Place the shaped dough into a greased loaf pan (9×5 inch), seam-side down. This ensures the bread holds its shape while baking.
Pro Tip: For a rustic look, you can also bake it free-form on a baking sheet, but a loaf pan gives the bread its classic sandwich shape.
Common Mistakes to Avoid
Even though bread making is simple, beginners often make small mistakes that can affect the final loaf. Knowing these pitfalls ahead of time will save you frustration.
1. Over-Kneading or Under-Kneading
Kneading too little leaves the bread dense and crumbly because gluten hasn’t developed enough. Over-kneading, especially with a mixer, can make the bread tough and dry. Aim for that smooth, elastic feel.
2. Wrong Flour Choice
All-purpose flour works, but bread flour gives the best texture. Avoid cake or pastry flour—they don’t have enough protein for good gluten development.
3. Killing the Yeast
Hot water kills yeast, cold water slows it down. Always aim for lukewarm water (not hotter than 110°F / 43°C).
4. Not Letting the Dough Rise Properly
Rushing the rising process results in dense bread. Always let the dough double in size, even if it takes longer than expected.
5. Cutting Too Soon
It’s tempting to slice into fresh bread immediately, but cutting too soon releases steam and makes it gummy. Always let it cool at least 20–30 minutes before slicing.
Tips for Perfect Homemade Loaf Bread
If you want your loaf to turn out bakery-quality, a few tricks can make all the difference.
1. For a Softer Crust
Brush the top of your loaf with melted butter right after baking. This softens the crust and adds a rich flavor.
2. For a Golden, Crispy Crust
Brush the dough with an egg wash (1 egg beaten with a tablespoon of water) before baking. This gives it a shiny, golden finish.
3. Steam in the Oven
Placing a small pan of hot water on the bottom rack of your oven creates steam, which helps your bread rise beautifully and develop a crisp crust.
4. Proper Storage
Store your bread in a breadbox, wrapped in a clean towel, or in a resealable bag at room temperature. Never refrigerate bread—it dries out faster. If you can’t finish it within 2–3 days, slice and freeze it.
5. Practice Makes Perfect
Bread making improves the more you do it. Each loaf teaches you something new, so don’t be discouraged if your first attempt isn’t flawless.
Variations of Loaf Bread Recipes
Once you’ve mastered the classic white loaf, you can get creative and explore different variations. Bread is one of the most versatile foods, and with just a few tweaks, you can create endless flavors to suit your taste.
Whole Wheat Loaf Bread
Whole wheat bread is healthier than white bread because it uses flour that contains the bran and germ of the wheat kernel. This gives it more fiber, vitamins, and minerals.
To make whole wheat loaf bread, simply replace half or all of the all-purpose flour with whole wheat flour. If you go for 100% whole wheat, expect a denser texture. To balance it out, many bakers use a mix of half white and half whole wheat flour for a loaf that’s both fluffy and nutritious.
Pro Tip: Add a tablespoon of honey or molasses to enhance flavor and help soften the crumb since whole wheat flour absorbs more liquid.
Garlic and Herb Loaf Bread
If you love savory flavors, garlic and herb loaf bread will be your favorite. Add 2–3 minced garlic cloves and a tablespoon of dried herbs (such as rosemary, thyme, or oregano) directly into the dough during mixing.
For extra punch, brush the top of the loaf with garlic butter before baking. This variation pairs perfectly with pasta dishes, soups, or simply on its own with butter.
Sweet Loaf Bread Options
Bread doesn’t always have to be savory. You can make lightly sweetened loaves perfect for breakfast or snacking.
- Cinnamon Swirl Bread: Roll out the dough, spread it with butter, cinnamon, and sugar, then roll it up before placing it in the loaf pan.
- Raisin or Nut Bread: Fold in a cup of raisins, cranberries, or chopped nuts to add flavor and texture.
- Honey Oat Bread: Substitute honey for sugar and sprinkle oats on top before baking for a rustic, sweet loaf.
The possibilities are endless once you start experimenting.
Nutritional Information of Loaf Bread
Understanding the nutrition of homemade bread can help you make healthier choices. Here’s a breakdown of a slice of basic white loaf bread (about 40g):
| Nutrient | Amount |
|---|---|
| Calories | 100–120 kcal |
| Carbohydrates | 20–22 g |
| Protein | 3–4 g |
| Fat | 1–2 g |
| Fiber | 1 g (more in whole wheat) |
| Sodium | 180–200 mg |
Health Benefits of Homemade Bread
- Fewer Additives: Store-bought bread often contains preservatives and artificial ingredients. Homemade bread uses simple, clean ingredients.
- Customizable Nutrition: You can make your bread healthier by using whole grains, seeds, or less sugar and salt.
- Better Portion Control: You decide how thick to slice your bread, making it easier to manage calorie intake.
Whole wheat or multigrain versions offer more fiber, which supports digestion and helps keep you fuller for longer.
FAQs about Loaf Bread Recipe
1. How do I know if my bread is fully baked?
Tap the bottom of the loaf—it should sound hollow. You can also check with a food thermometer; the internal temperature should be around 190–200°F (88–93°C).
2. Can I make bread without a loaf pan?
Yes! You can shape the dough into a round or oval and bake it on a baking sheet. It will be more rustic-looking but just as delicious.
3. Why didn’t my bread rise properly?
This usually happens if the yeast was old, the water was too hot or too cold, or the dough didn’t have enough rising time.
4. How do I keep homemade bread fresh longer?
Store it at room temperature in an airtight bag or breadbox. For longer storage, slice and freeze it. Avoid refrigerating, as it makes bread dry faster.
5. Can I add seeds, nuts, or toppings to my loaf?
Absolutely! You can mix seeds like sesame, sunflower, or chia into the dough, or sprinkle them on top before baking for extra crunch and nutrition.
Conclusion
The process of mixing, kneading, proofing, and baking is a journey that connects you to a tradition as old as civilization itself. Plus, the smell of fresh bread filling your kitchen is unbeatable!
Whether you stick to the classic recipe or branch out into whole wheat, garlic herb, or sweet variations, homemade loaf bread will quickly become a favorite in your kitchen. Once you slice into your first golden loaf and taste the soft, warm crumb, you’ll wonder why you ever bought bread at the store.
So, roll up your sleeves, dust some flour on the counter, and get baking—you’ll never look back.


