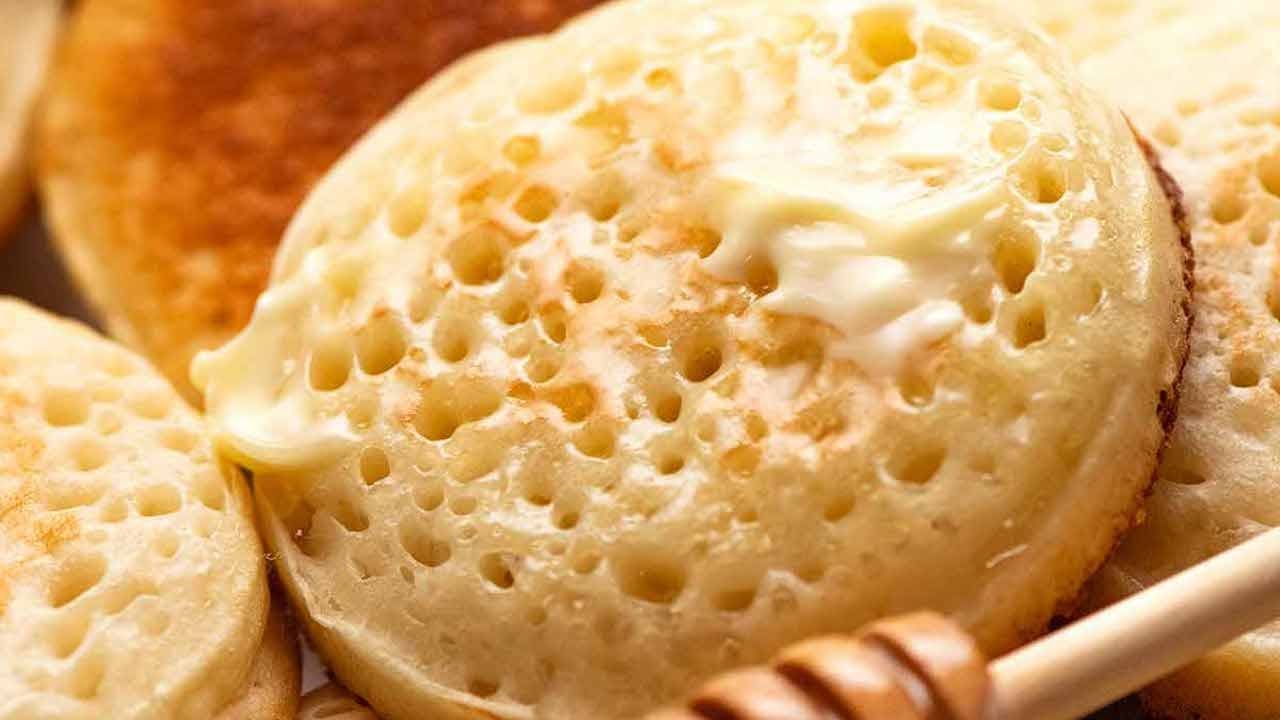
Crumpets Recipe: Crumpets are one of those delightful breakfast or teatime treats that instantly bring comfort and warmth. Their golden-brown base with a soft, sponge-like interior makes them unique, while the tiny holes on top act as little wells that soak up butter, honey, or jam. Many people associate crumpets with a traditional British breakfast, but the truth is, these delicious griddle cakes can be enjoyed any time of the day.
When you buy store-bought crumpets, they often lack the freshness and fluffy texture of homemade ones. Making crumpets at home might sound intimidating, but it’s actually straightforward once you understand the process. With a few basic ingredients, some patience, and a good skillet or griddle, you can prepare bakery-quality crumpets in your own kitchen.
The best part about making them yourself is the freedom to customize. You can make them sweeter, add a savory twist, or keep them classic. Whether you’re preparing breakfast for the family or hosting a cozy afternoon tea, homemade crumpets are sure to impress. In this guide, we’ll break down everything step by step, so you’ll never have to wonder where to start. By the end, you’ll have the confidence to whip up your own batch and enjoy them fresh off the pan.
What Are Crumpets?
Before diving into the recipe, let’s understand what crumpets actually are. Crumpets are small, round griddle cakes originating from the United Kingdom. They’re made from a yeast-based batter, which gives them their signature airy texture. Unlike pancakes, which are smooth on both sides, crumpets are cooked on one side only, leaving the top full of characteristic holes. These holes are what make crumpets so special because they act like little cups, holding melted butter or spreads perfectly.
Crumpets are often confused with English muffins, but there are key differences. English muffins are split open and toasted, while crumpets are eaten whole. Muffins have a denser, bread-like texture, whereas crumpets are lighter and spongier. In fact, you can think of crumpets as a hybrid between pancakes and bread – they have the chew of bread but the cooking method of pancakes.
Historically, crumpets have been enjoyed in Britain since the 17th century, and over time, they’ve become a beloved part of tea culture. Today, you can find them in supermarkets worldwide, but nothing beats the homemade version. Once you make them yourself, you’ll realize how much fresher and tastier they are compared to pre-packaged ones.
Ingredients You’ll Need
The beauty of crumpets is that you don’t need a long list of fancy ingredients. In fact, most of the items are probably already sitting in your pantry. Here’s what you’ll need:
- All-purpose flour – 2 cups (250 g)
- Active dry yeast – 2 tsp
- Warm milk – 1 cup (240 ml)
- Warm water – 1 cup (240 ml)
- Sugar – 1 tsp (helps activate yeast)
- Salt – 1 tsp
- Baking powder – ½ tsp (optional for extra fluffiness)
- Butter or oil – for greasing
That’s the base recipe, but the flexibility lies in tweaking it. For example, if you want a slightly lighter crumpet, you can substitute half the all-purpose flour with bread flour. For a healthier twist, whole wheat flour works well, though it may result in a denser texture.
For those with dietary restrictions, there are easy swaps:
- Vegan version: Use plant-based milk (like almond or oat) and replace butter with coconut oil or vegan margarine.
- Gluten-free version: Use a gluten-free flour blend. Just be sure to add xanthan gum if your blend doesn’t already contain it, as it helps mimic the elasticity of gluten.
What’s important is balance. The yeast provides the lift, the flour provides structure, and the milk/water combination ensures a tender crumb. Get these right, and you’re halfway to perfect crumpets.
Essential Ingredients for Perfect Crumpets
Now that we’ve seen the list, let’s dig deeper into why each ingredient matters. Understanding this helps you troubleshoot problems and adjust the recipe if needed.
- Flour: The backbone of crumpets. All-purpose flour is ideal since it has just the right amount of protein for structure without making the batter too heavy. Bread flour can give extra chewiness, while whole wheat flour adds nuttiness.
- Yeast: The secret to crumpets’ signature airy holes. Without yeast, you’d end up with something closer to pancakes. The yeast ferments the batter, creating carbon dioxide that forms bubbles in the dough.
- Milk & Water: This combination gives crumpets their tender texture. Milk adds richness and a slight sweetness, while water keeps the batter light. Some recipes use only water for a more neutral flavor.
- Sugar: A tiny bit of sugar helps activate the yeast faster. Don’t worry – it won’t make your crumpets taste sweet unless you add extra sugar for dessert-style crumpets.
- Salt: It enhances flavor and also keeps the yeast activity in check, ensuring the crumpets rise steadily instead of collapsing.
- Baking Powder (optional): Some cooks like to add it for extra lift. It’s not traditional, but it does give crumpets a bit more height if your yeast isn’t very strong.
Once you understand these roles, you can experiment with confidence. For instance, if you want crumpets with a richer taste, increase the milk ratio. If you want them lighter, lean more on water. It’s all about finding the balance that matches your preference.
Optional Add-Ons for Flavor
While traditional crumpets are plain, you can easily elevate them with creative add-ins. Think of the basic recipe as a blank canvas and flavor it to your liking.
For sweet crumpets, try adding:
- A teaspoon of honey or maple syrup to the batter
- A pinch of cinnamon, nutmeg, or cardamom for warmth
- Small bits of dried fruit like raisins or cranberries
For savory crumpets, try mixing in:
- A handful of grated cheddar or parmesan
- Fresh herbs like chives, thyme, or rosemary
- A sprinkle of garlic powder or black pepper
You can also experiment after cooking. Spread Nutella for dessert, top with cream cheese and smoked salmon for brunch, or drizzle with honey for an indulgent snack. The possibilities are endless.
Tools and Equipment You’ll Need
Making crumpets doesn’t require a professional bakery setup. Most of the tools you’ll need are already in your kitchen, and the one special piece of equipment—crumpet rings—can even be substituted if you don’t have them. Let’s go through the essentials:
- Crumpet rings: These are circular metal molds, usually about 3–4 inches wide and 1 inch deep. They help the batter hold its shape while cooking. If you don’t own any, don’t worry—you can use cleaned tuna cans with the tops and bottoms removed, or even egg rings.
- Mixing bowls: You’ll need at least one large bowl for mixing the batter and another smaller one for activating the yeast. Glass or stainless steel bowls work best.
- Whisk or wooden spoon: Essential for stirring and combining the ingredients smoothly. A whisk helps to prevent lumps.
- Measuring cups and spoons: Accuracy matters in baking, especially when working with yeast. Too much or too little of one ingredient can change the outcome.
- Non-stick skillet or griddle: A heavy-bottomed skillet, frying pan, or electric griddle will work. Non-stick is best, as crumpets can stick if the surface isn’t properly greased.
- Spatula: Needed for flipping the crumpets once the bottoms are golden brown.
- Ladle or measuring cup with a spout: This makes it easier to pour the batter into the rings without making a mess.
While you can make crumpets without all the fancy gear, the right tools make the process smoother and the results more consistent. The key is having a way to keep the batter contained while it cooks, ensuring crumpets rise evenly and develop their signature holes.
Step-by-Step Guide to Making Crumpets
Now for the exciting part—let’s actually make crumpets! This step-by-step method will ensure your crumpets turn out golden, spongy, and delicious. Each stage is crucial, from mixing the batter to cooking on the griddle.
Making crumpets is a process that requires patience, but it’s not difficult. Think of it like bread-making meets pancake cooking. The yeast gives the batter its rise, while the stovetop method creates the characteristic texture.
Here’s how to do it, broken down into clear steps:
Step 1 – Mixing the Batter
Start by activating the yeast. In a small bowl, combine the warm milk, warm water, sugar, and yeast. Stir gently and let it sit for about 10 minutes, or until it turns frothy. This step is crucial—it shows that the yeast is alive and ready to do its job.
Meanwhile, in a large mixing bowl, whisk together the flour and salt. Once the yeast mixture is bubbly, pour it into the flour. Stir with a wooden spoon or whisk until a smooth, thick batter forms. It should be thicker than pancake batter but not as dense as bread dough—think somewhere in between.
If your batter looks too stiff, add a splash more warm water. If it’s runny, sprinkle in a bit more flour. The key here is smoothness; lumps will lead to uneven crumpets.
At this stage, some recipes add a pinch of baking powder to ensure extra fluffiness, but if your yeast is active, it’s optional.
Step 2 – Resting the Batter
Now comes the waiting game. Cover the bowl with a clean kitchen towel or plastic wrap and let it rest in a warm spot for about 1 to 1.5 hours. During this time, the yeast will ferment, creating bubbles and air pockets. This fermentation is what gives crumpets their spongy texture and signature holes.
You’ll know the batter is ready when:
- It has doubled in size.
- The surface is full of bubbles.
- It feels light and airy when stirred.
Don’t rush this step! If the batter hasn’t risen enough, your crumpets will turn out flat and dense. On the other hand, letting it rise too long can cause the yeast to over-ferment, leading to a sour taste. About an hour is usually perfect.
Step 3 – Cooking the Crumpets
Grease your skillet or griddle lightly with butter or oil and place it over medium-low heat. Also, grease your crumpet rings to prevent sticking.
Place the rings onto the skillet and ladle in about ¼ cup of batter per ring. The batter should come up to about half the height of the ring, leaving room for rising.
Cook slowly for about 8–10 minutes, or until the top surface is full of holes and looks dry. This is where patience pays off—cooking too fast will burn the bottom before the top sets. Once the tops are dry, carefully remove the rings and flip the crumpets. Cook for another 1–2 minutes just to lightly brown the tops.
And there you have it—homemade crumpets fresh from the pan!
Serving Suggestions for Crumpets
Now that your crumpets are ready, it’s time to enjoy them! Traditionally, crumpets are served warm with butter, which melts into the little holes and makes each bite heavenly. But why stop there?
Here are some delicious ideas to dress up your crumpets:
Classic Toppings:
- Salted butter and strawberry jam
- Honey or golden syrup
- A drizzle of maple syrup
Modern Twists:
- Avocado smash with chili flakes
- Cream cheese with smoked salmon
- Peanut butter and banana slices
- Nutella topped with fresh strawberries
For a hearty snack or light meal:
- Melted cheese and sliced tomatoes
- Scrambled eggs and herbs
- Pulled chicken or ham with mustard
Crumpets are versatile, meaning you can make them sweet or savory depending on your cravings. Whether you keep them traditional or load them with toppings, they’re always best served warm, fresh off the skillet, or toasted if made ahead.
Common Mistakes and How to Fix Them
Even though crumpets are simple, a few common mistakes can trip up beginners. Luckily, they’re easy to fix:
- Batter too runny: If your batter spreads too much in the pan, add a little more flour until it holds its shape inside the rings.
- No holes on top: This usually means the yeast wasn’t active enough, or the batter didn’t rest long enough. Make sure your yeast is fresh and give the batter enough rising time.
- Crumpets too dense: This happens when the batter is over-mixed or didn’t rise properly. Stir just until combined, and let the yeast work its magic.
- Burnt bottoms, raw tops: The heat was too high. Crumpets need to cook slowly on medium-low heat so the inside cooks before the outside burns.
- Sticking to rings: Always grease your crumpet rings generously. A quick run of a buttered knife around the edges can also help release them.
Don’t be discouraged if your first batch isn’t perfect—practice makes progress. Even slightly “flawed” crumpets taste delicious with butter and jam!
Tips for Perfect Homemade Crumpets
Cooking crumpets is simple, but achieving that bakery-style texture requires attention to detail. Here are some insider tips to help you get flawless crumpets every time:
- Control the temperature: Crumpets need gentle, steady heat. Too high, and the bottoms will burn before the tops set. Too low, and they won’t rise properly. Medium-low is the sweet spot.
- Don’t skip resting time: The rise is what gives crumpets their airy texture. Cutting the resting time short will give you flat, dense cakes.
- Grease everything well: From your skillet to the crumpet rings, a light coating of butter or oil ensures your crumpets don’t stick and release easily.
- Use fresh yeast: Old or inactive yeast is the number one culprit for crumpets without holes. Always check the expiration date and test it in warm liquid before mixing.
- Cook slowly and patiently: Unlike pancakes, crumpets need extra time to form their characteristic holes. Resist the temptation to rush.
- Toast before serving: Even freshly made crumpets taste better when toasted lightly. The outside crisps up while the inside stays soft and spongy.
With these tips, you’ll find that making crumpets at home becomes second nature. Once you nail the technique, you can experiment with flavors and toppings to suit any occasion.
Variations of Crumpets
The beauty of crumpets lies in their versatility. While the traditional recipe is unbeatable, you can play around with flavors to create endless variations.
Sweet Crumpets:
- Add vanilla extract and a spoonful of sugar to the batter.
- Sprinkle chocolate chips or dried fruit into the rings before cooking.
- Top with whipped cream, berries, or caramel sauce for a dessert-style treat.
Savory Crumpets:
- Mix grated cheese, garlic powder, or chopped herbs into the batter.
- Serve with poached eggs and hollandaise sauce for a crumpet “eggs benedict.”
- Use crumpets as a base for mini pizzas—spread with tomato sauce, add toppings, and bake briefly.
Vegan & Gluten-Free Crumpets:
- Replace milk with almond, soy, or oat milk.
- Use gluten-free flour blends (with xanthan gum) for structure.
- Swap butter for olive oil or vegan margarine.
Whether you like them sweet, savory, or somewhere in between, crumpets adapt easily to different tastes. This makes them perfect for breakfast, snacks, or even as a creative dinner base.
Nutritional Value of Crumpets
Crumpets may look indulgent, but they’re actually fairly light. On average, one plain crumpet (without toppings) contains:
| Nutrient | Amount per crumpet (approx.) |
|---|---|
| Calories | 90–110 |
| Carbohydrates | 18–20 g |
| Protein | 3–4 g |
| Fat | 1–2 g |
| Fiber | 1 g |
| Sodium | 200–250 mg |
Of course, toppings play a big role in nutrition. Butter, cheese, or Nutella will add calories, while fresh fruit or avocado keeps things healthier.
Healthier ingredient swaps include:
- Using whole wheat flour for added fiber.
- Replacing some milk with unsweetened plant milk.
- Using olive oil instead of butter for greasing.
Overall, crumpets can fit into a balanced diet, especially when paired with nutrient-rich toppings like eggs, vegetables, or nut butter.
Storing and Freezing Crumpets
One of the best things about crumpets is that they store well, so you can make a big batch and enjoy them throughout the week.
Storing:
- Fresh crumpets keep for 2–3 days at room temperature in an airtight container.
- For longer storage, refrigerate them for up to 5 days. Toasting before serving will refresh their texture.
Freezing:
- Crumpets freeze beautifully. Place cooled crumpets in a freezer bag with parchment paper between each one to prevent sticking.
- They’ll last up to 2 months in the freezer.
- To reheat, simply pop frozen crumpets straight into the toaster—no need to thaw first.
By storing and freezing properly, you can always have homemade crumpets ready for a quick breakfast or snack.
FAQs about Crumpets Recipe
1. Can I make crumpets without crumpet rings?
Yes! If you don’t have crumpet rings, use cleaned tuna cans with the top and bottom removed, or egg rings. Even free-form crumpets (without rings) can work, though they won’t be perfectly round.
2. Why didn’t my crumpets form holes on top?
This usually happens if the yeast wasn’t active enough or if the batter didn’t rest long enough. Make sure your yeast is fresh and give the batter at least an hour to rise.
3. Can I make the batter ahead of time?
Yes, you can prepare the batter and refrigerate it overnight. Just bring it back to room temperature before cooking, and whisk lightly to reactivate the bubbles.
4. Are crumpets healthier than bread?
Crumpets are lighter than most bread, with fewer calories per serving. However, they don’t provide as much fiber unless you use whole wheat flour. Toppings also play a big role in nutrition.
5. What’s the best way to reheat crumpets?
The toaster is the best option. Whether fresh, refrigerated, or frozen, a quick toasting will bring back their crisp exterior and warm, soft center.
Conclusion
The beauty of homemade crumpets lies not only in their taste but also in their versatility. Whether you prefer them plain with butter, dressed up with sweet toppings, or turned into a savory meal, they adapt to any occasion. Plus, with storage and freezing tips, you can always keep a stash ready for busy mornings or teatime cravings.
So next time you’re craving something cozy, skip the store-bought packs and try making your own. The satisfaction of biting into a freshly made, warm crumpet—crispy on the outside, soft on the inside—is worth every minute spent in the kitchen.


